As I'm sure you all know, Rome is in the process of putting together a Kai Justice costume, and he asked me to build the saber for the costume.
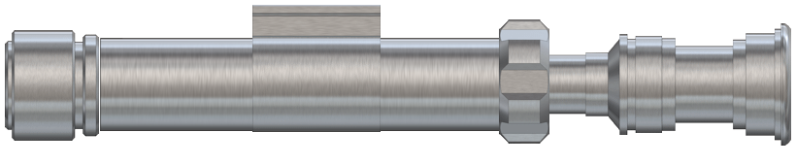
Here's the render of the saber we came up with using parts from The Custom Saber Shop:
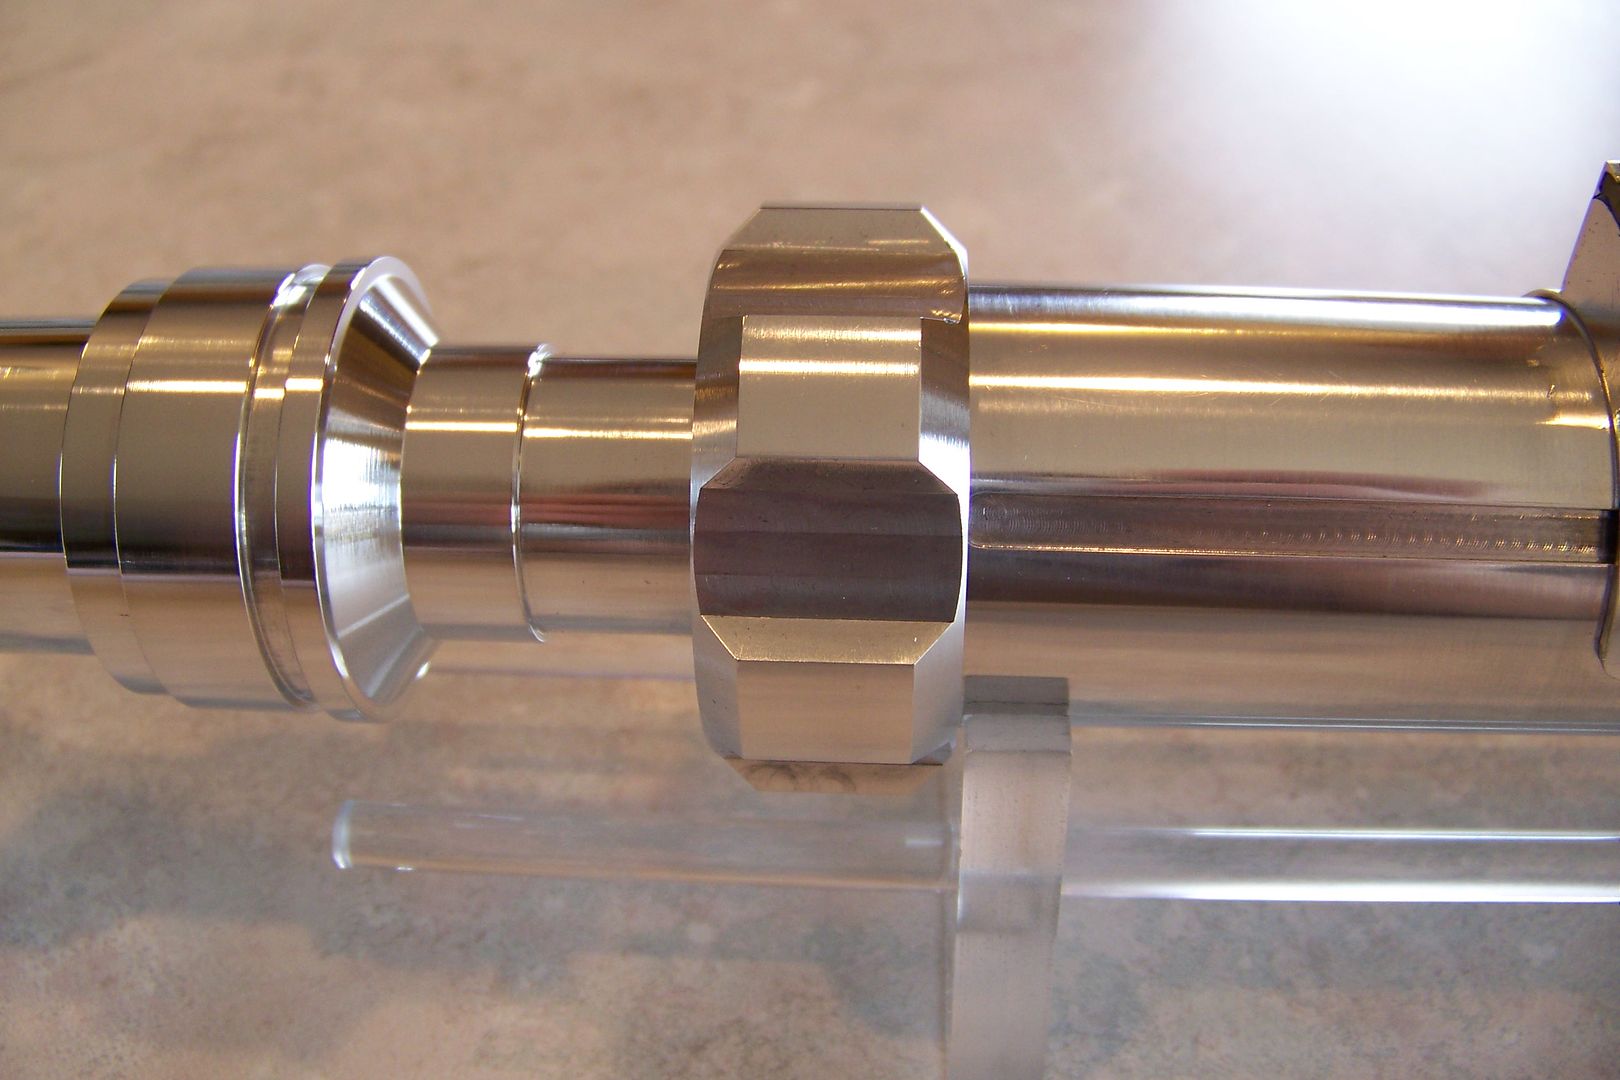
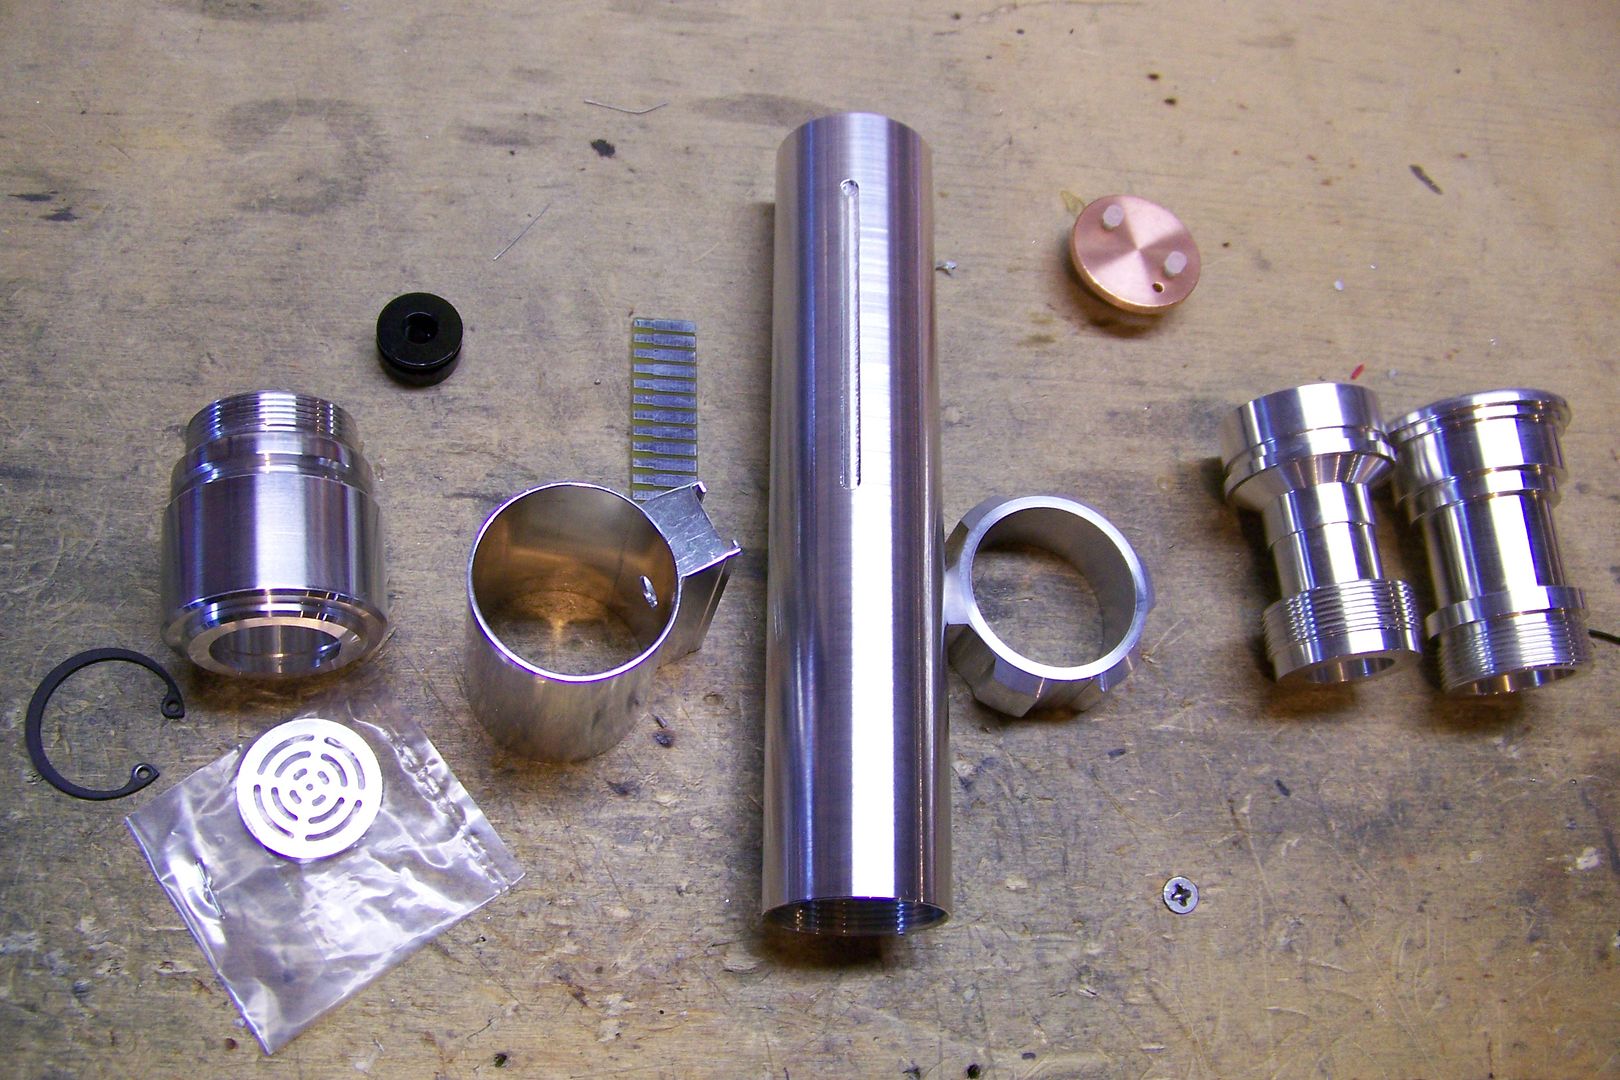
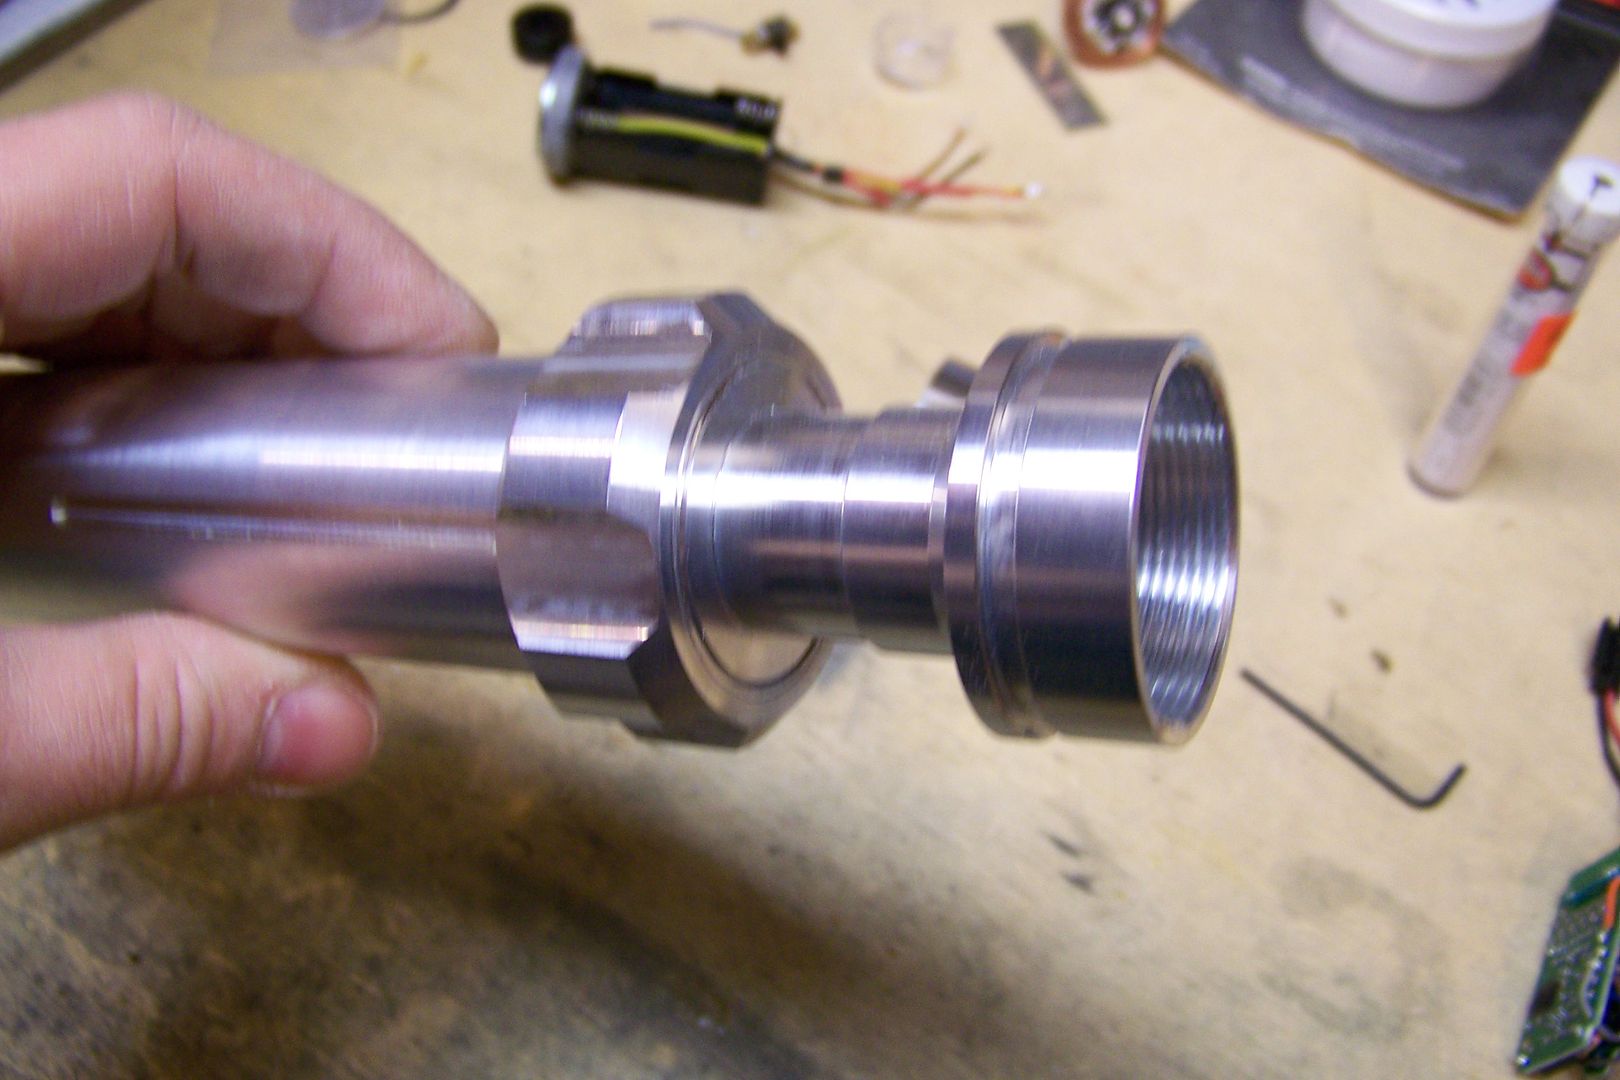
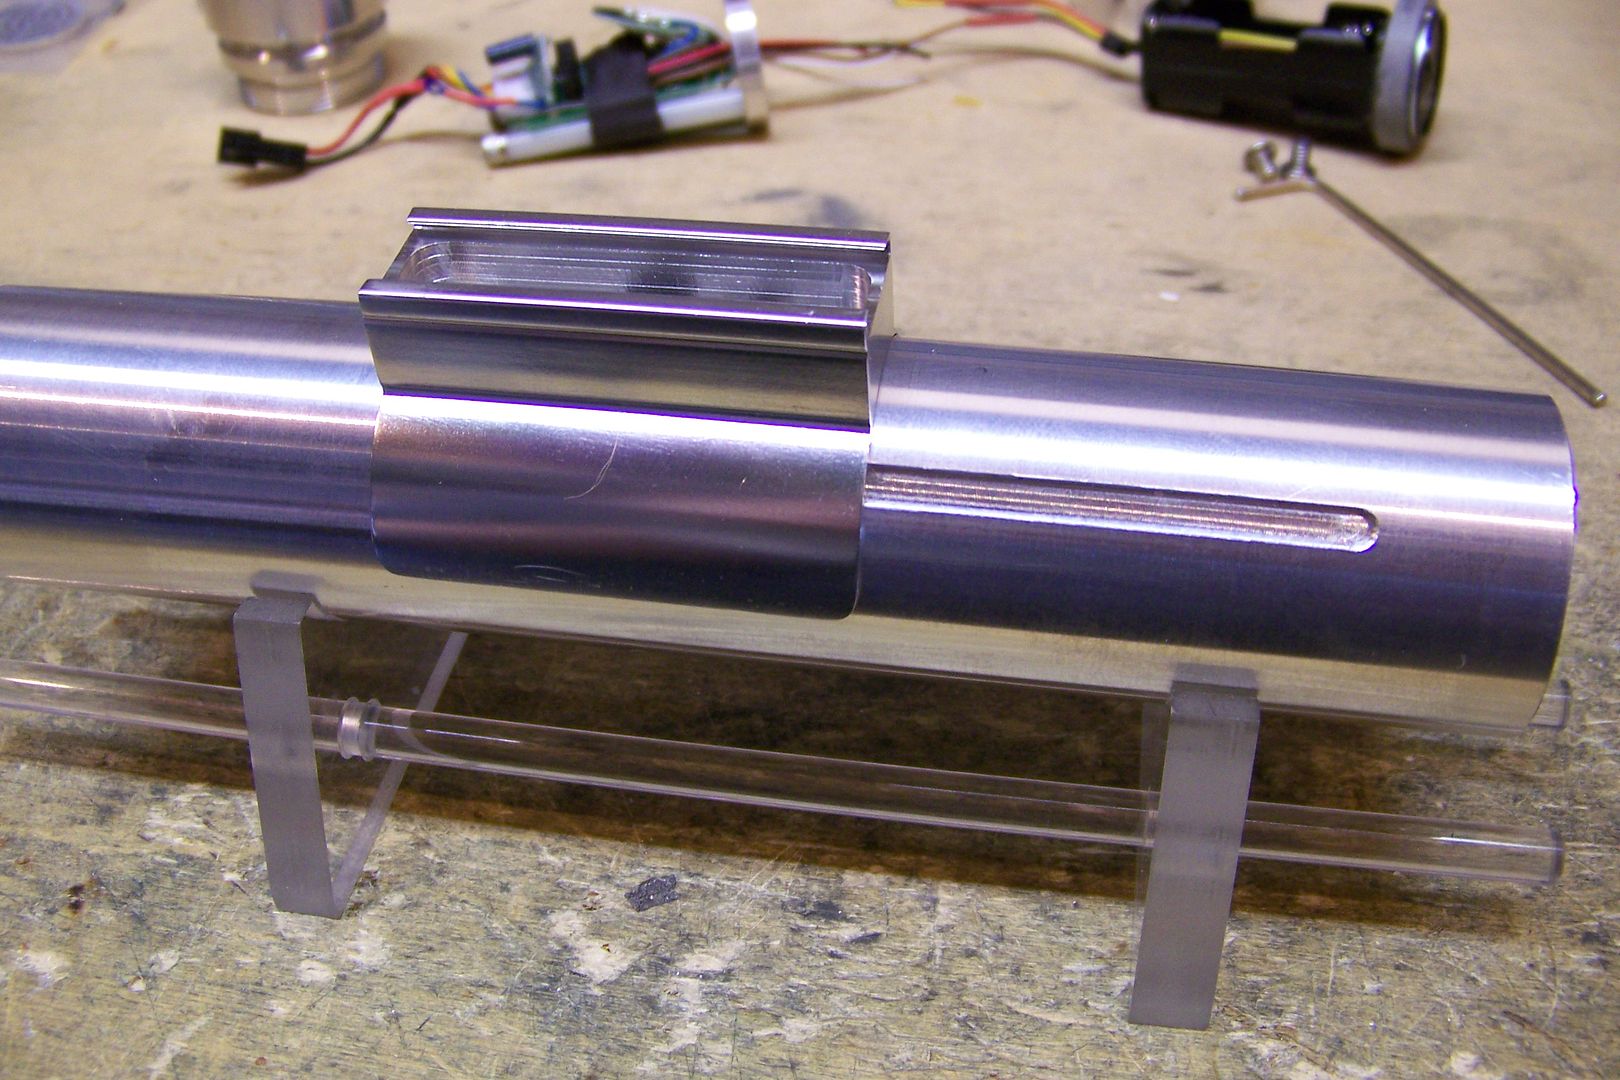
I ordered the parts, and after about two weeks, due to some custom machining that was required on the parts, they arrived:
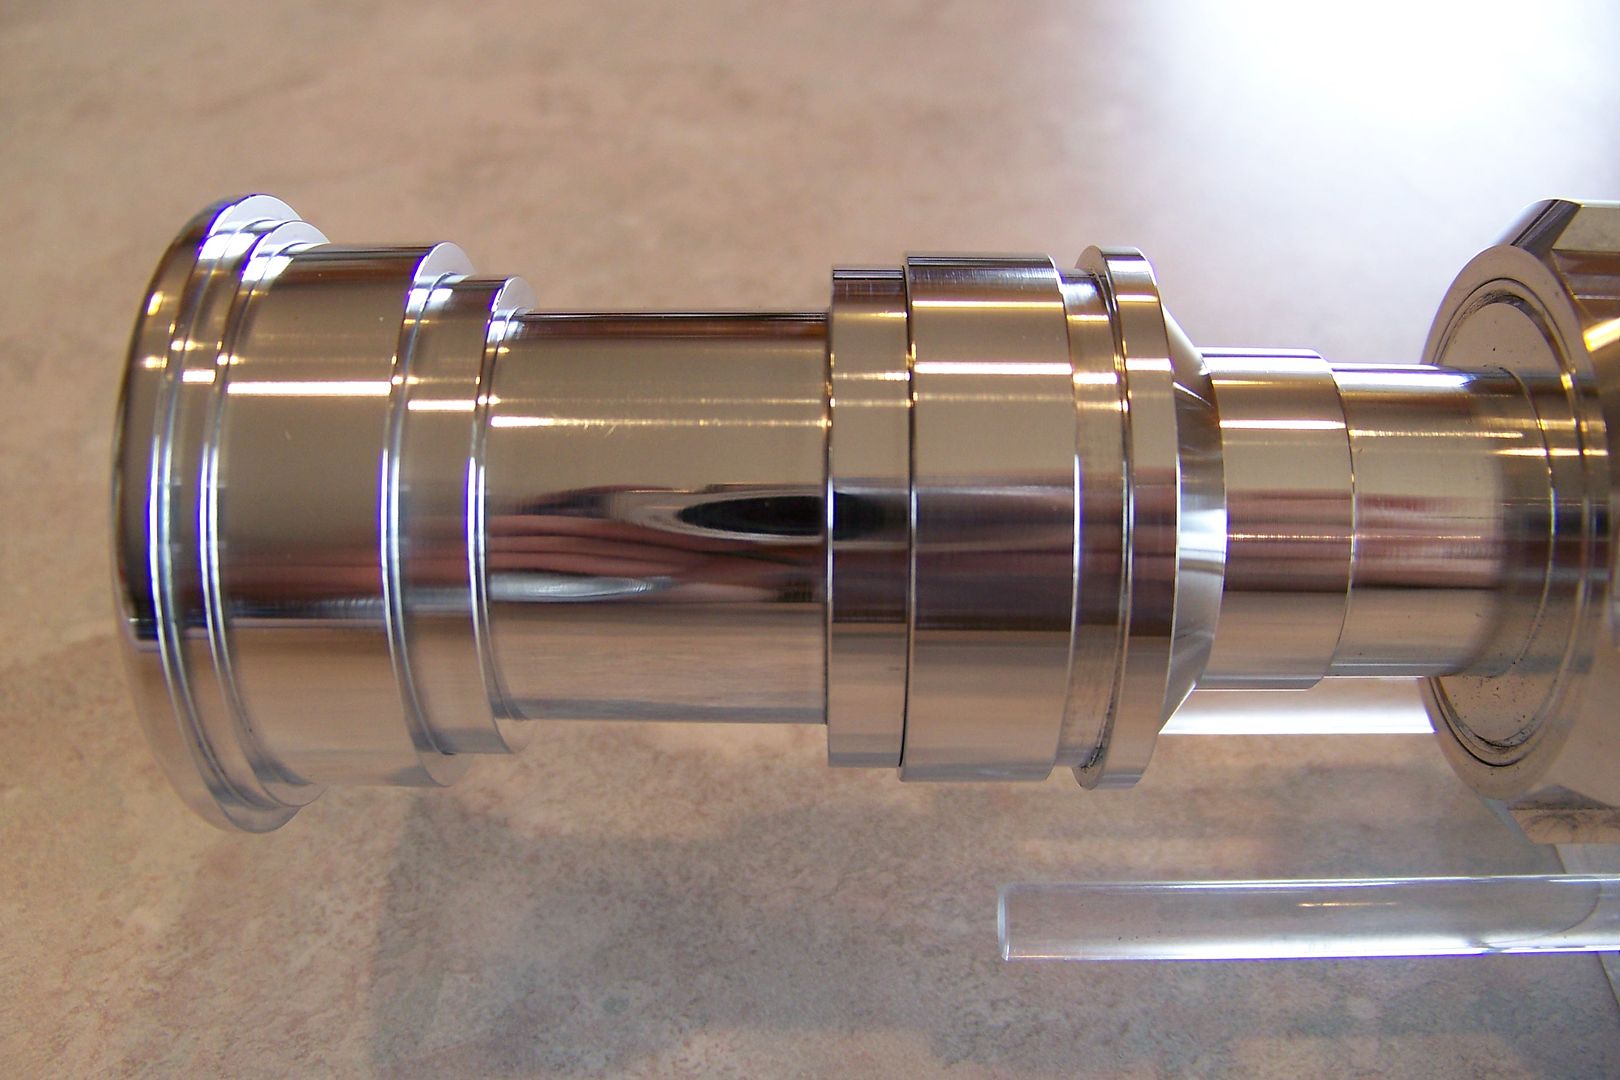
I did a quick mock-up of the parts:
The rear grips will go here:
The parts then got put into a box and set aside while I worked on another saber for another Rebel Legion member from Belgium, and then again while i moved my shop and did some work in my basement:
this is where the bench used to be...in the middle of the large room in the basement, and it took up too much space and made too much of a mess on the floor to leave it there anymore. My daughter is also graduating this year, and I wanted the basement to be a bit more presentable for the open house.
This of course took a bit longer than I had intended since I changed my plan while I was working on it....but suffice it to say, the bench has been moved into the new workshop/storage room:
I now have storage cabinets above the bench, and another set of cabinets for the drill press and compound miter saw:
This will make things much easier and faster with my tools being better organized...I can keep the work area cleaner too, without having tools on the bench top.
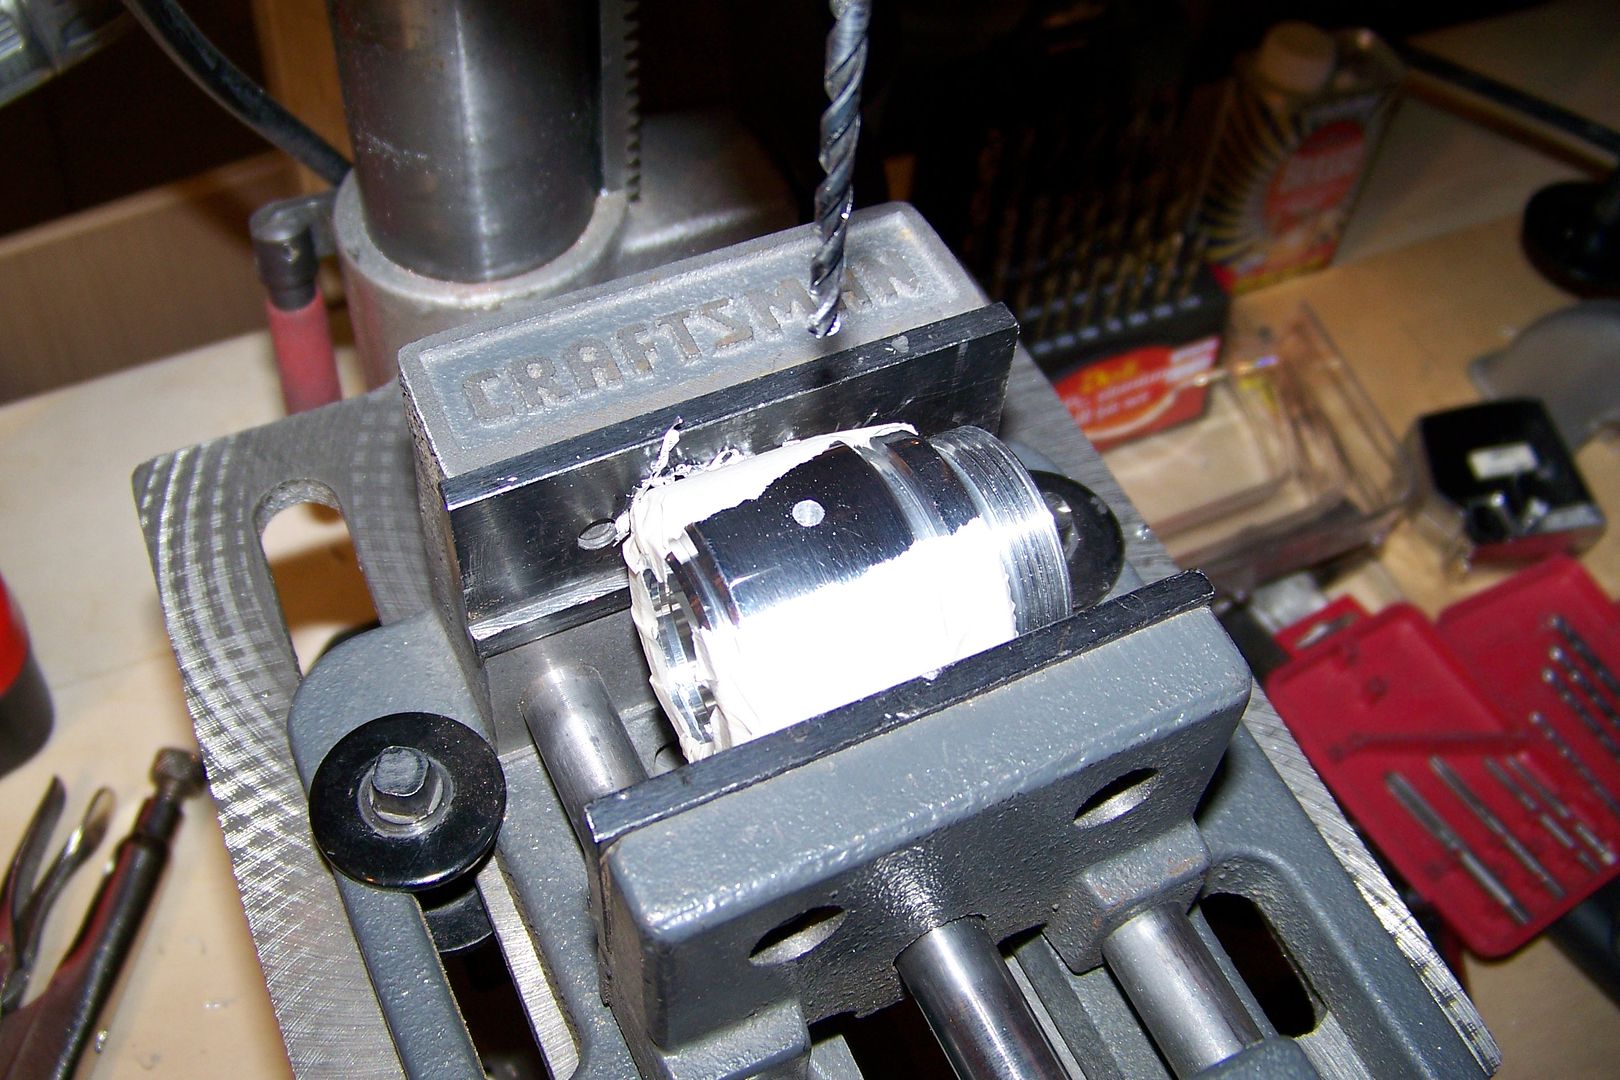
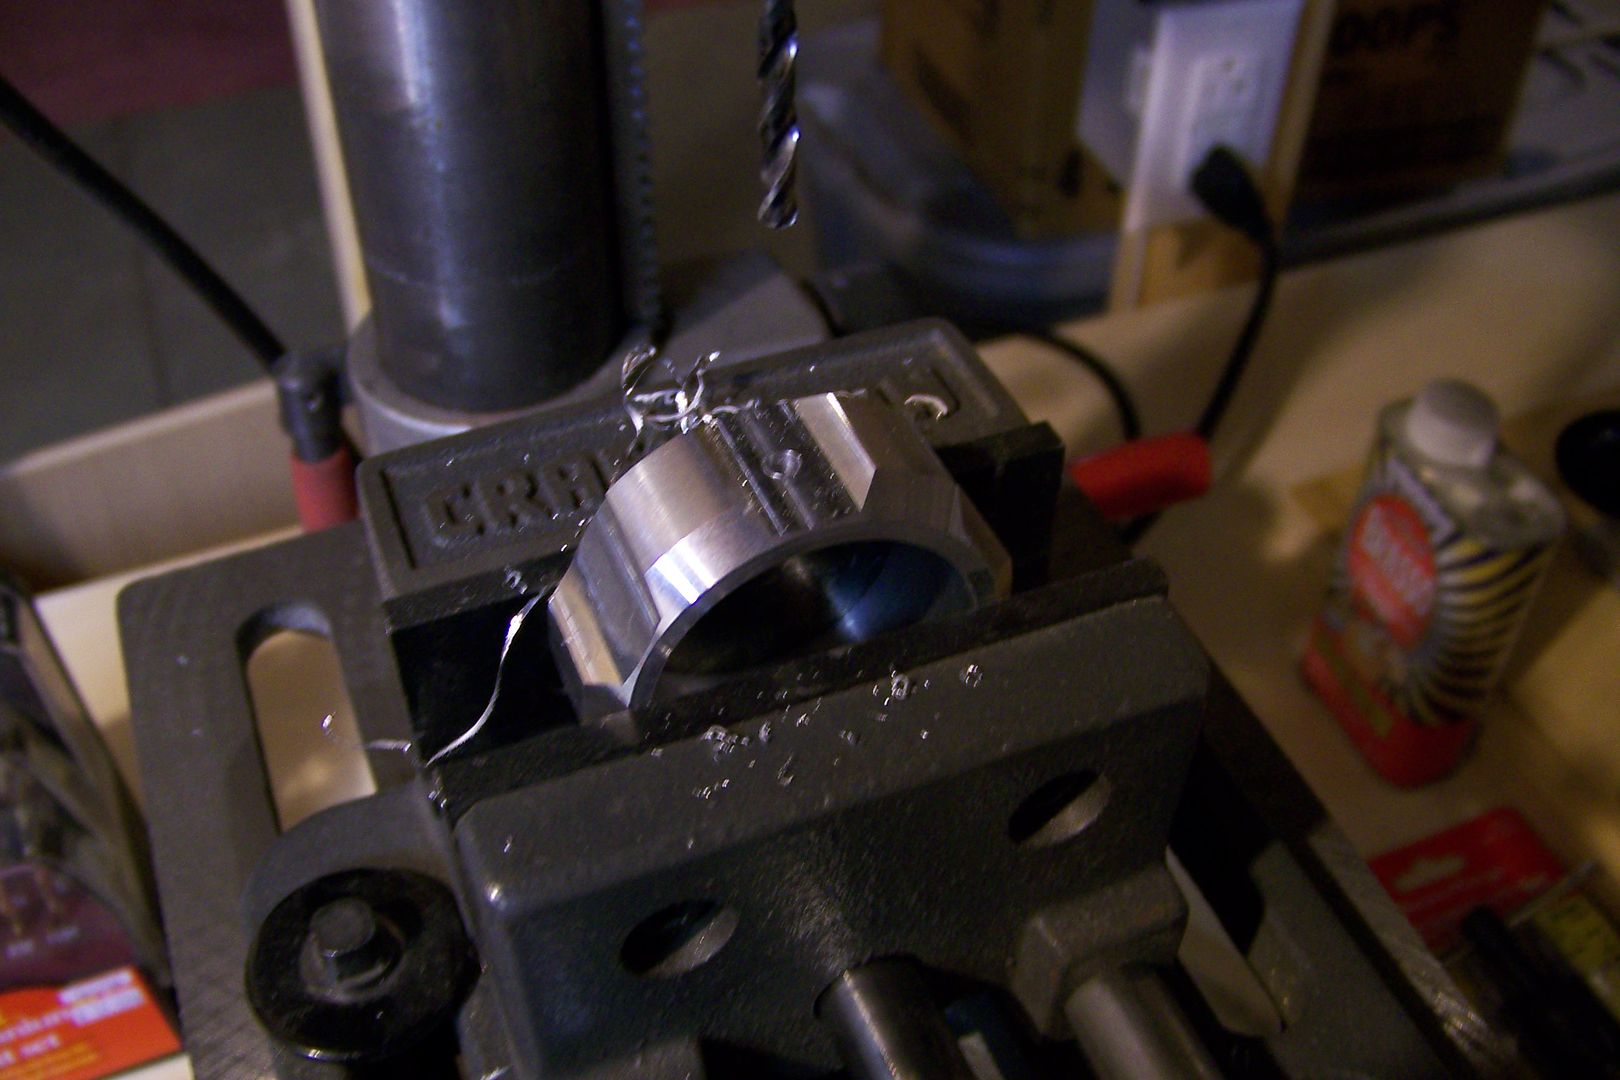
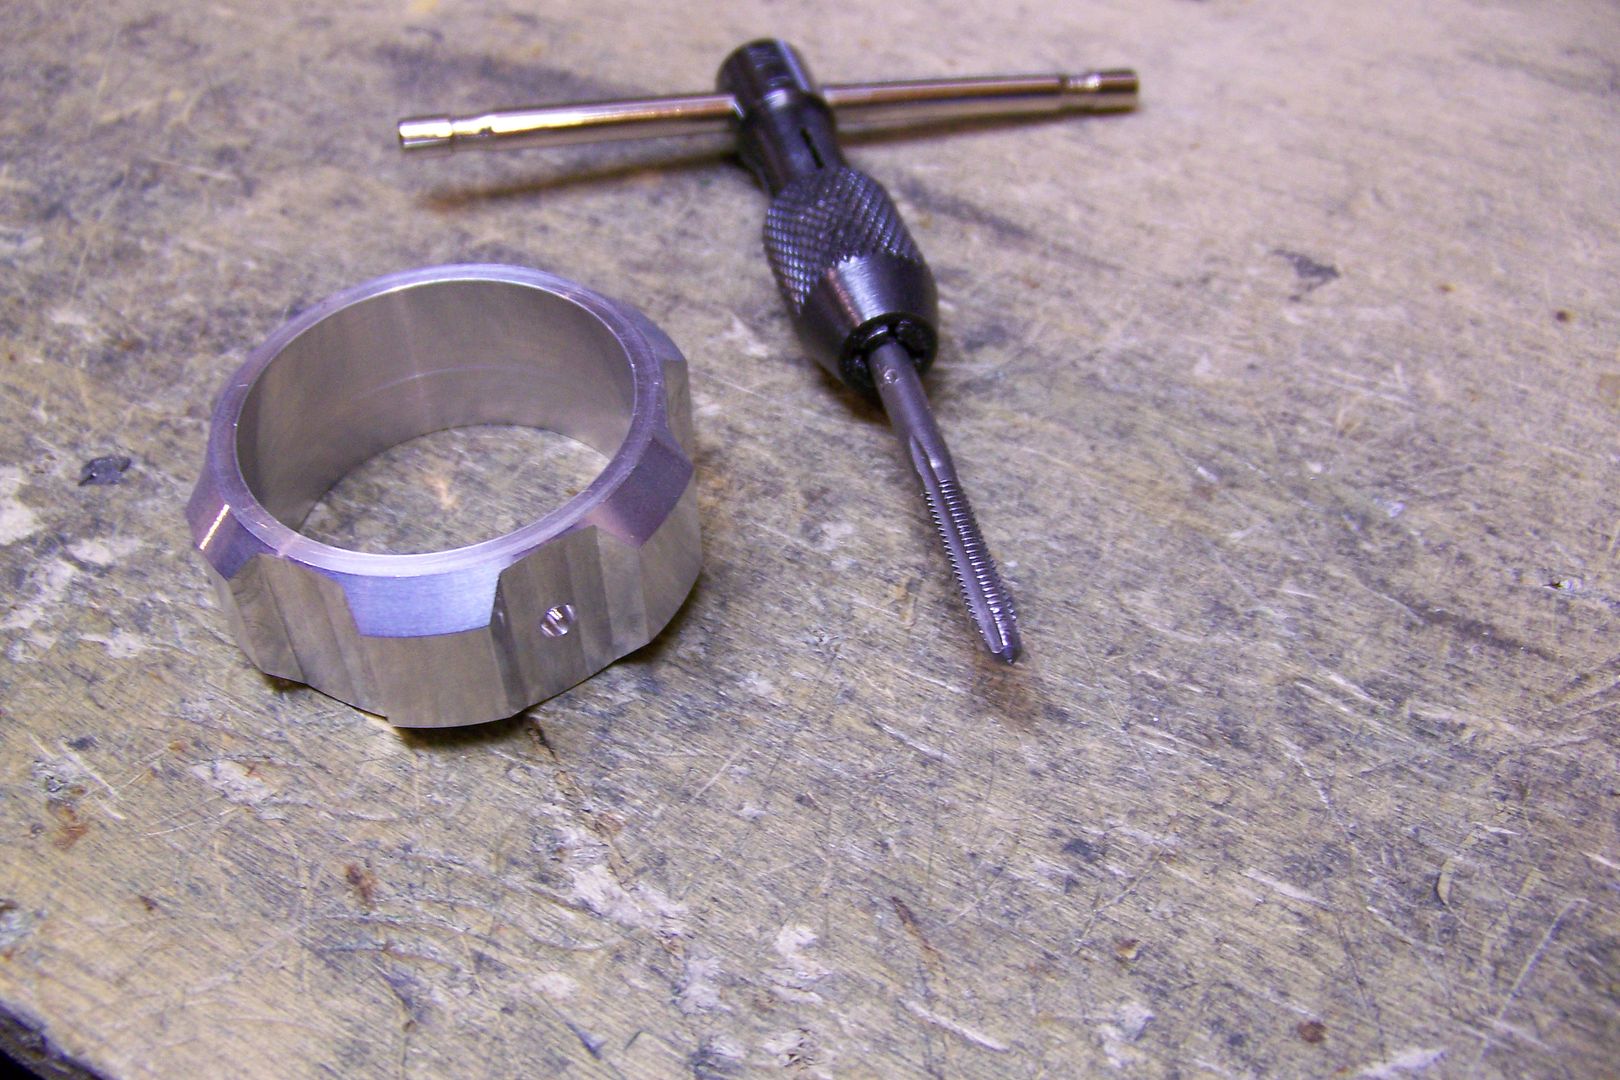
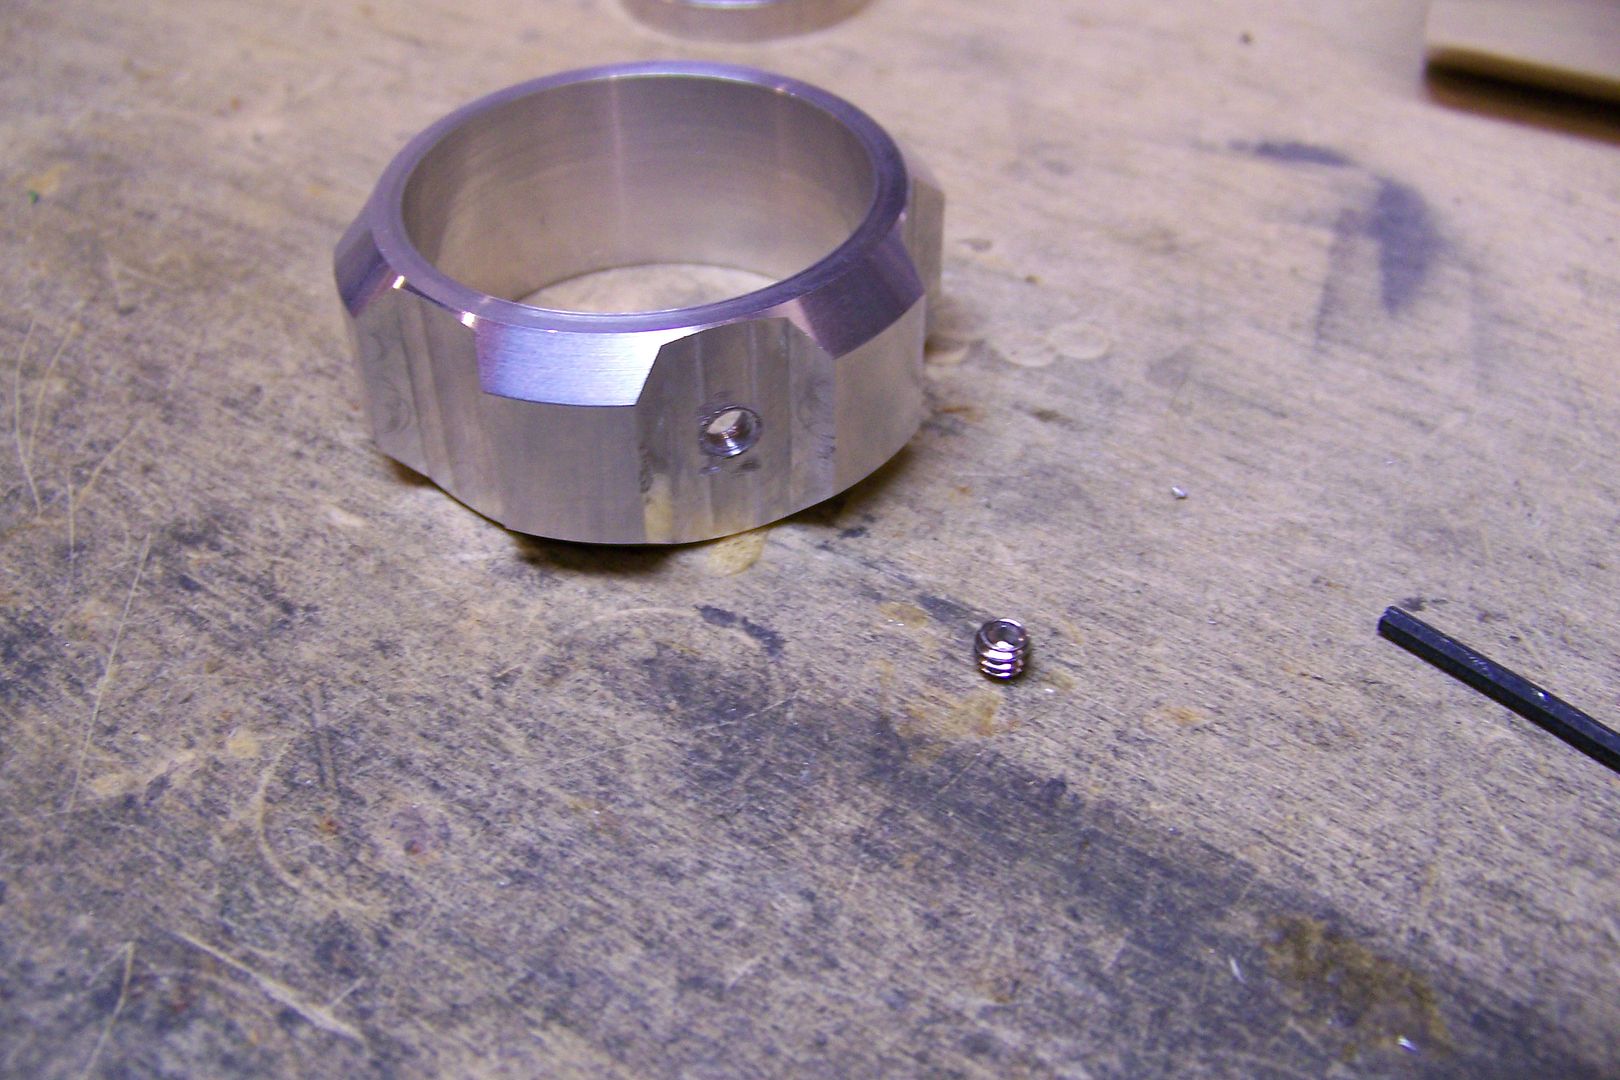
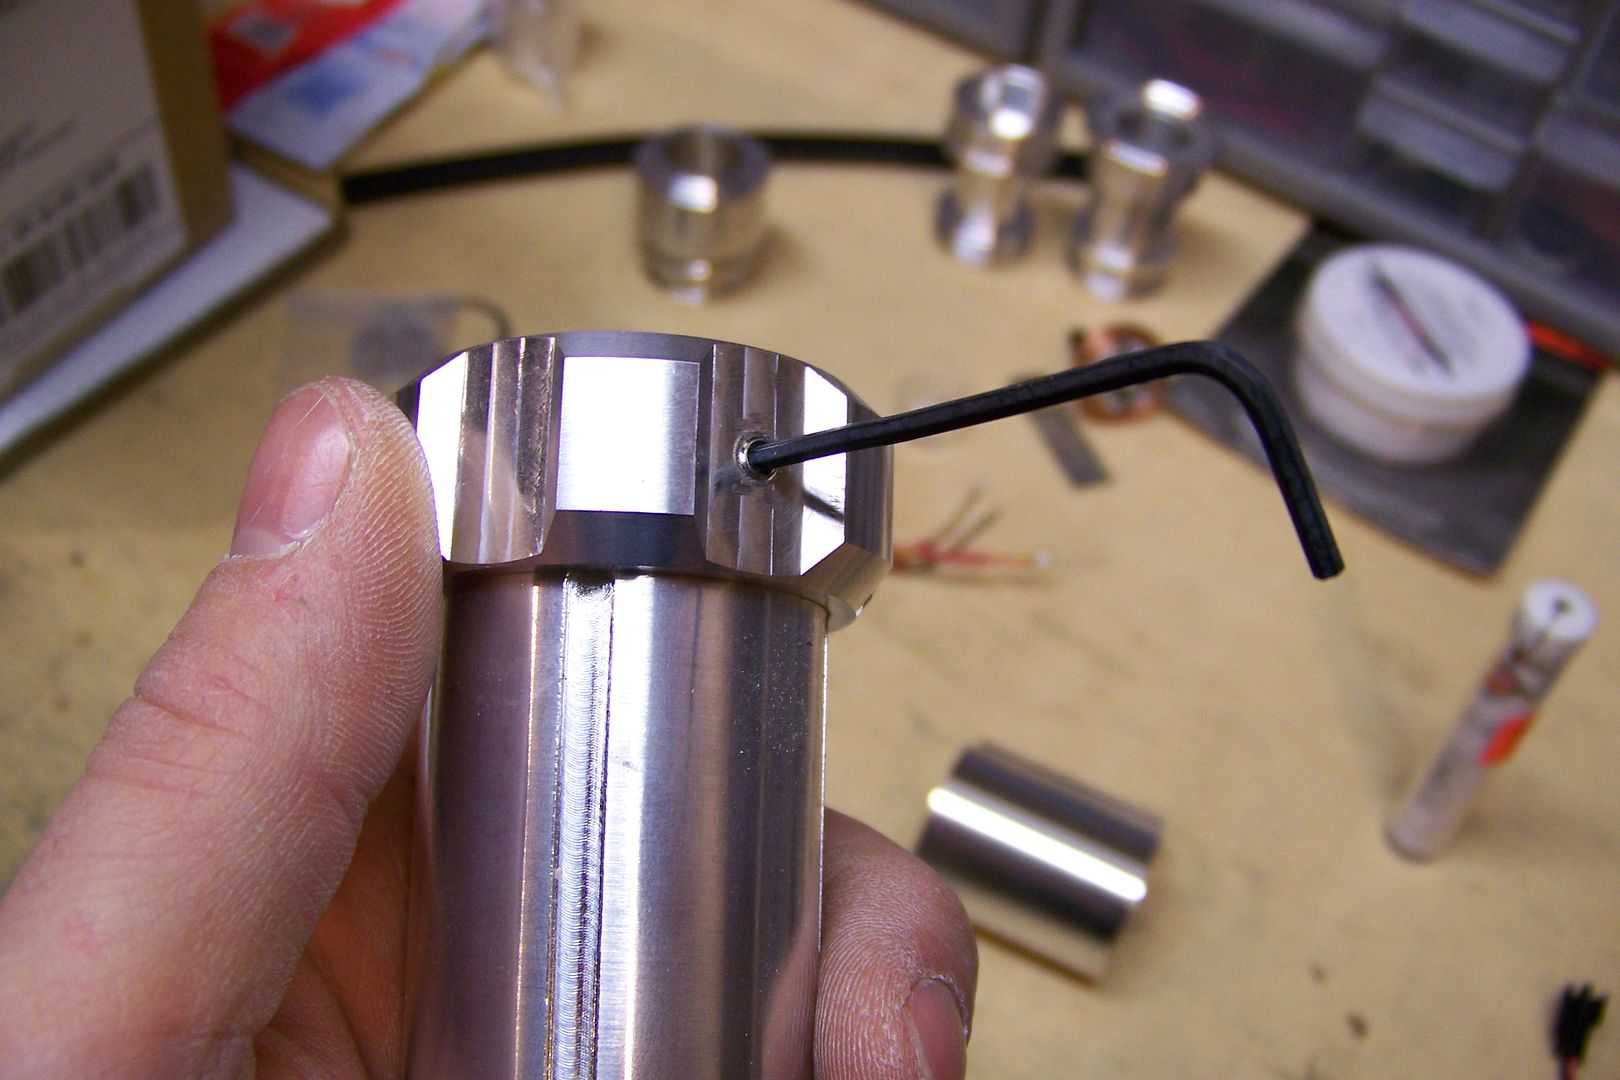
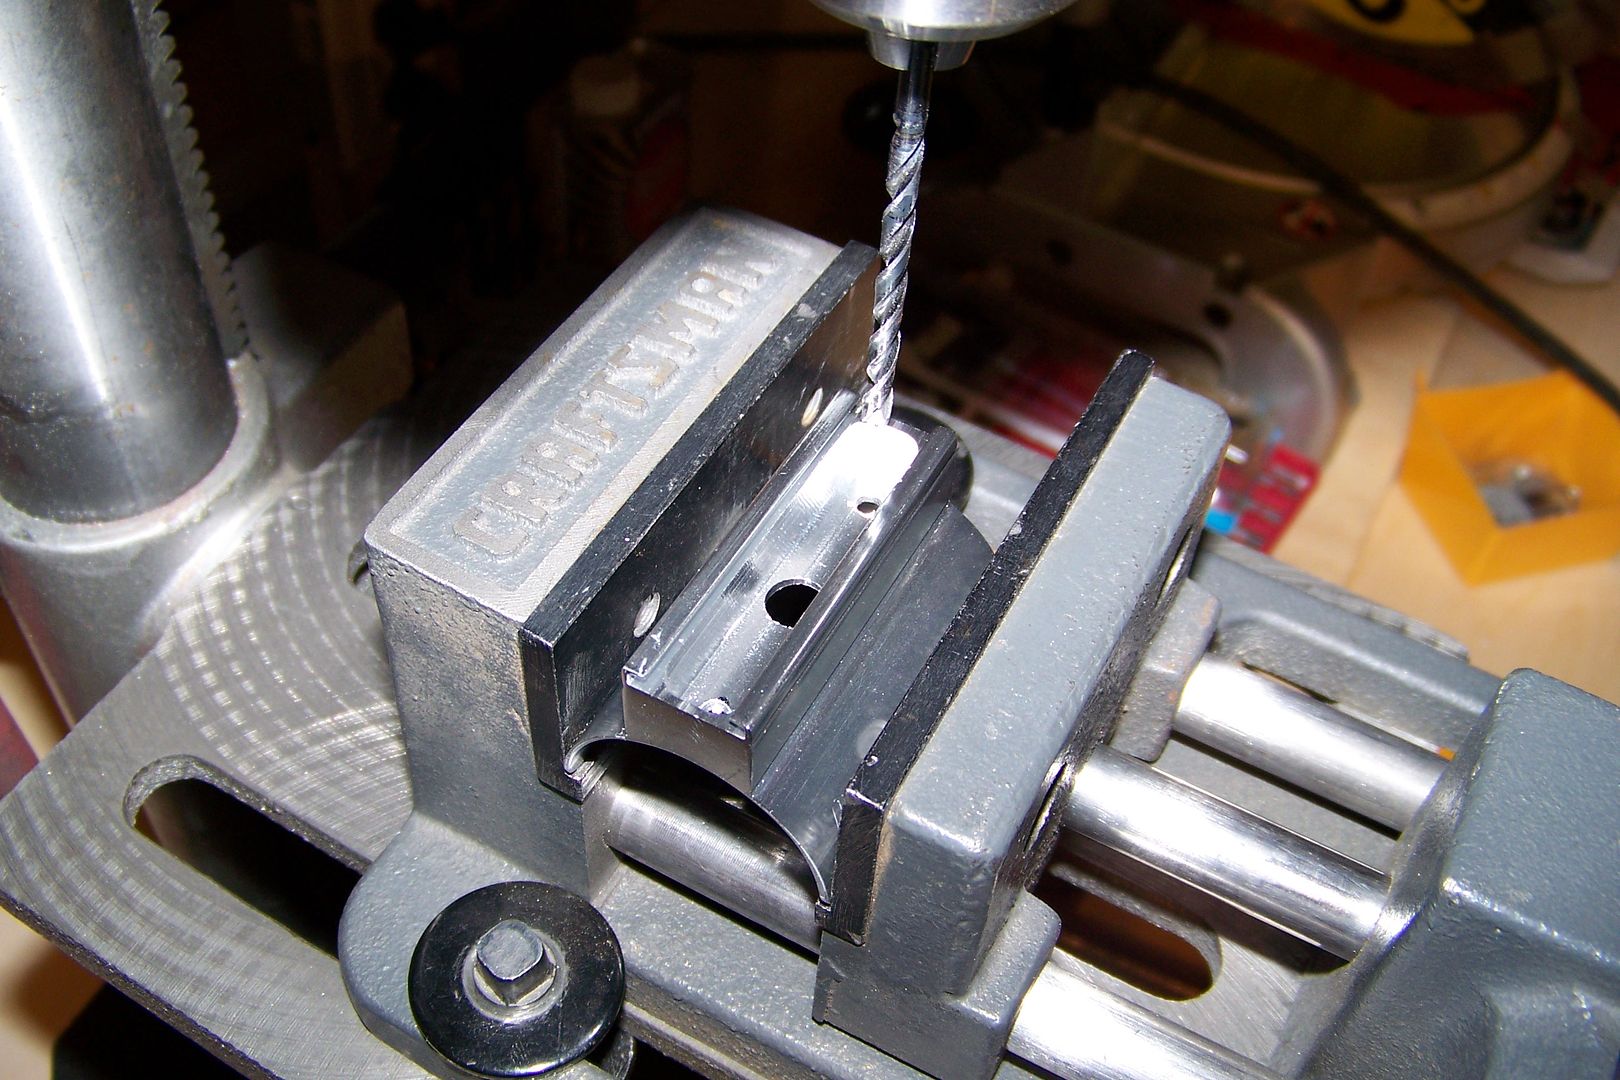
So after getting everything pretty much figured out where it was going to go, I started on the saber today by drilling and tapping the gear piece for an 8-32 set screw that will hold it secure on the hilt:
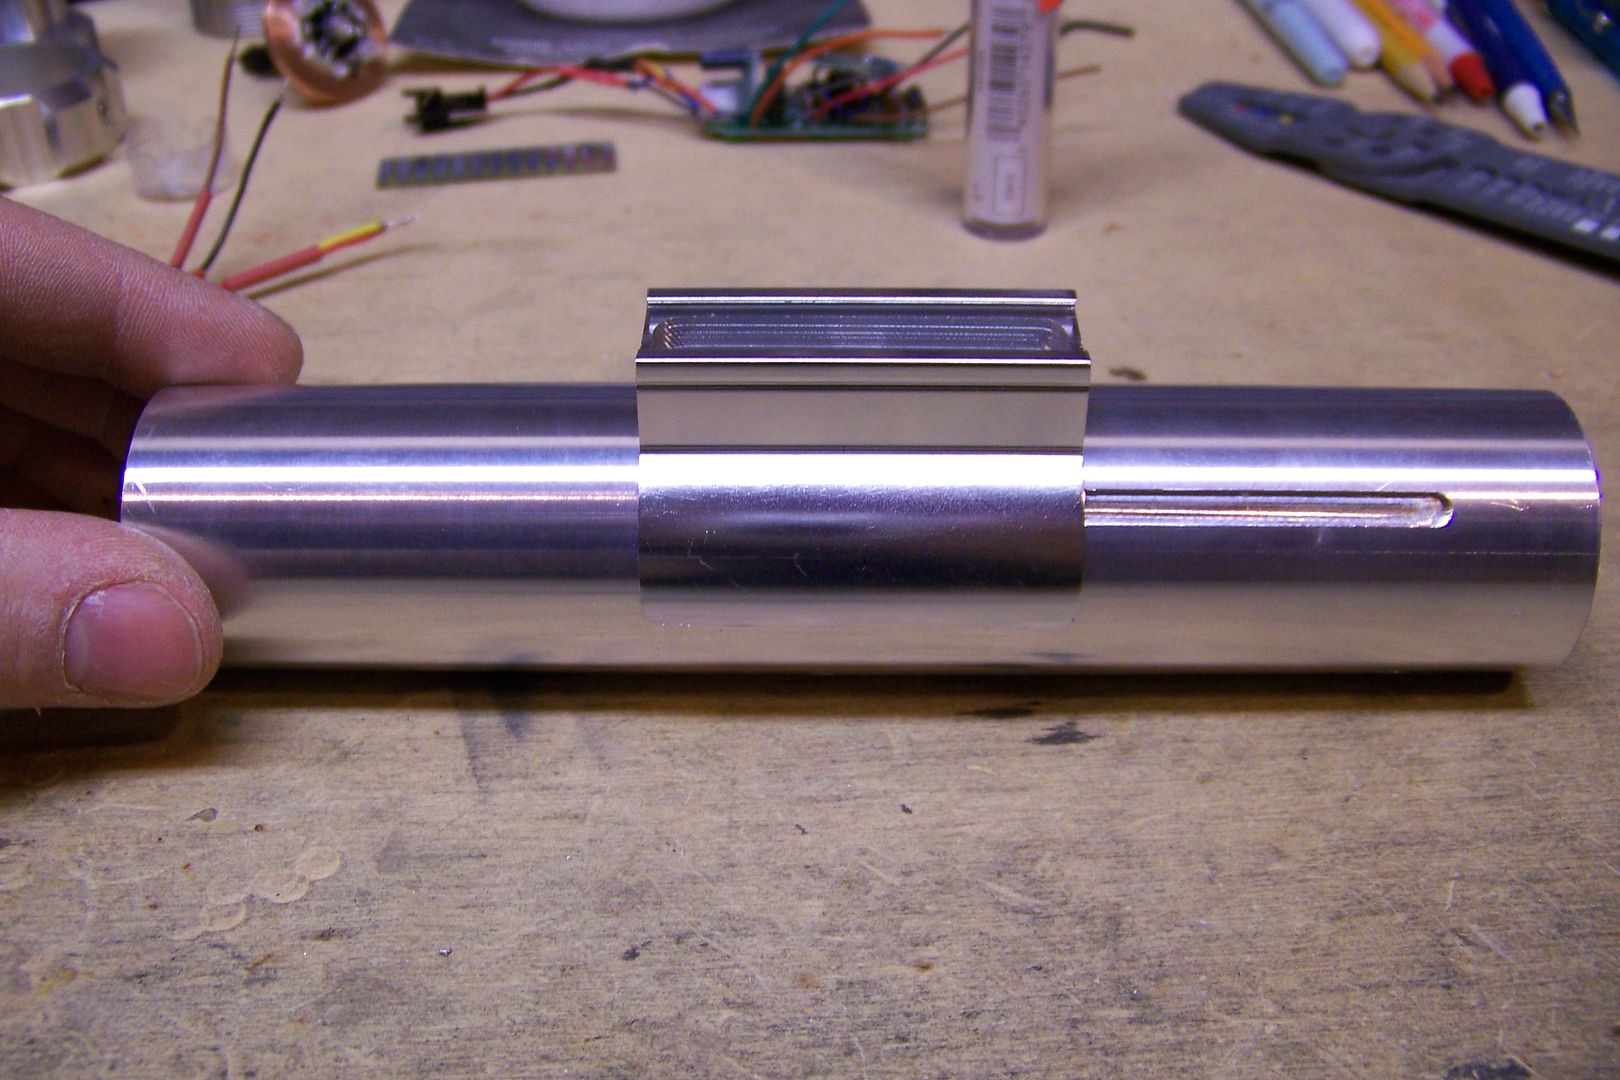
After tapping the threads in the part, i installed it on the hilt to make sure it fit properly:
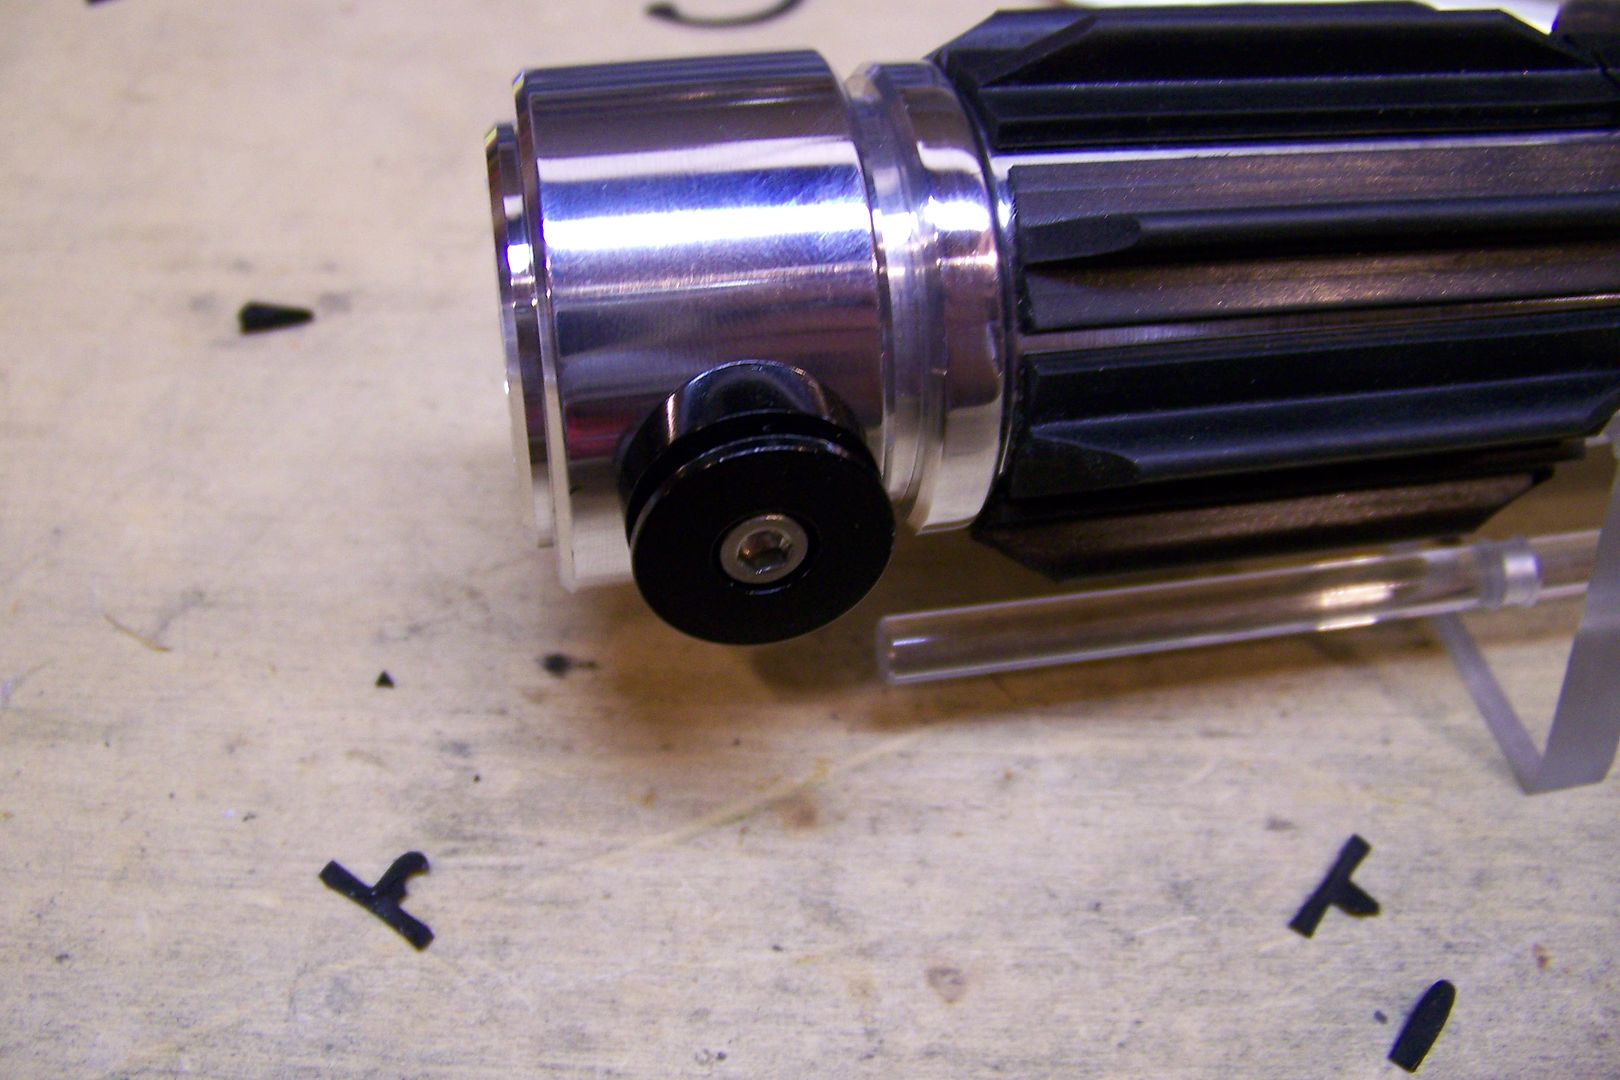
I added the choke piece:
I think that'll work out just fine!
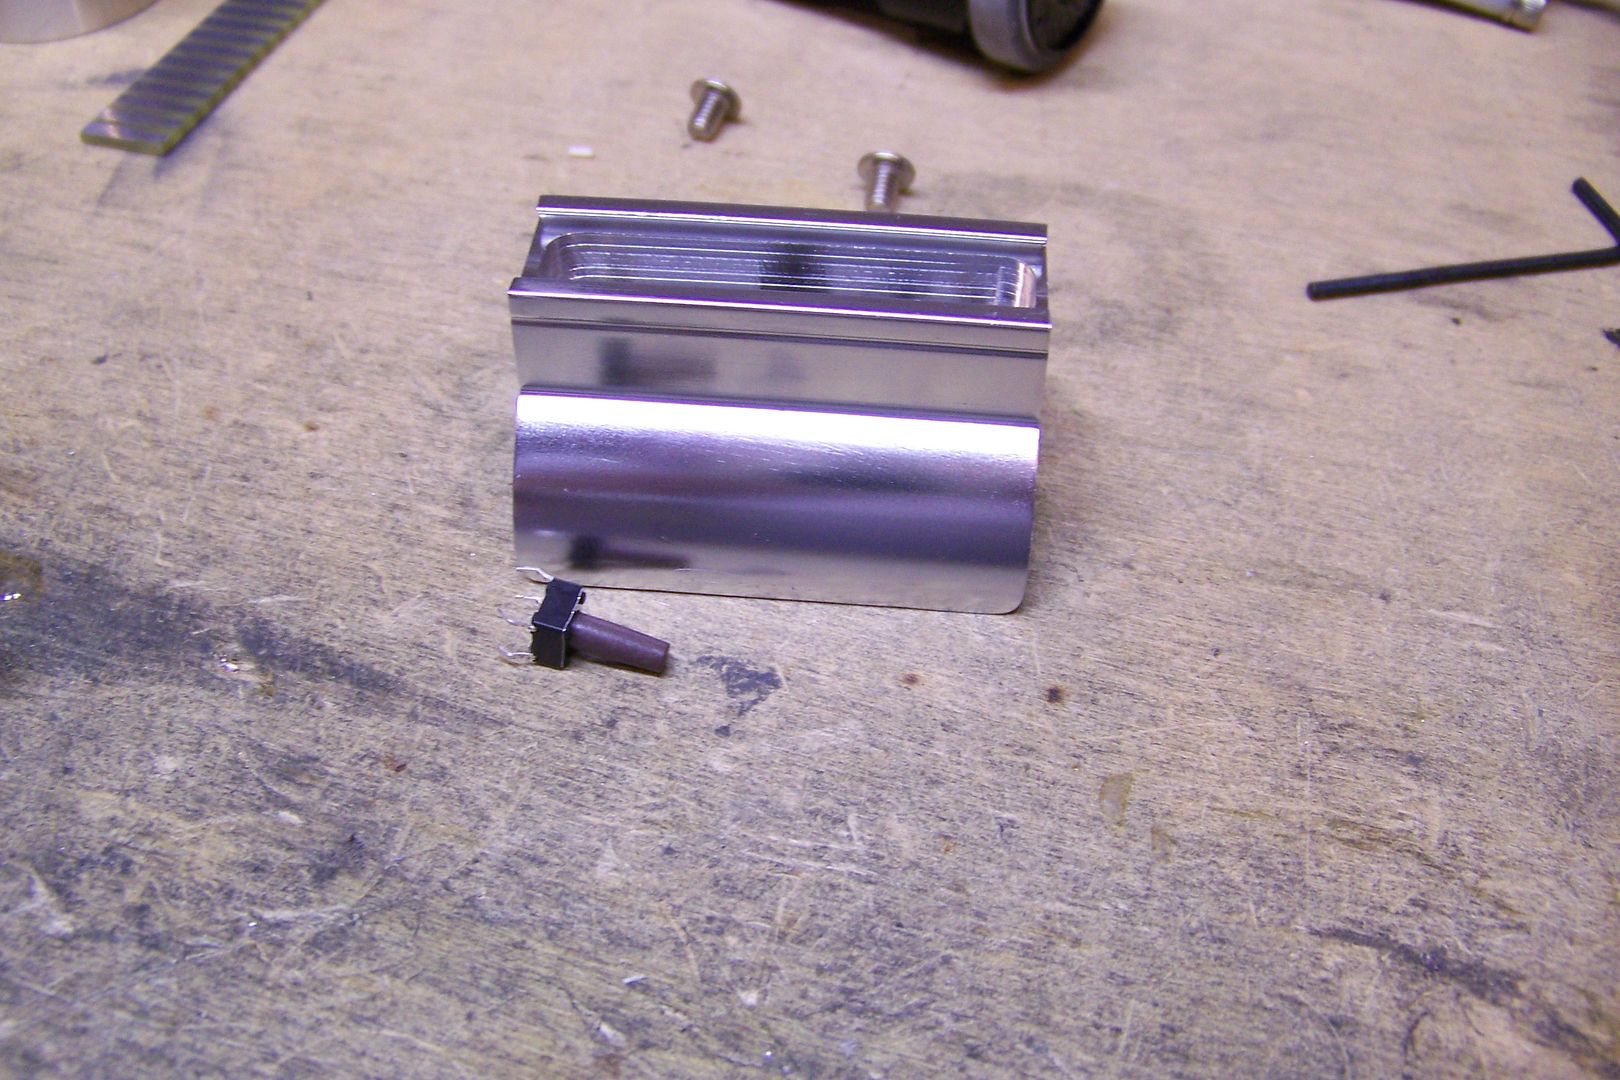
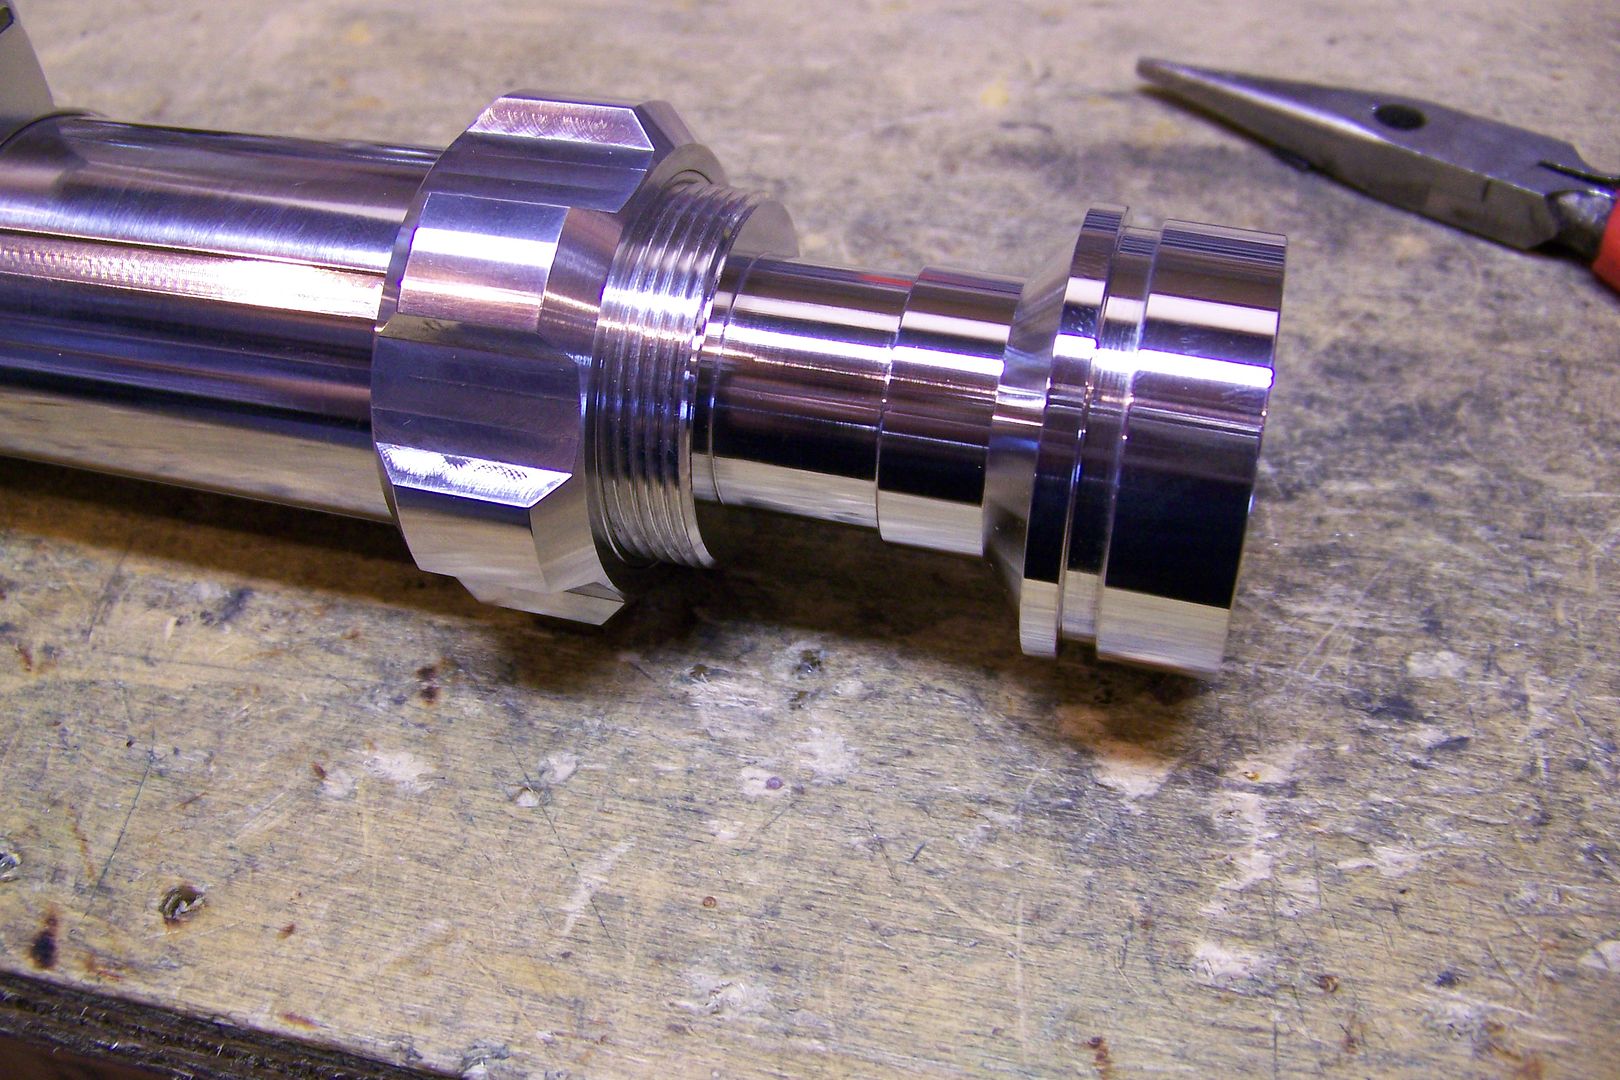
Now to move on to the switch box/clamp:
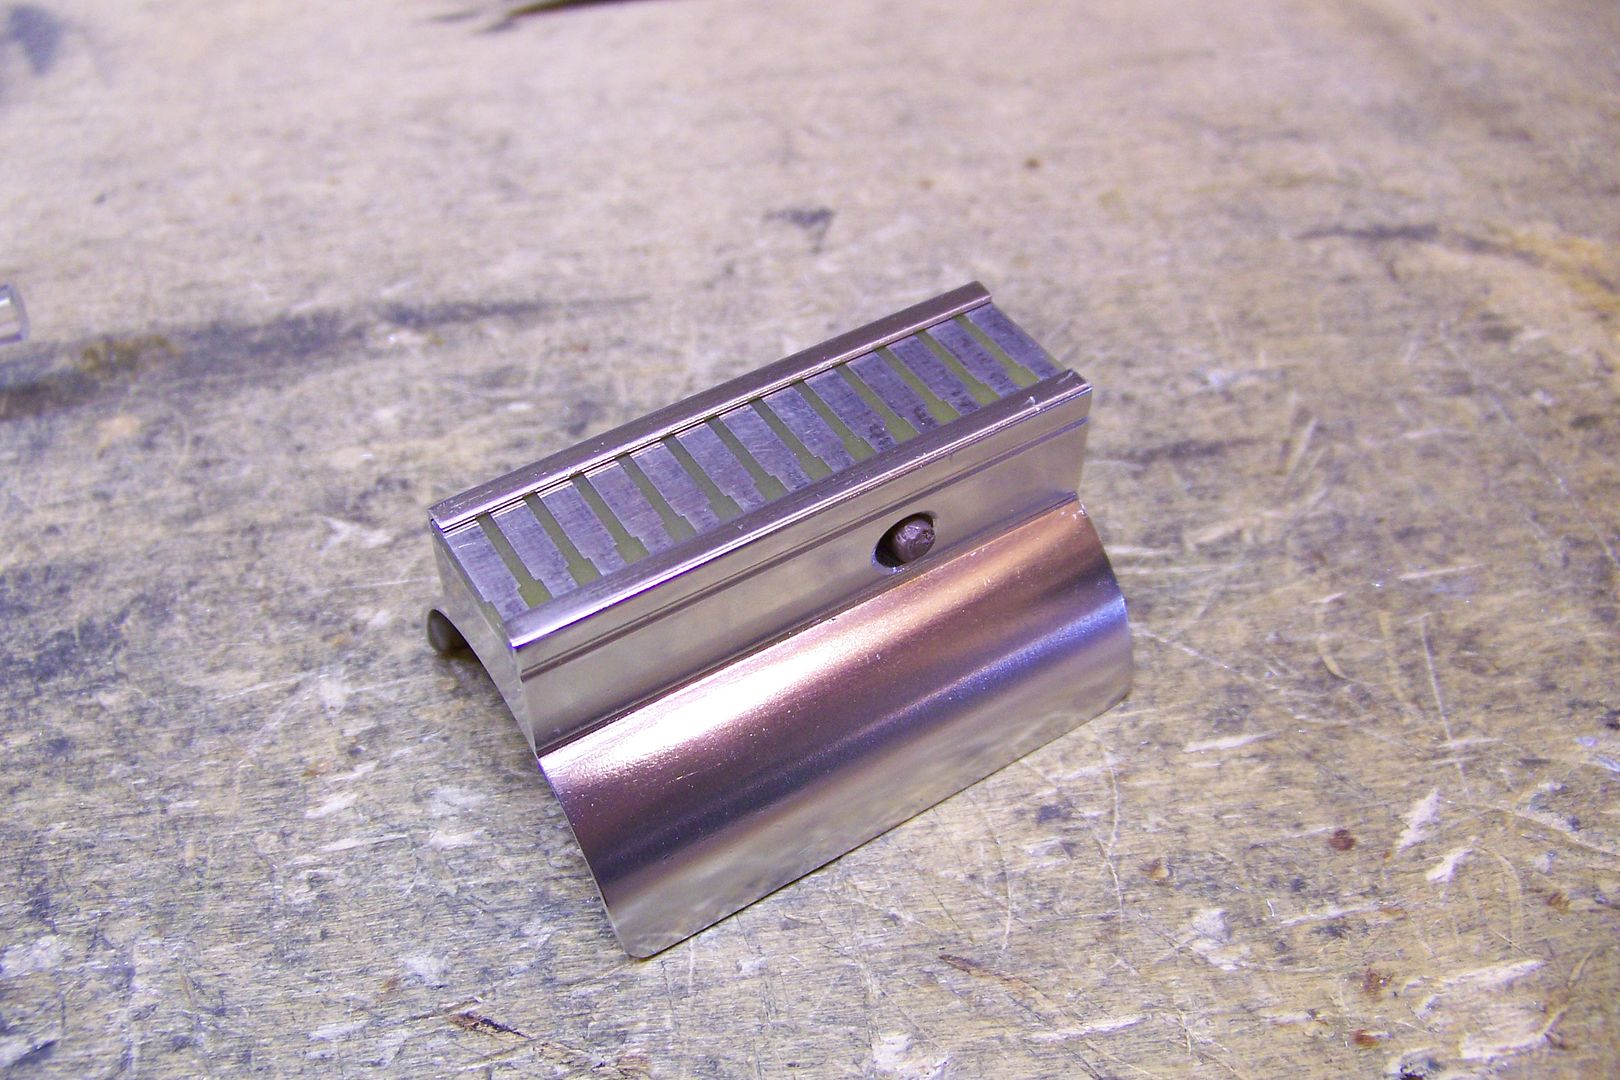
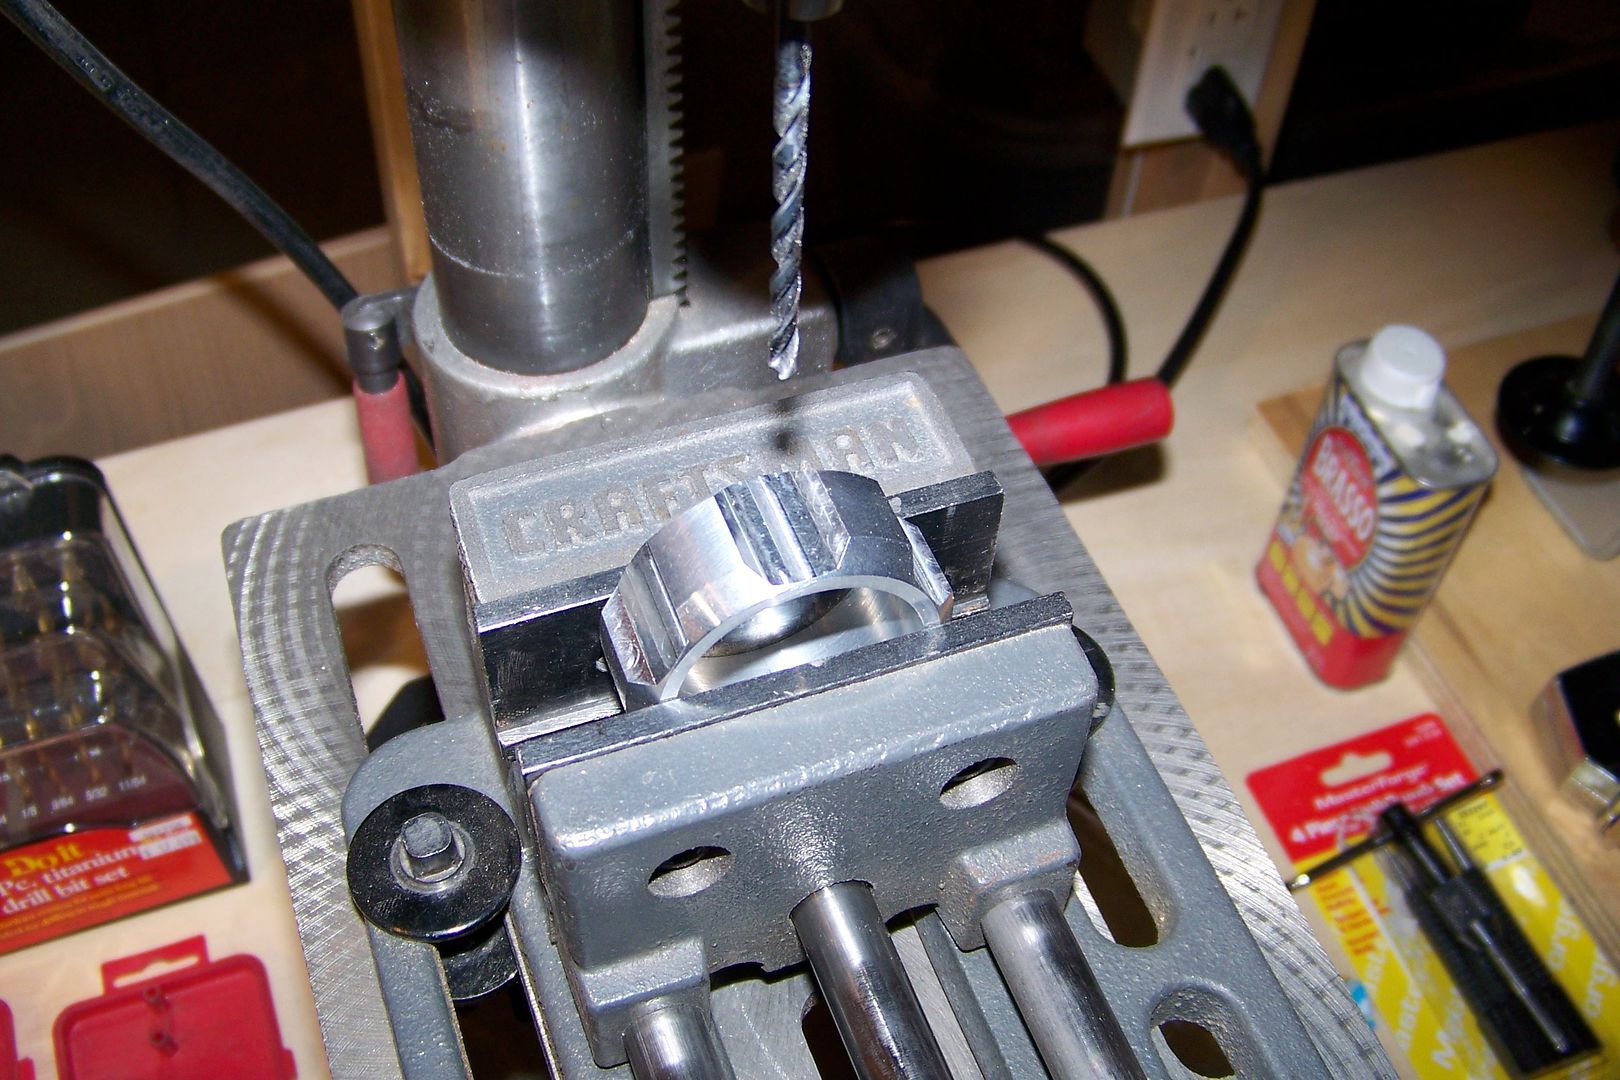
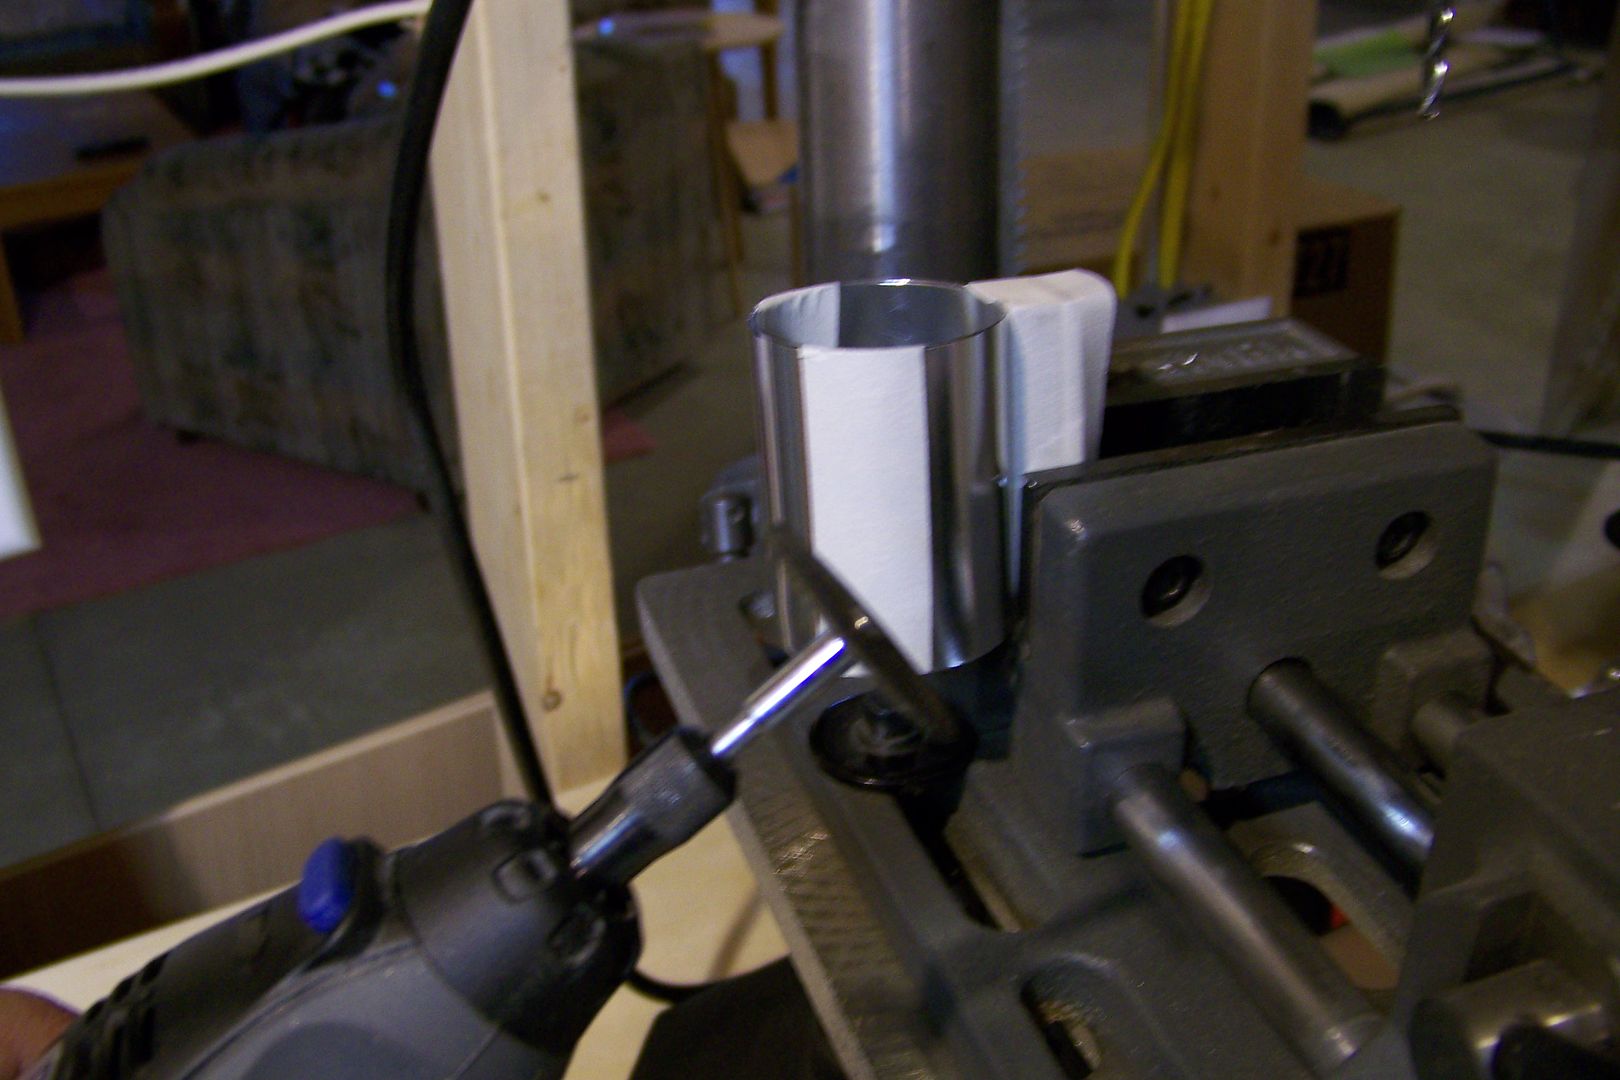
In most of the pictures of the saber Rome posted, it looked to me like the "clamp" didn't go all the way around the hilt, but looked more like a mounting plate, so I'll cut off half of the clamp. To do that, I need to tape it off so I'll have a line to follow with the cut-off wheel on my Dremel:
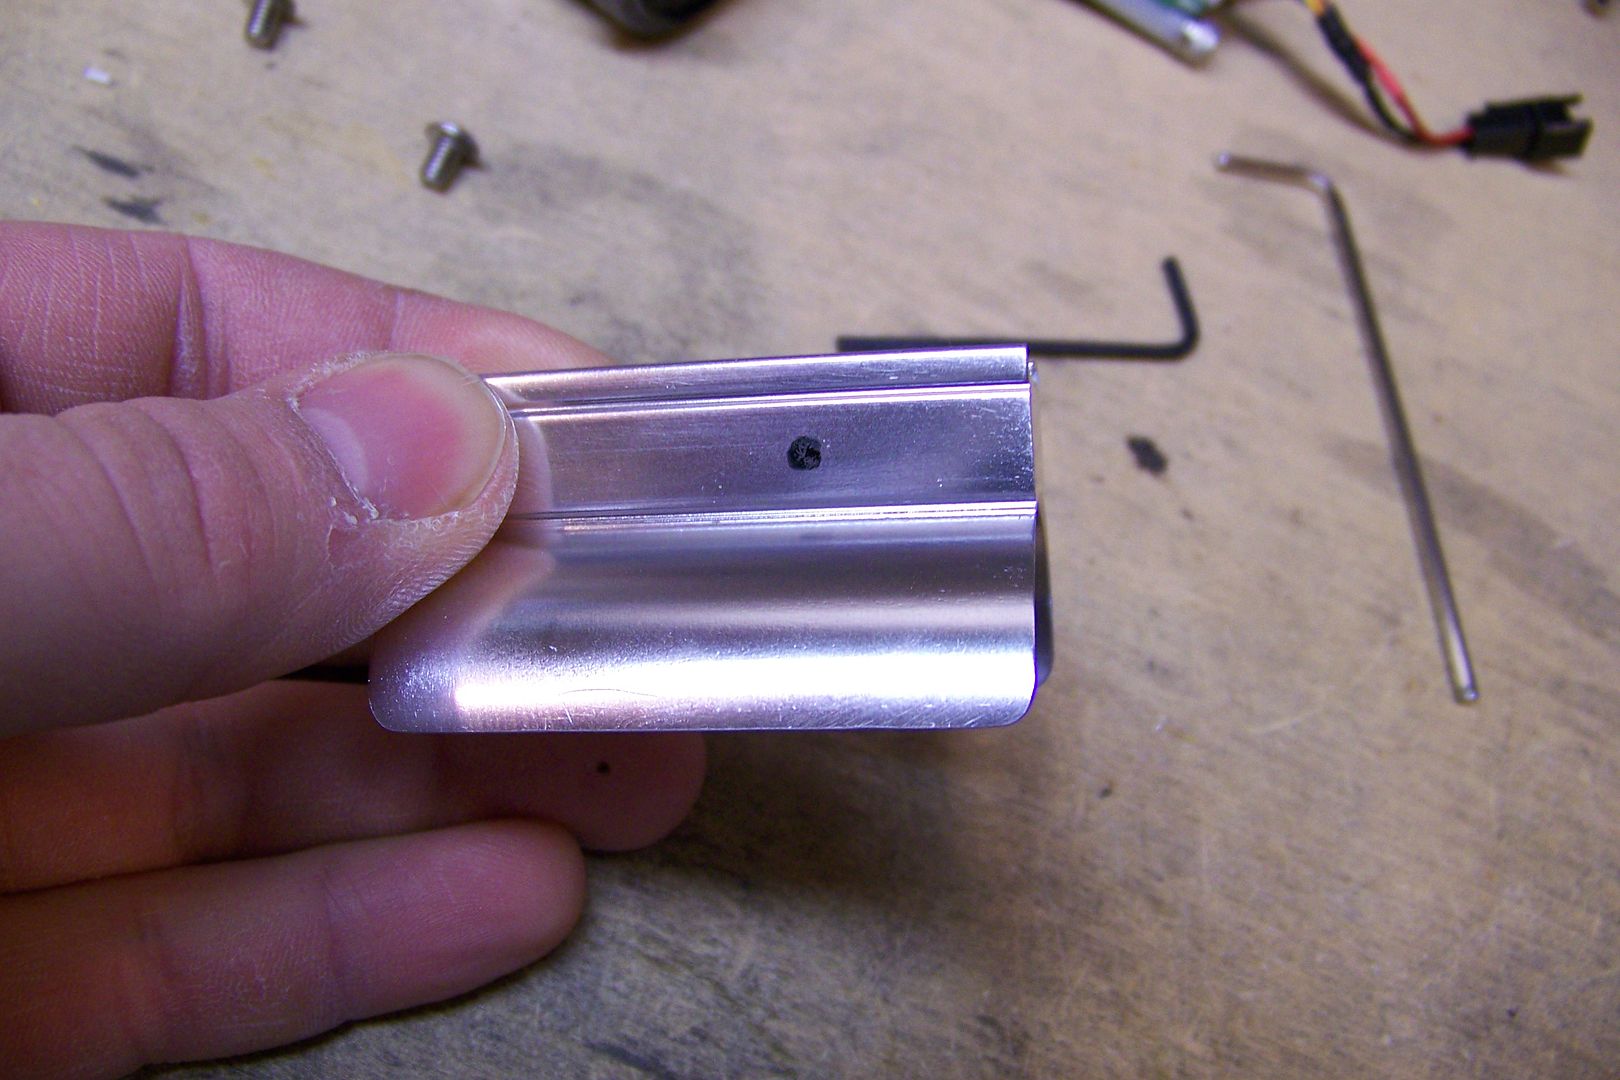
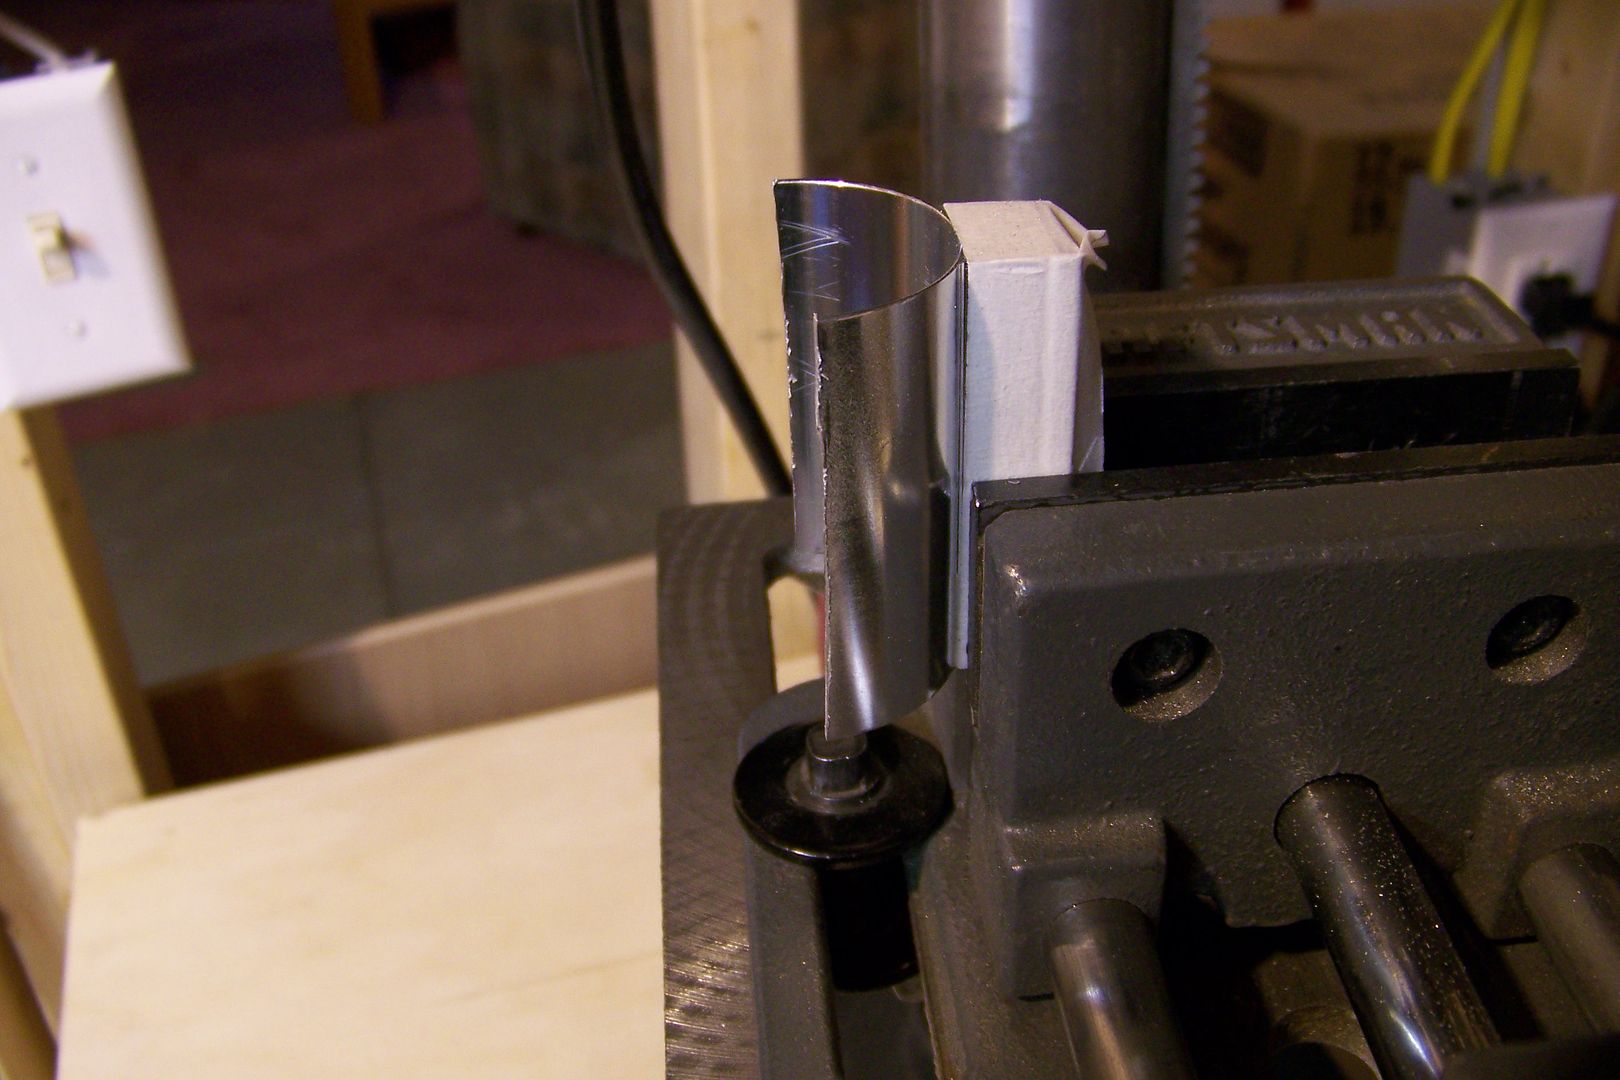
All done...well, almost...I need to round the corners off and sand/deburr the part then it'll be done.
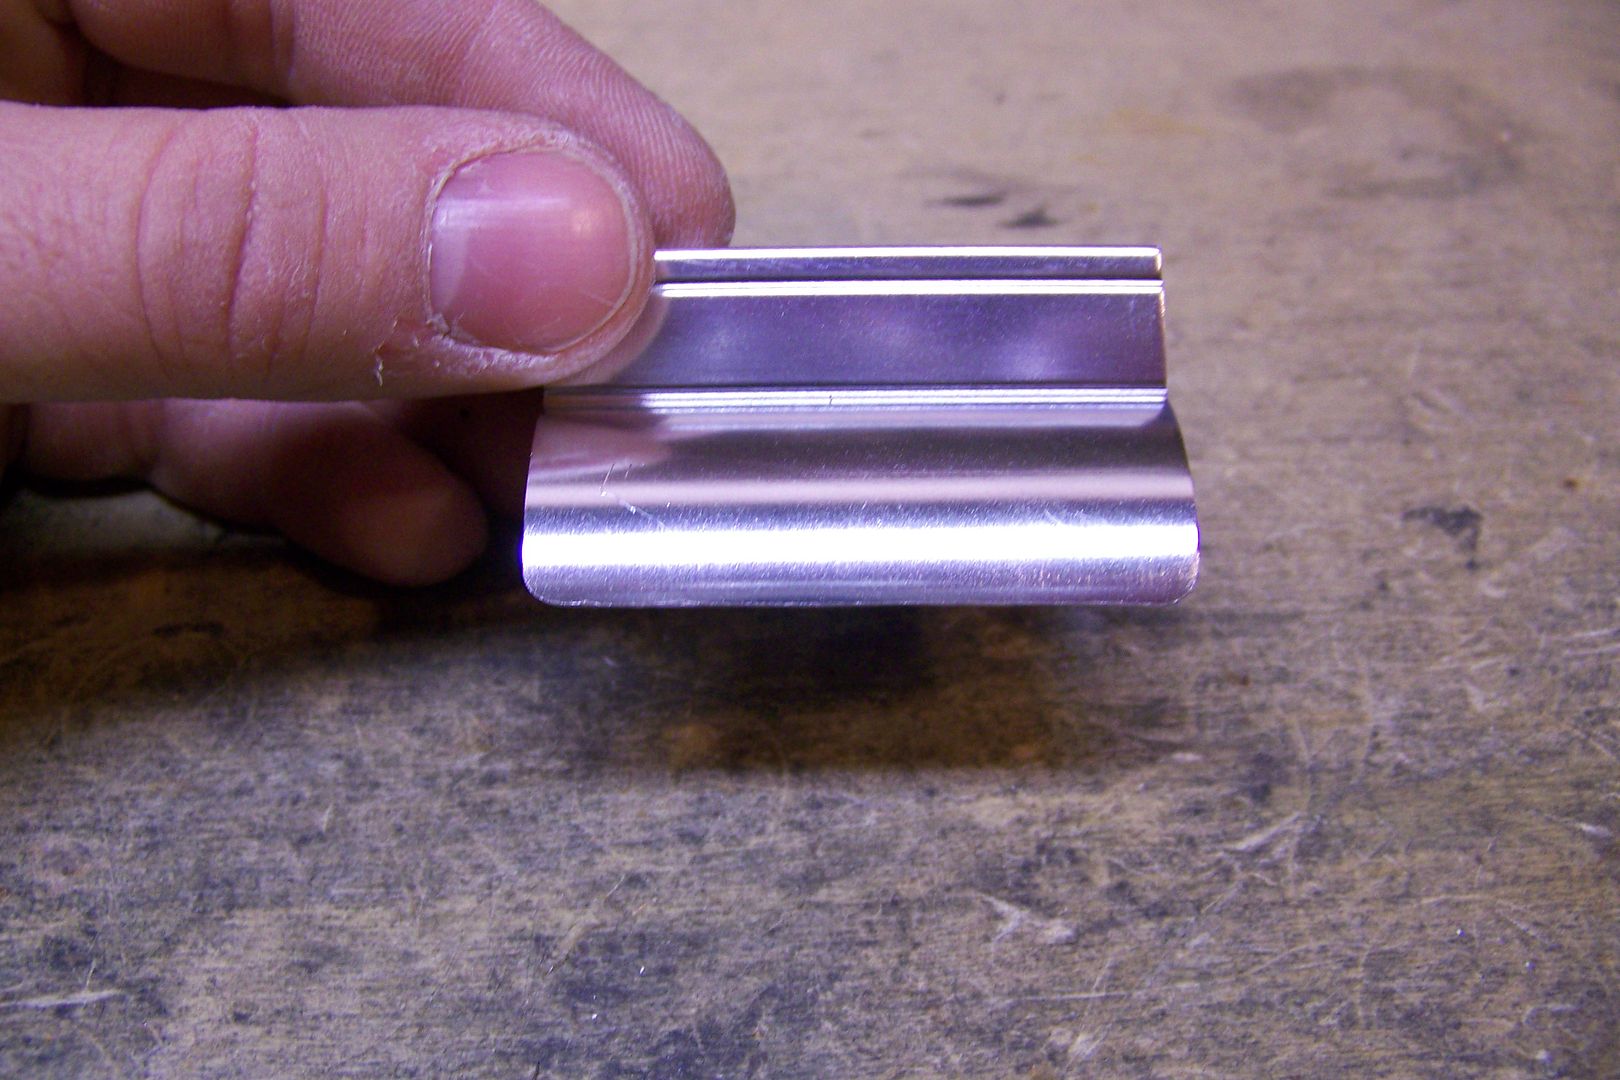
A few minutes later, it was done:
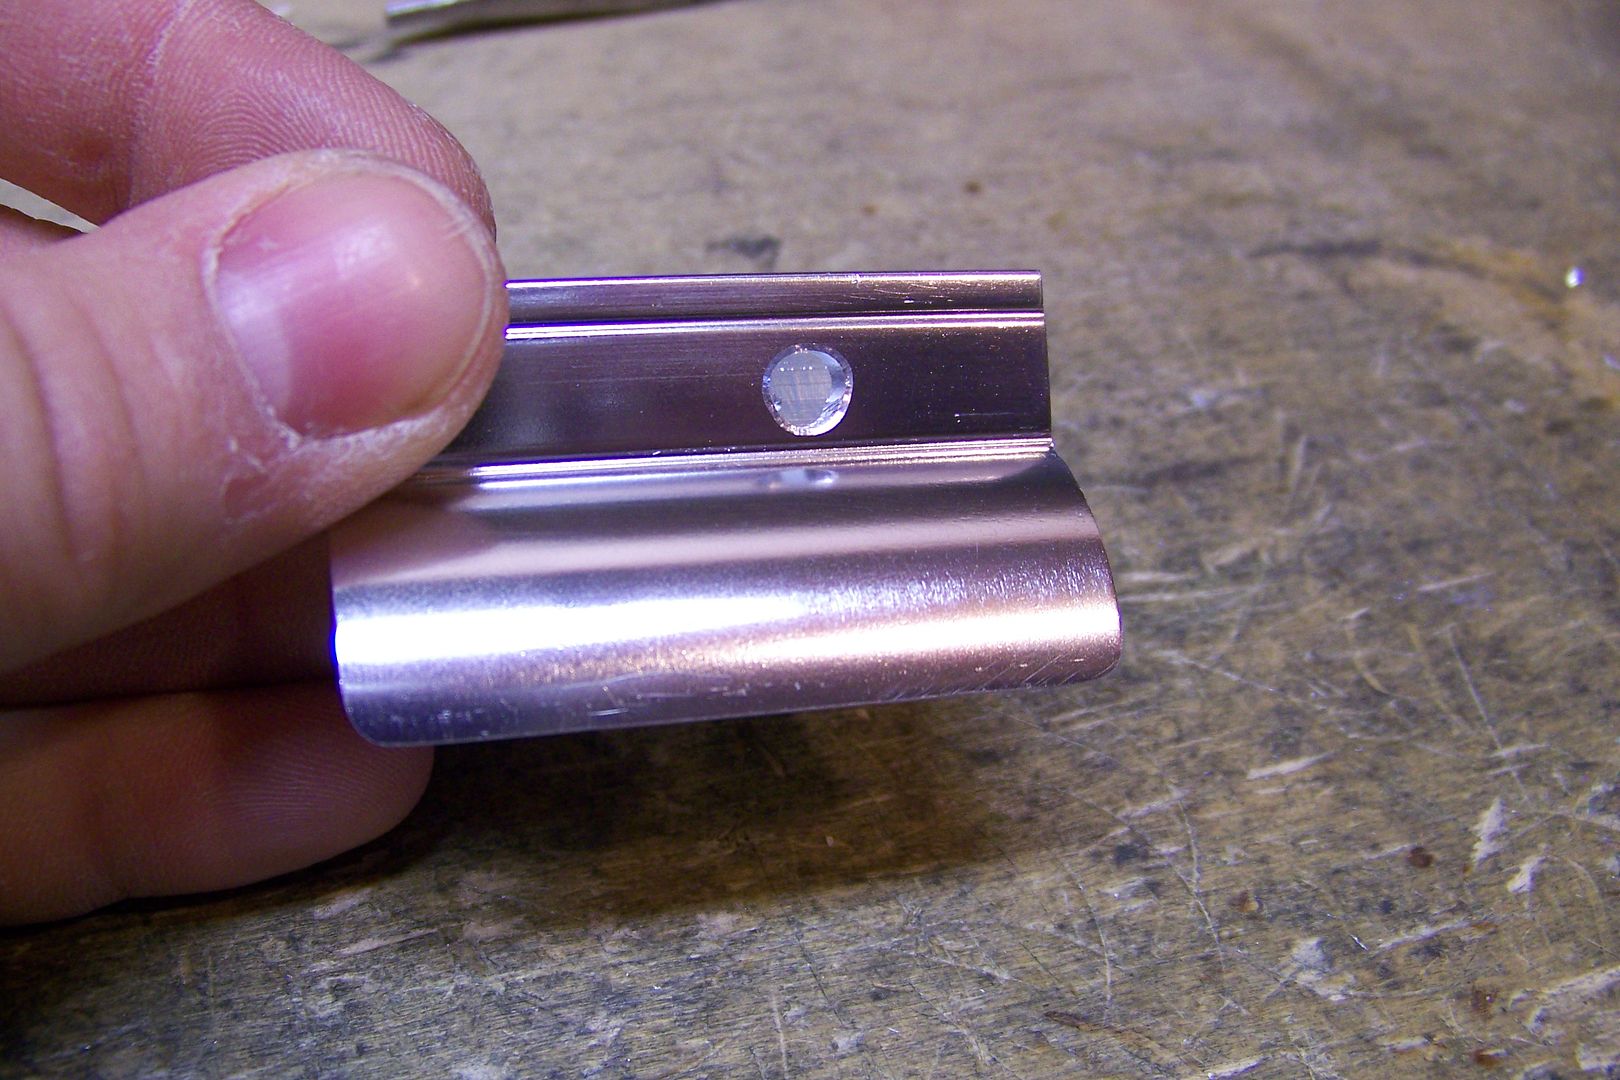
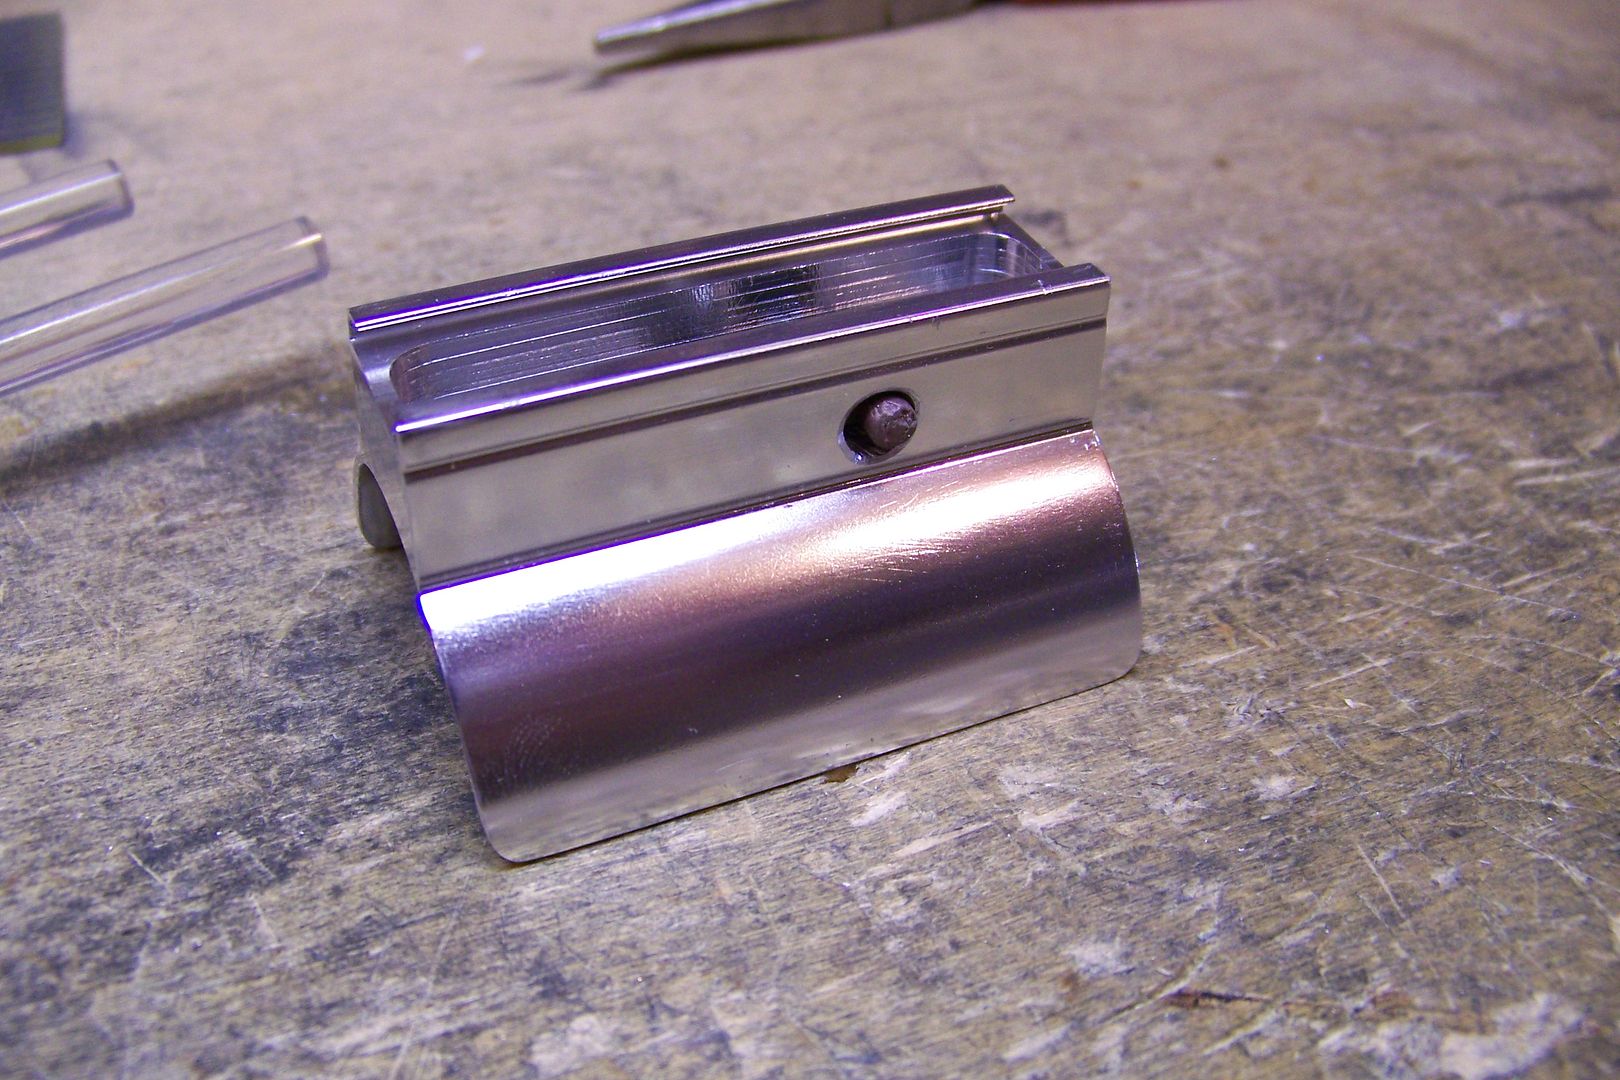
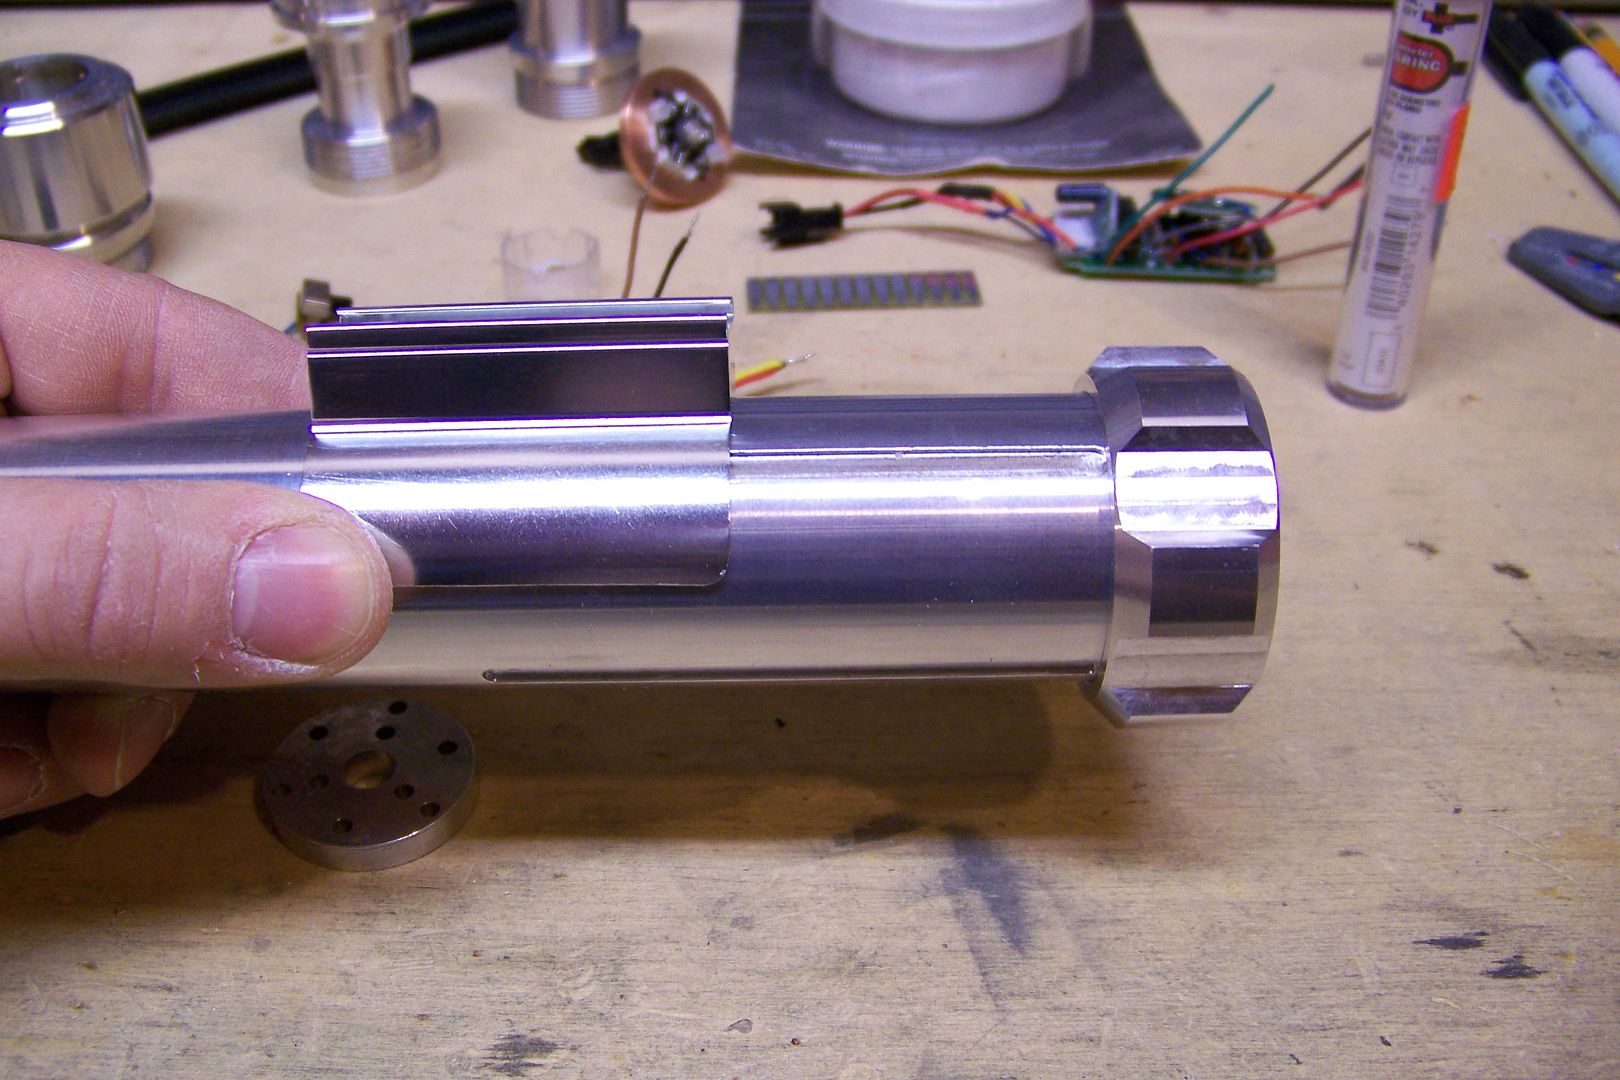
I test fit the part:
Here's a look at how it will look with the gear piece on the hilt:
Next thing I need to do is figure out how we're going to activate the saber...right now the sound board is prepped to use a momentary button to activate it, and that is one of the easiest ways to start up a saber....I think I have a few momentary mini-tactile switches that can be mounted in the switch box and will reach through the side of it if I drill a hole in it.
Last edited by Jay-gon Jinn on Fri Apr 29, 2011 12:30 pm, edited 2 times in total.
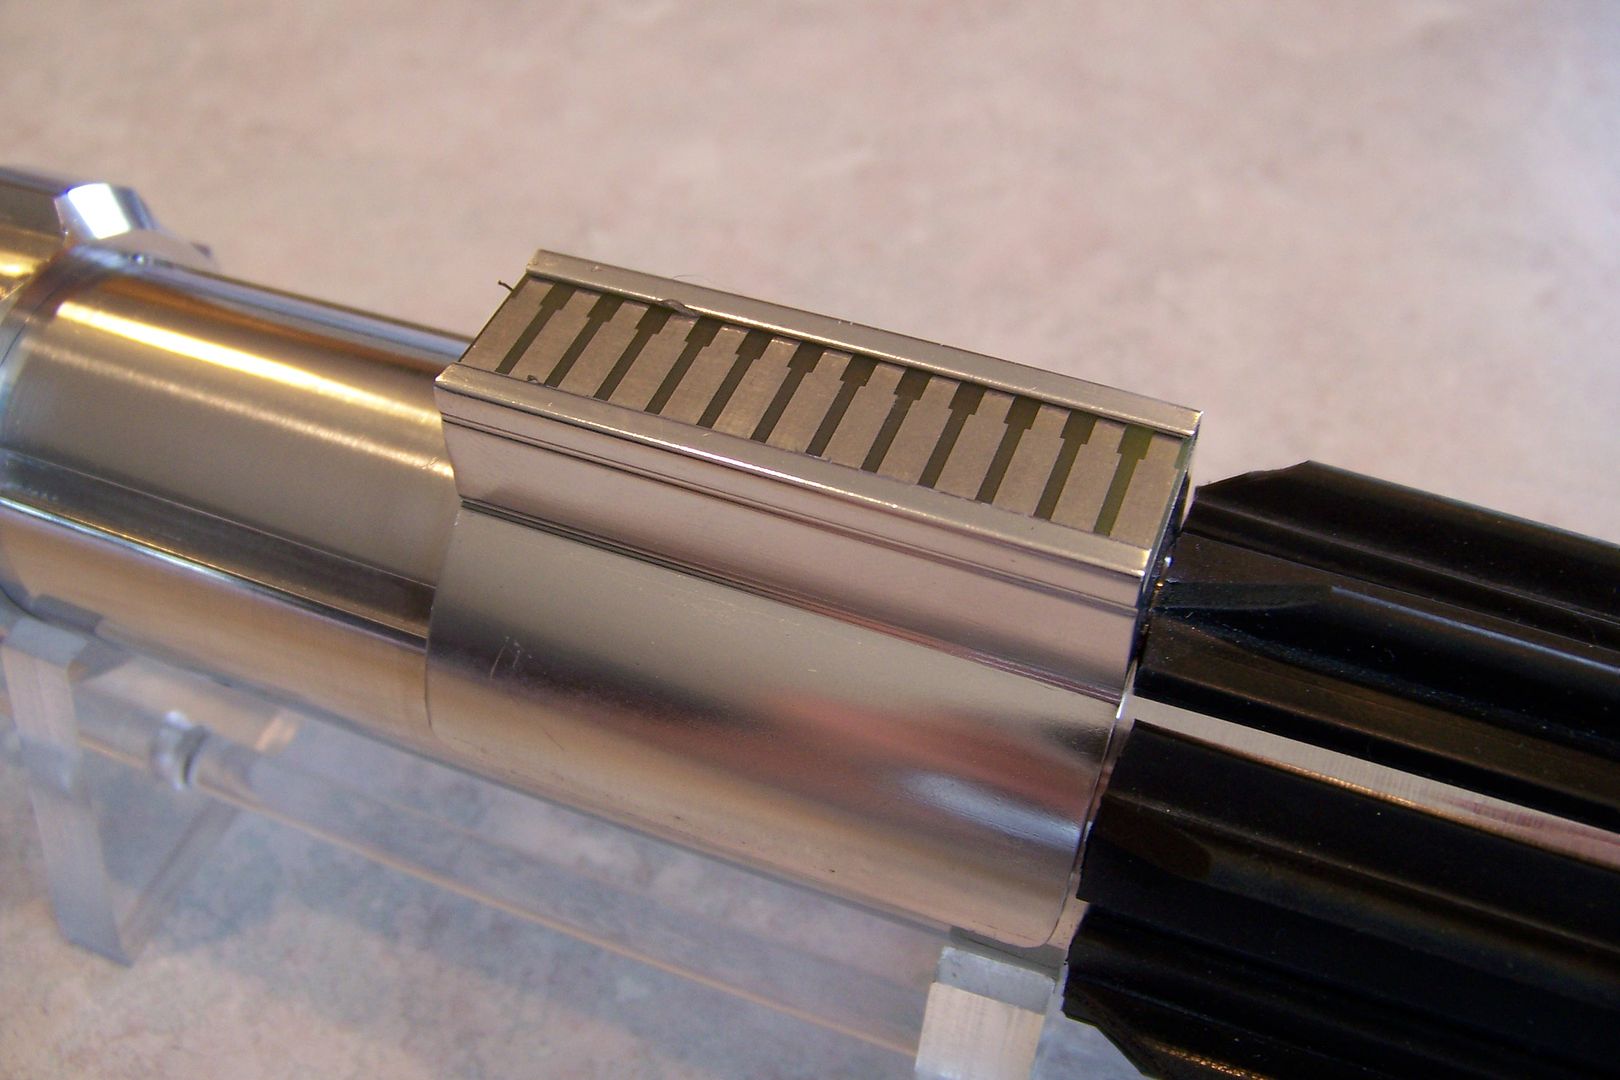
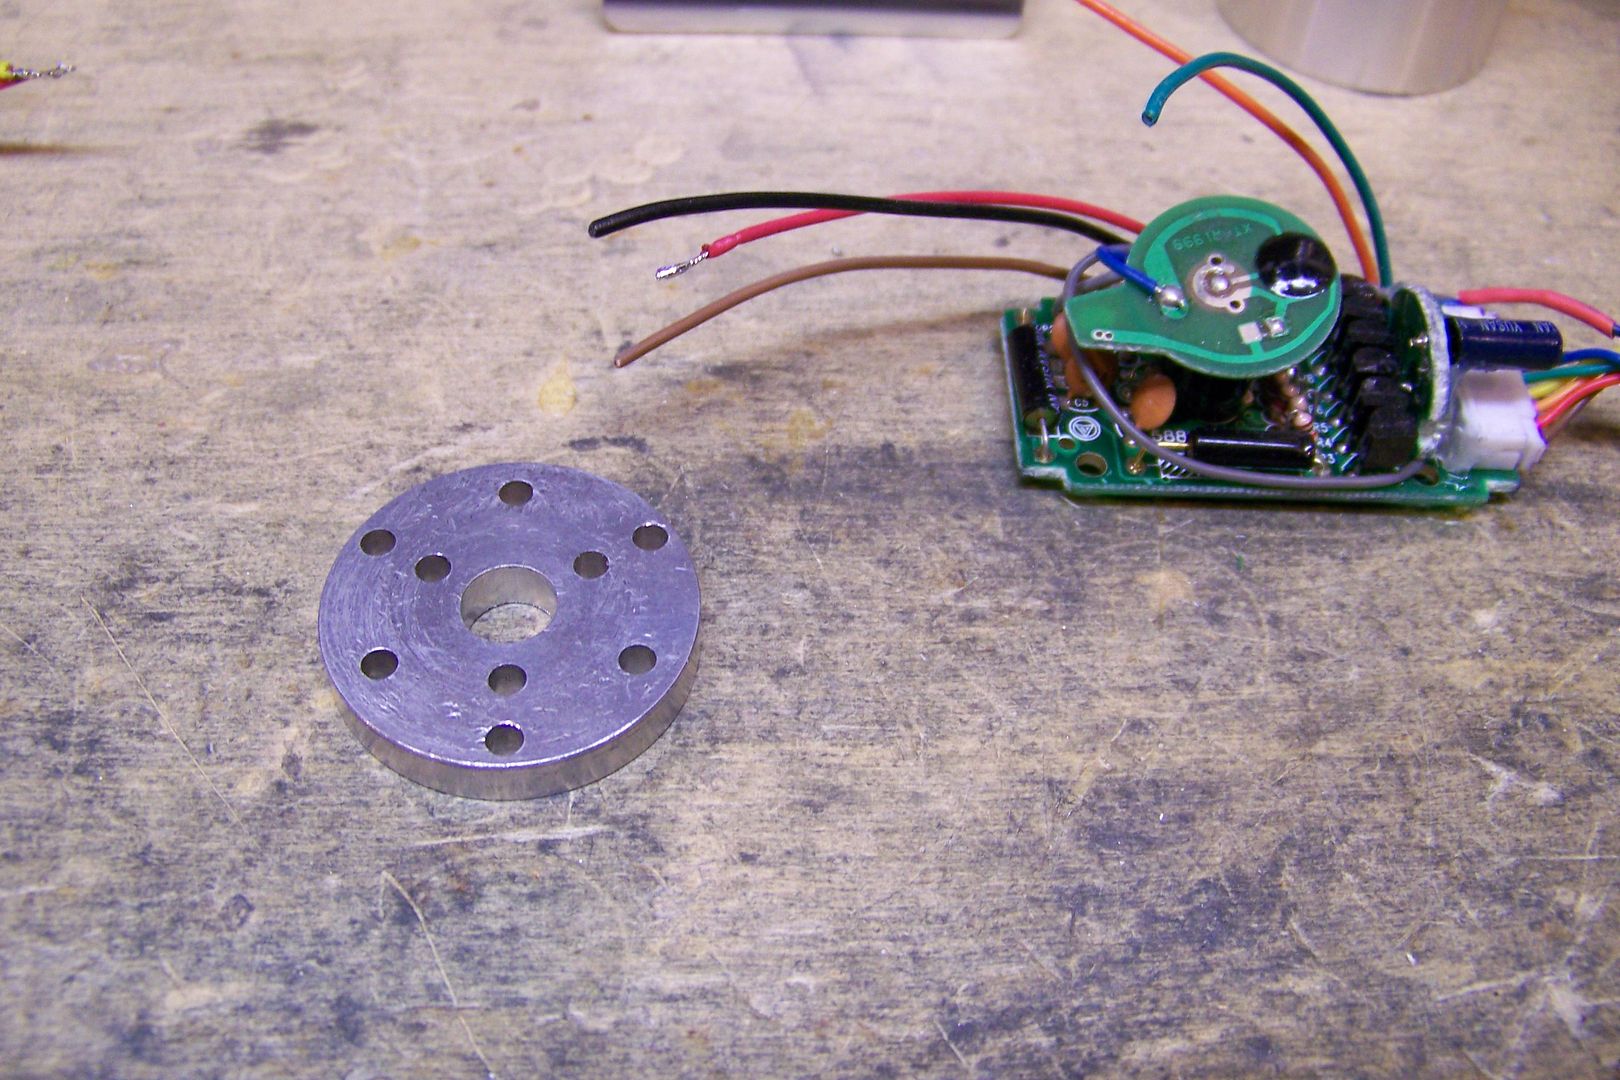
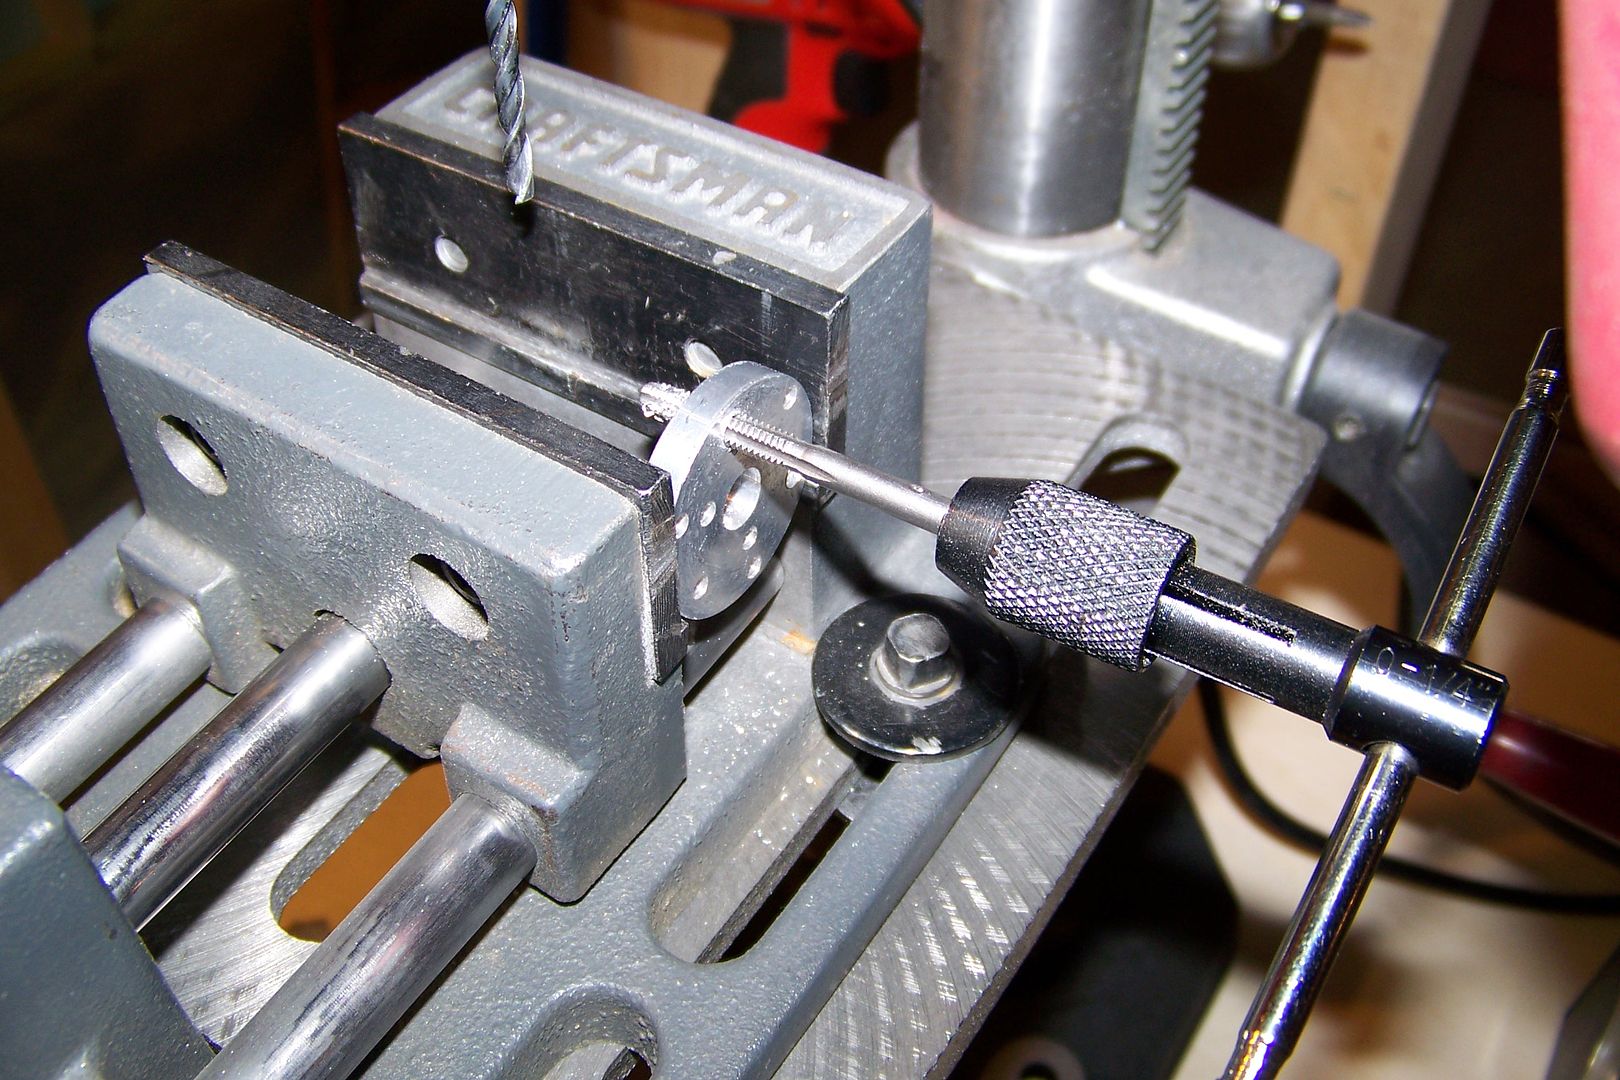
The next step is to make the carriage that will hold the soundboard in place. The Custom Saber Shop has parts for making what we call "chassis" inside the saber, and I'll use one of the chassis discs to make the carriage:
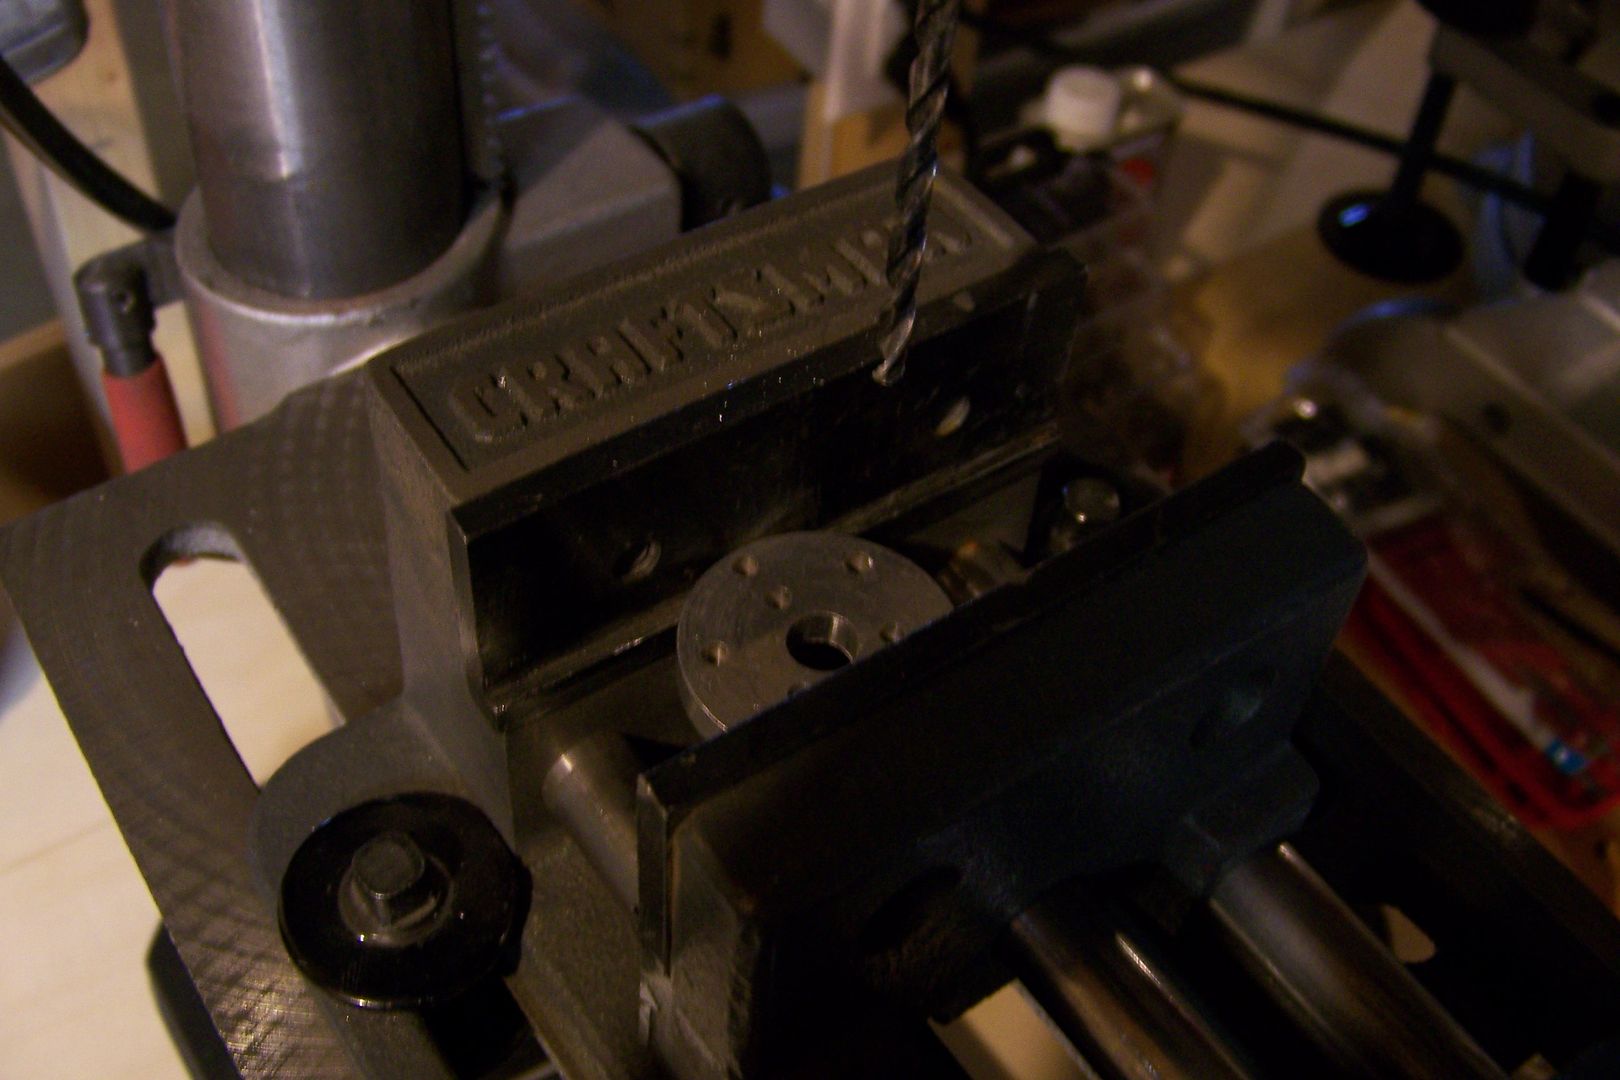
I'll have to drill and tap two of the holes for a couple of 8-32 machine screws:
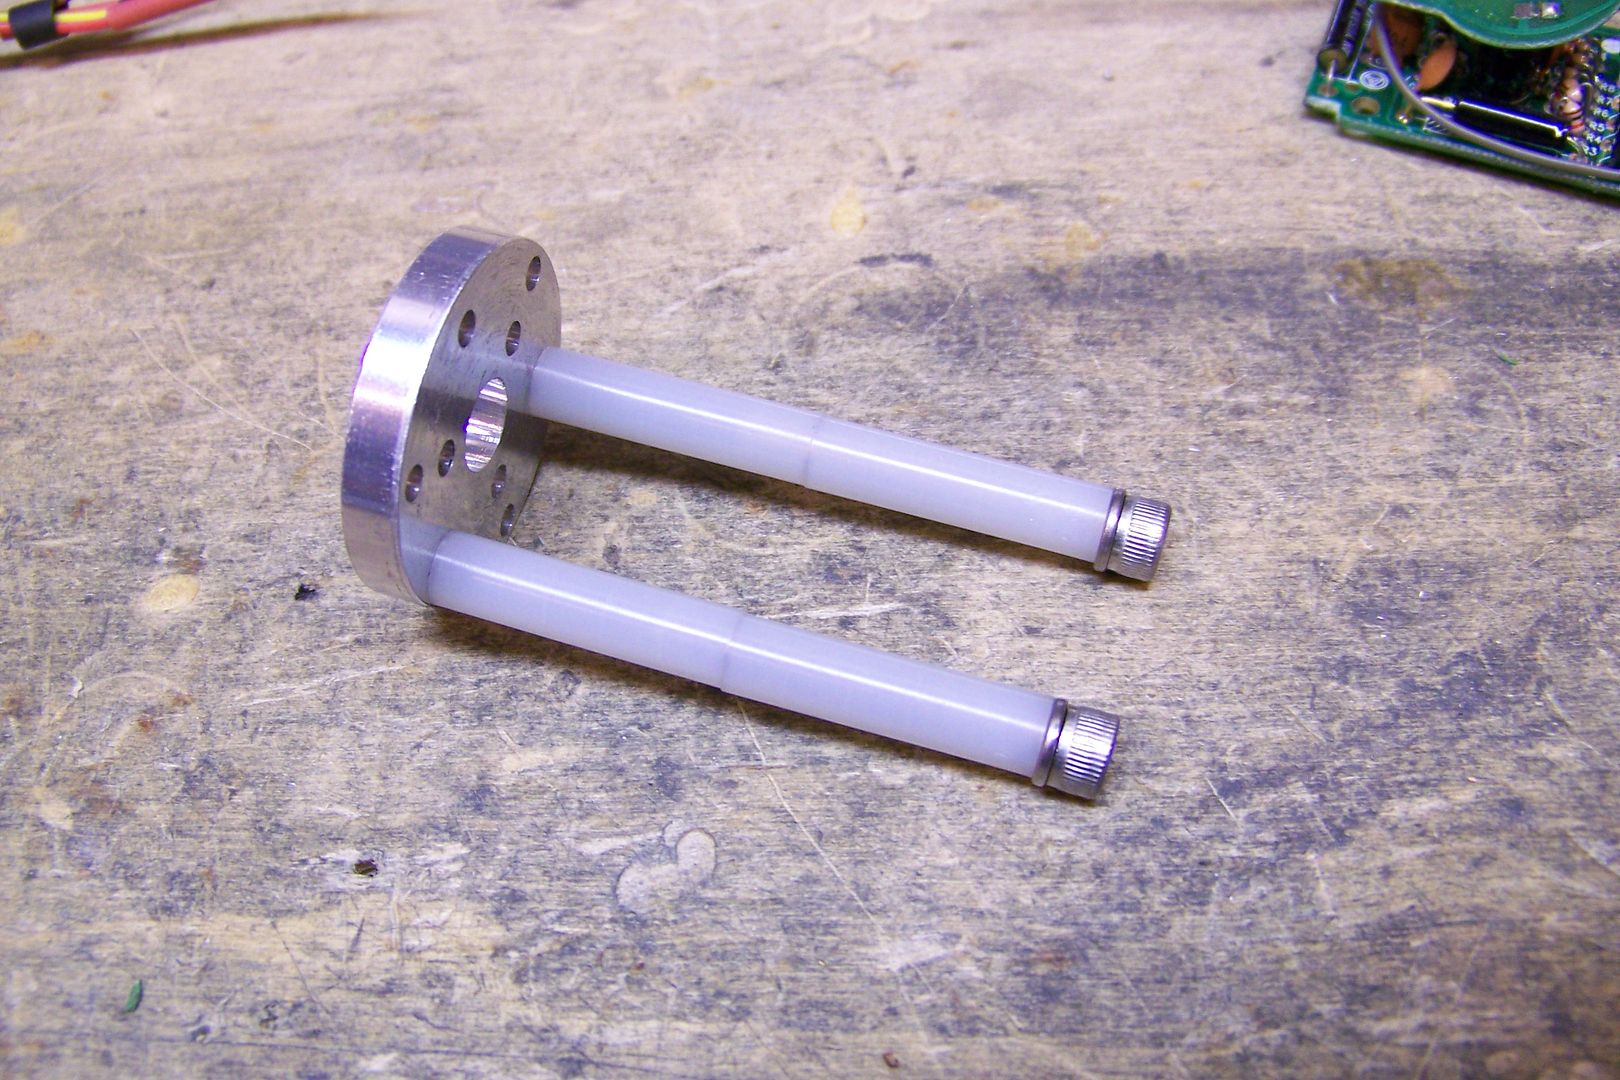
I'll use two 2 1/4" 8-32 machine screws and 4 nylon spacers to make the carriage:
The assembled carriage:
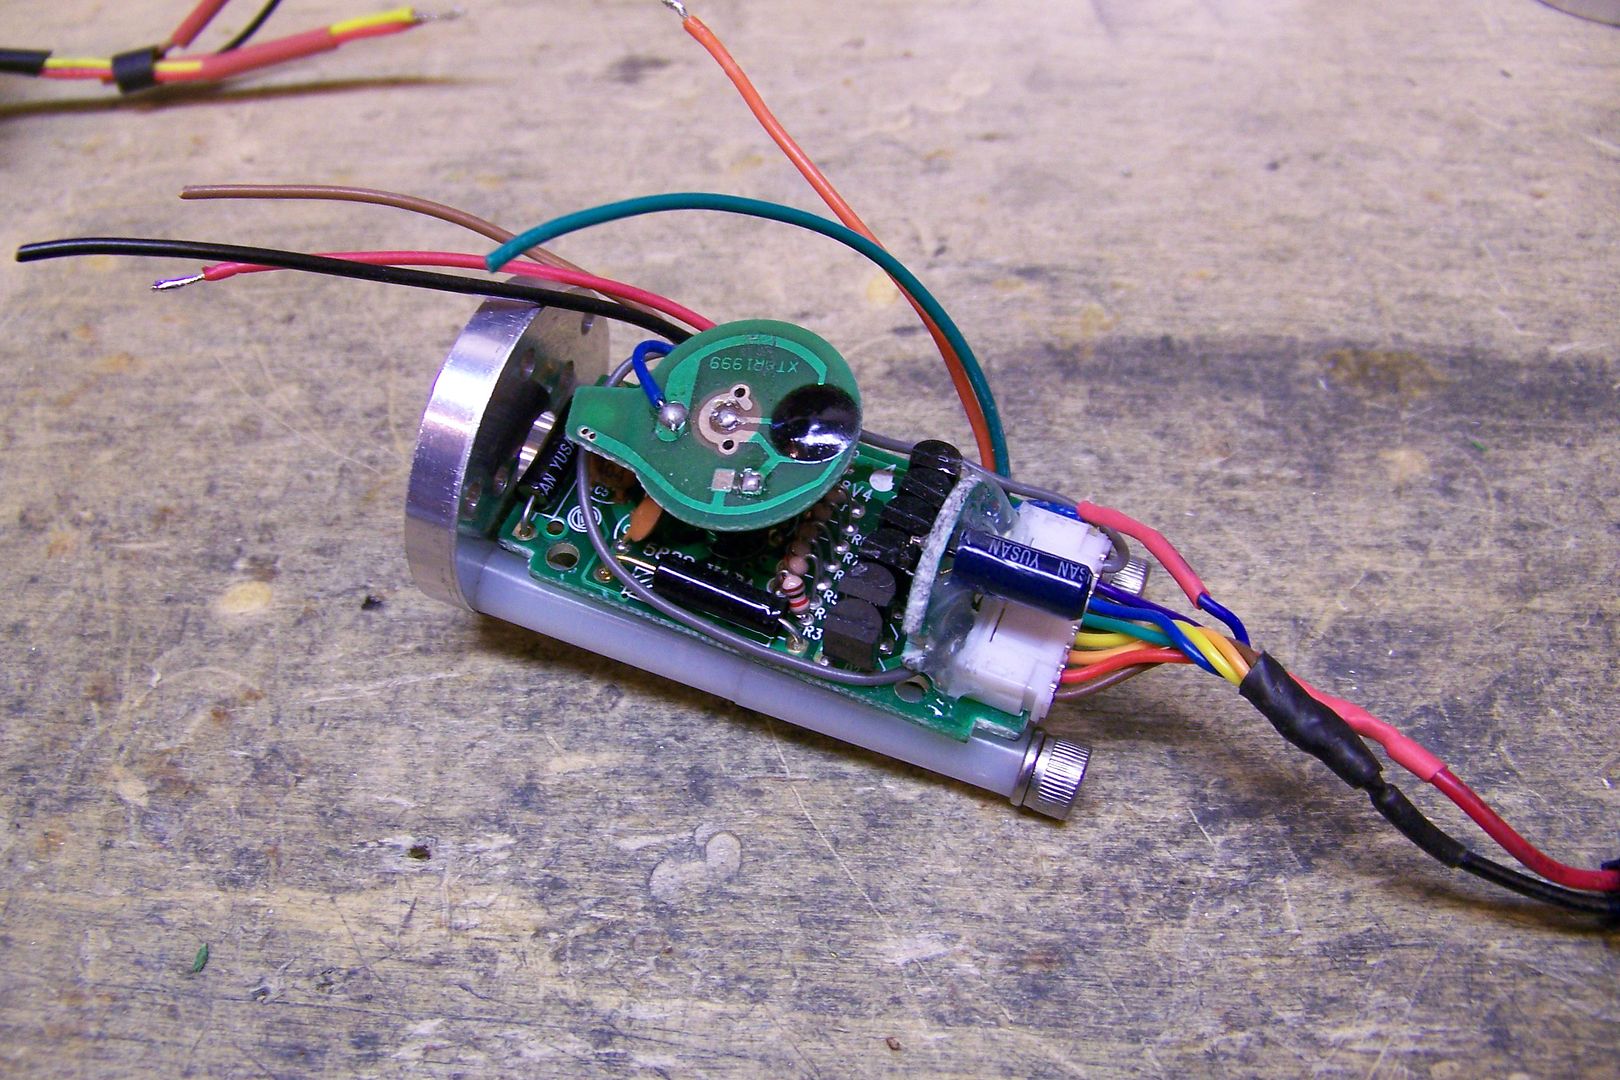
The soundboard goes on it like so:
and is secured by a piece of heatshrink tubing:
The other little round pcb that you see there is from a Lighthound brand keychain flashlight...that will allow the board to be activated by a momentary action switch instead of the latching slider that was used on the original MR Anakin saber that the soundboard came from. That will allow for a more subtle button to be used for activation of the saber.
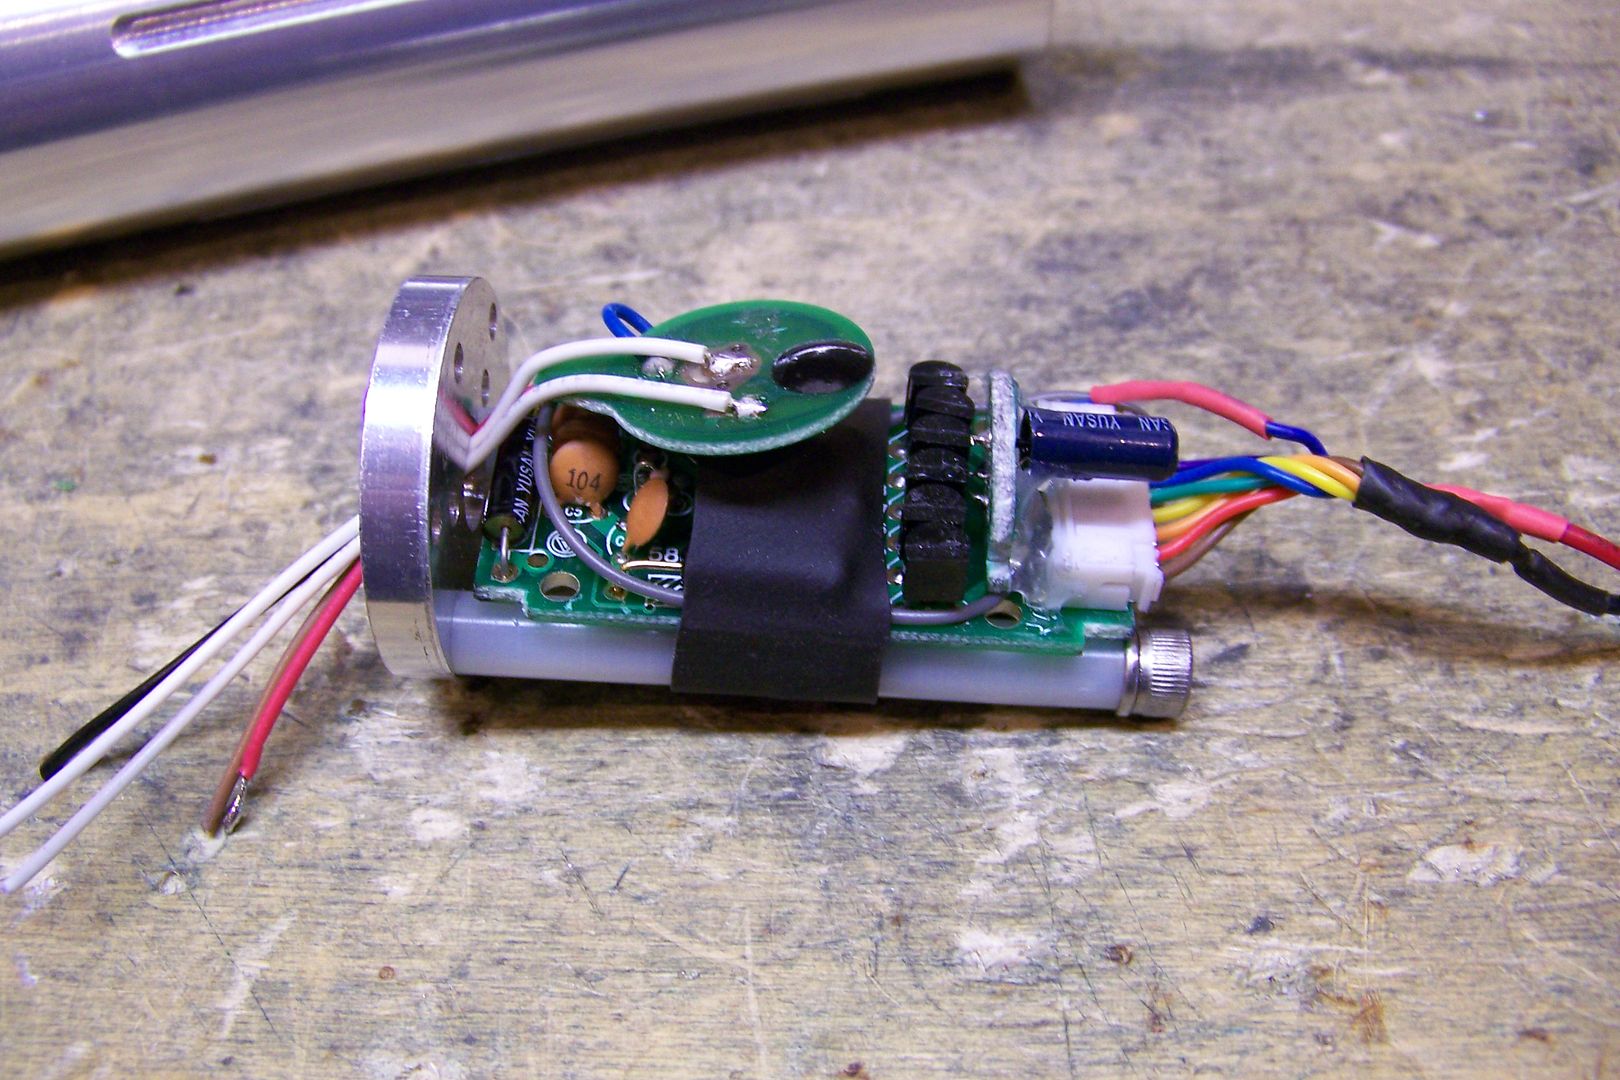
The soundboard/carriage assembly will fit in the hilt like this:
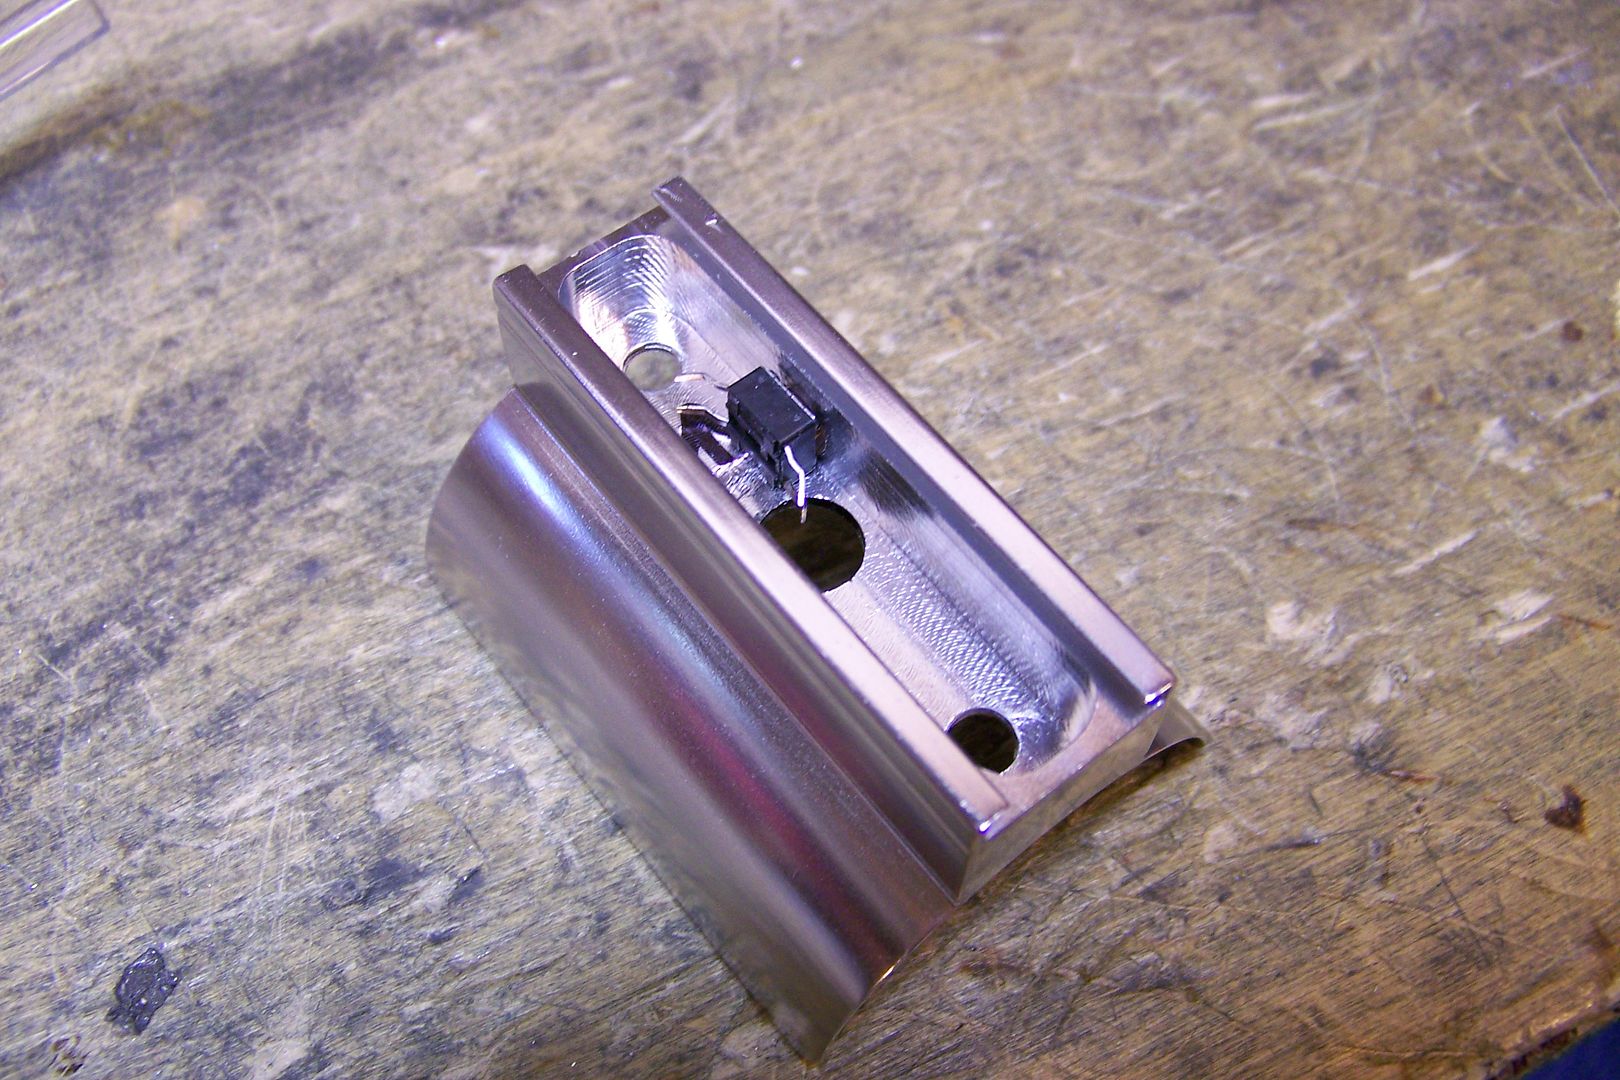
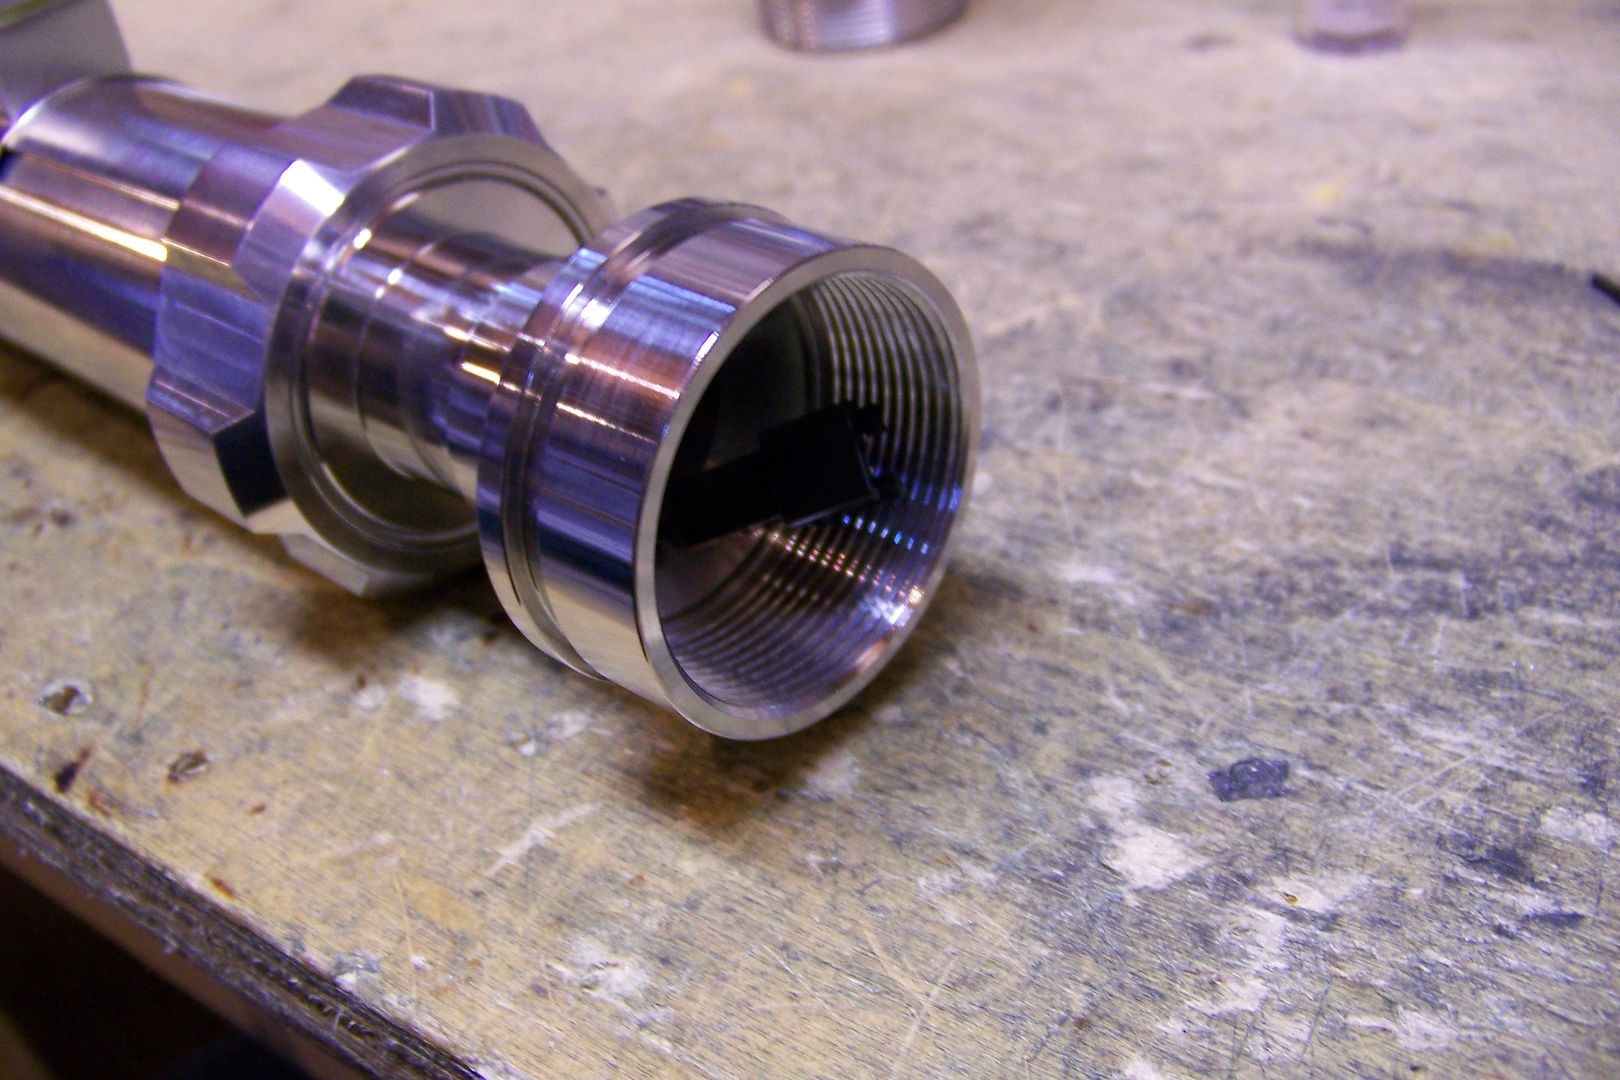
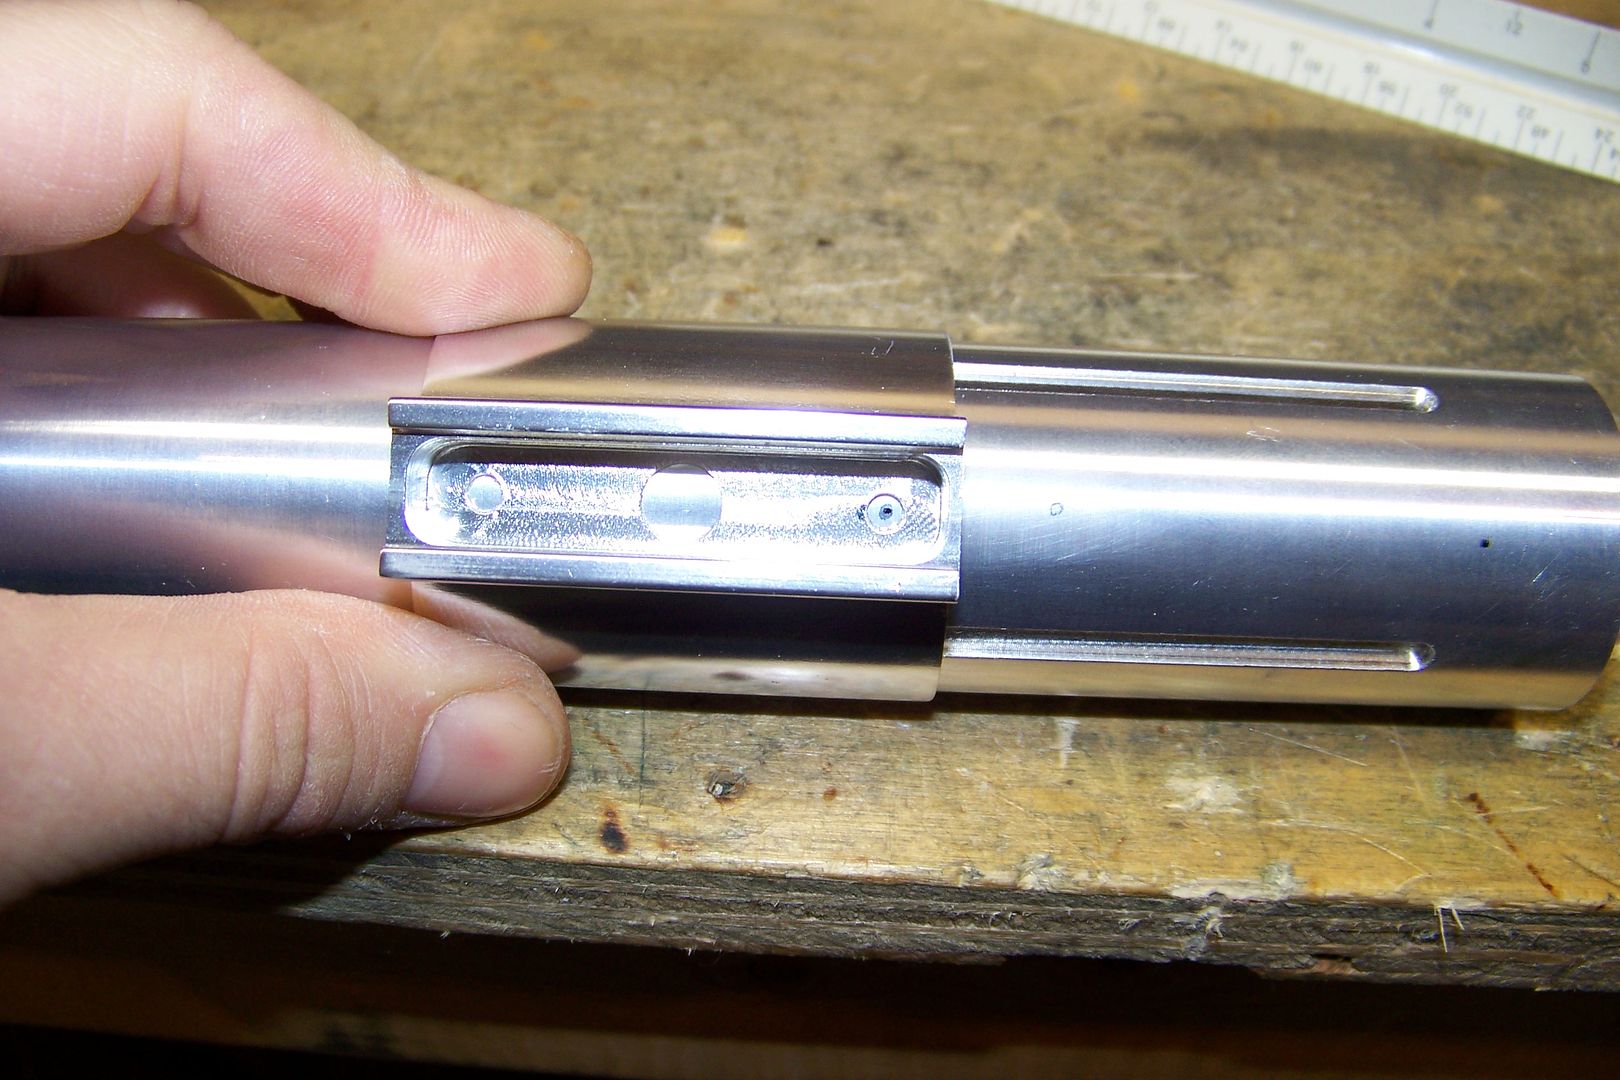
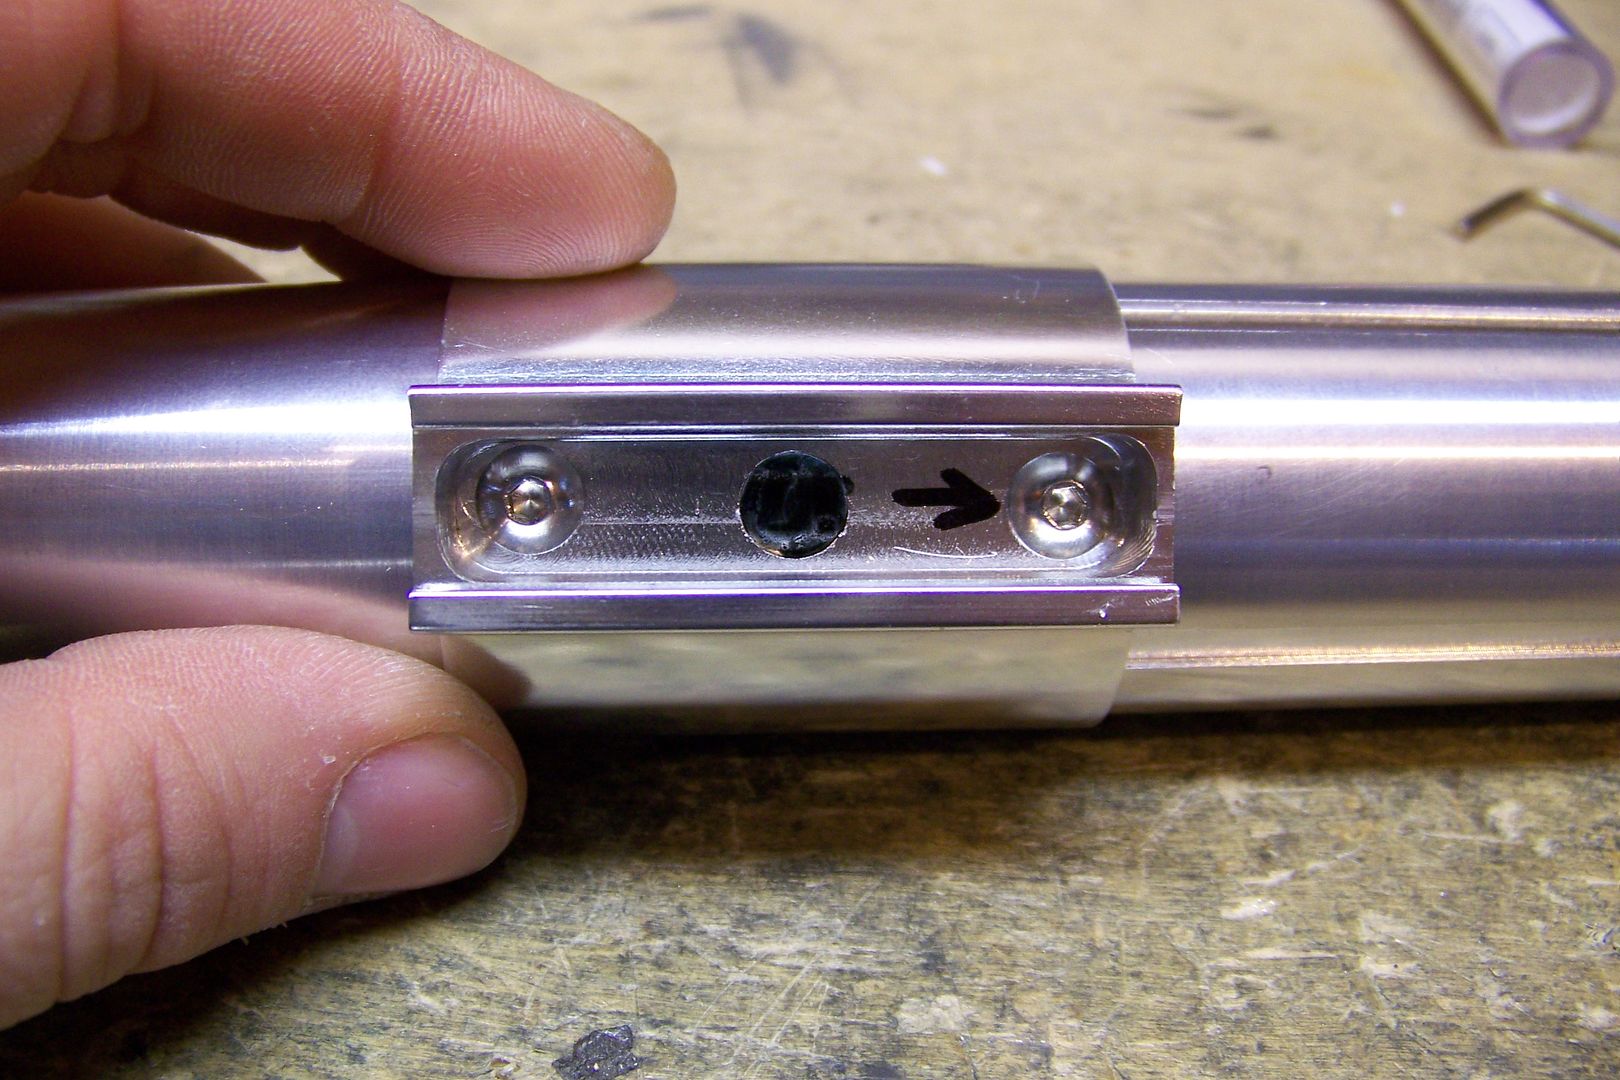
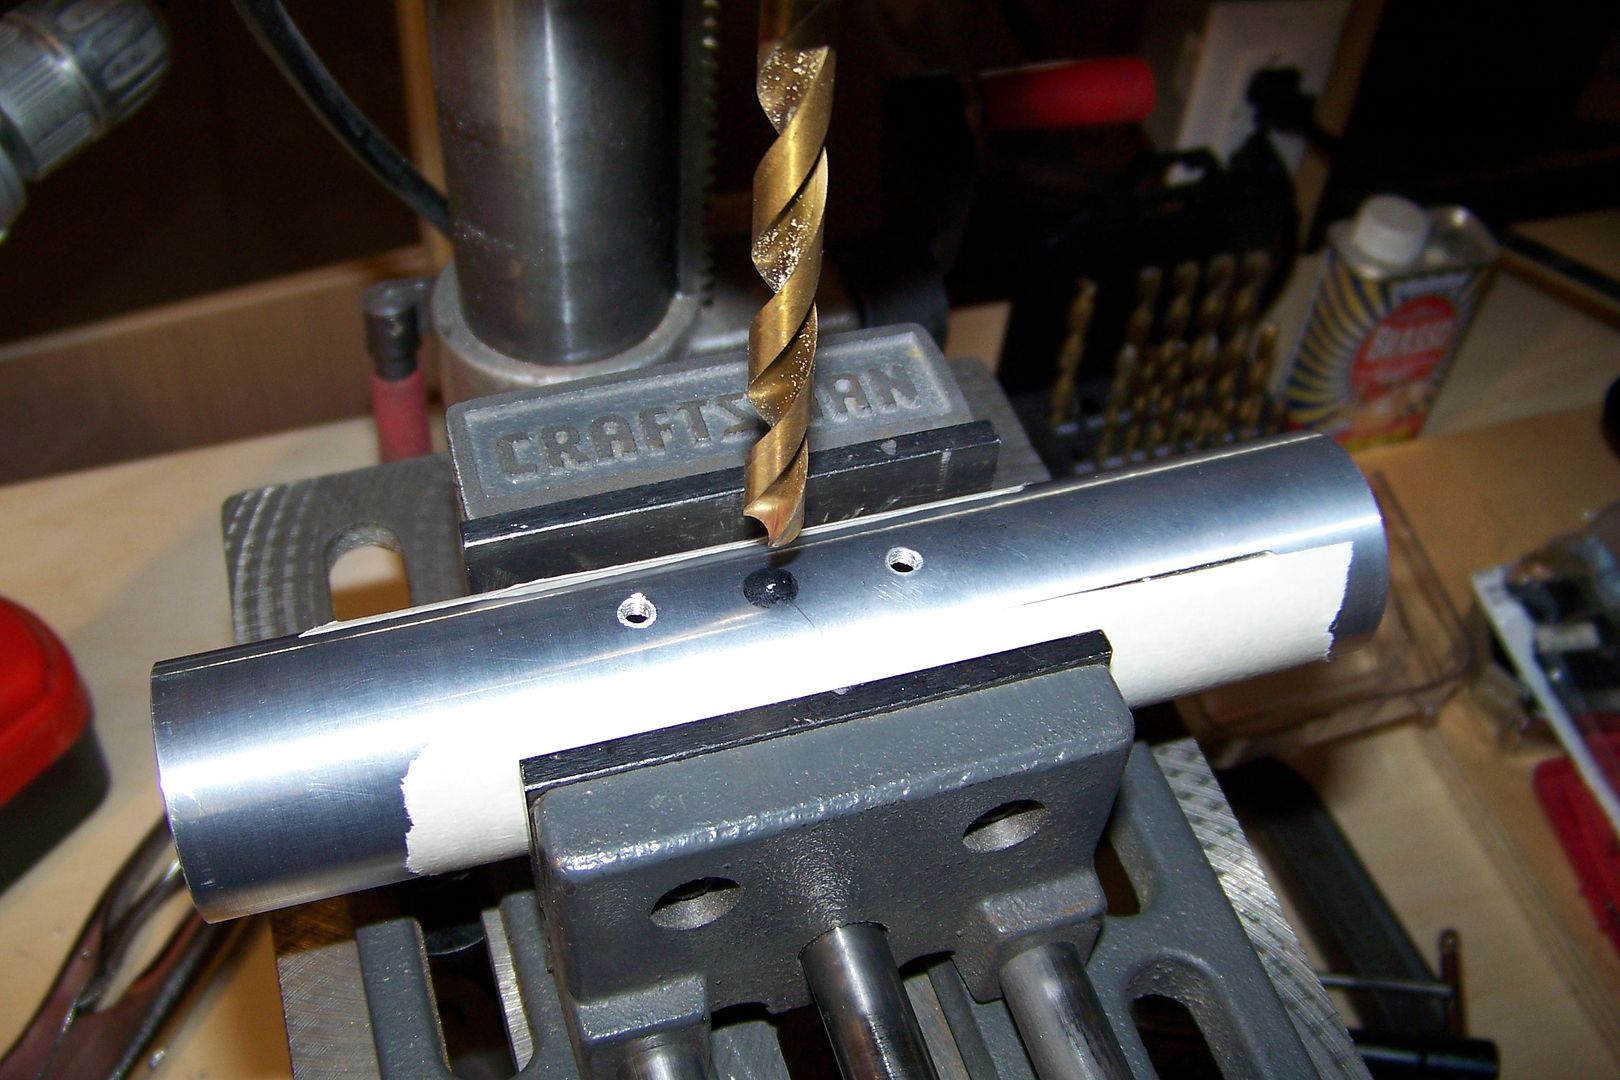
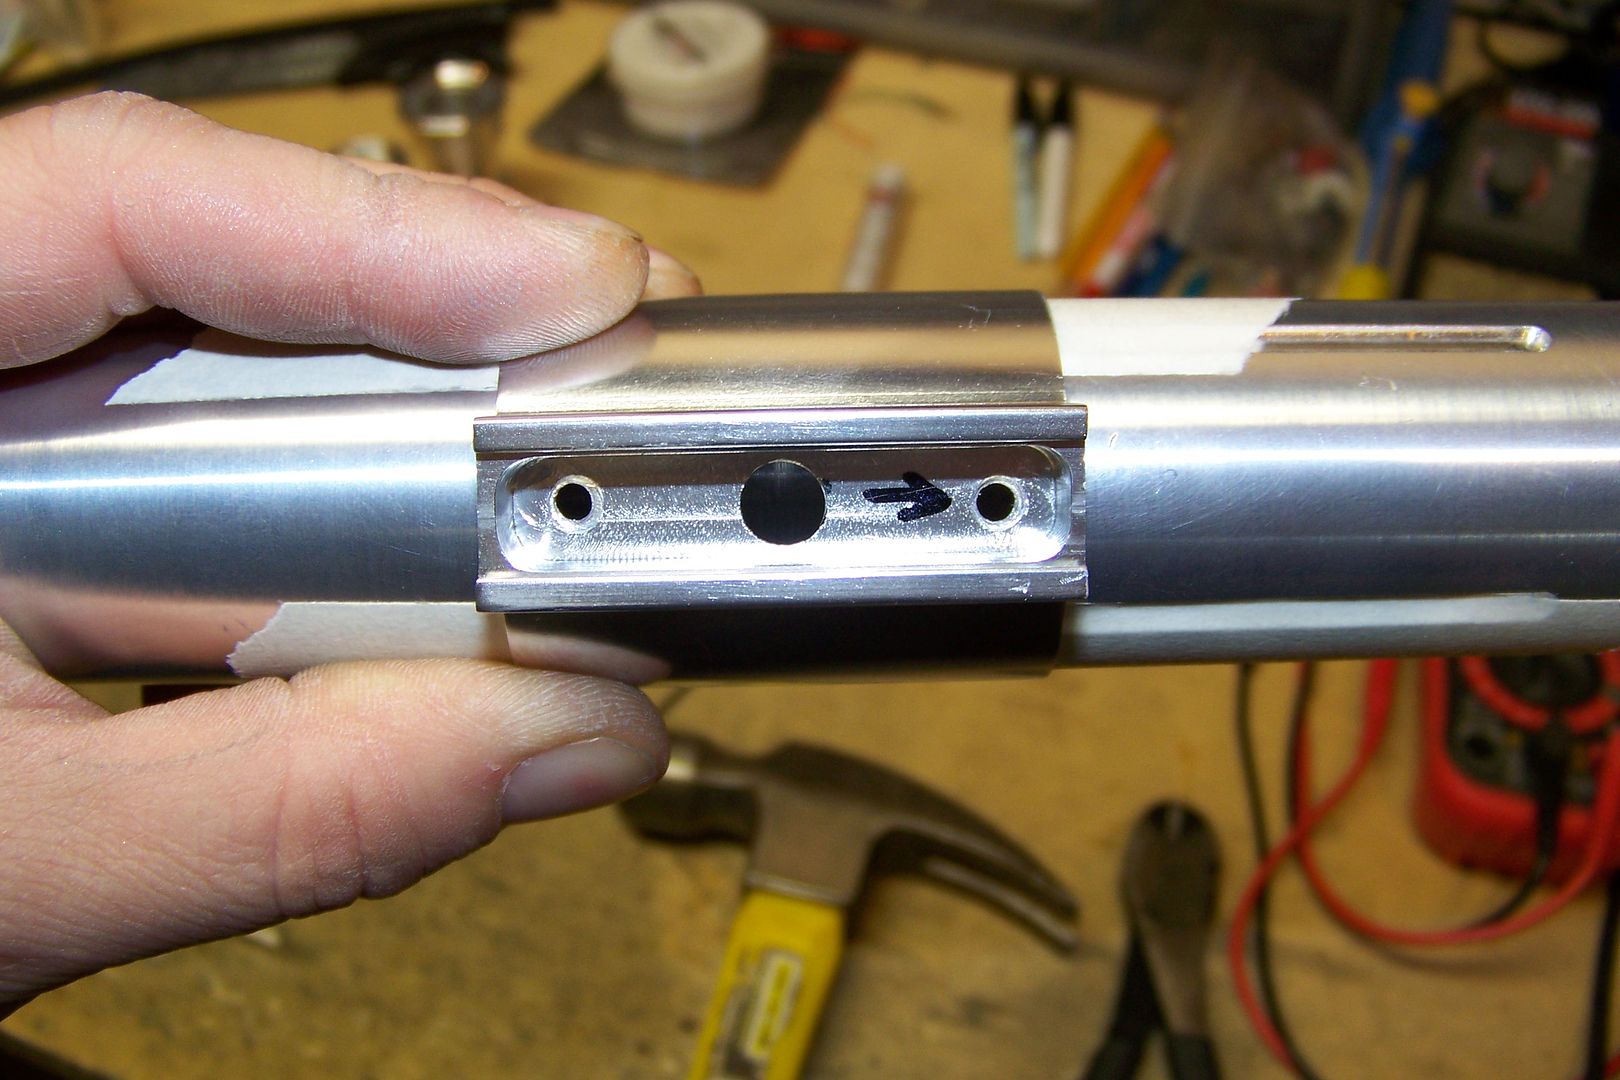
I moved on from that to the actual switch box....I'll need to drill a hole to mount not only the switch box, but also to secure the carriage disc as well. I took some measurements, marked the parts, and drilled a hole in the bottom of the switch box:
It lined right up over the mark for the hole I need to drill for securing the carriage disc:
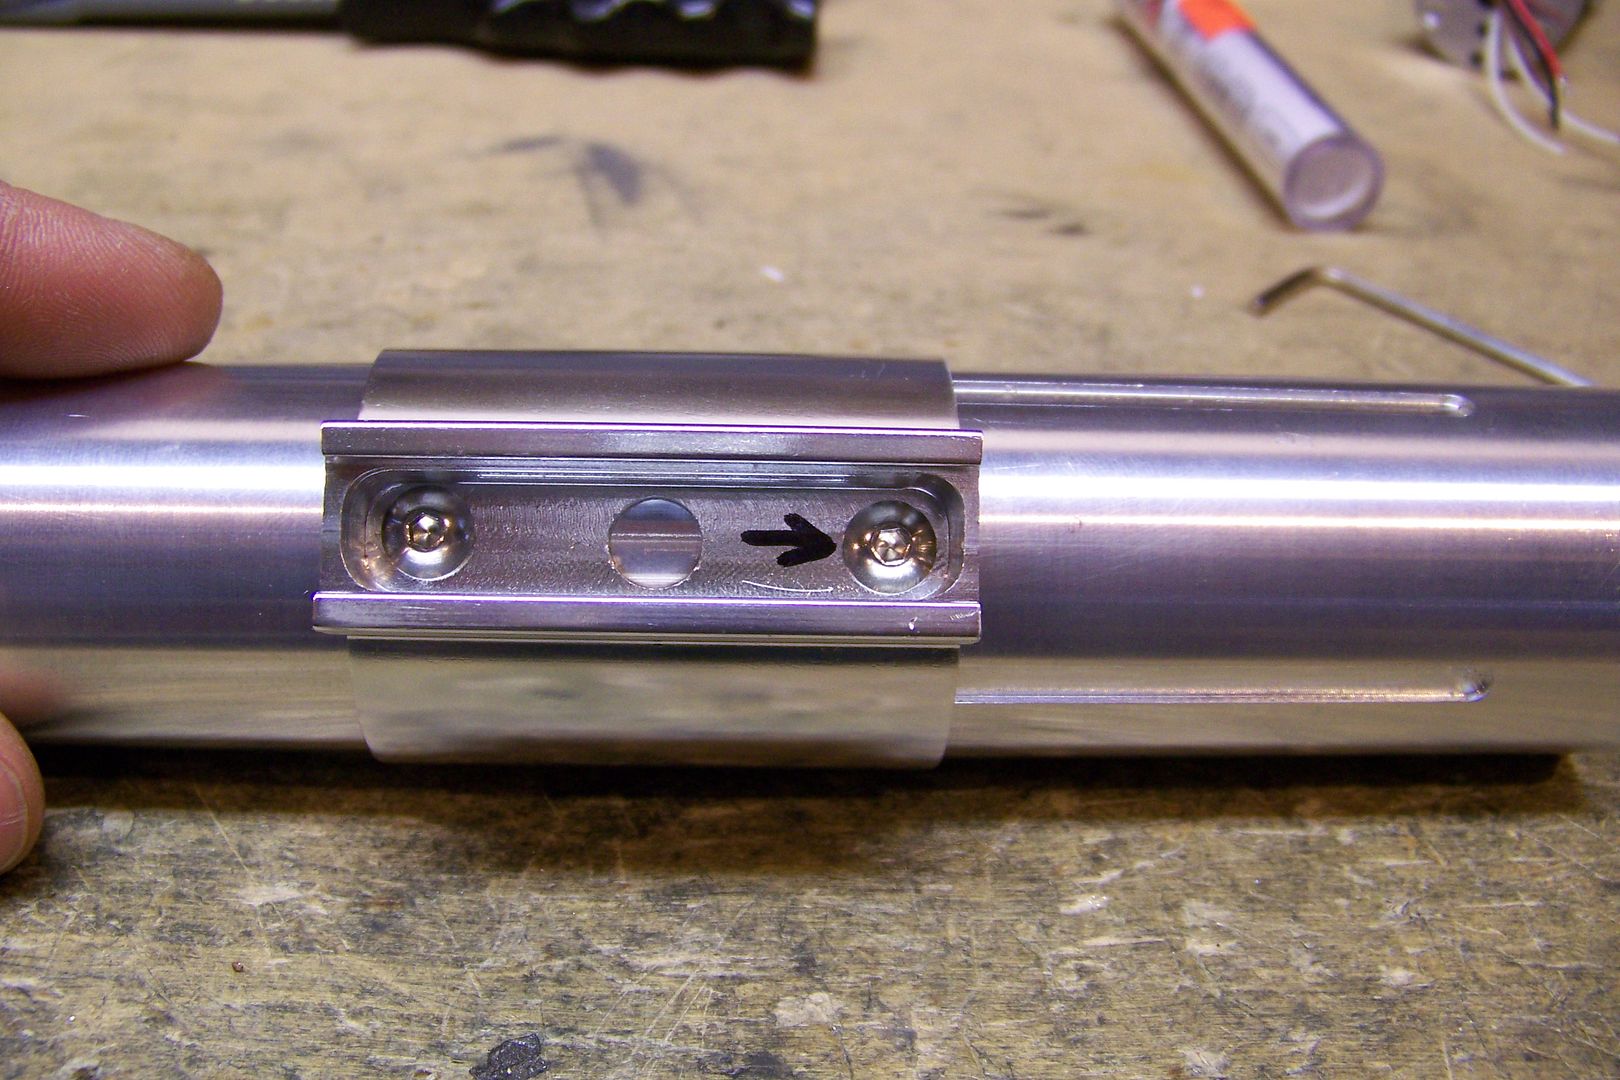
I drilled that hole and the holes for the rear mounting screw for the switch box:
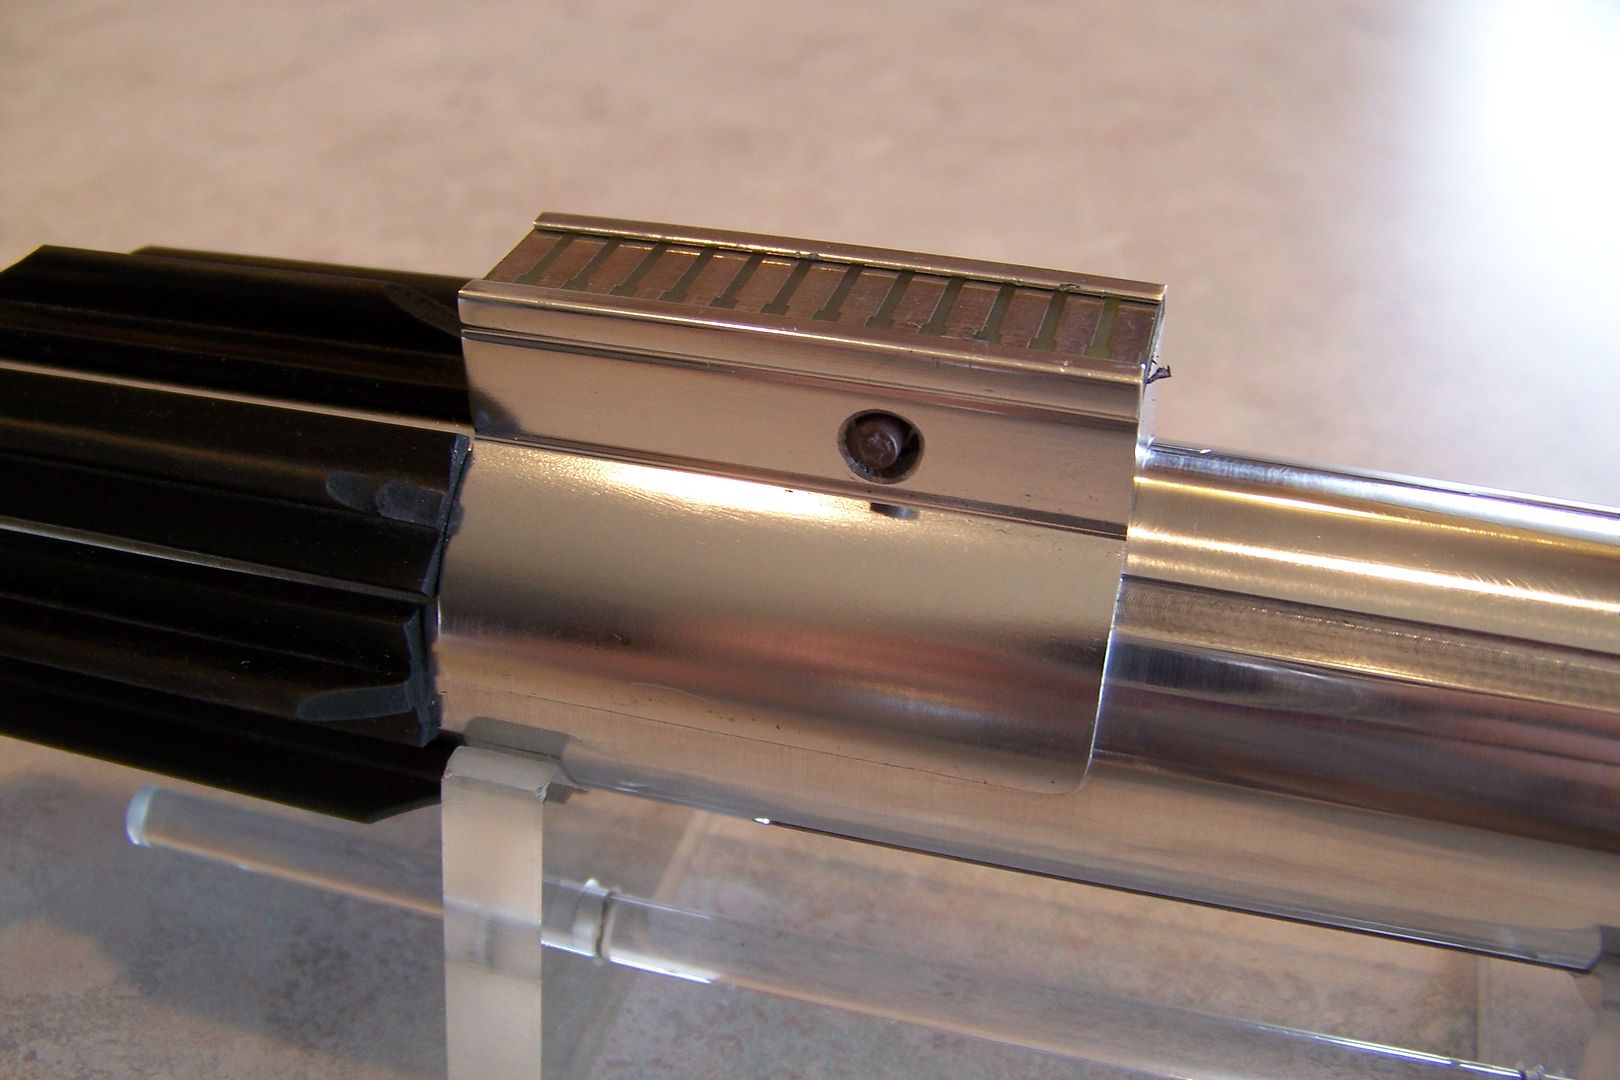
The arrow is on the part for my reference...that points to the front of the saber.
I also marked off where the hole needs to go for the switch wires:
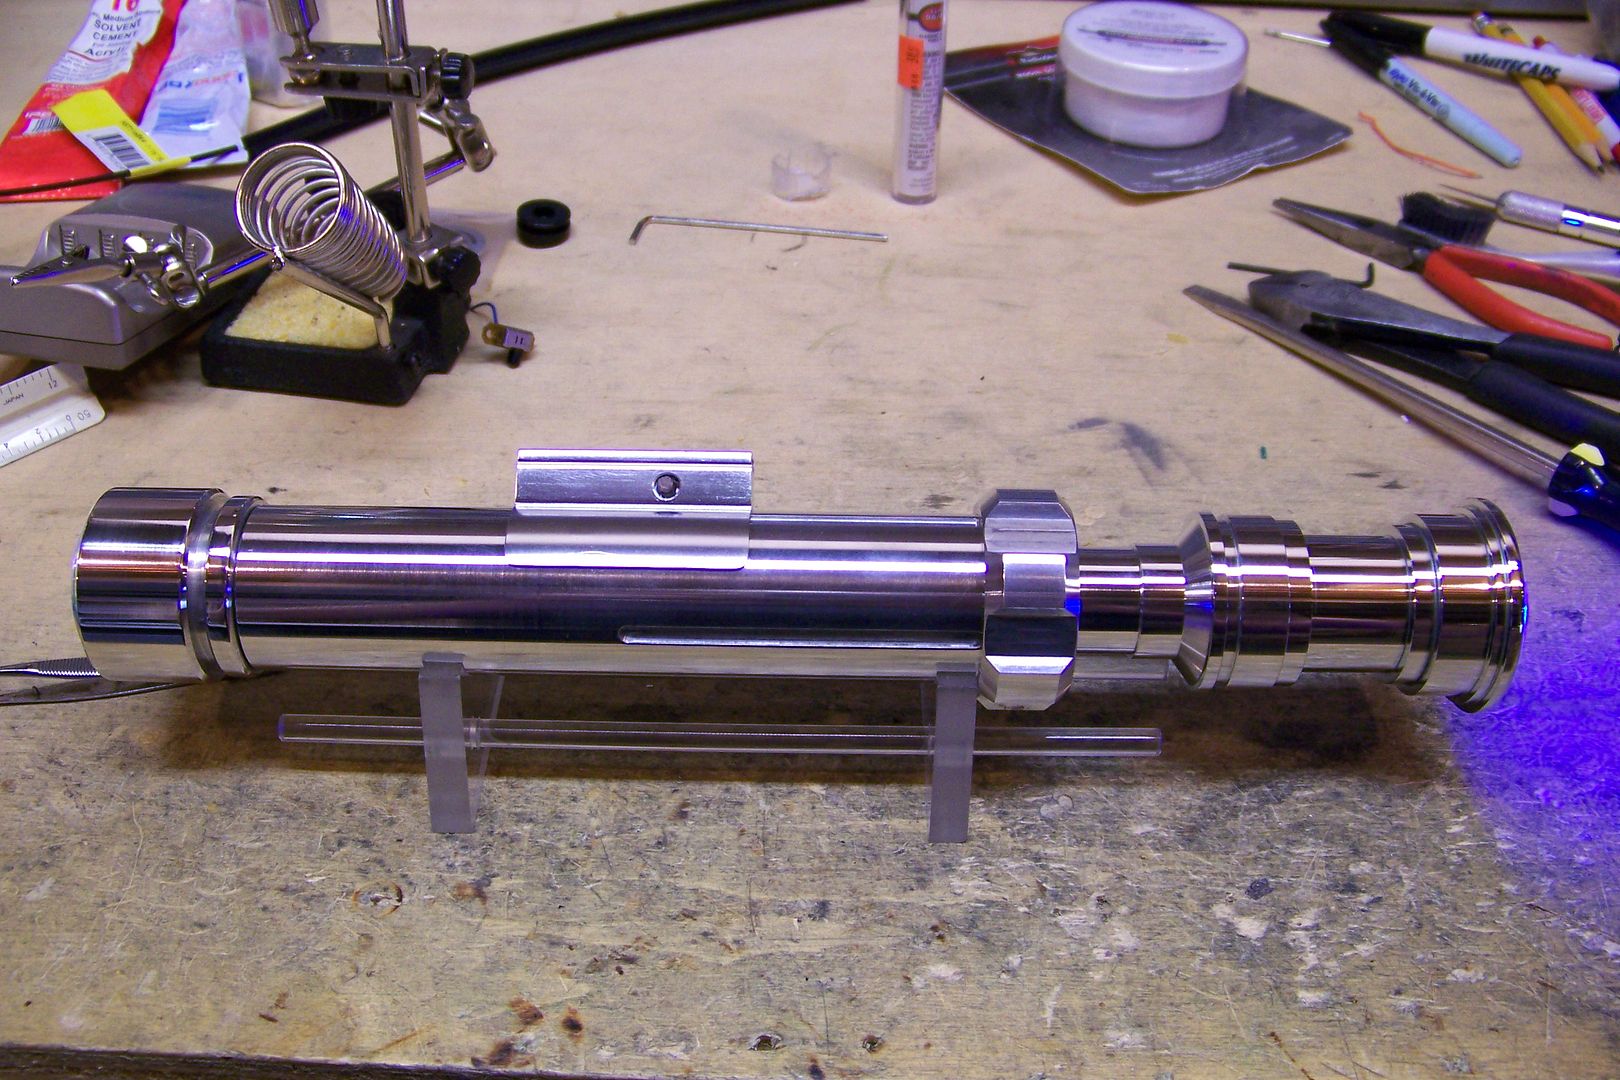
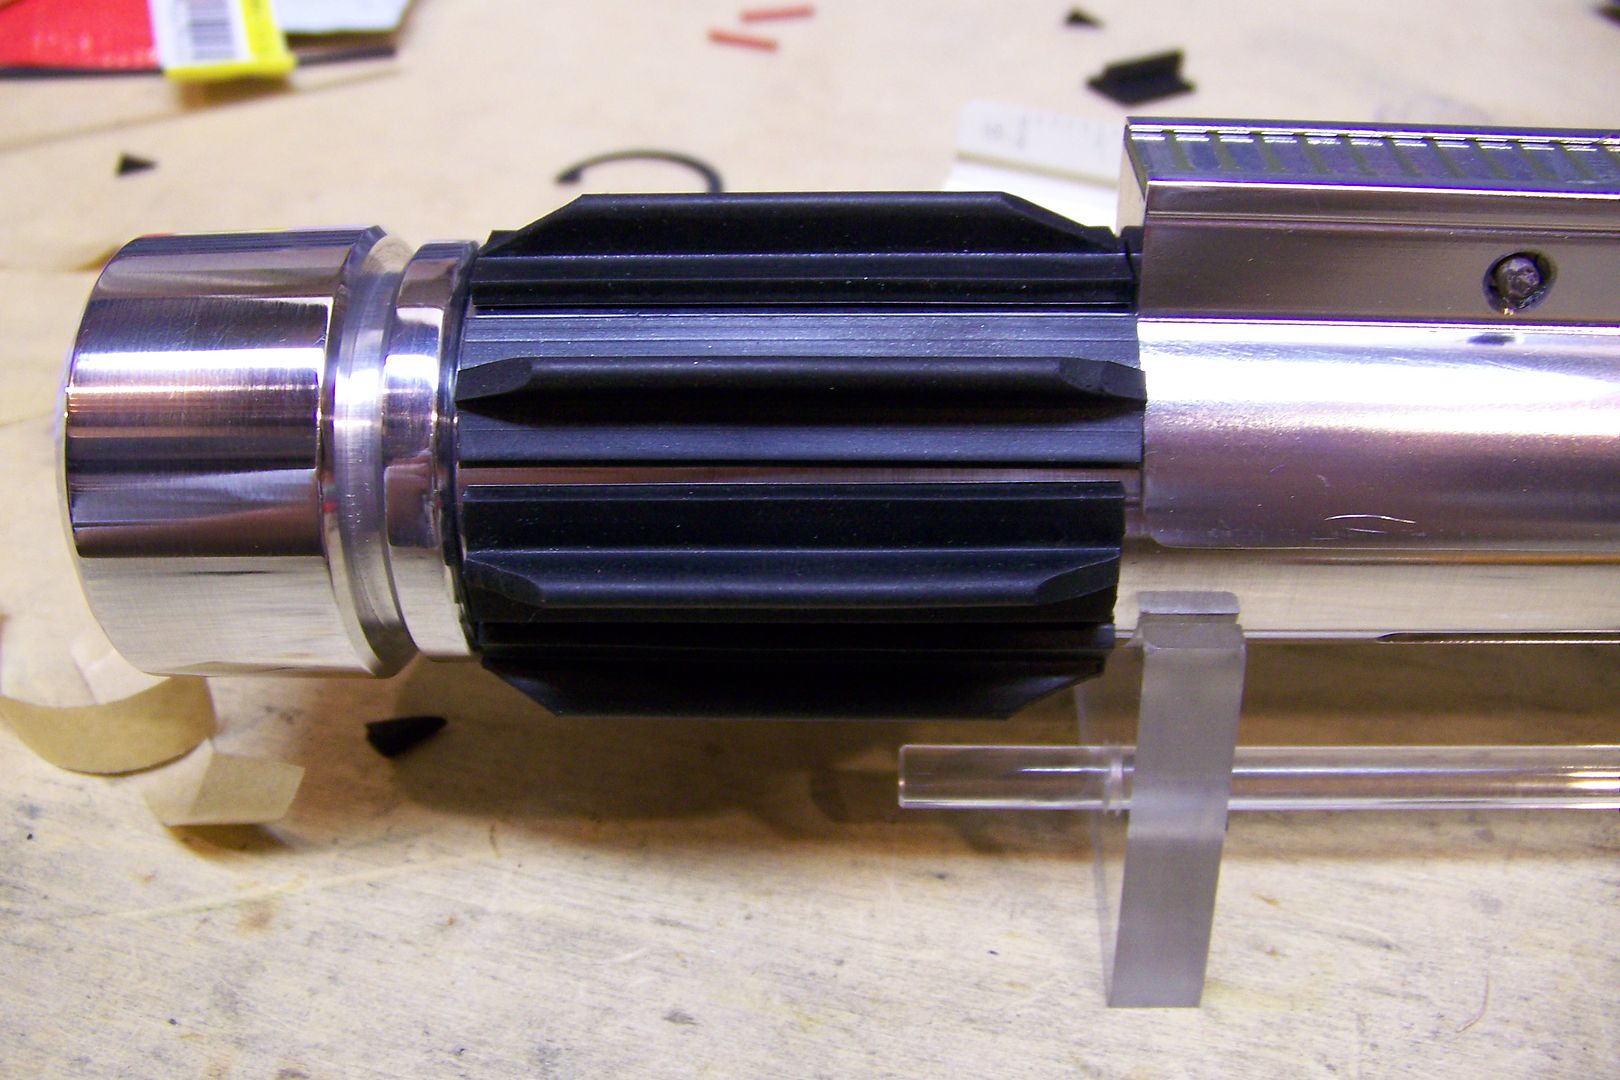
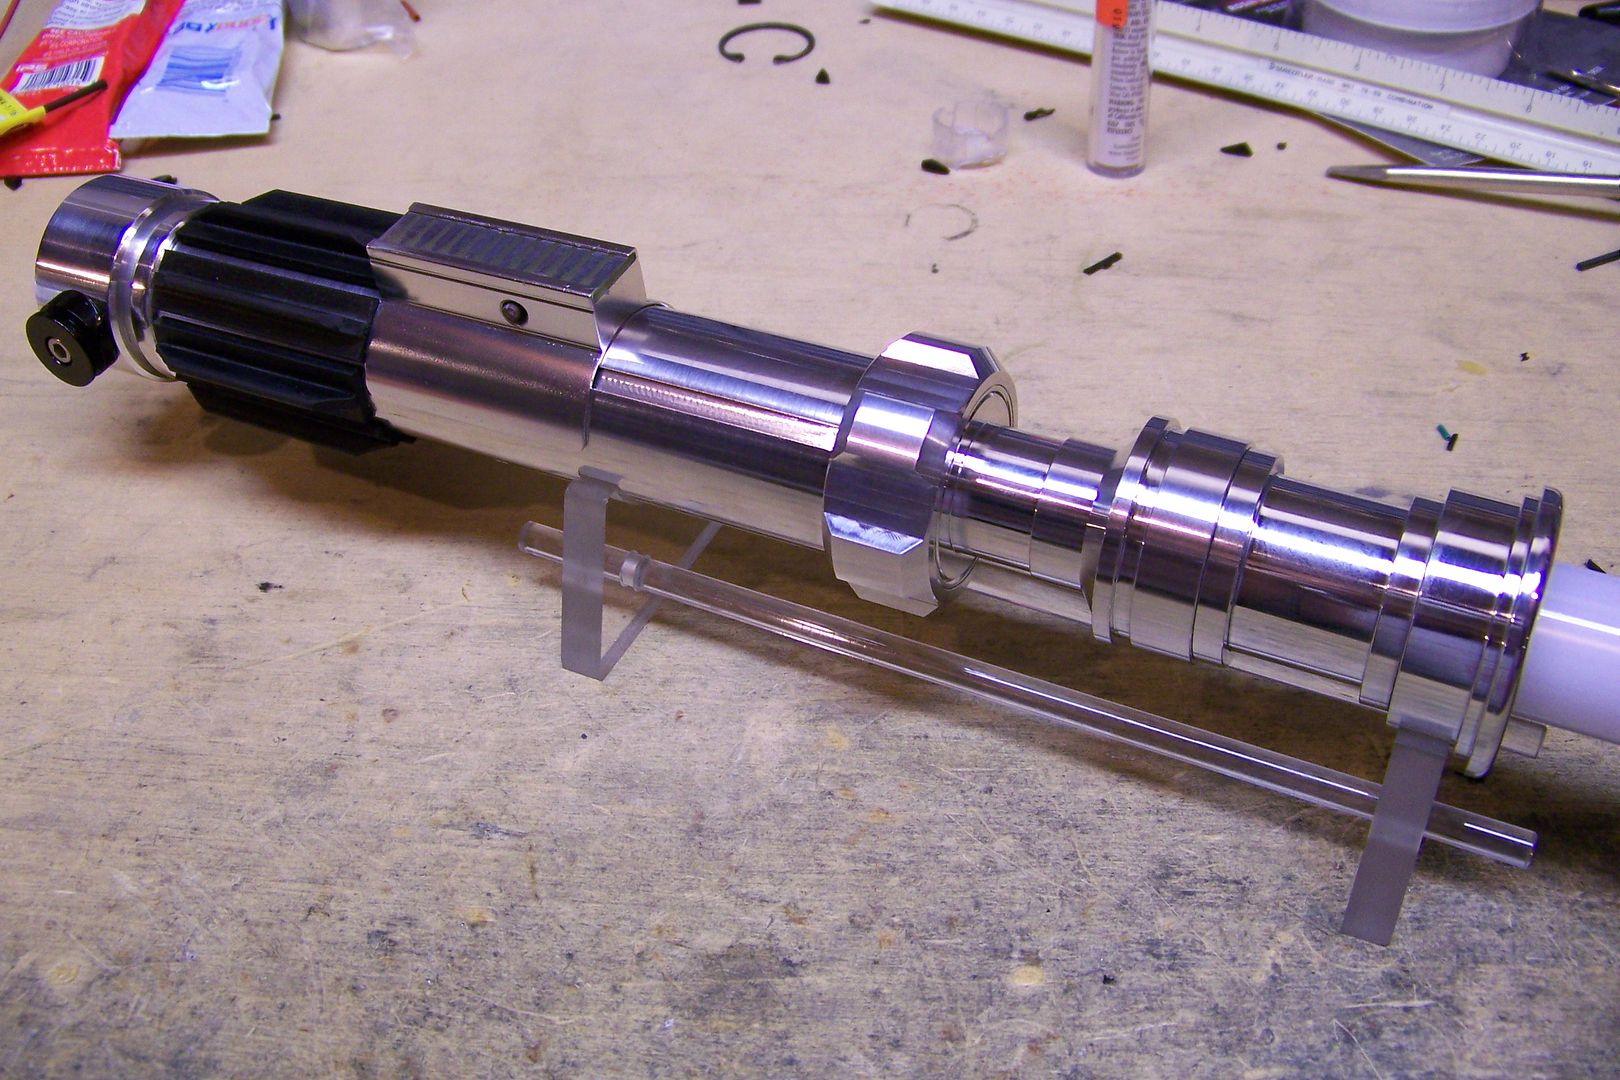
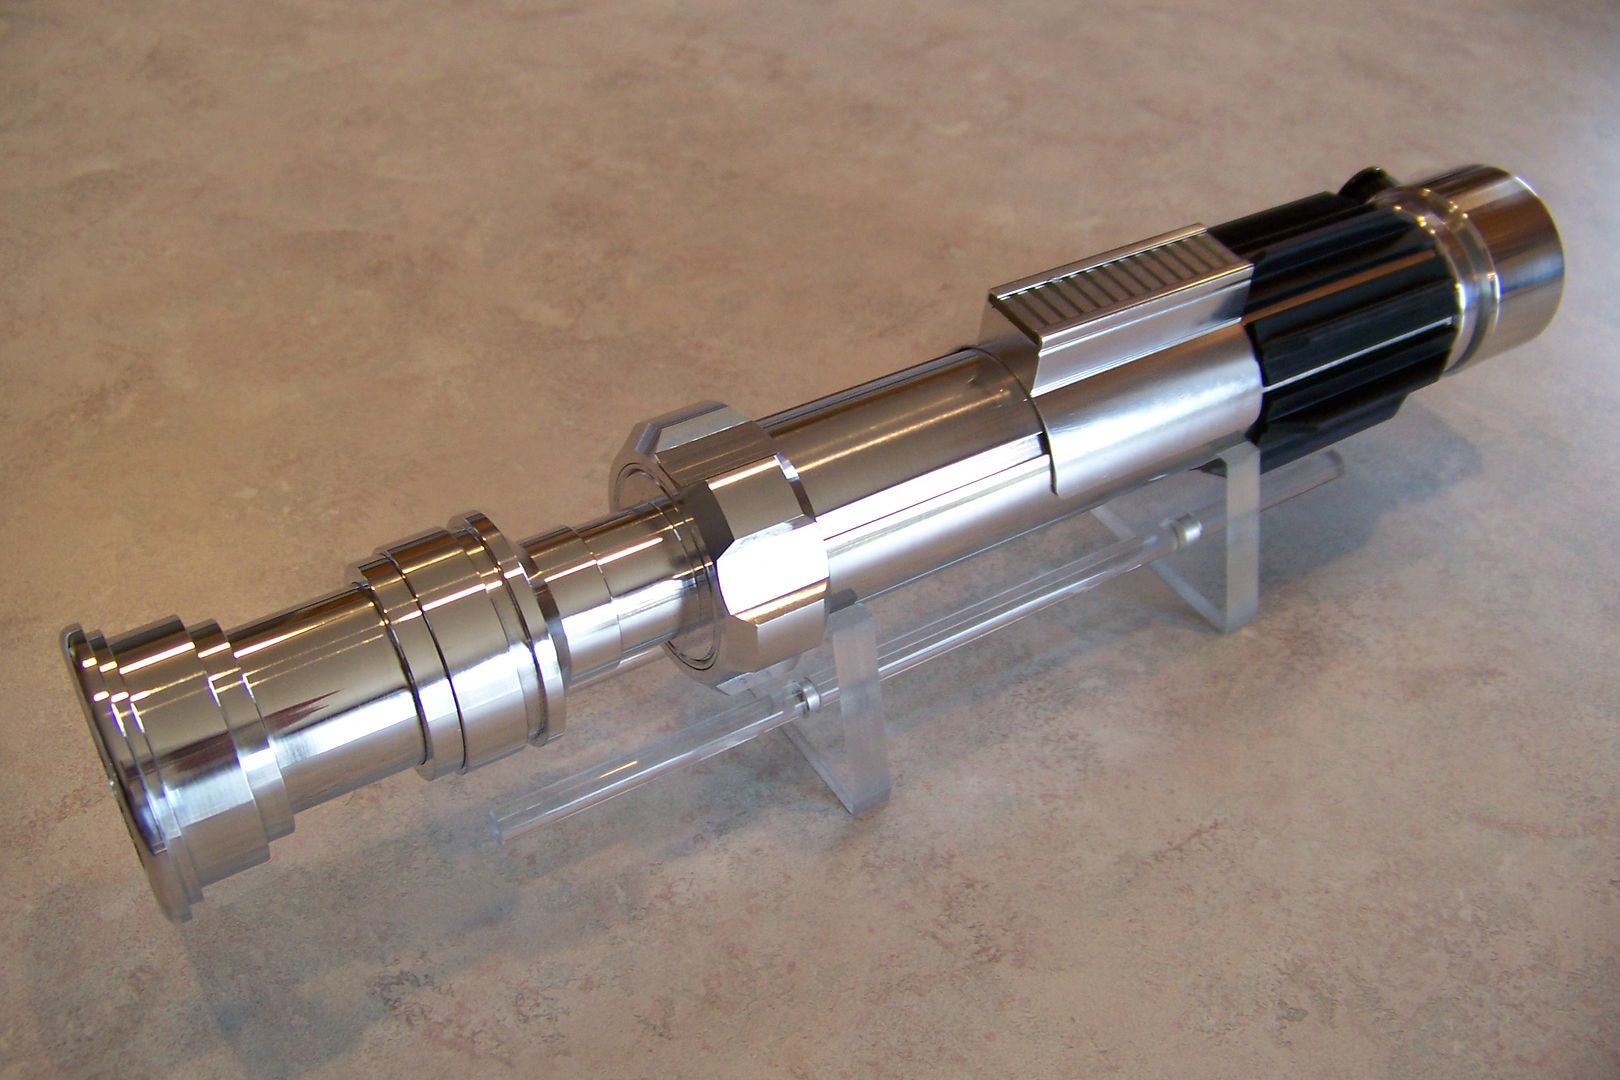
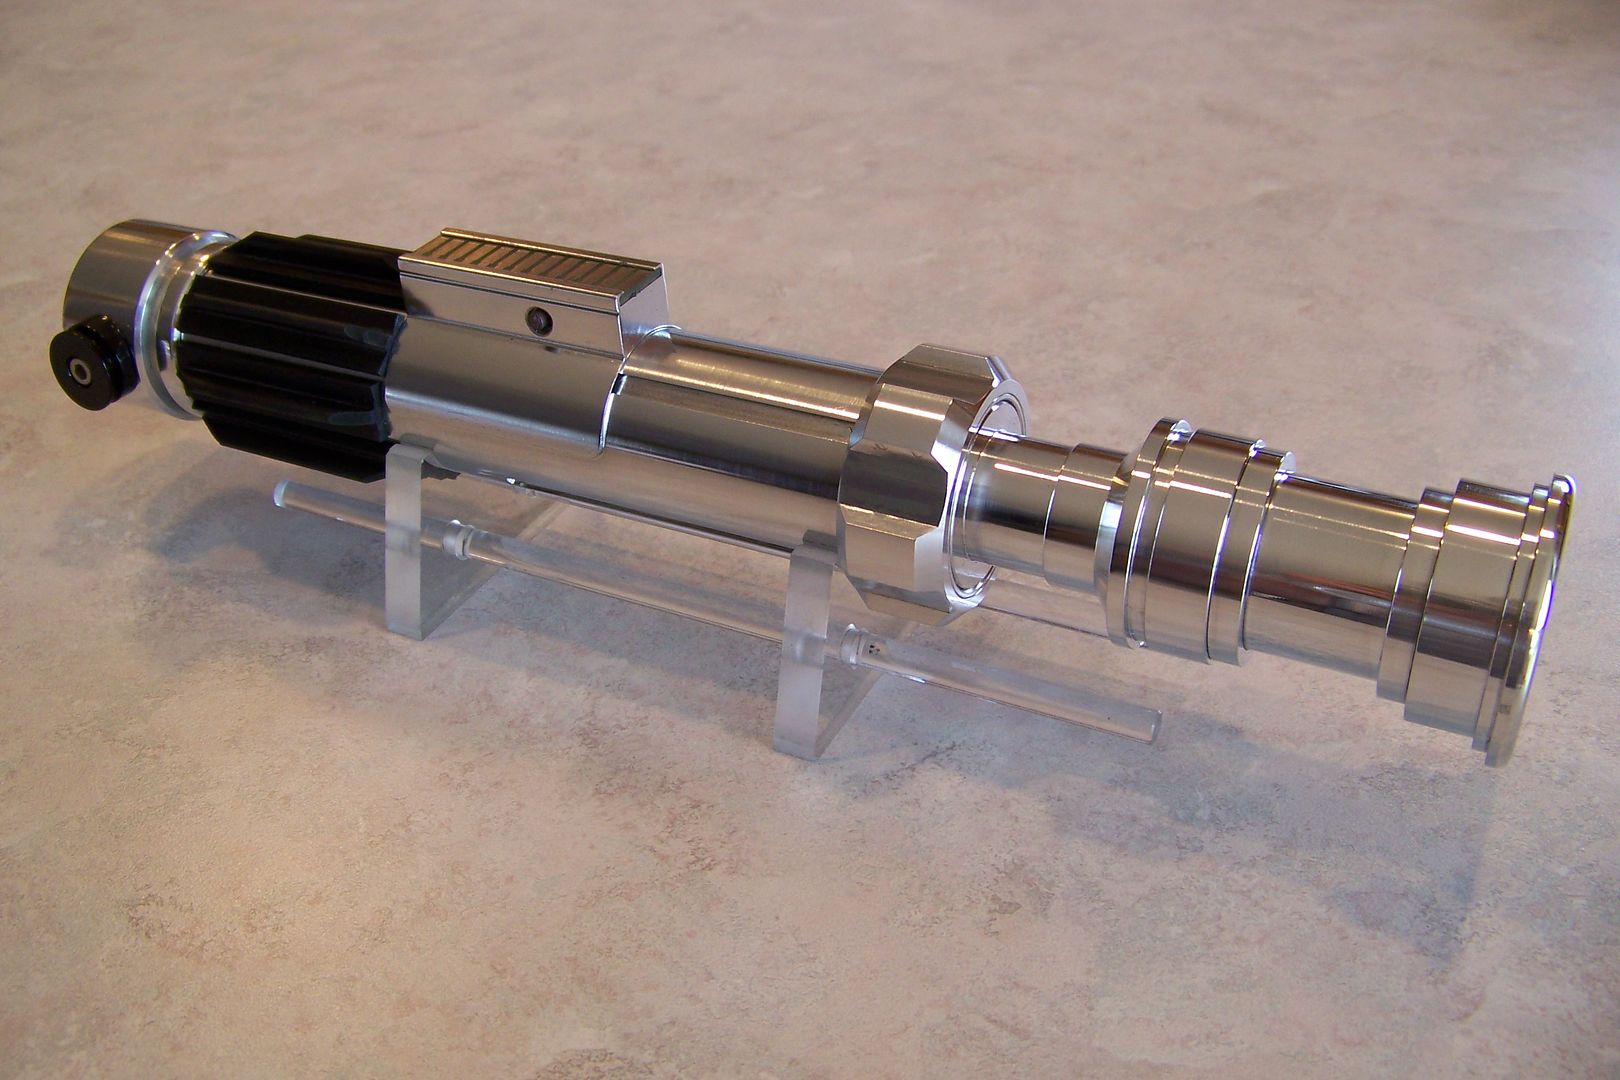
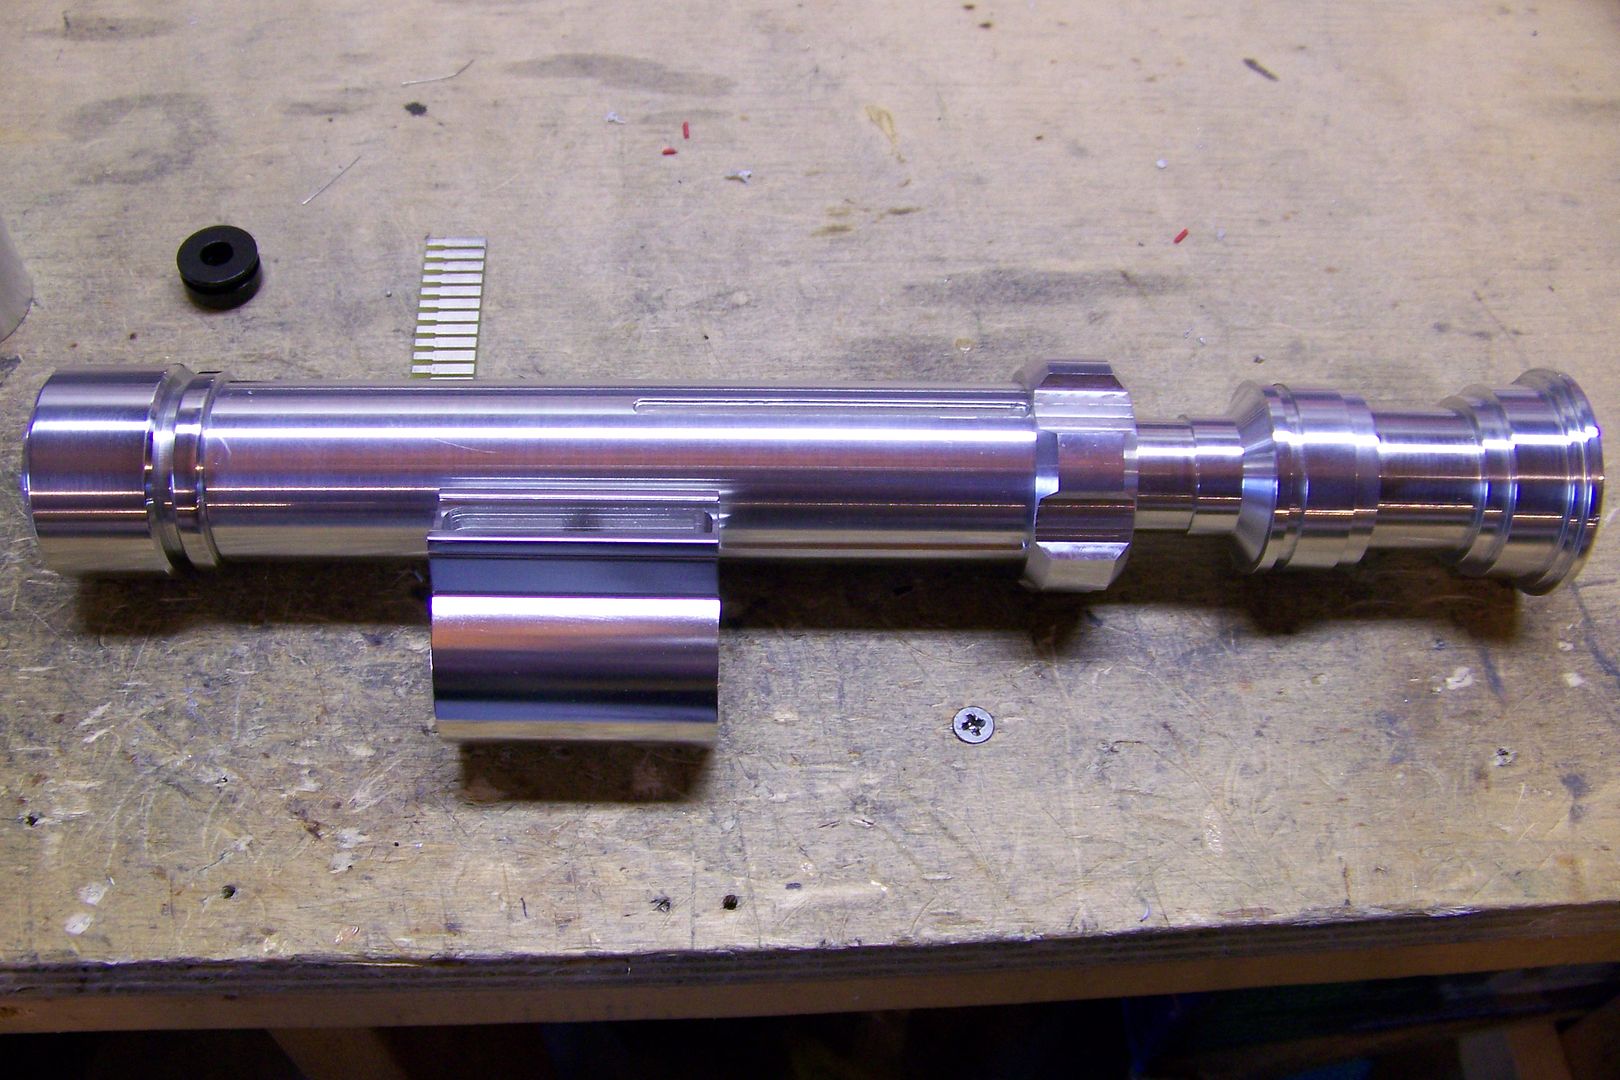
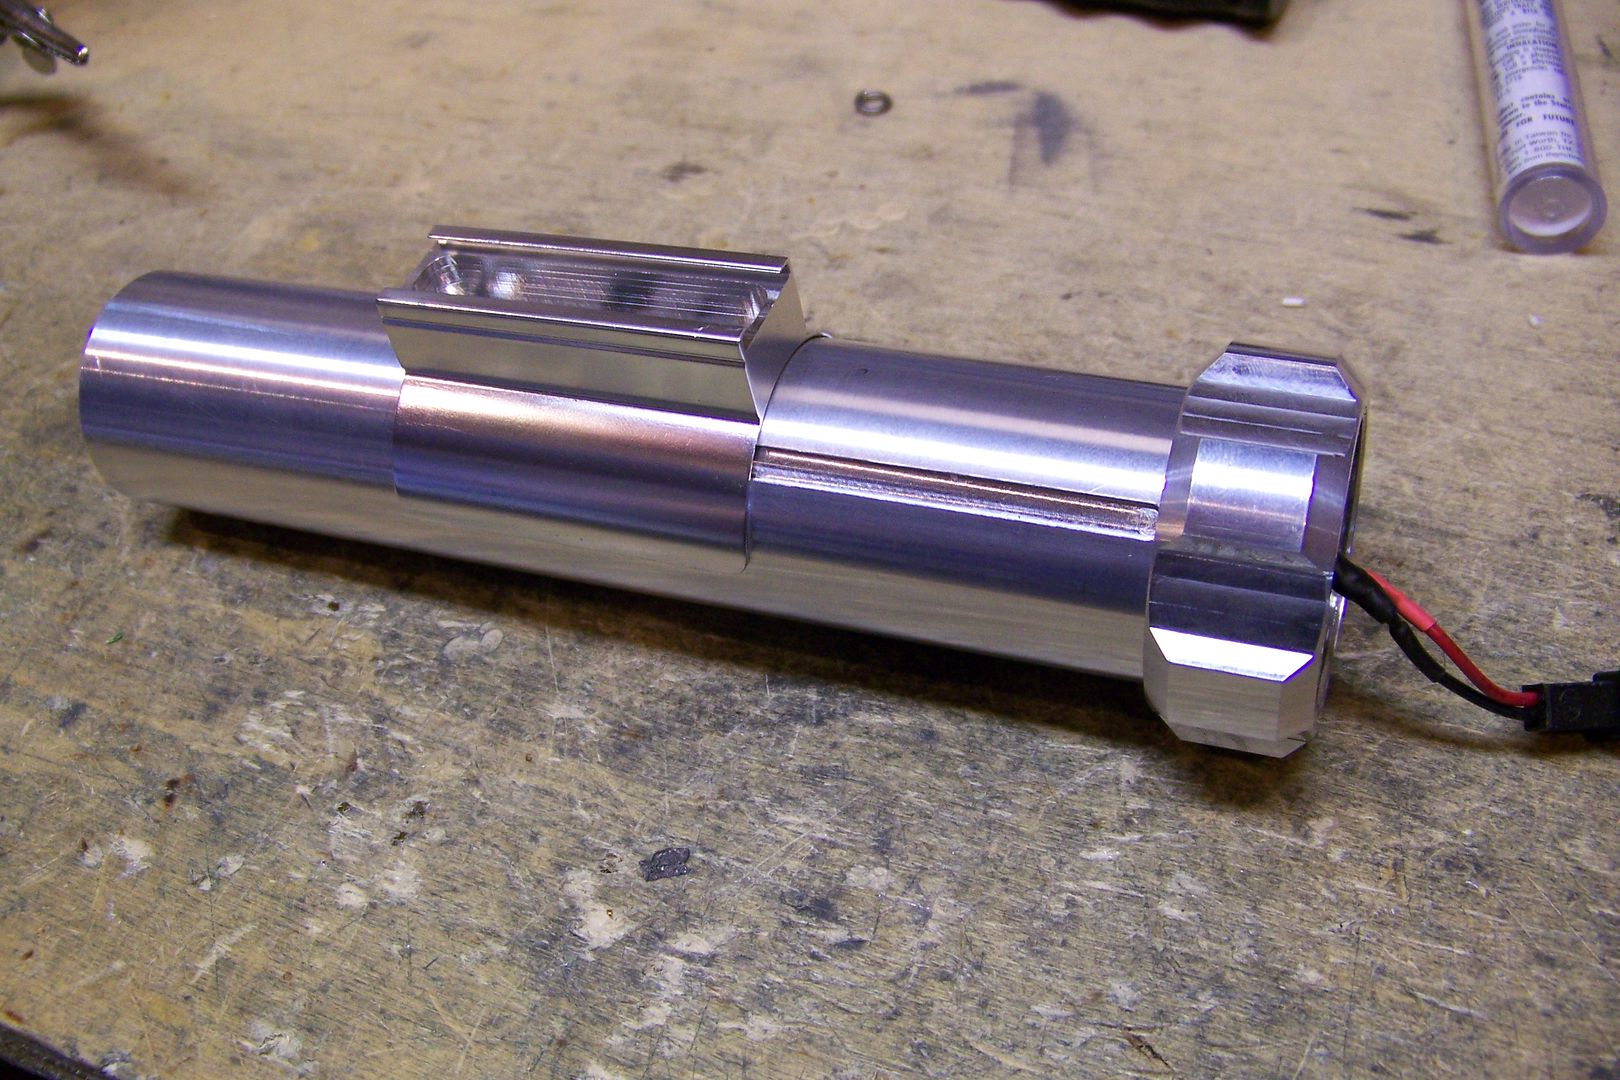
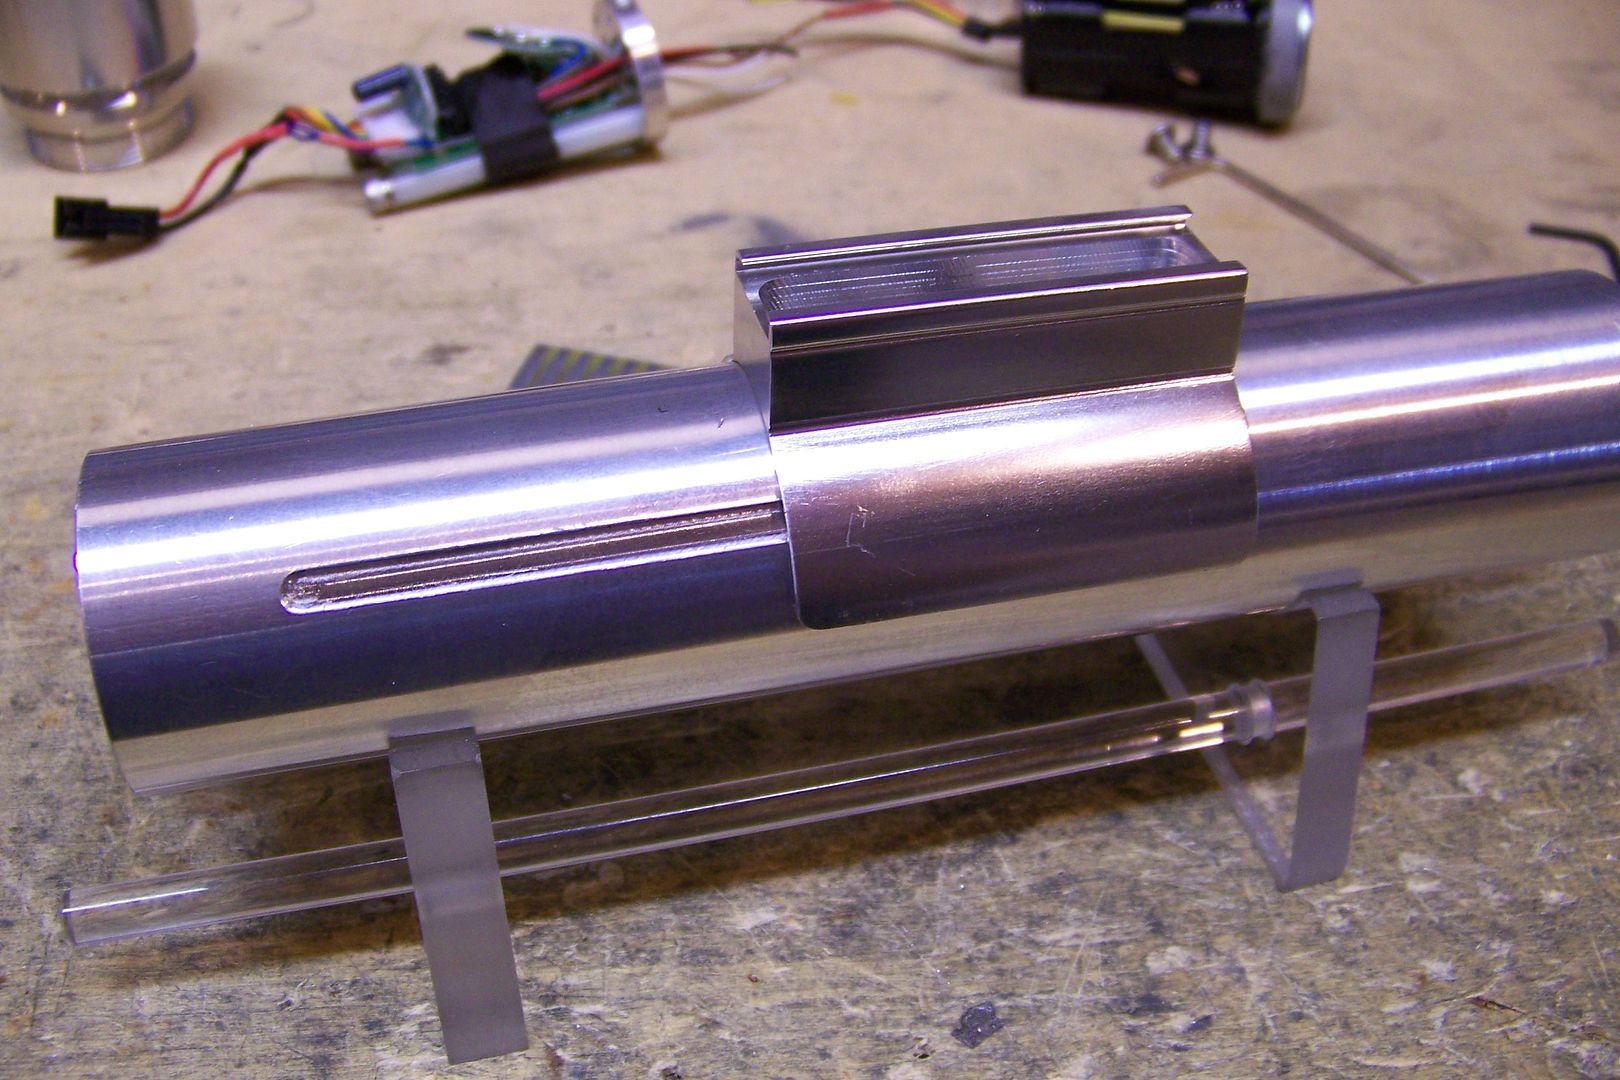
I thought it would be nice to do a test assembly to see how the saber will look, and put it together:
I added the choke piece, then the emitter/blade holder:
Then added the pommel:
I think this is going to look gooood.....
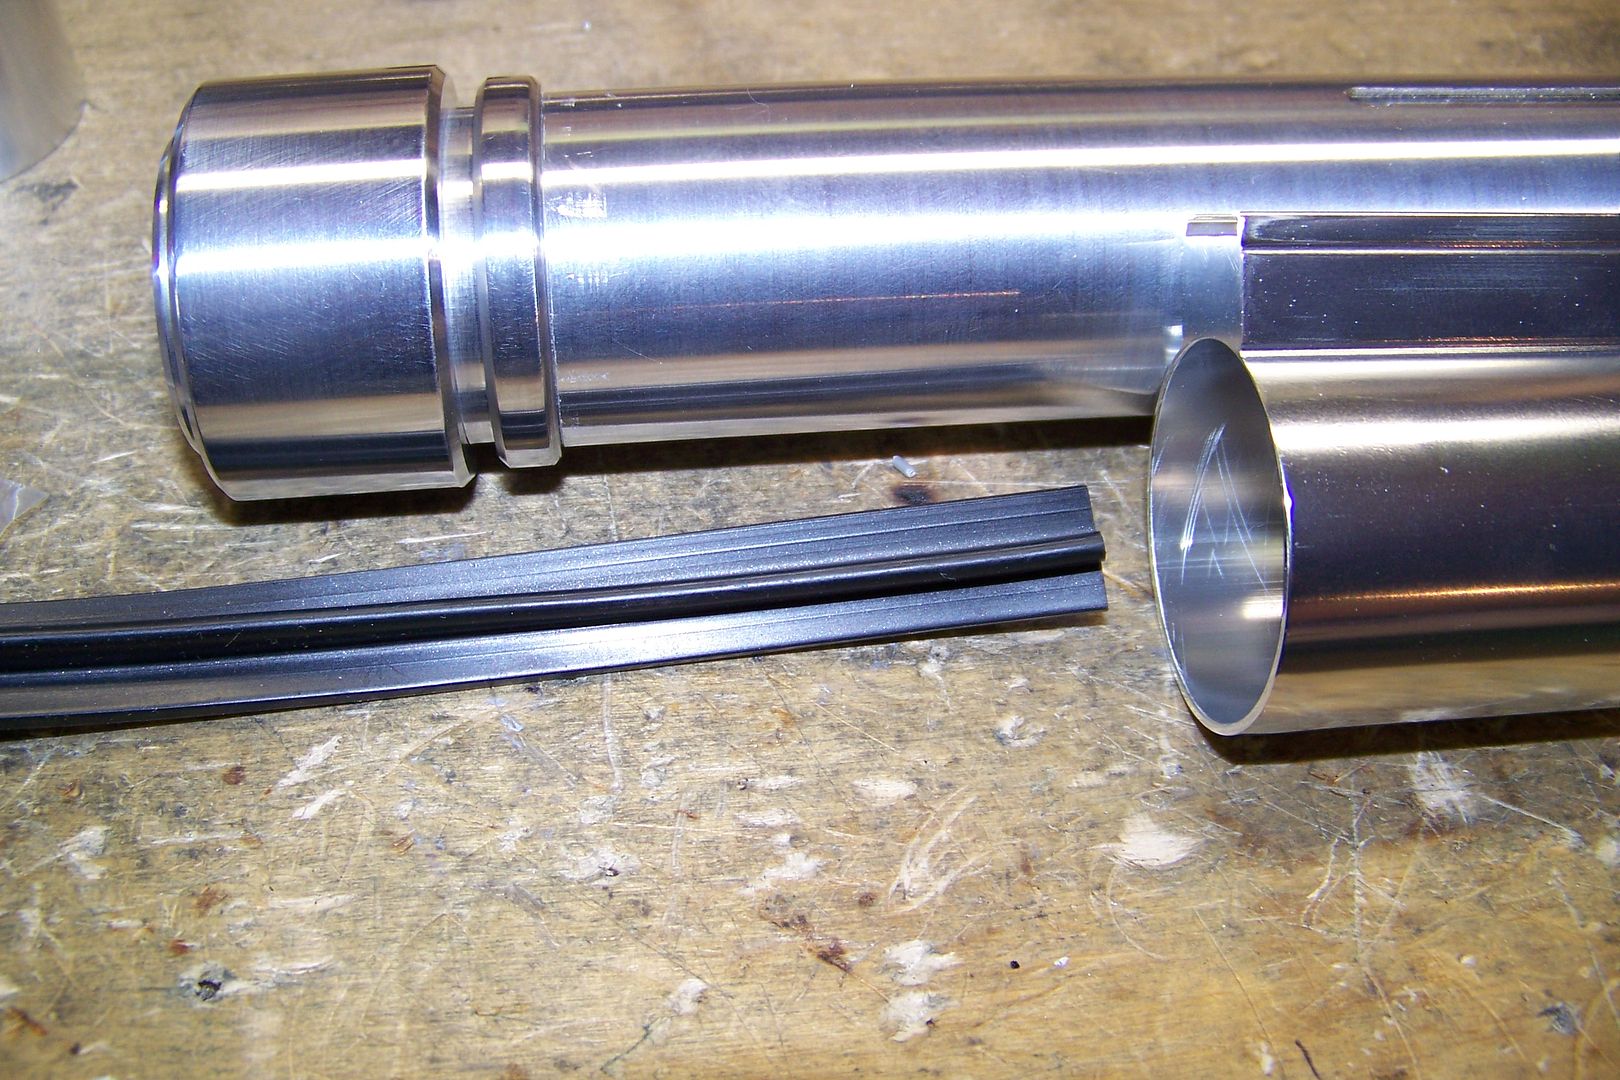
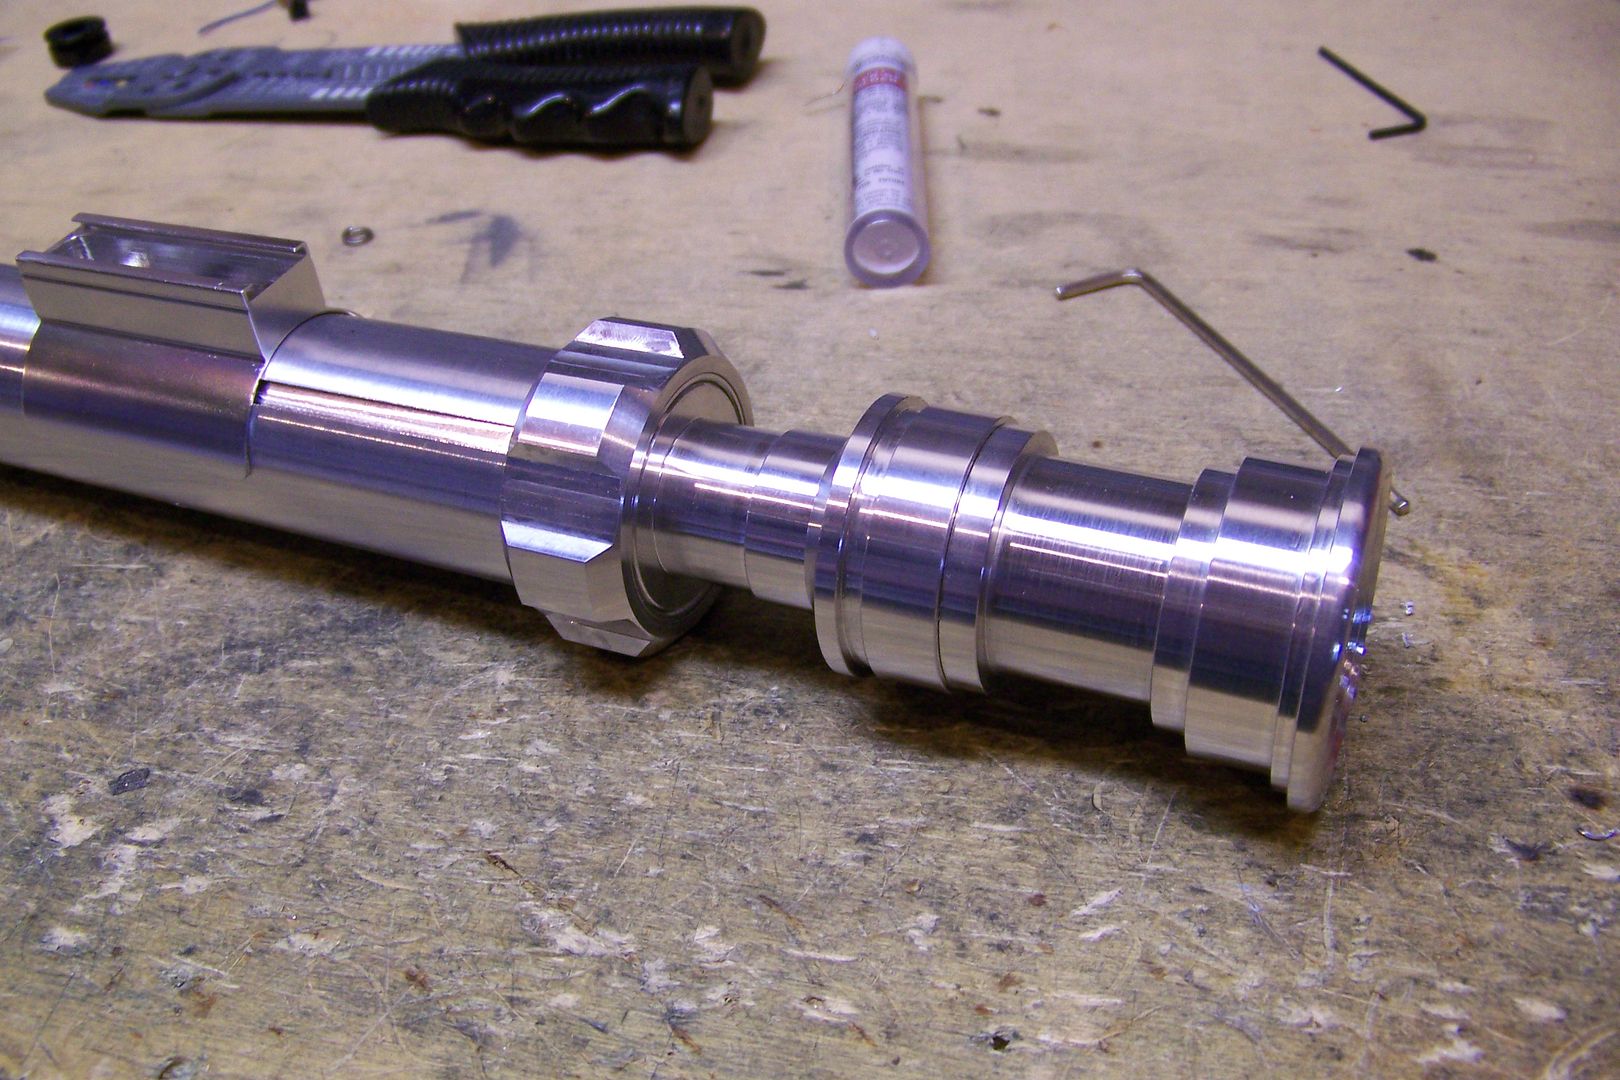
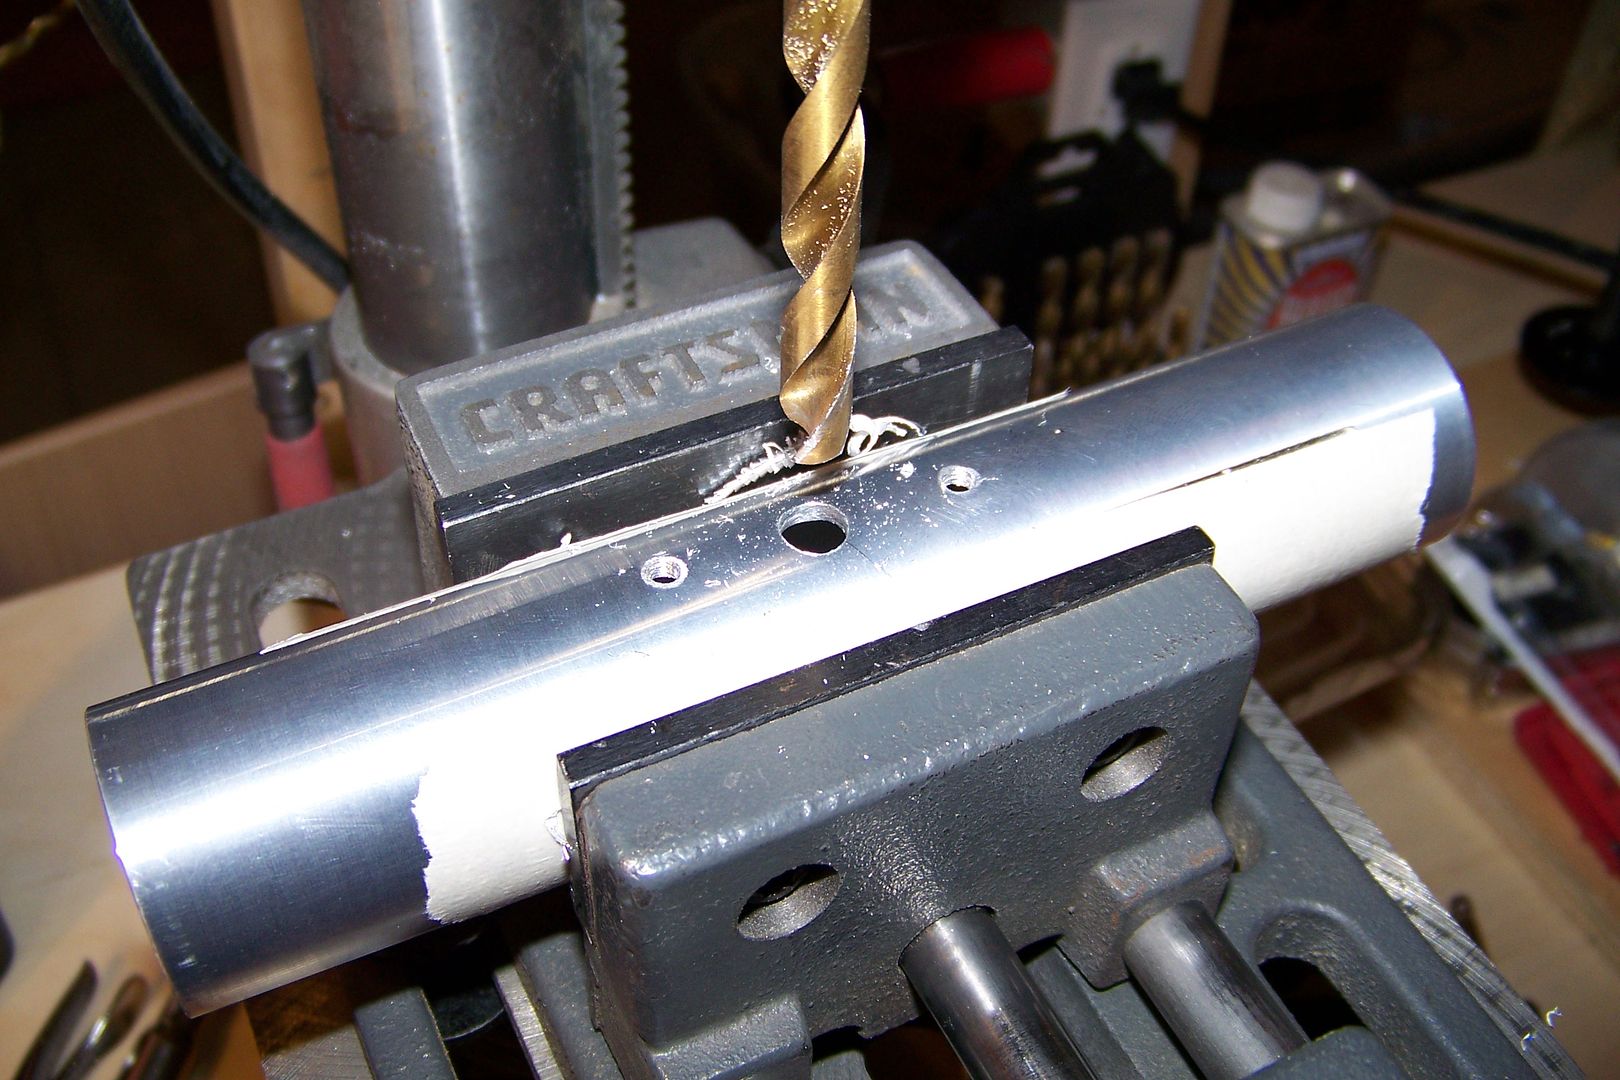
Next up, I dismantled it and drilled for the switch wire hole in the main hilt piece:
now to see if it lines up okay with the one in the switch box:
Yup, looks good. Now there's only one more hole to drill for in the switch box....but before I can do that, I need to check with Rome about where he would like it....on this side of the switch box:
We'll call this the right side.....
Or the left side:
The location of this button is important because it makes a difference with whether or not you're right or left handed and where the saber will hang on your belt, either on your left side or right side. It makes it easier to activate if it's on the correct side for you.
Here's the button I plan to use:
This is a mini-tactile, and has a nice click action to it, even though it's momentary.
I marked it off for the hole:
Then drilled it:
I cut off part of the actuator on the button and checked the fit:
I mis-marked the hole when I drilled it, thinking the bottom of the switch box opening was a little deeper than it actually is, so i had to use the dremel to open it up more, so the hole's a little larger than i would have liked, but the switch works just fine.
To secure it inside the box, I'll likely use hot glue. If that doesn't hold it well enough, I can drill and tap a hole on the opposite side and use a screw to hold the switch in place.
I added the card to see what it'll look like:
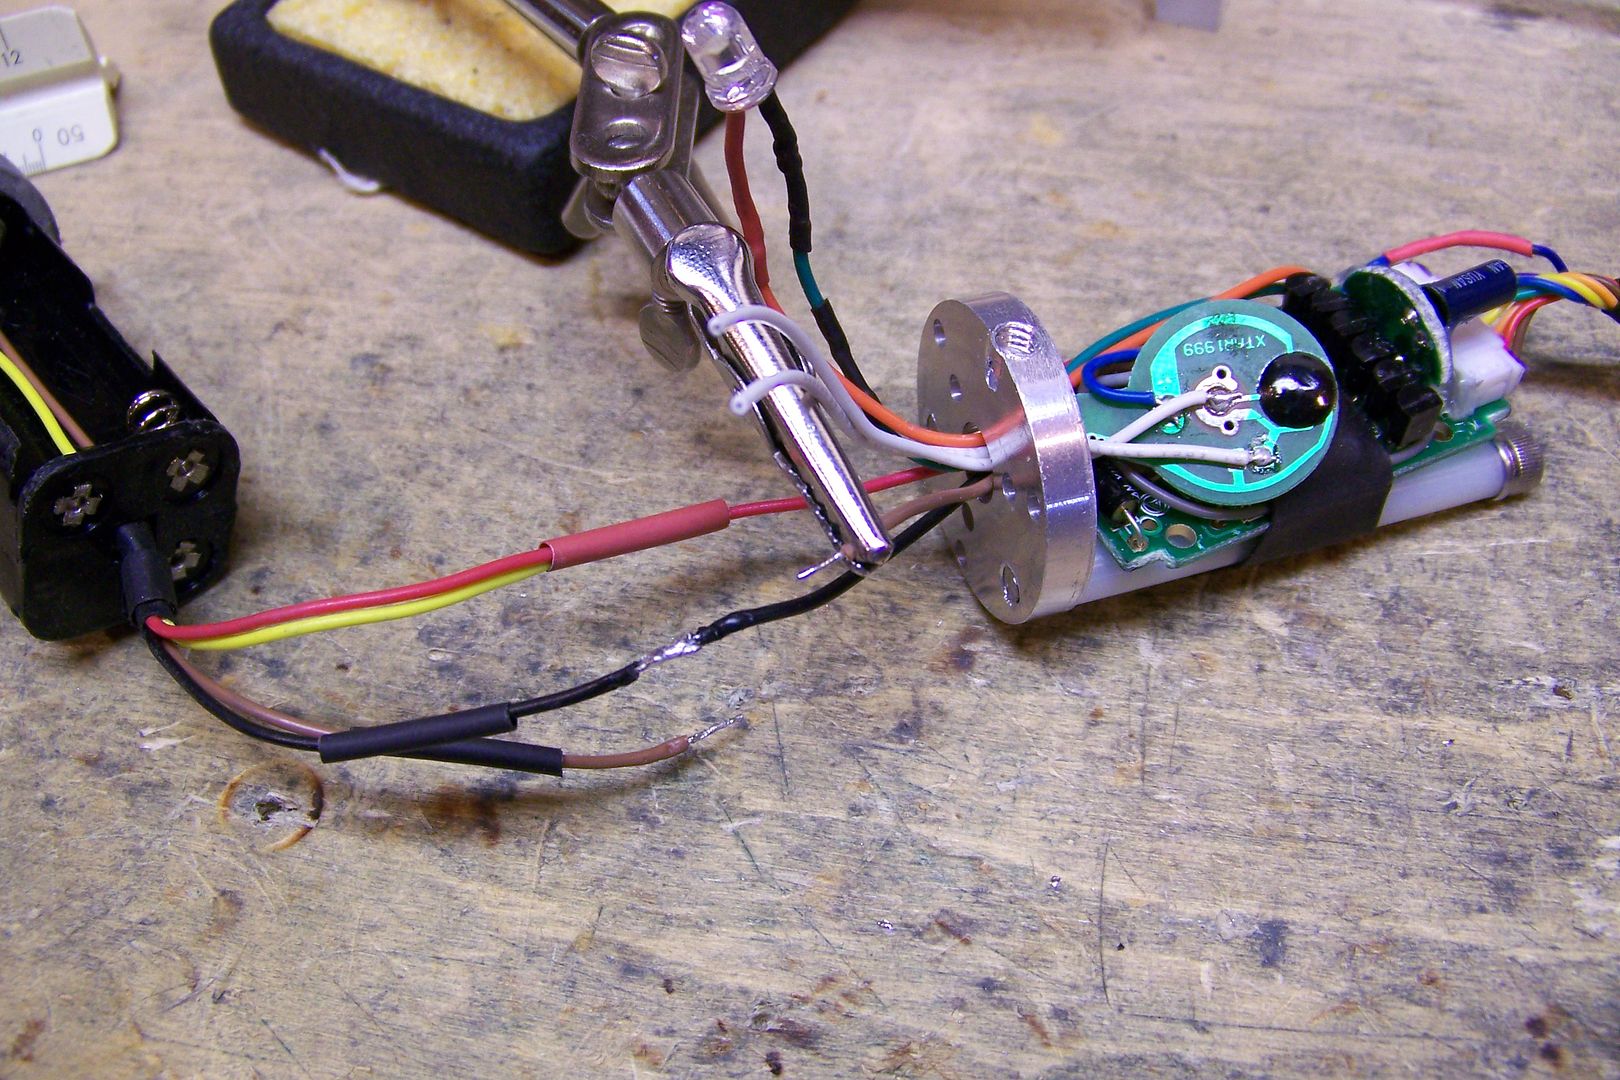
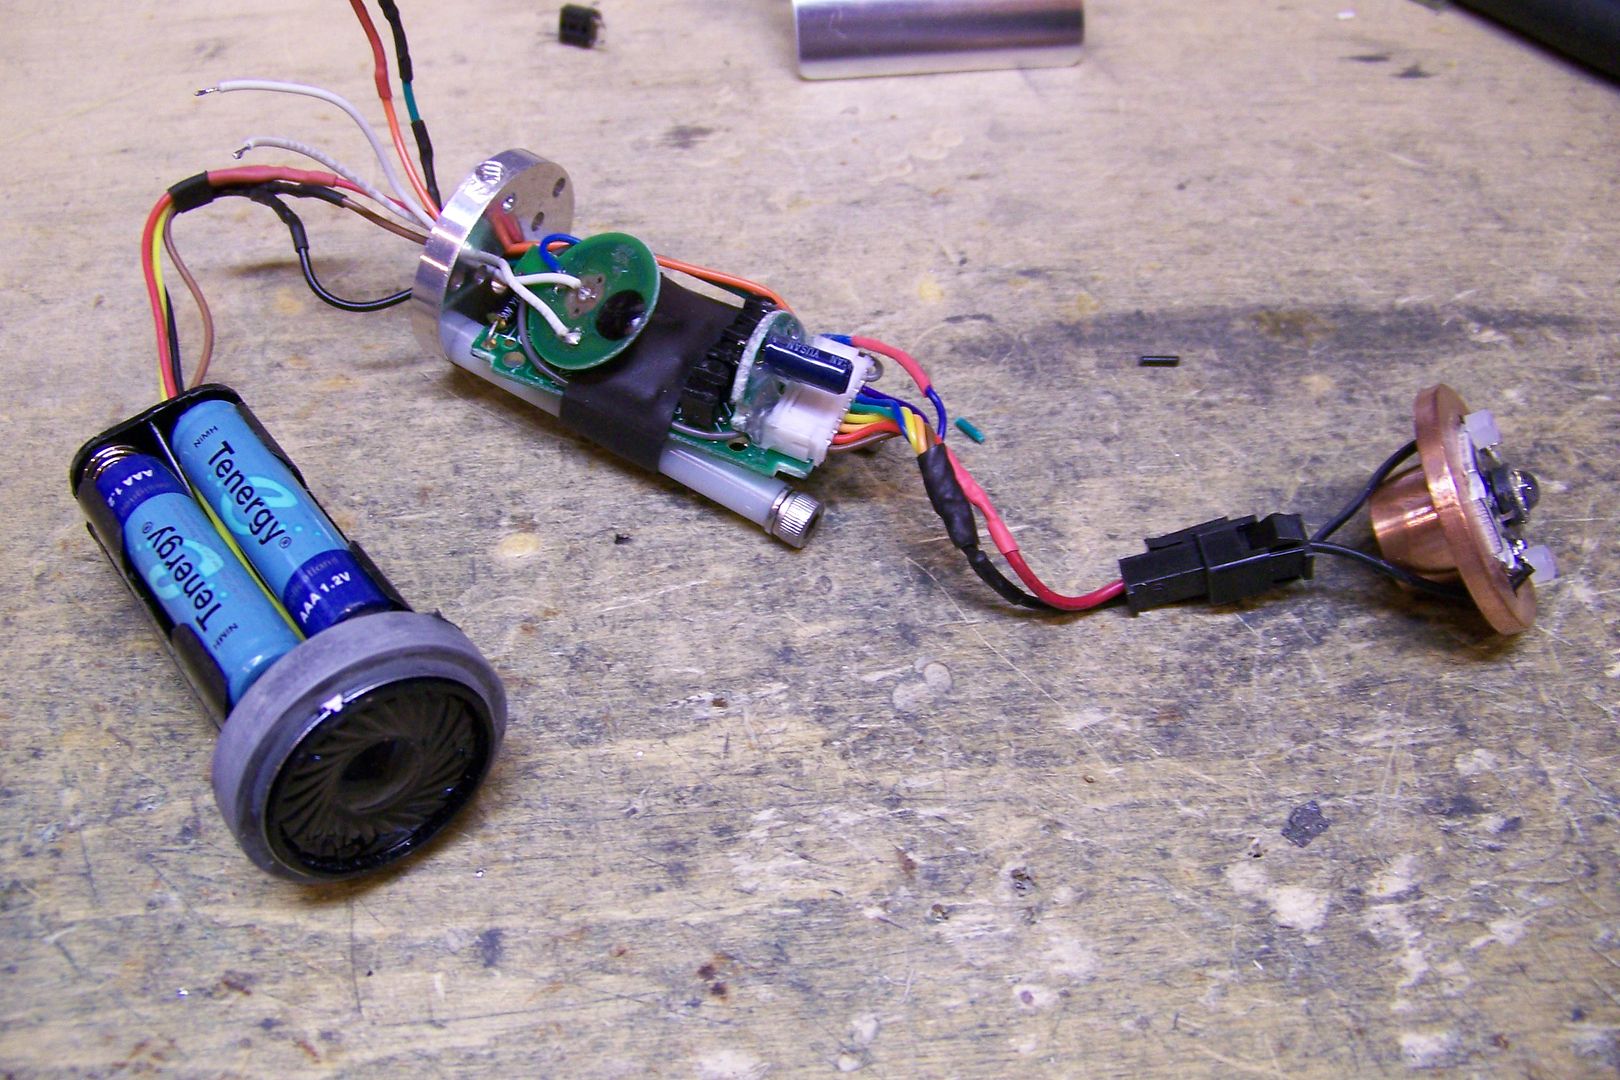
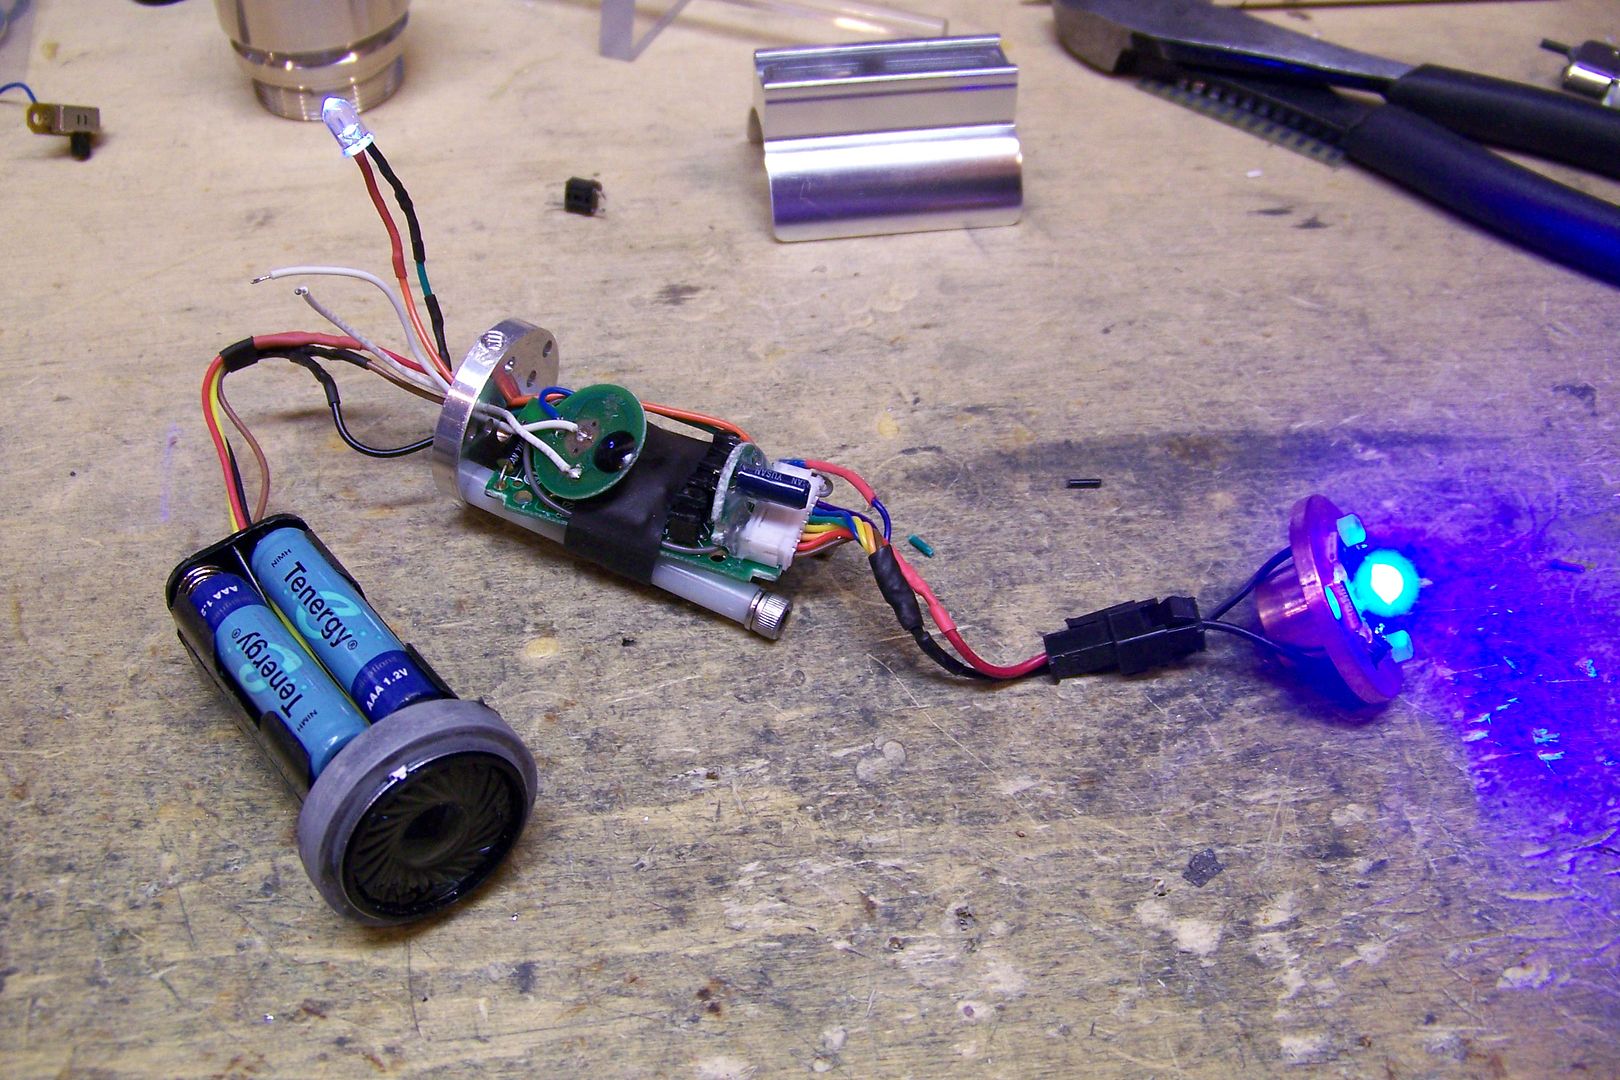
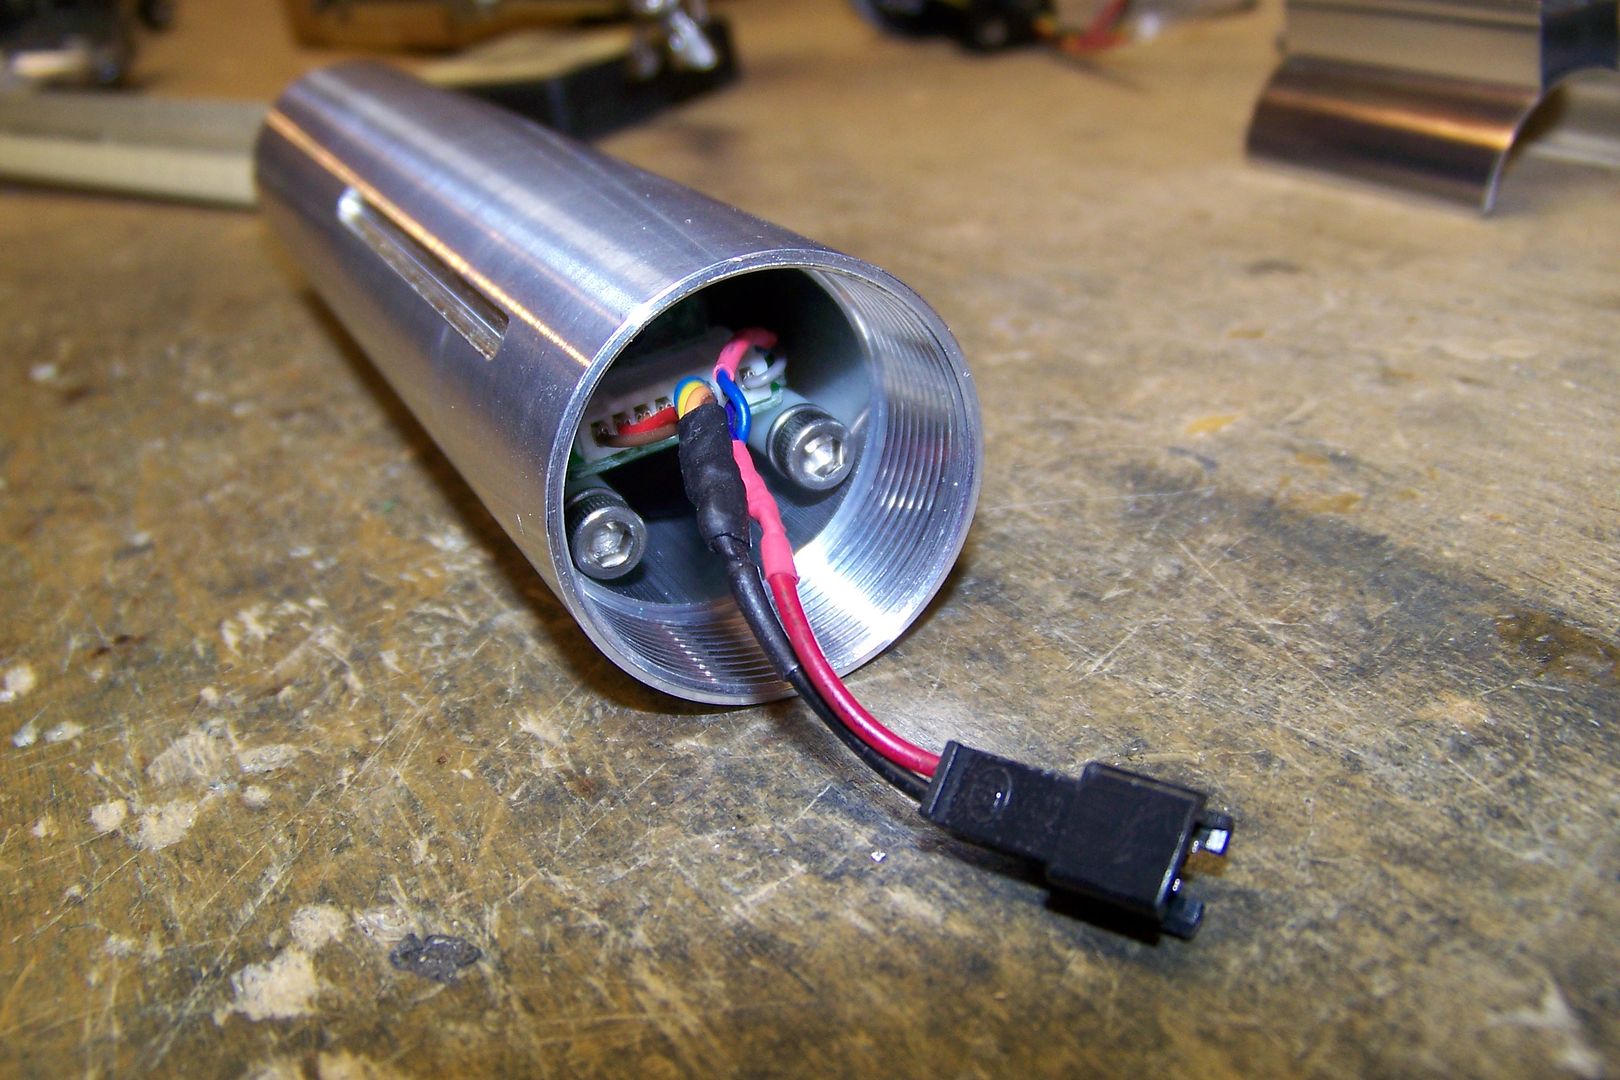
I then moved on to the wiring. Since the battery pack and speaker assembly was already done, all I had to do was connect the wires to the board:
Add the led and some batteries:
And test it:
Wow...I think those rehcargeables need charging....I swapped in a fresh set of regular batteries, and checked it again:
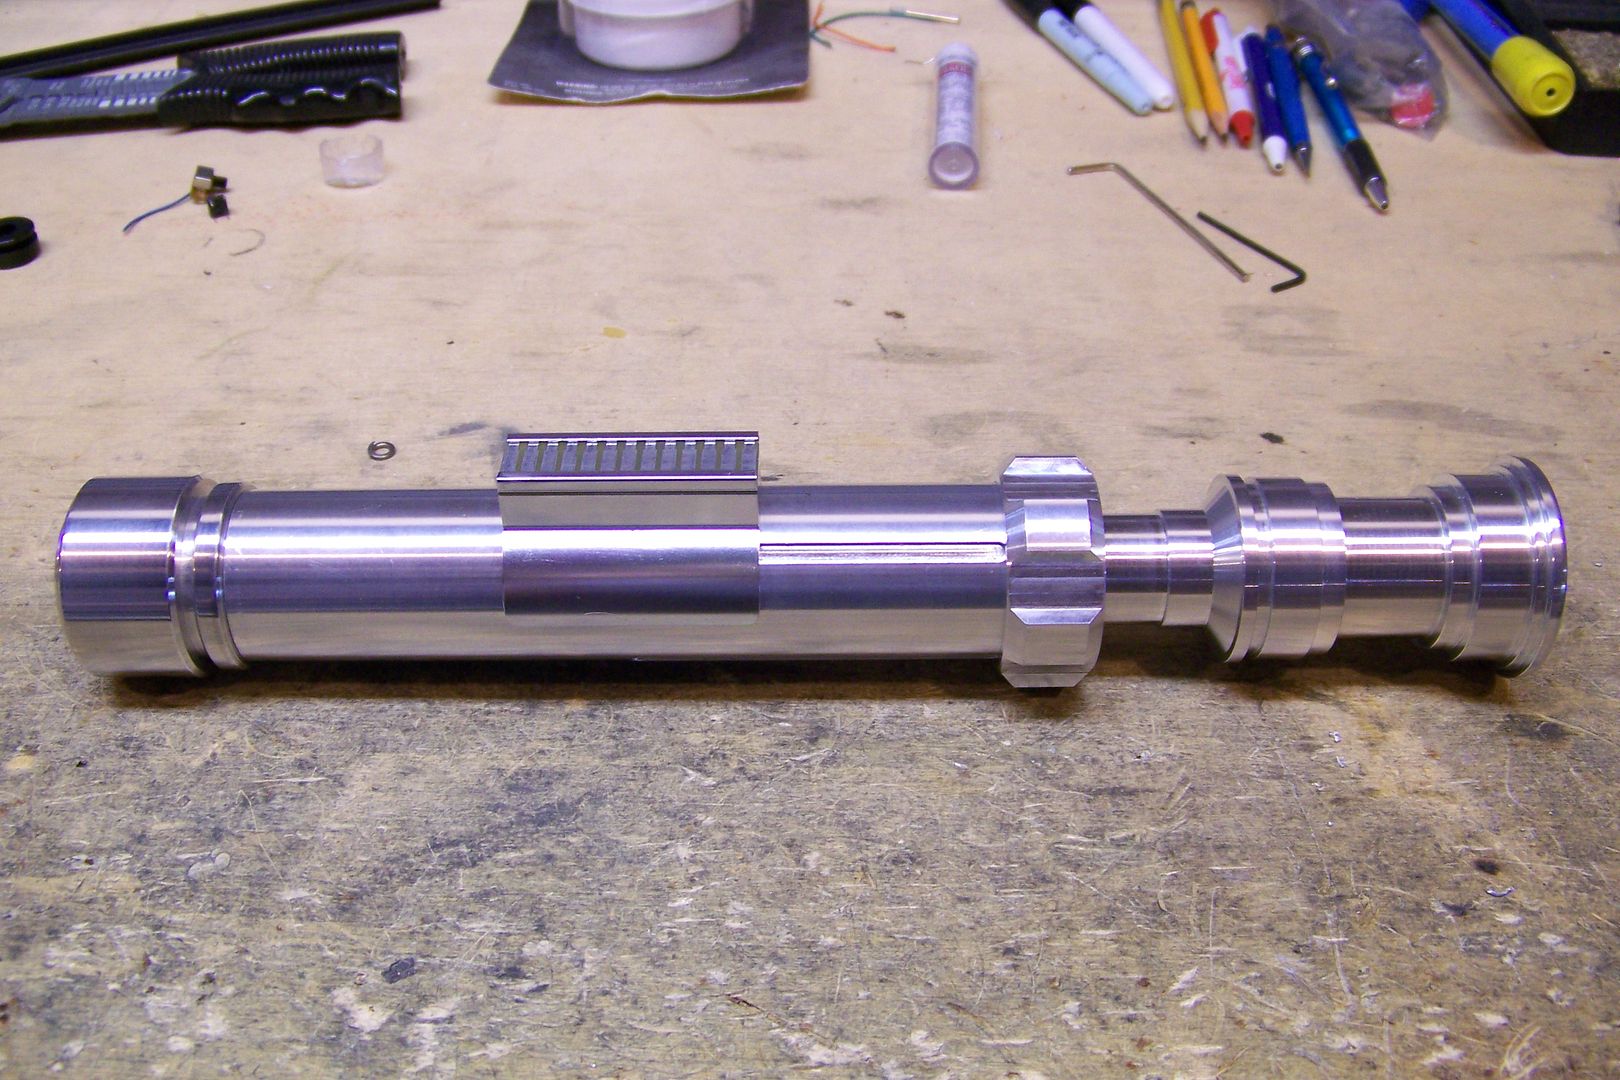
Much better. All I have left to do now before final assembly is sand and polish the hilt parts. normally I wouldn't, but the switch box is a lot smoother and shinier than the rest of the parts, and I'd like them to all be somewhat close in finish to each other.
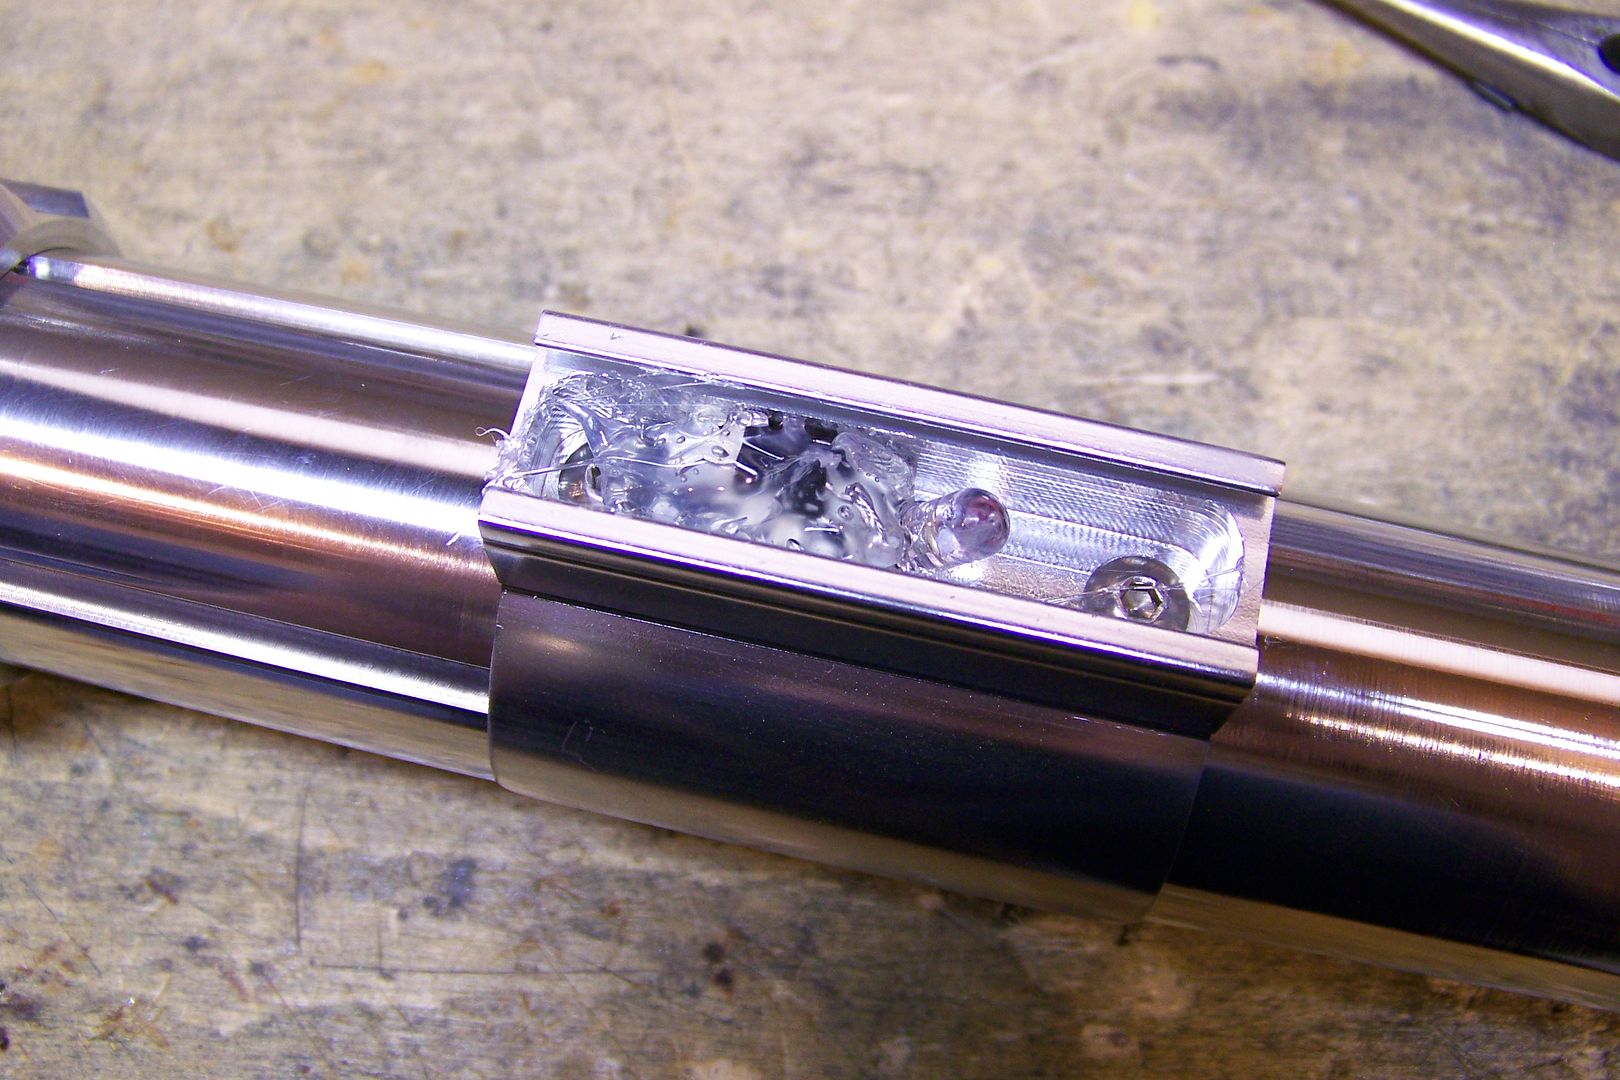
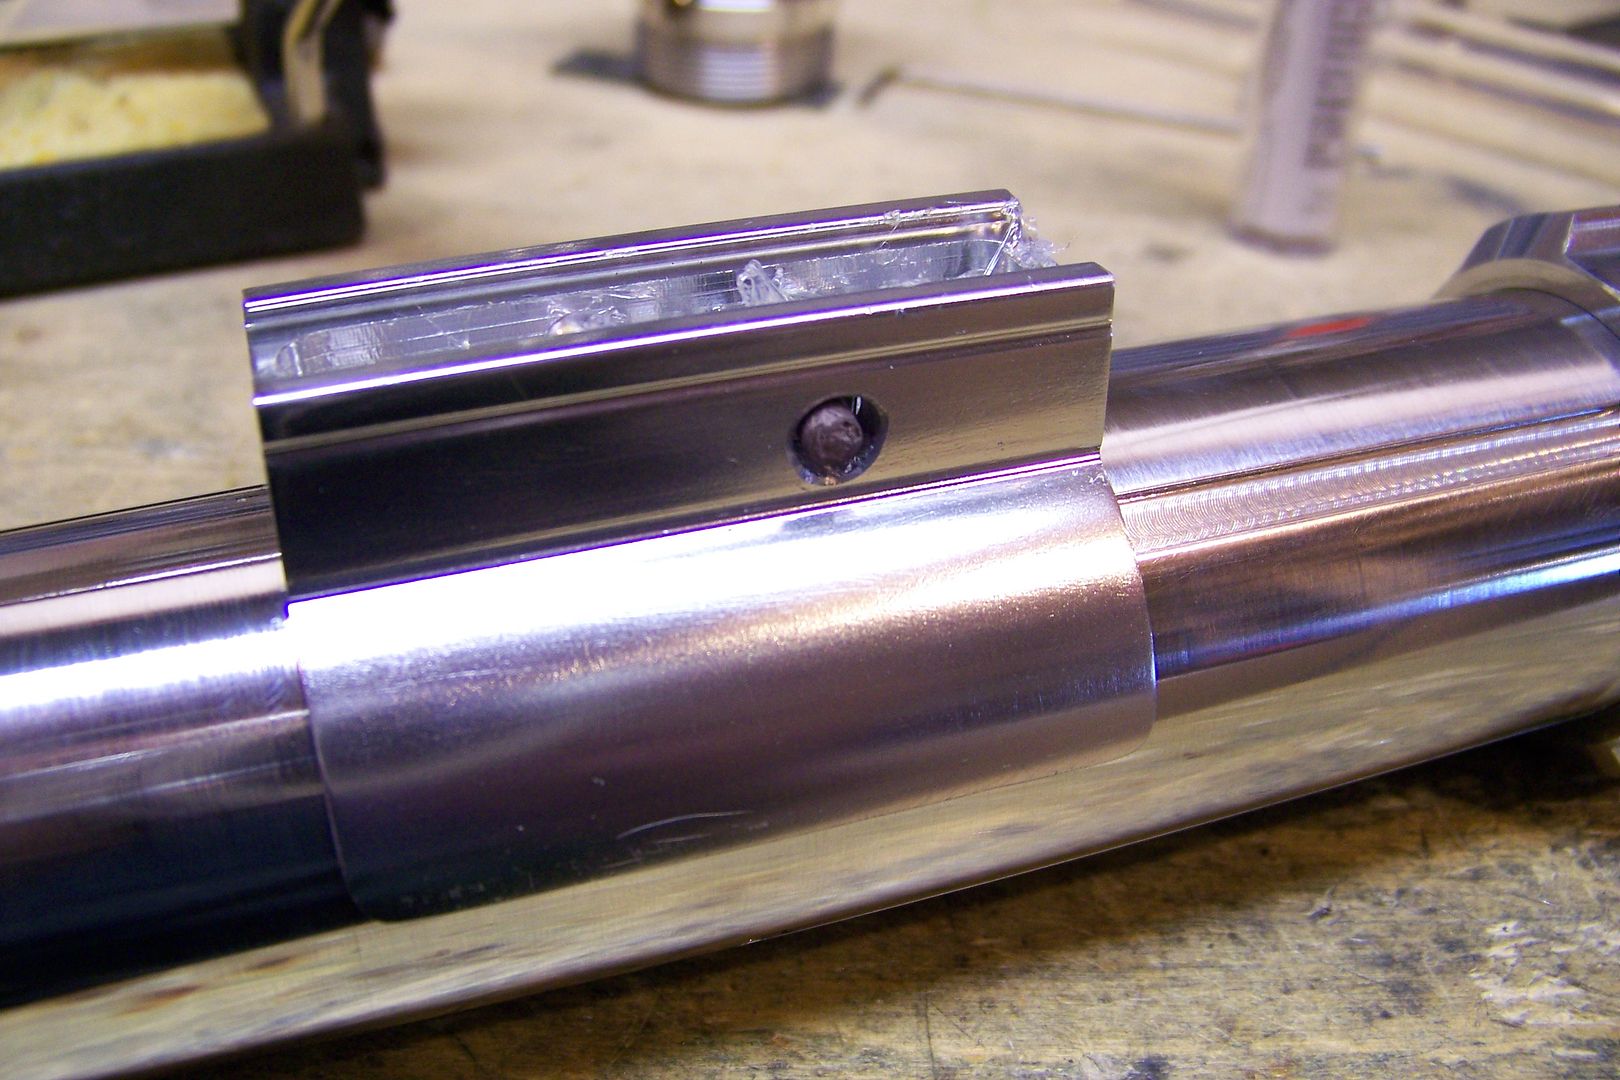
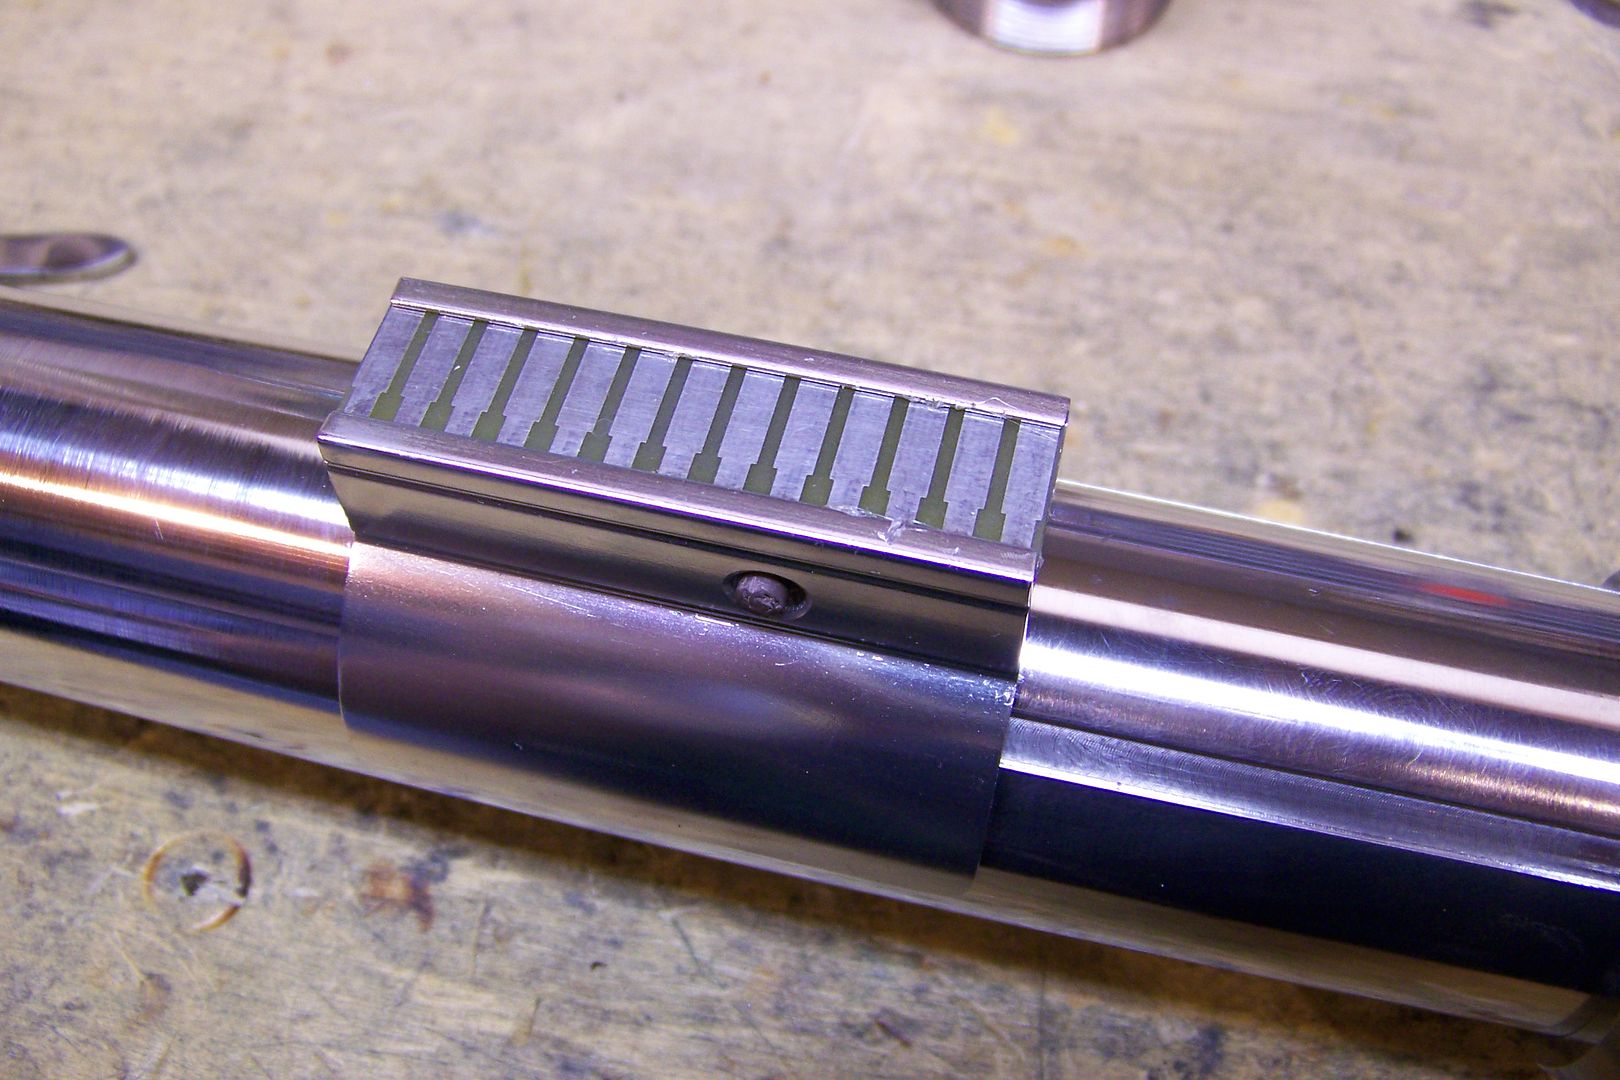
After completing the wiring, and getting all of the parts that needed sanding and polishing finished, I moved to the final stages of construction. I slid all of the electronics through the saber, and fished out the wires for the activation switch, soldered them onto the mini-tactile, then back-filled around it with hot-glue:
I slid the circuit card into place:
Attached the choke piece:
Fished out the led connector:
(This was just long enough to reach....lucky the saber the electronics came from had a long reach for the main blade led as well )
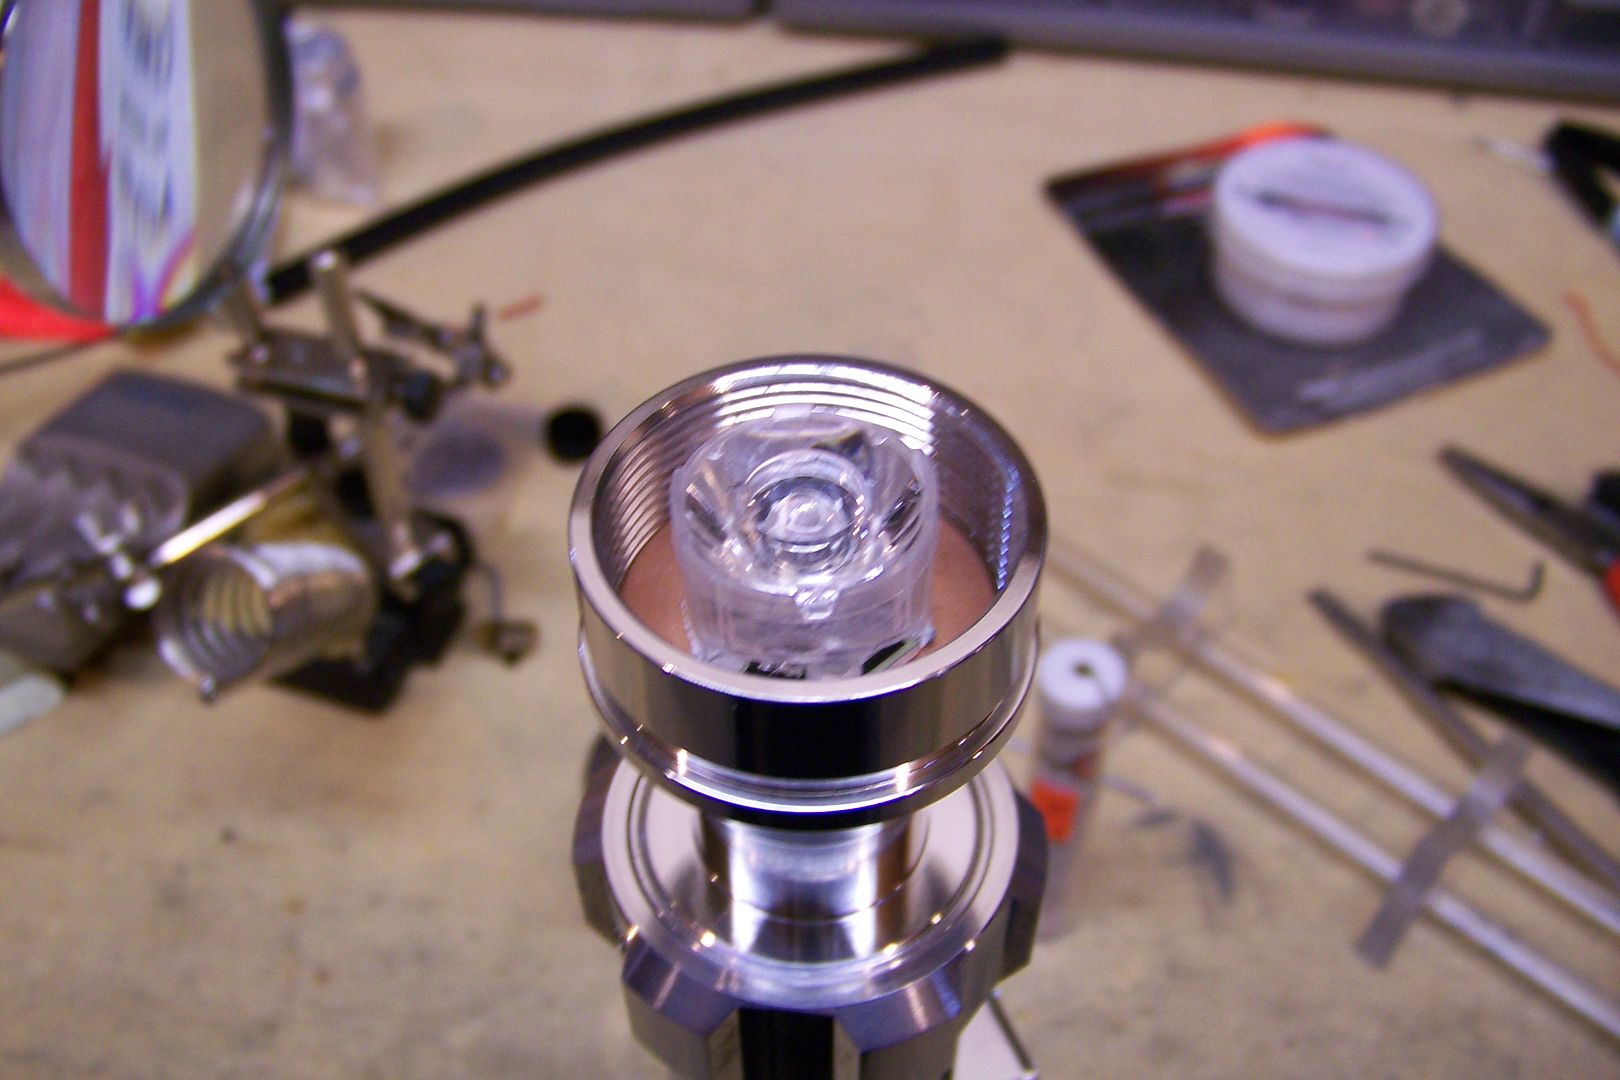
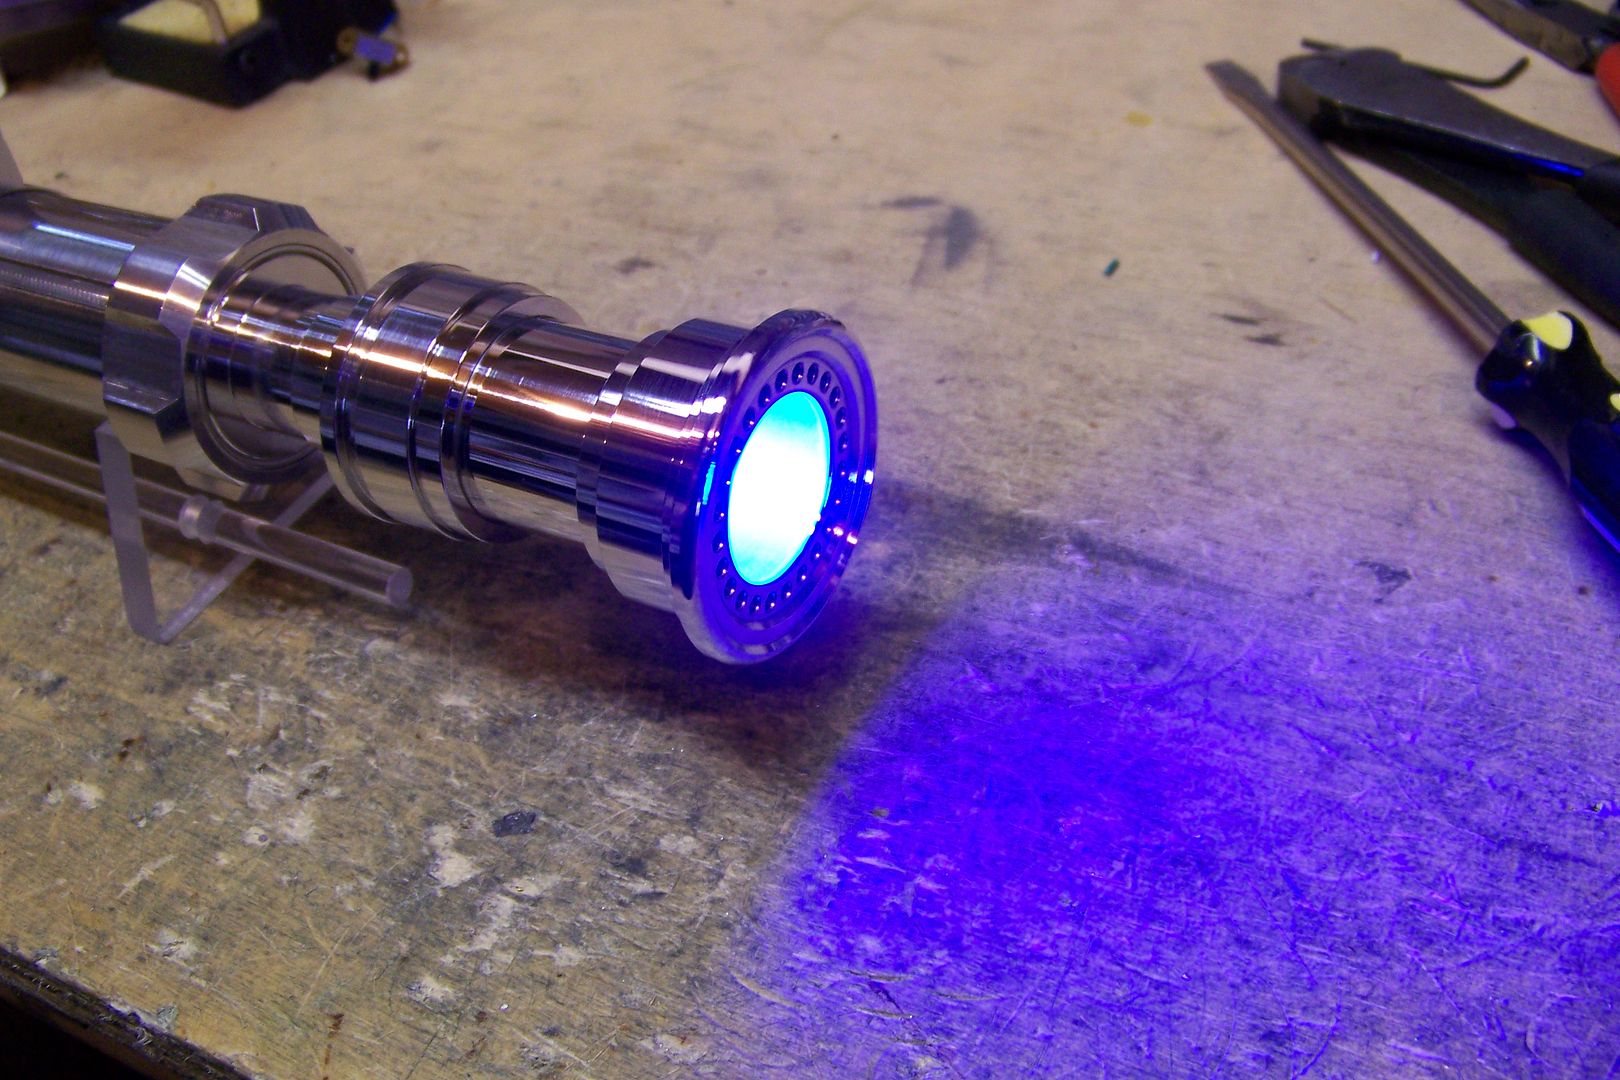
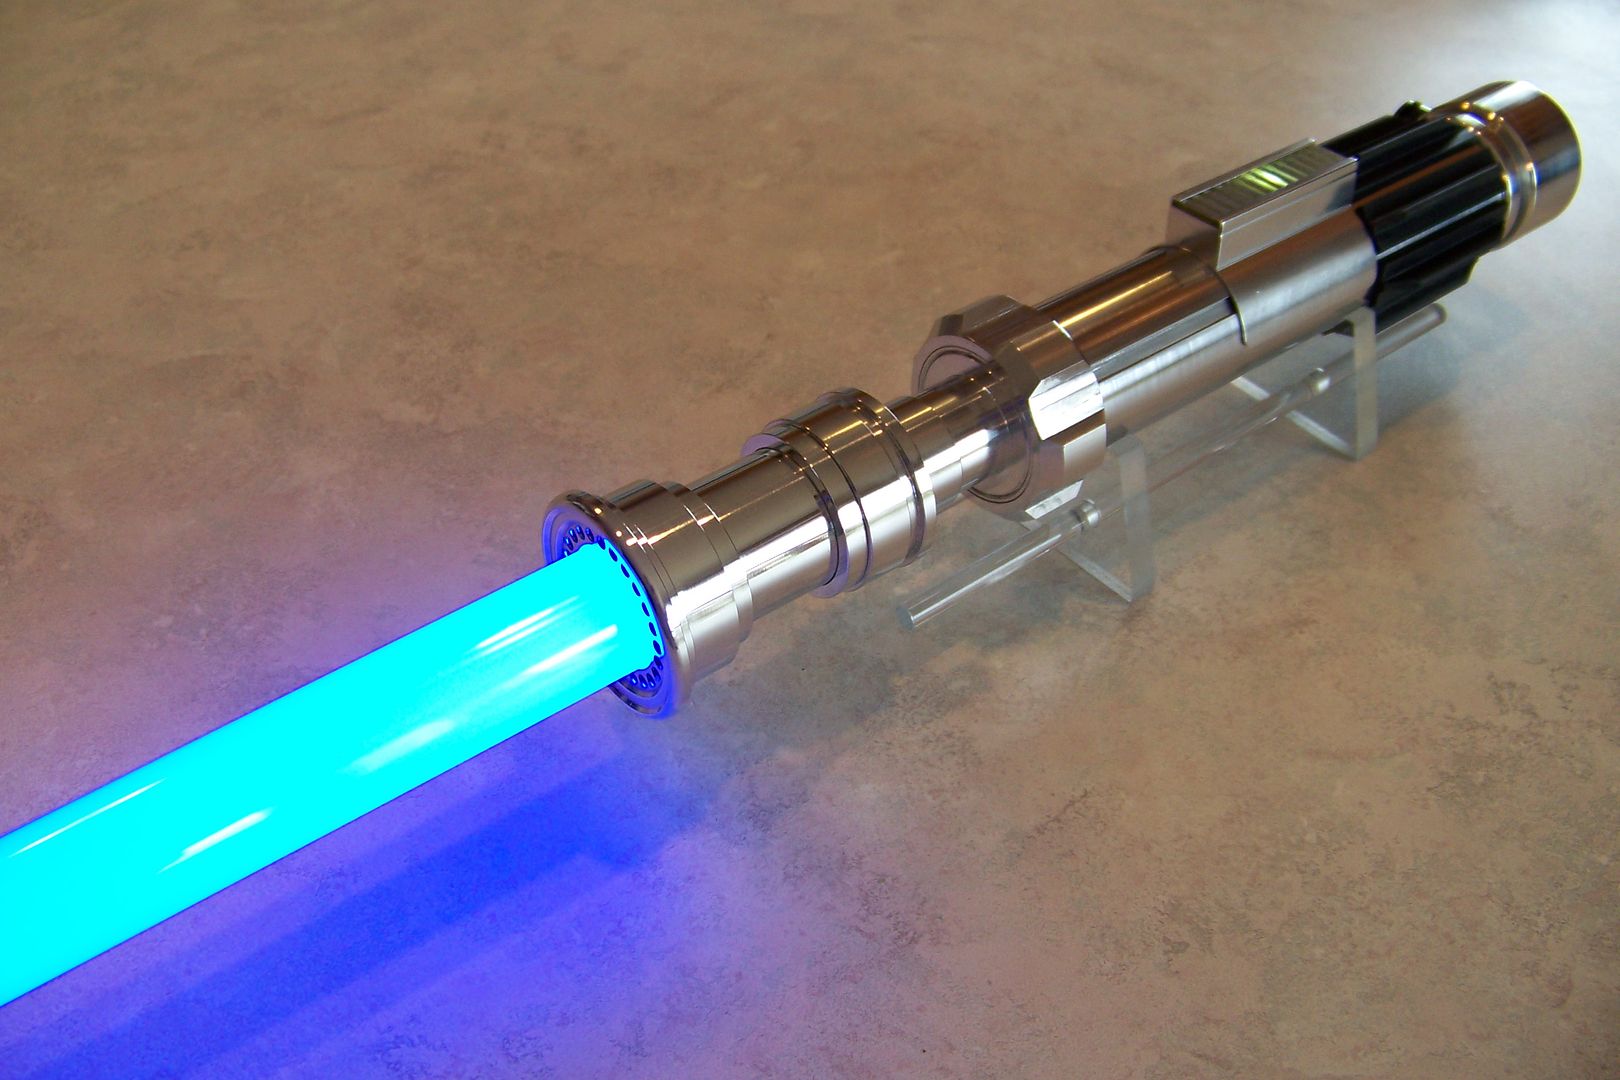
Plugged in and installed the blue Seoul P4 led:
Added the focusing lens (without this, the led won't light up the blade):
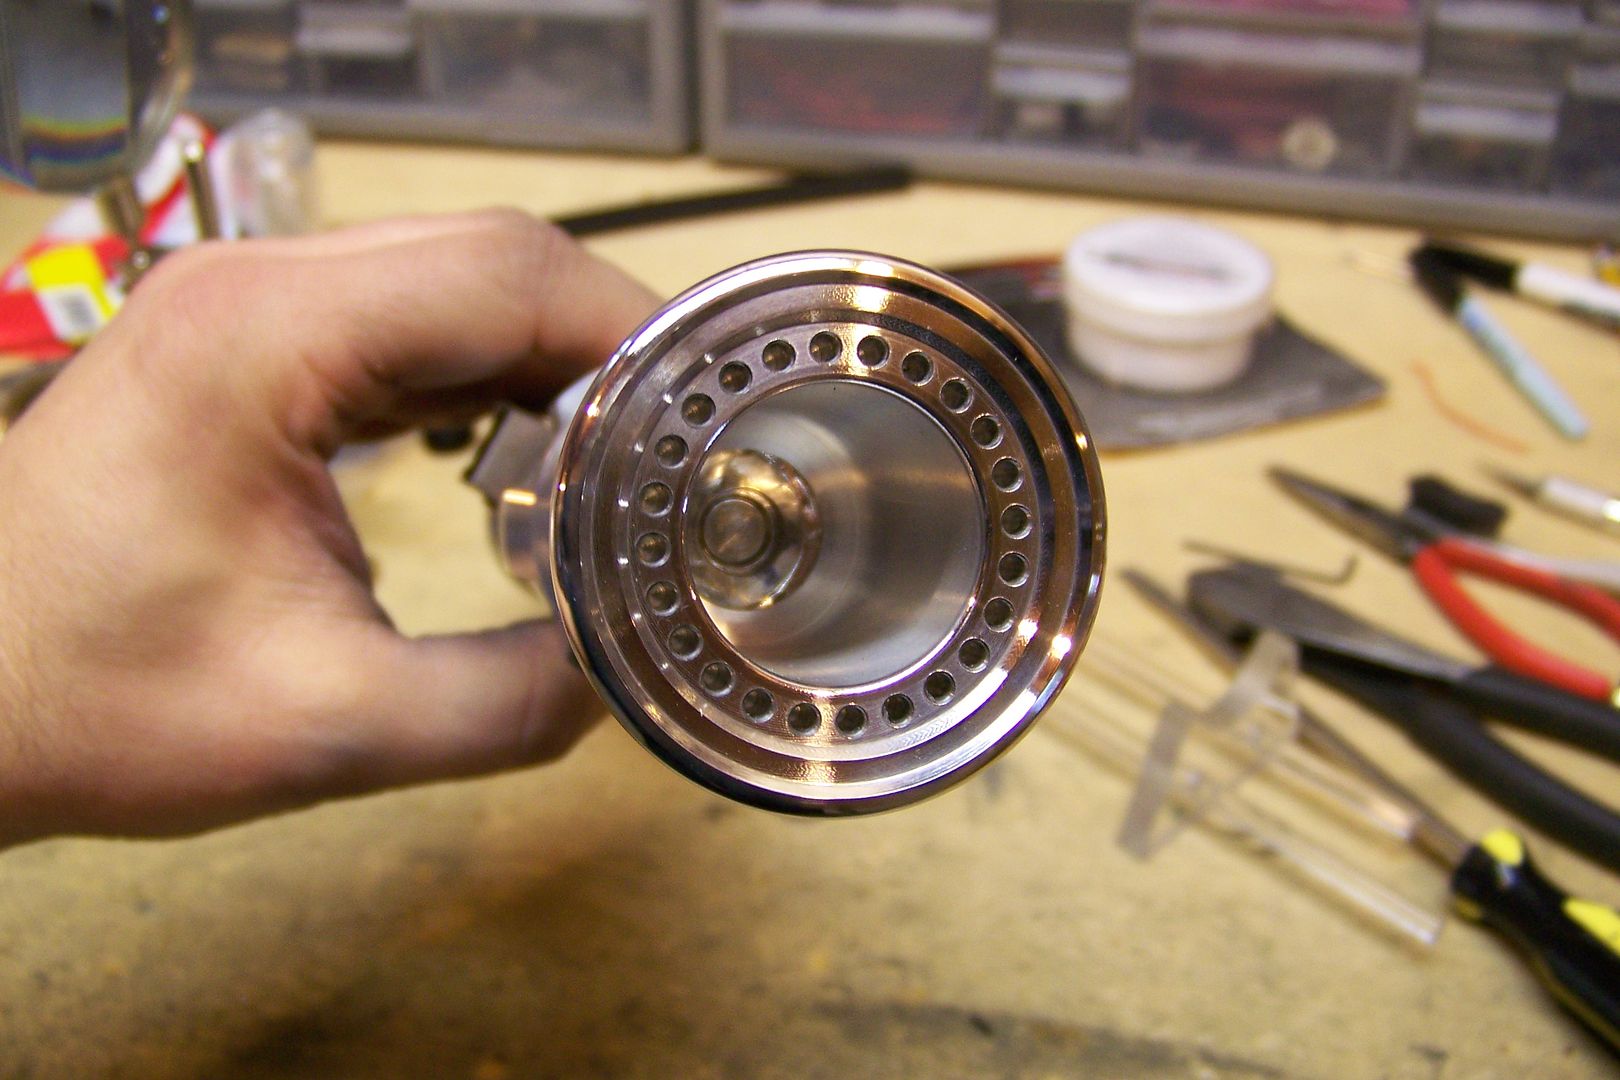
Installed the emitter/blade holder:
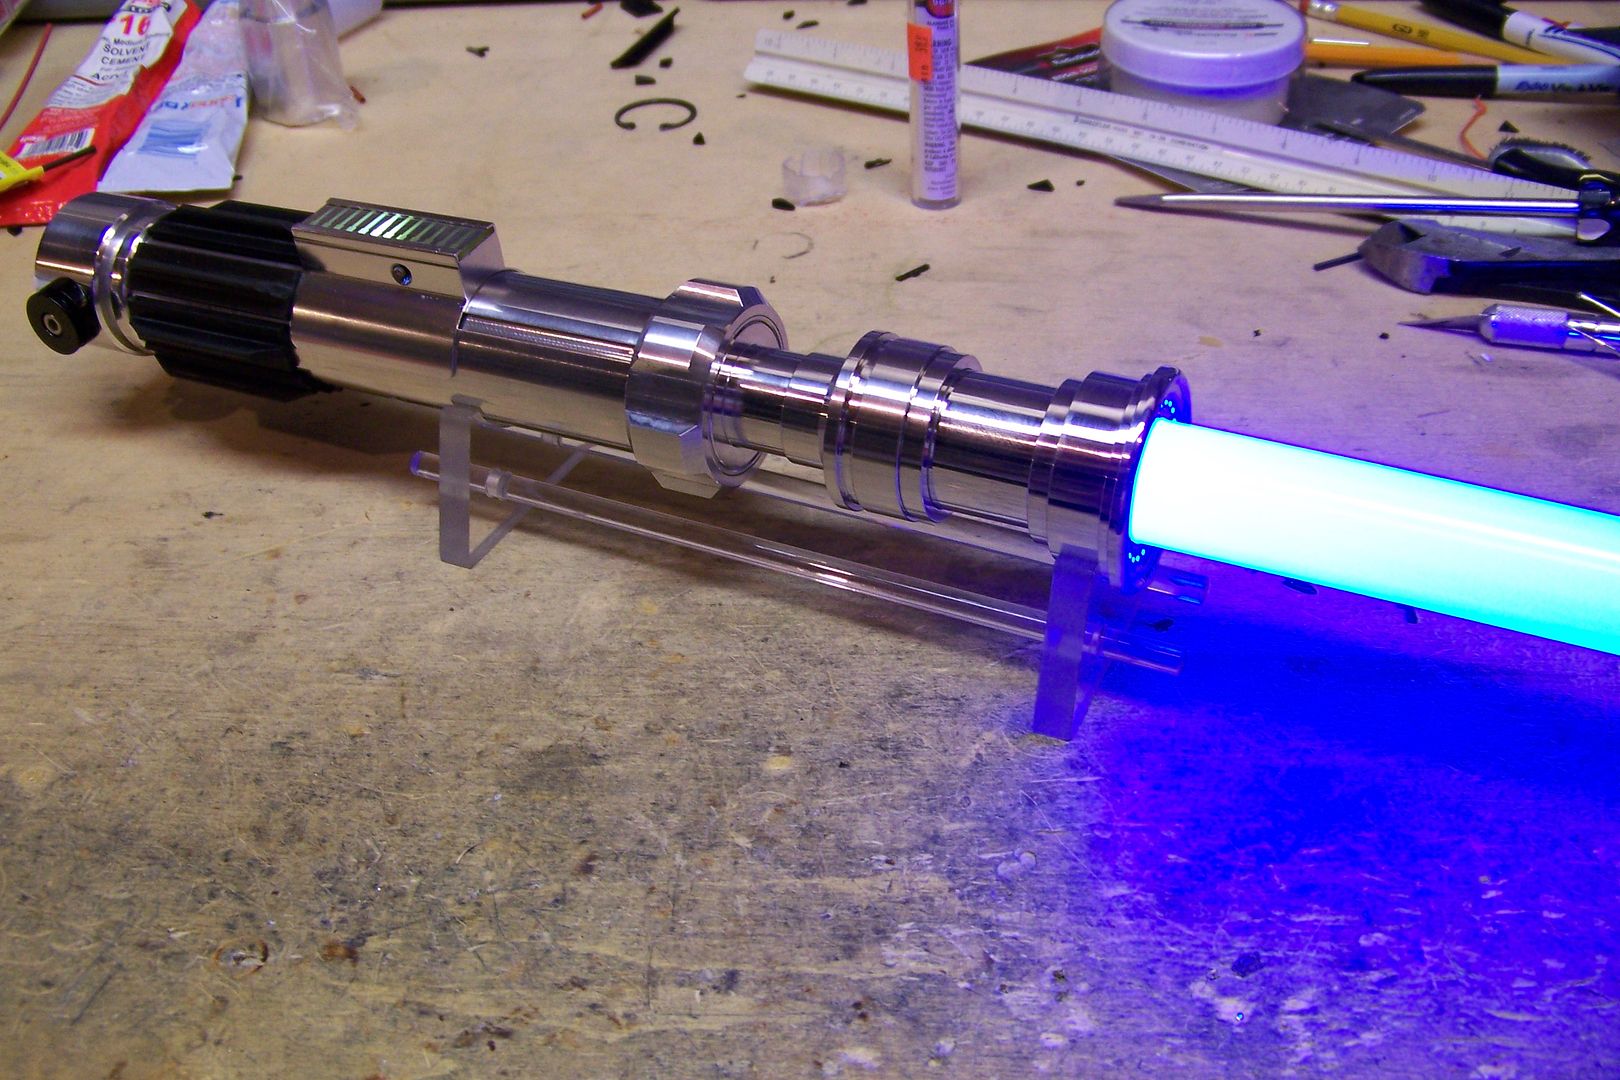
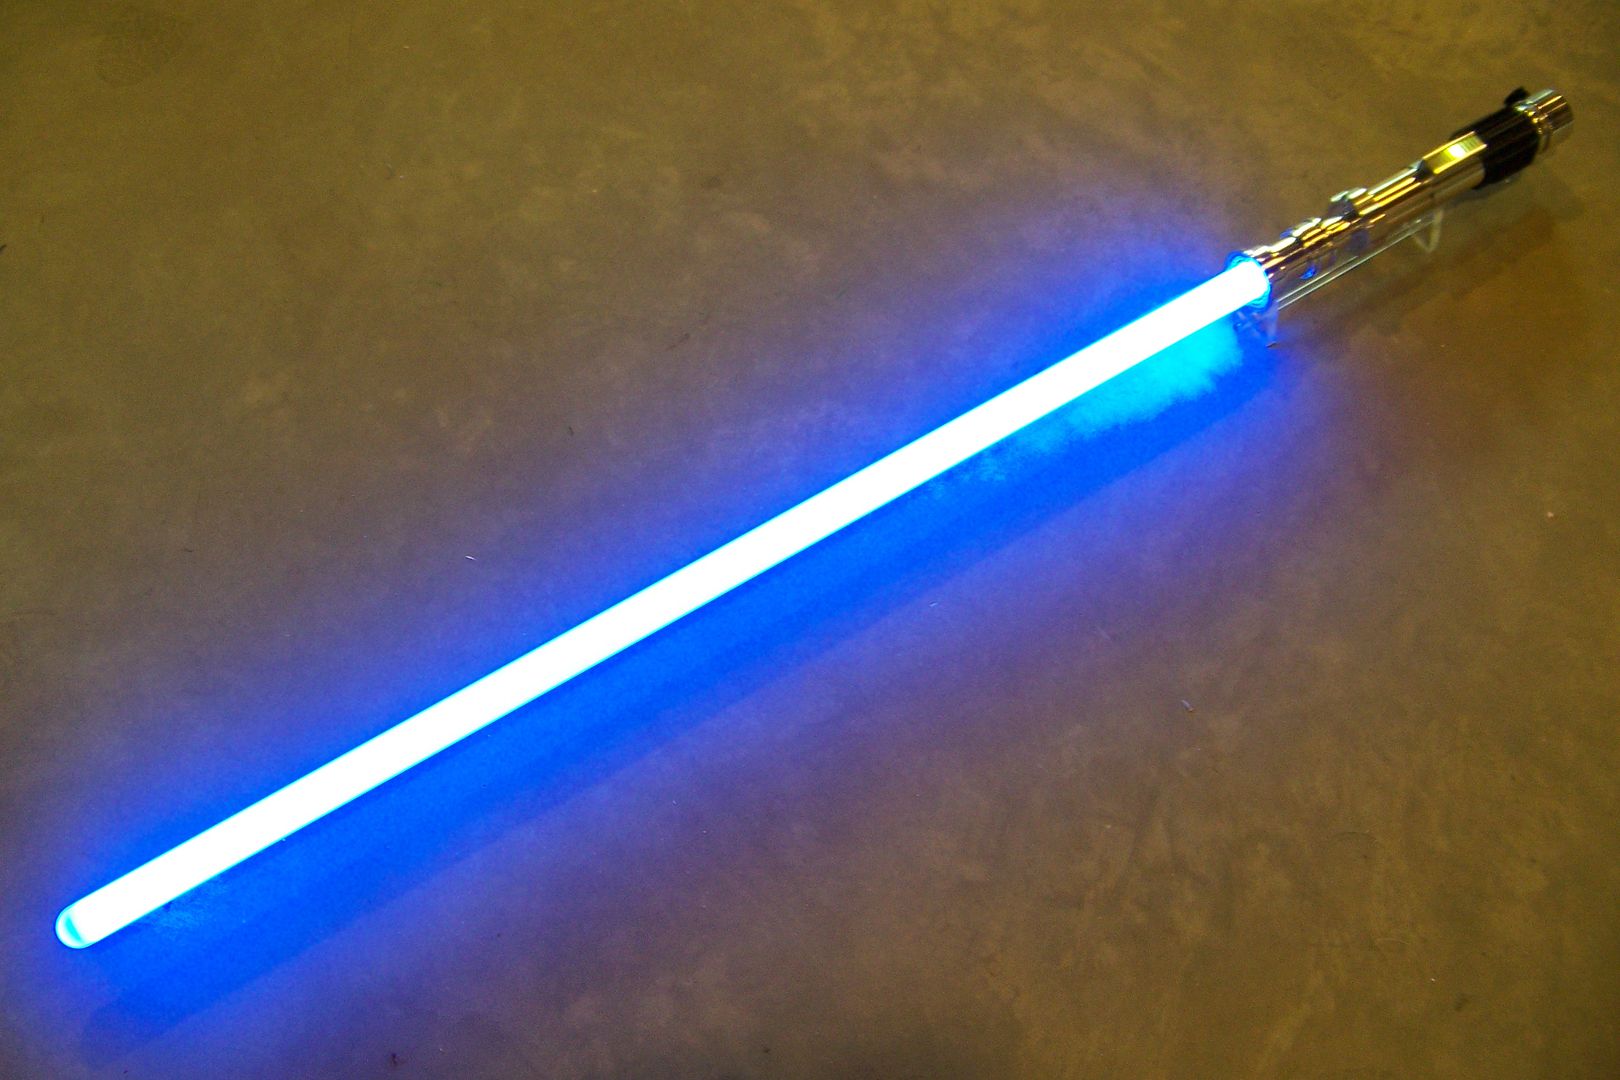
And hit the activation button:
It's alive!! It now only needs the rear grips, the CT button, the blade retention set screw, and the blade itself, then it'll be ready to go.
So the last post was posted just before this one, but that work actually happened on Saturday before going to work. Here's what I got accomplished on Sunday.
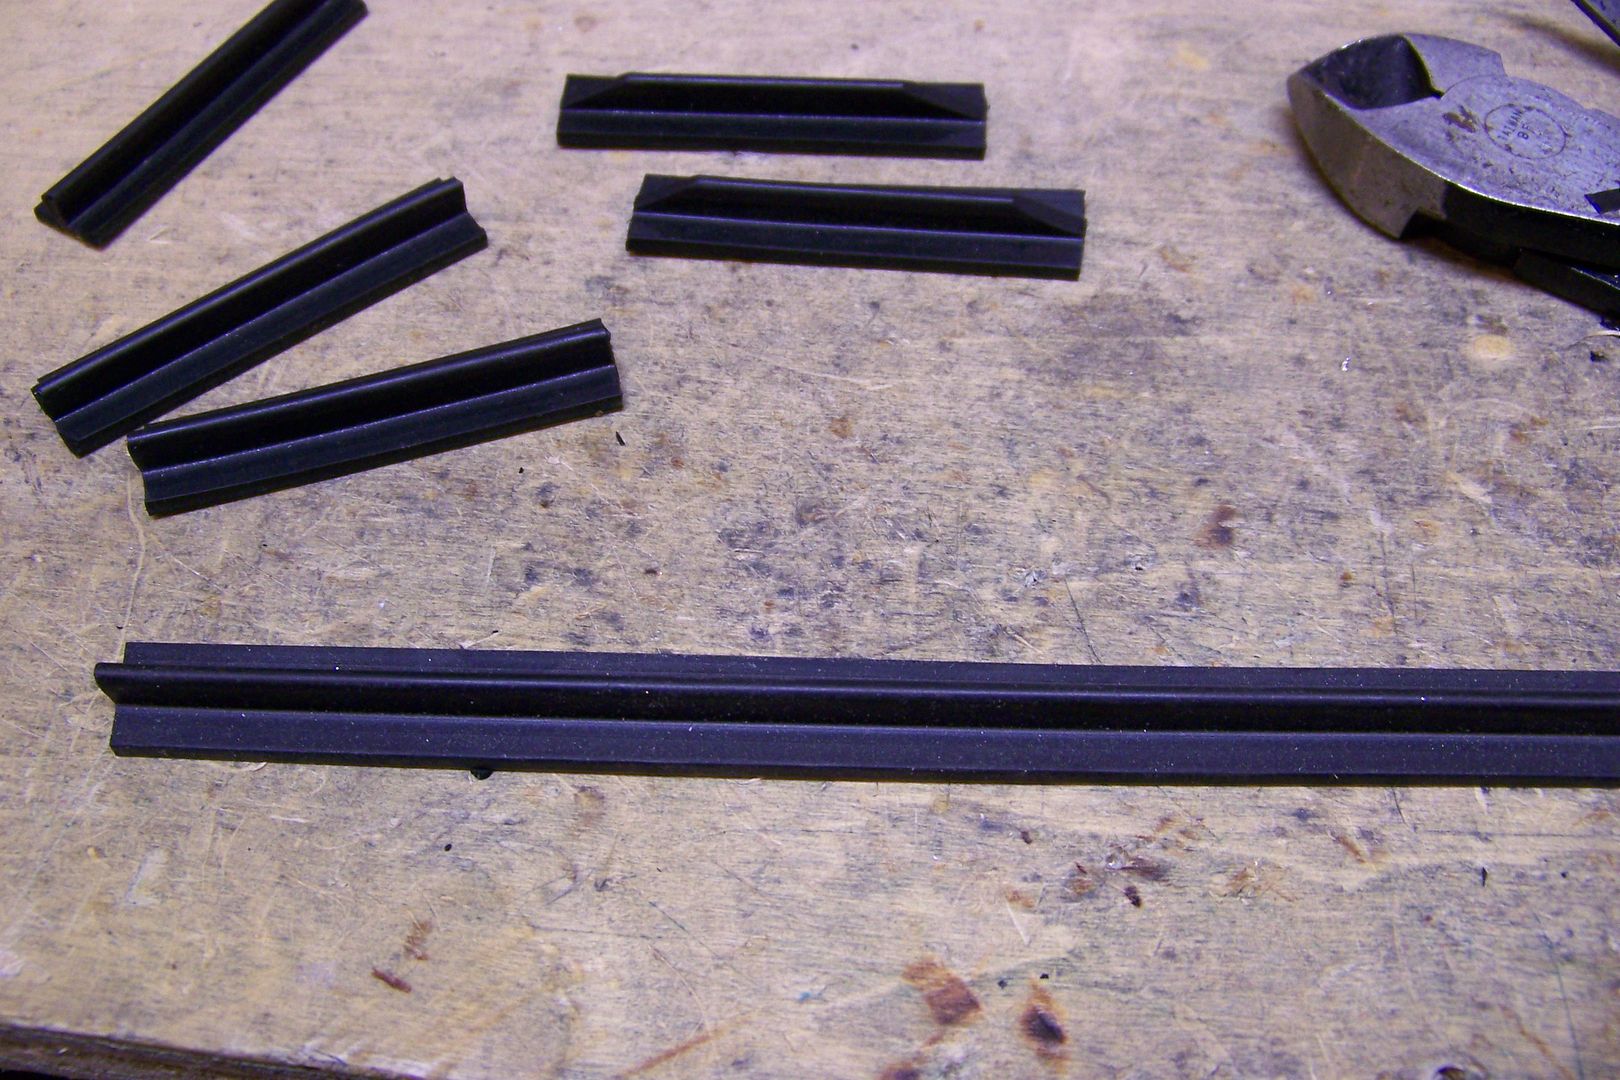
I laid out and measured the grip pieces, then cut them all by hand:
These aren't easy to cut and get perfectly straight and all the exact same length...I got them as close as possible, though:
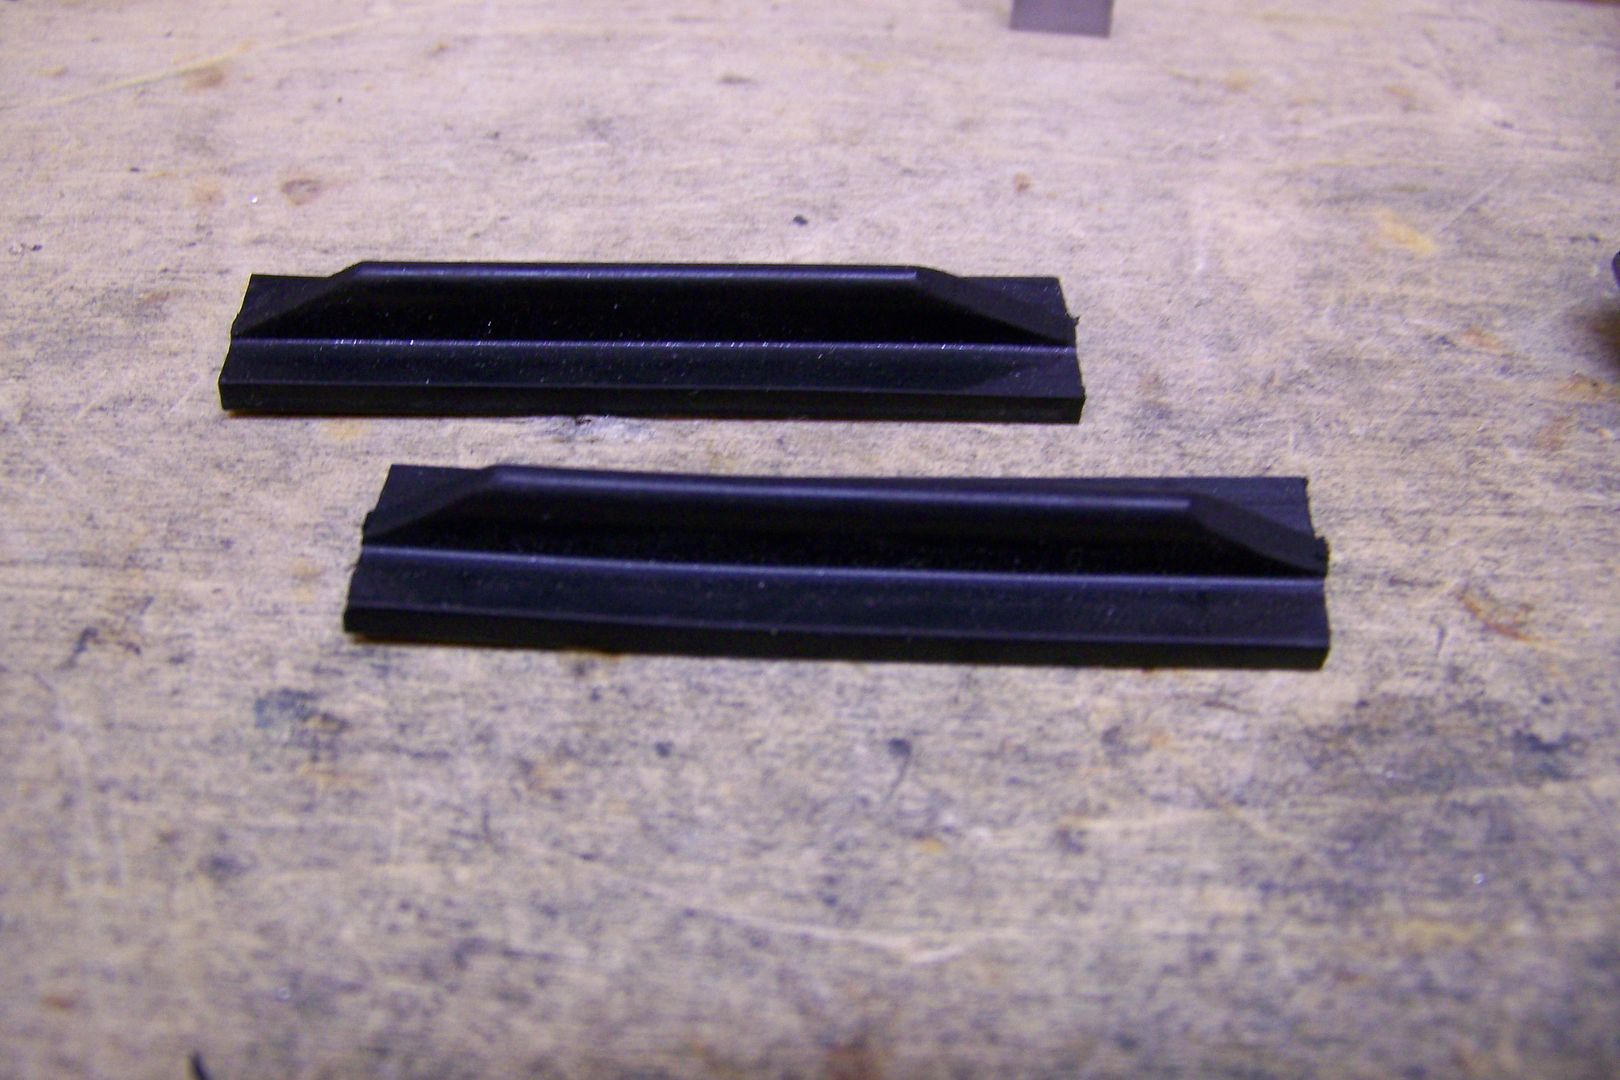
I added the extra angled cuts on the ends....I don't know if the images of the saber had those or not, but to me it just streamlines them better. It looked to "chunky" with the 90 degree ends on them.
Here they are, all installed:
There are eight of them, as equally spaced as I could get them.
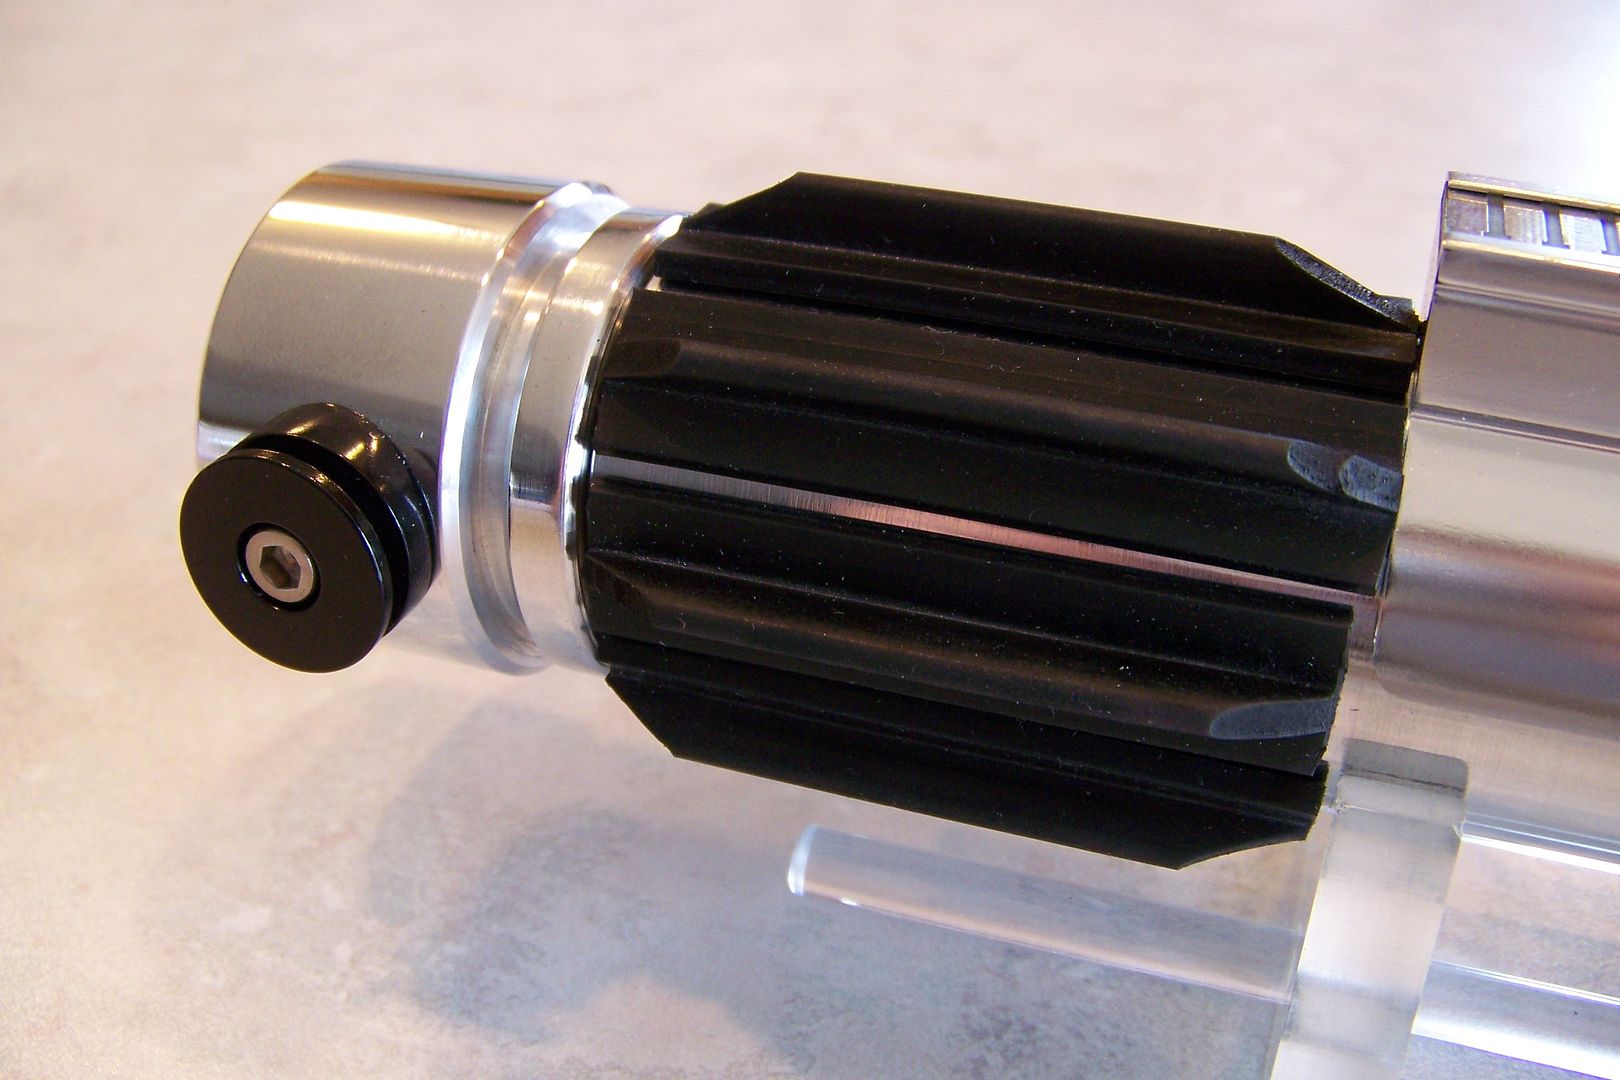
With those out of the way, I marked and drilled & tapped for the CT button on the pommel:
Done:
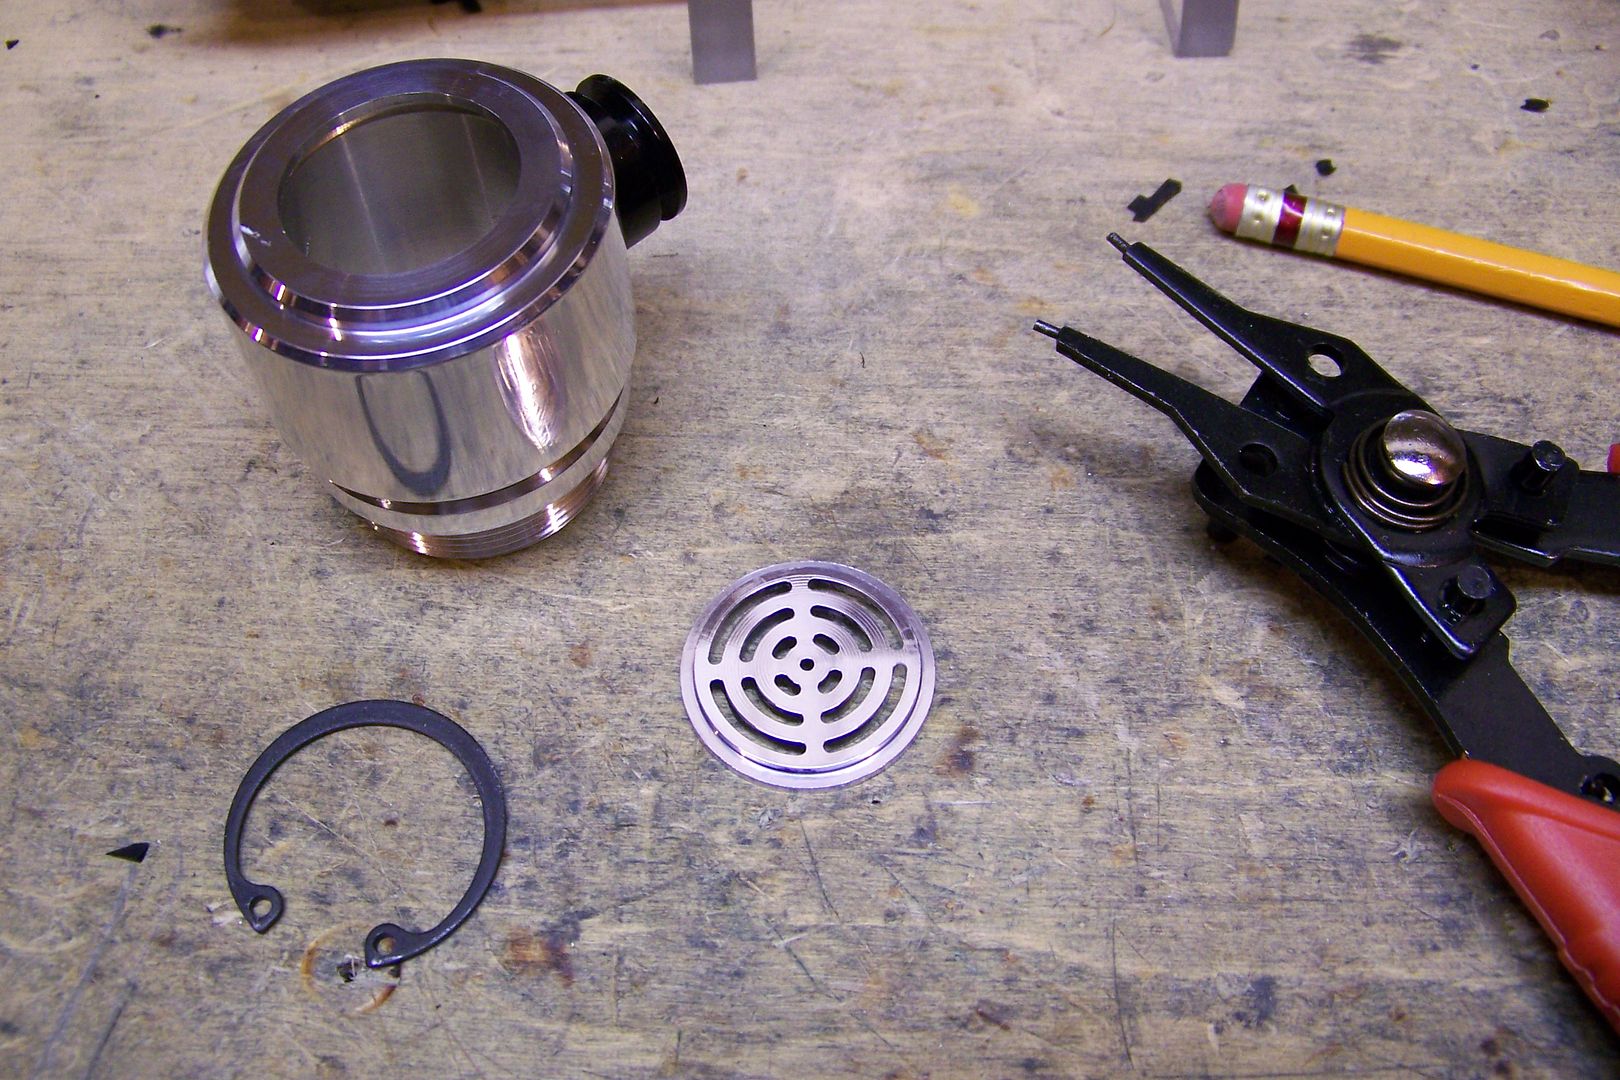
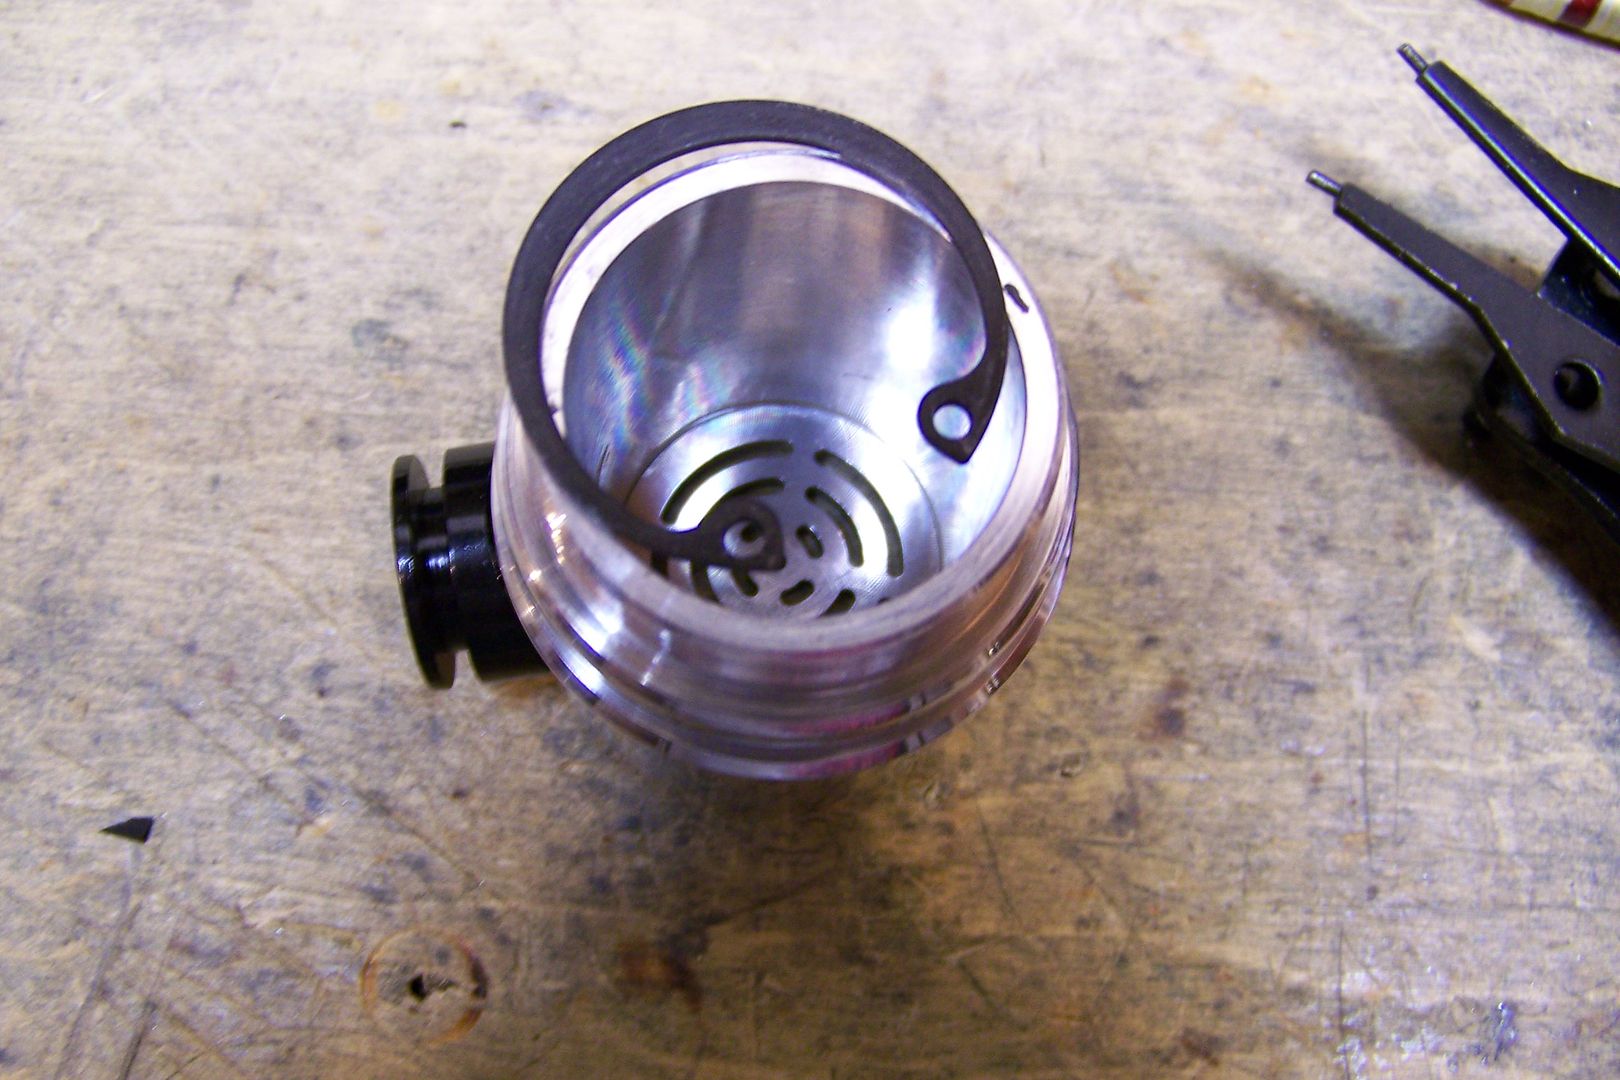
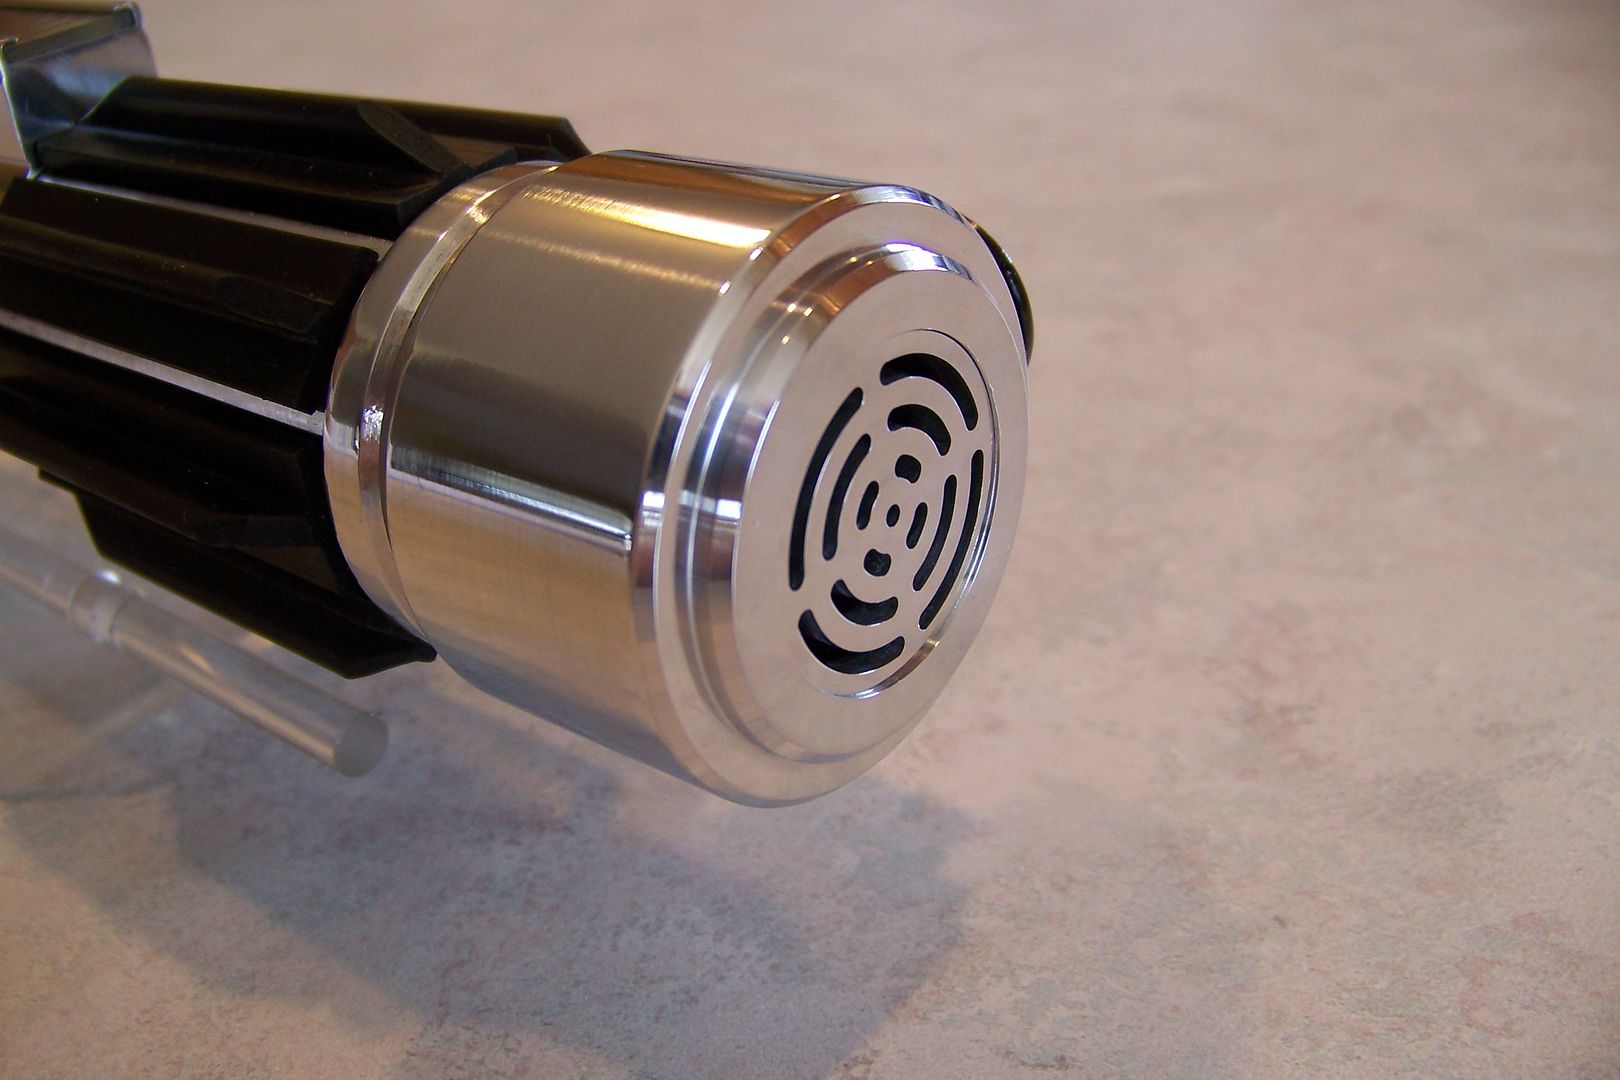
I then remembered that I had yet to install the pommel grille insert, and did that next:
These inserts are usually secured by a c-clip snap ring, and require a pair of snap ring pliers to properly install. I squeezed the snap ring together and applied the pliers:
As it turns out, after a few minutes of trying to get it in there, and a few "choice" expletives, I realized that the pommel is too deep for the pliers I have and decided to just use an o-ring to secure the insert instead. It isn't as permanent a solution as the snap ring, but it will allow for changing of the insert where the snap ring makes that a difficult task. as long as it isn't deliberately pushed on, the insert will stay in place just fine. I use this method on my own sabers.
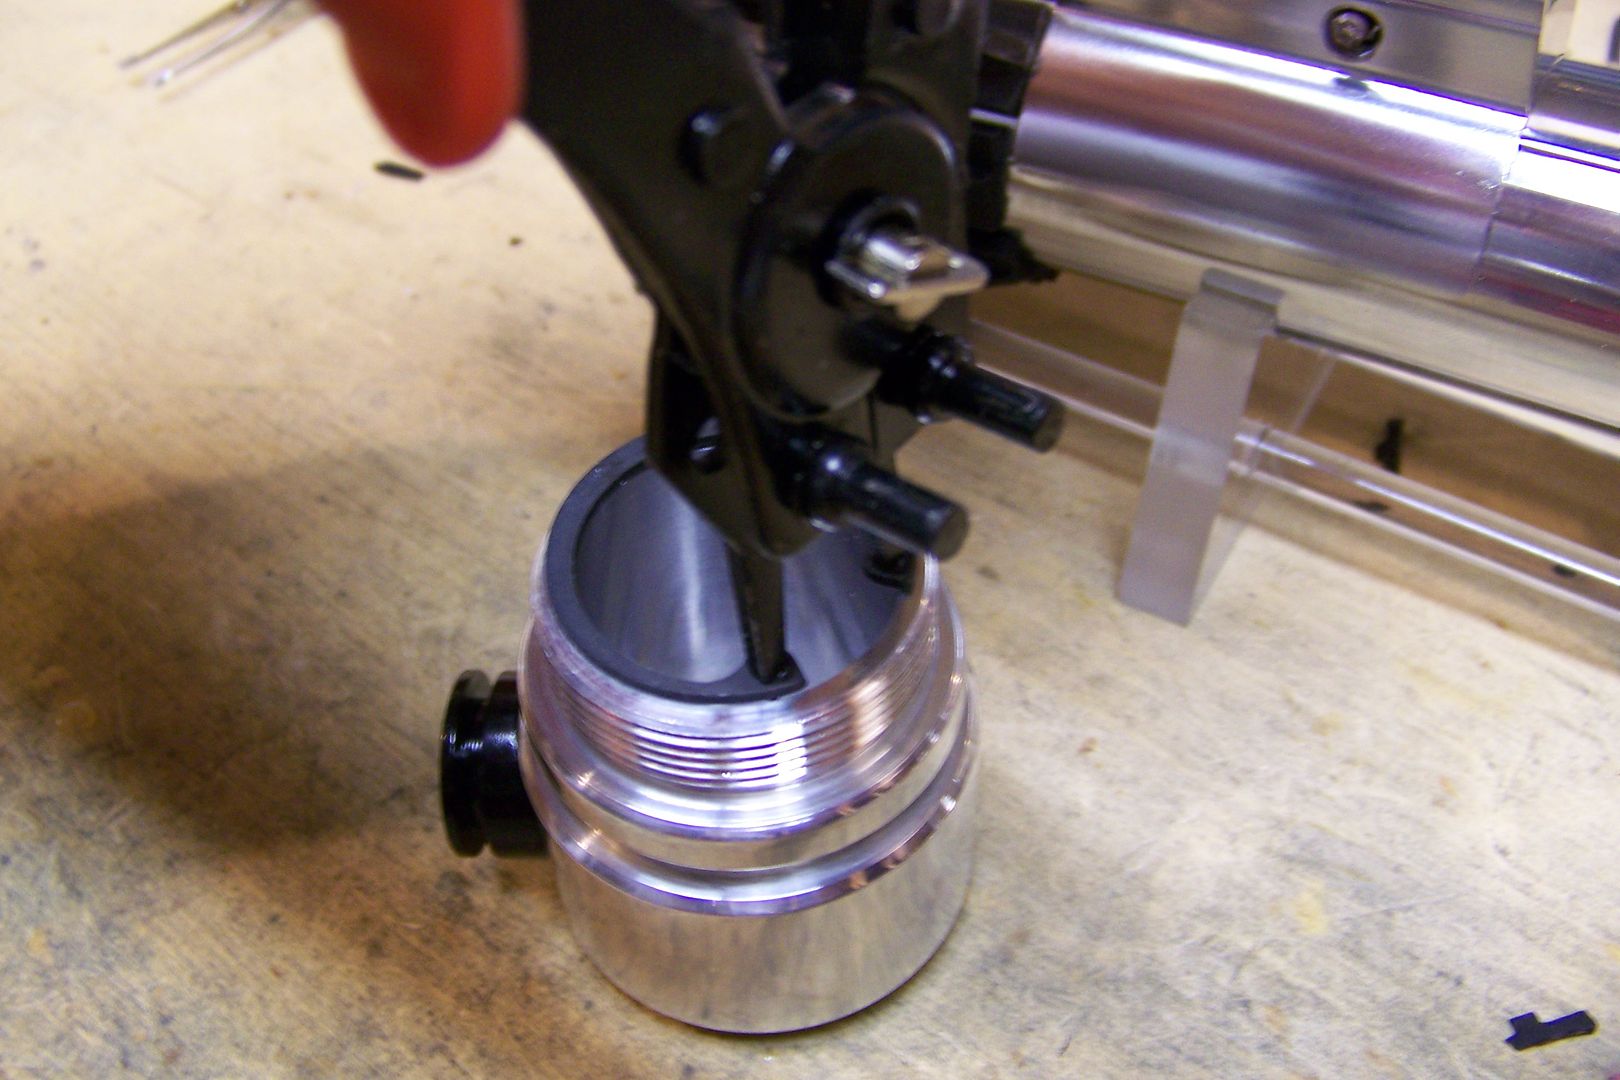
Last thing on the hilt is the blade retention set screw. I marked it, lined it up in the drill press and drilled a hole for 10-32 threads:
I borrowed a blade form on of my other sabers and popped it in:
Then tapped tapped the activation switch:
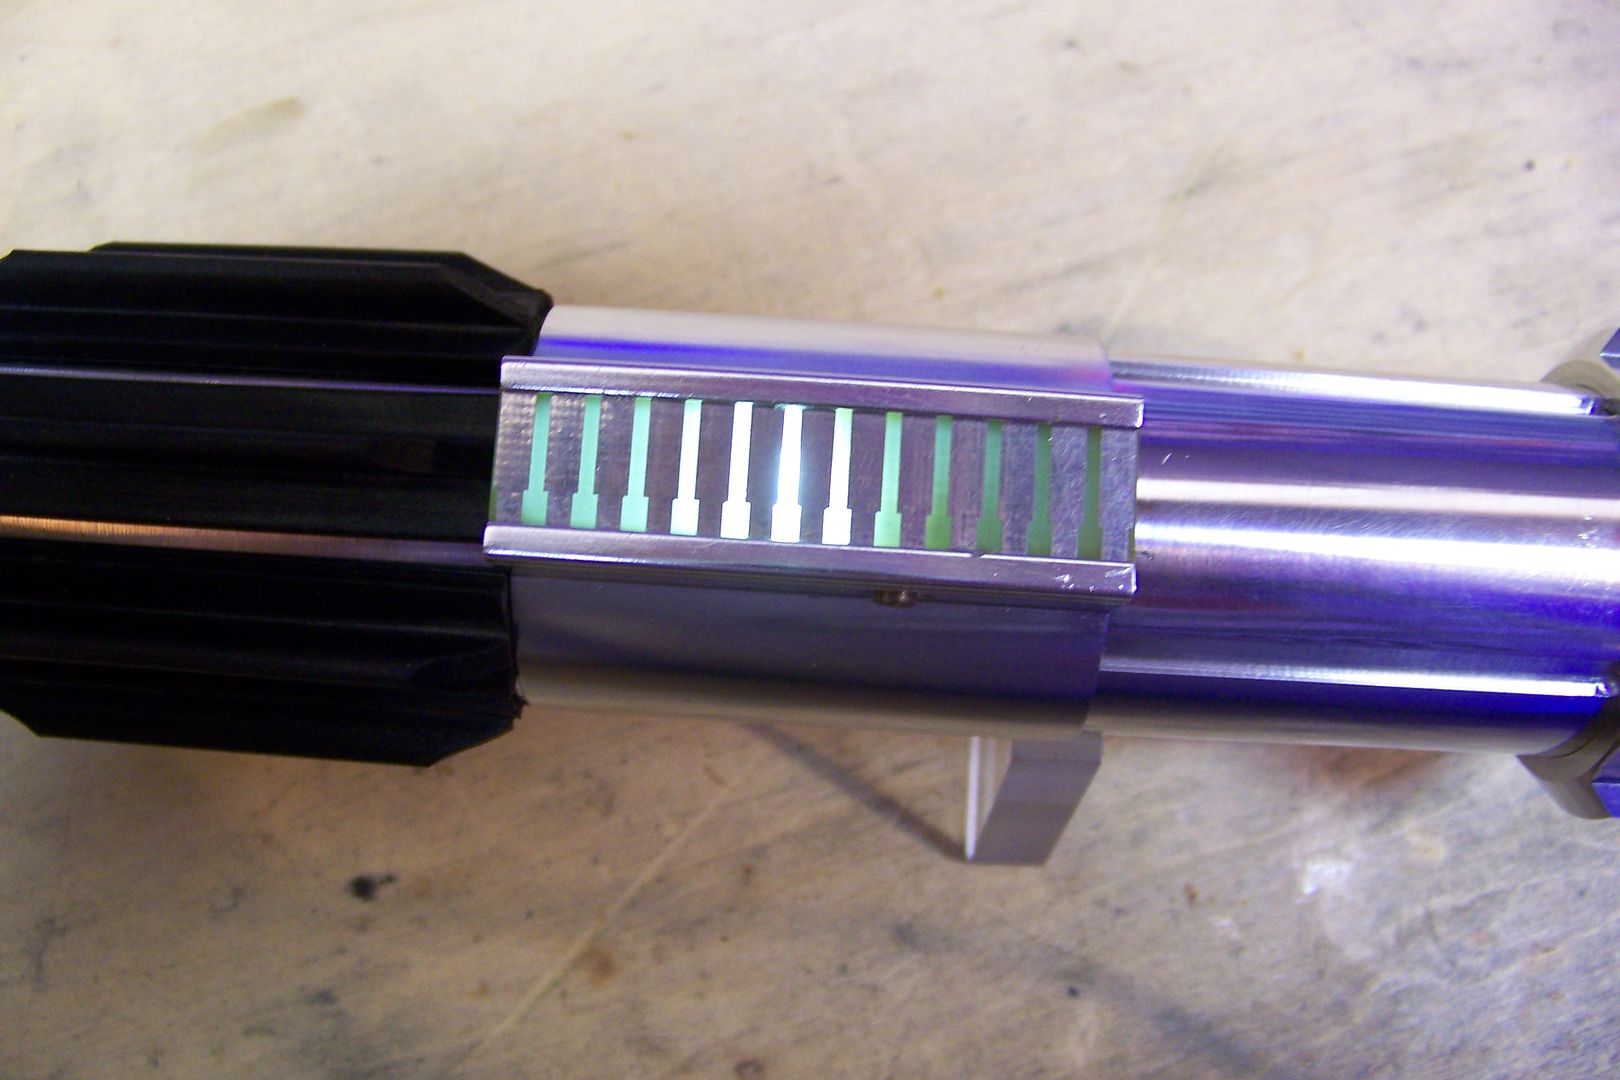
Now, I don't know if anyone noticed the extra led in the pictures of the switch install, but here's what that is for:
I noticed while I was working on test fitting the parts after getting the electronics ready the other day, that the activation circuit card looked like it might be translucent, so i held it up to the light coming in from the basement window, and sure enough, it was. I thought that since this is a pretty simple install, it would benefit from at least on cool feature, and decided to add the led that actually came from the key chain flashlight pcb that serves as the switch converter in the saber. It adds a nice little bling effect to the saber, and I hope you like it when you see it in person, Rome.
Last thing I need to do with this is make up the actual blade for this saber, and I'll try to get that done tomorrow after noon. I'll likely have to mail this one since I have to work on the weekend of the MCCC show, and hope to have it out later this week.
Last edited by Jay-gon Jinn on Mon May 02, 2011 11:45 pm, edited 2 times in total.
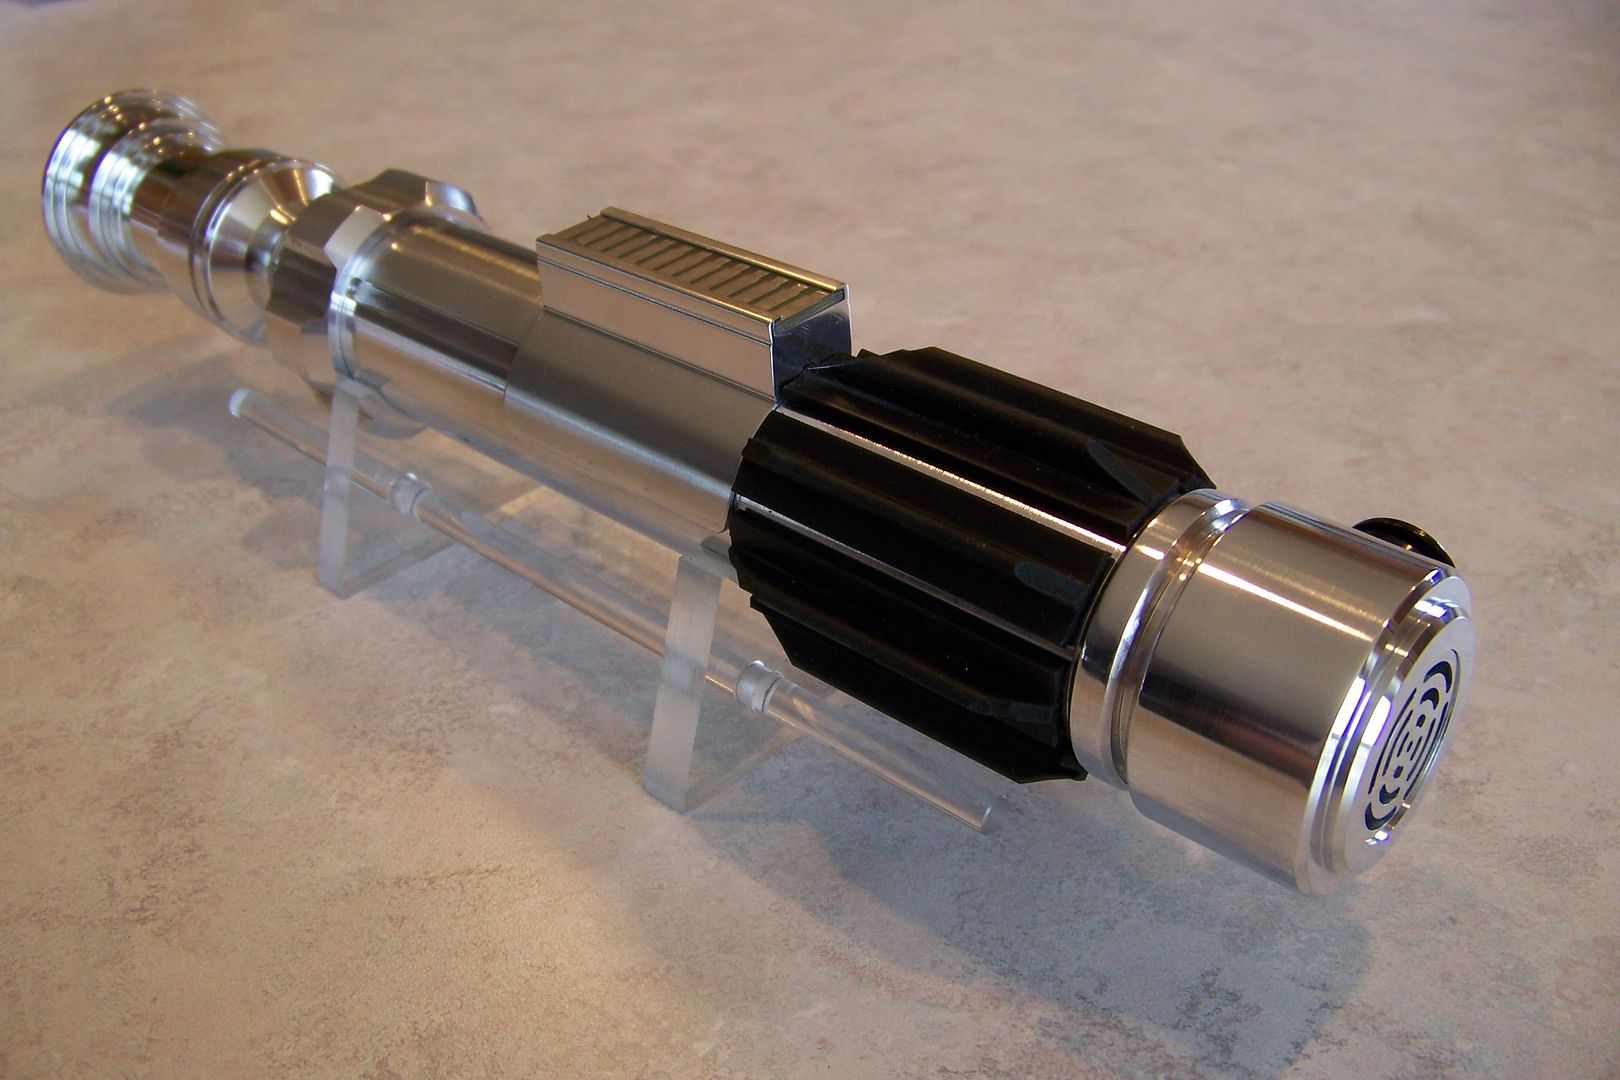
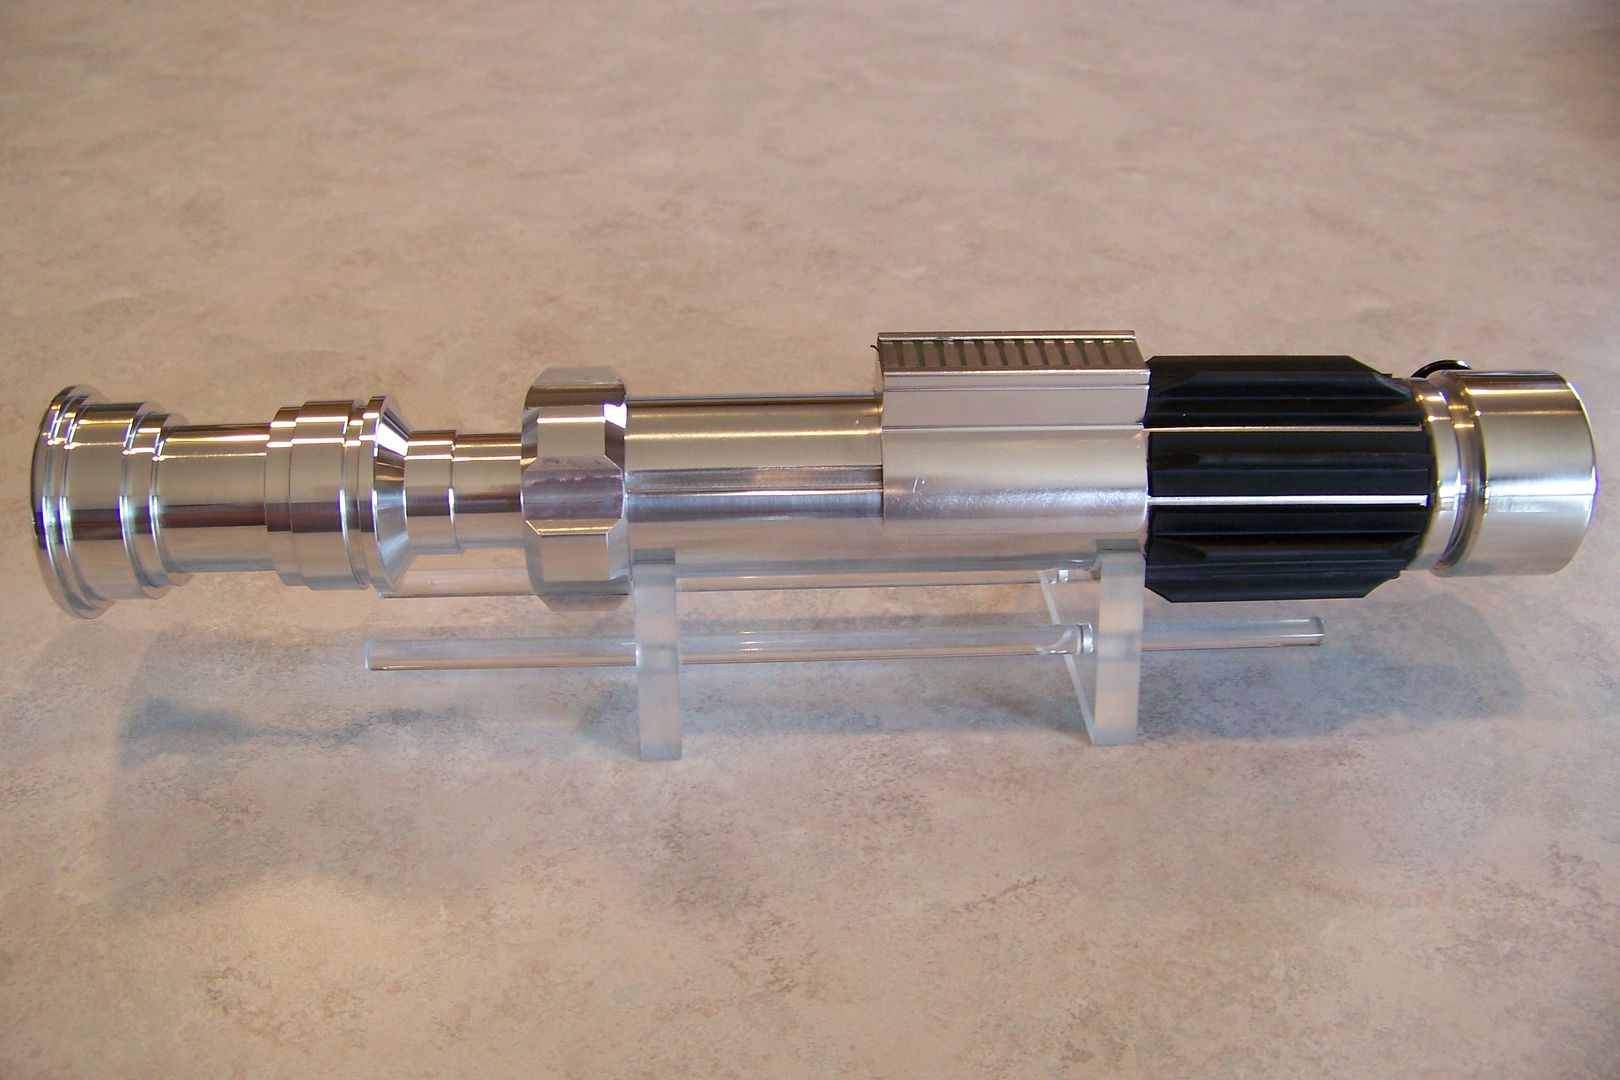
Okay, so here it is, all finished and polished up:
Overall I think this turned out pretty good, even though there are a couple of errors on the saber. the most obvious one being the un-evenly cut rear grips. The other error isn't as obvious, and as such, will go unmentioned.


")