442nd WIP
- DeafTrooper
- GLG Mart Greeter

- Posts: 2029
- Joined: Fri Feb 25, 2011 4:55 pm
- Legion ID: 7859
- Location: Cottrellville, MI USA
- Contact:
Re: 442nd WIP
I hear you. Royally screwed up my right side. Didn't notice it until after I cut and glued them and it took me a month to fix them.
CT/ID-7859
- BBC527
- 501st Member

- Posts: 1308
- Joined: Fri Jul 13, 2012 6:57 pm
- Legion ID: 52705
- Location: Midland, MI
Re: 442nd WIP
On a much better note, the thighs have gone great. Hoping to have the legs done this week so I can start filling in the seams. Then it's on to finishing the chest and back.
- BBC527
- 501st Member

- Posts: 1308
- Joined: Fri Jul 13, 2012 6:57 pm
- Legion ID: 52705
- Location: Midland, MI
Re: 442nd WIP
Had time today with the great weather to put a couple coats of paint on the hands and shoulders.
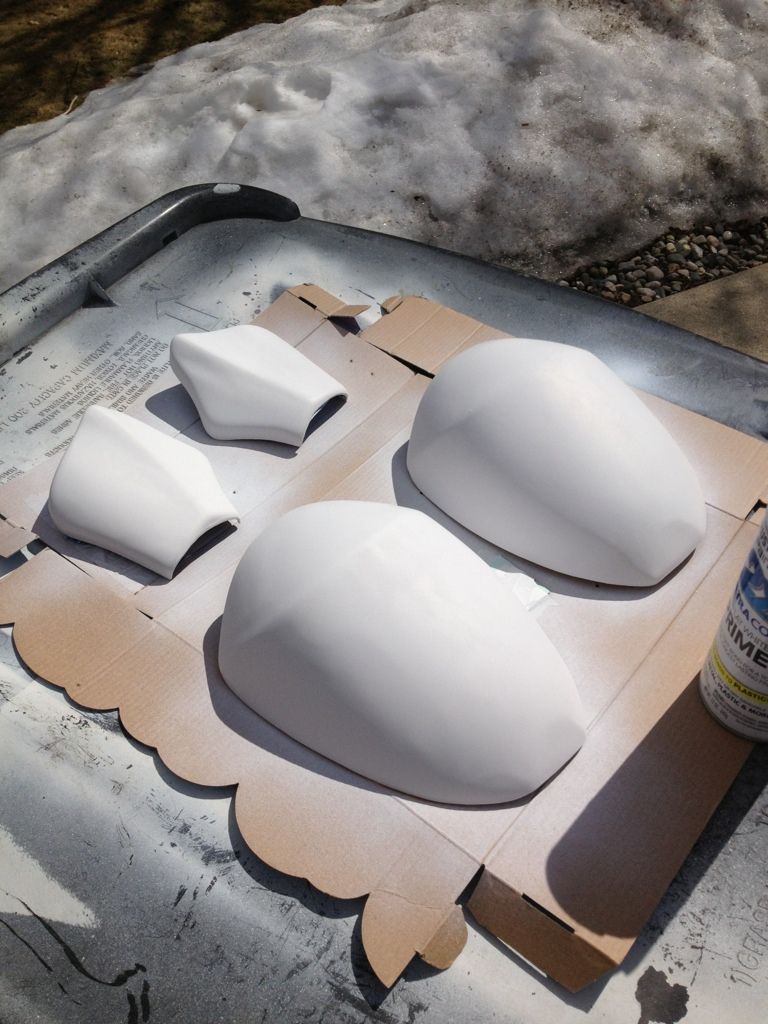
Also glued up the thighs. Just need to let them dry, then fill in the seams and any other spots tomorrow.

Also glued up the thighs. Just need to let them dry, then fill in the seams and any other spots tomorrow.
- Wags
- Garrison Armor Consultant

- Posts: 2878
- Joined: Thu Jun 14, 2007 12:32 am
- Legion ID: 7195
- Location: Allen Park, Mi 48101
Re: 442nd WIP
Nice. Very nice.
- BBC527
- 501st Member

- Posts: 1308
- Joined: Fri Jul 13, 2012 6:57 pm
- Legion ID: 52705
- Location: Midland, MI
Re: 442nd WIP
Ok, was able to get the thighs done this weekend. Check out the pics below.
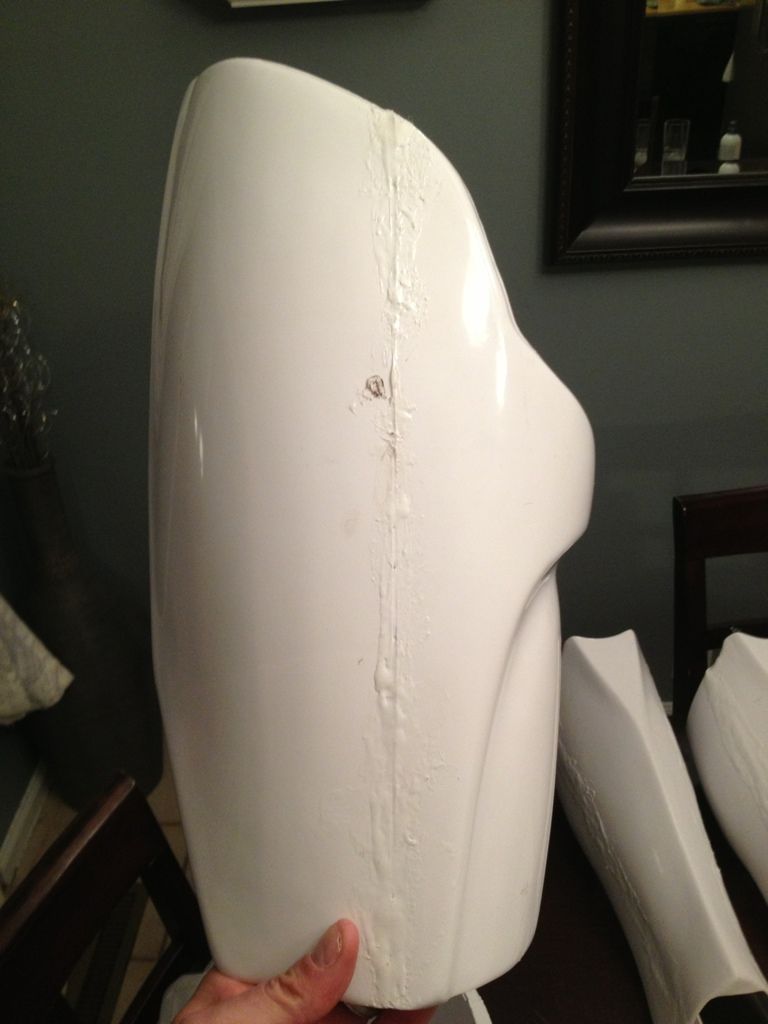
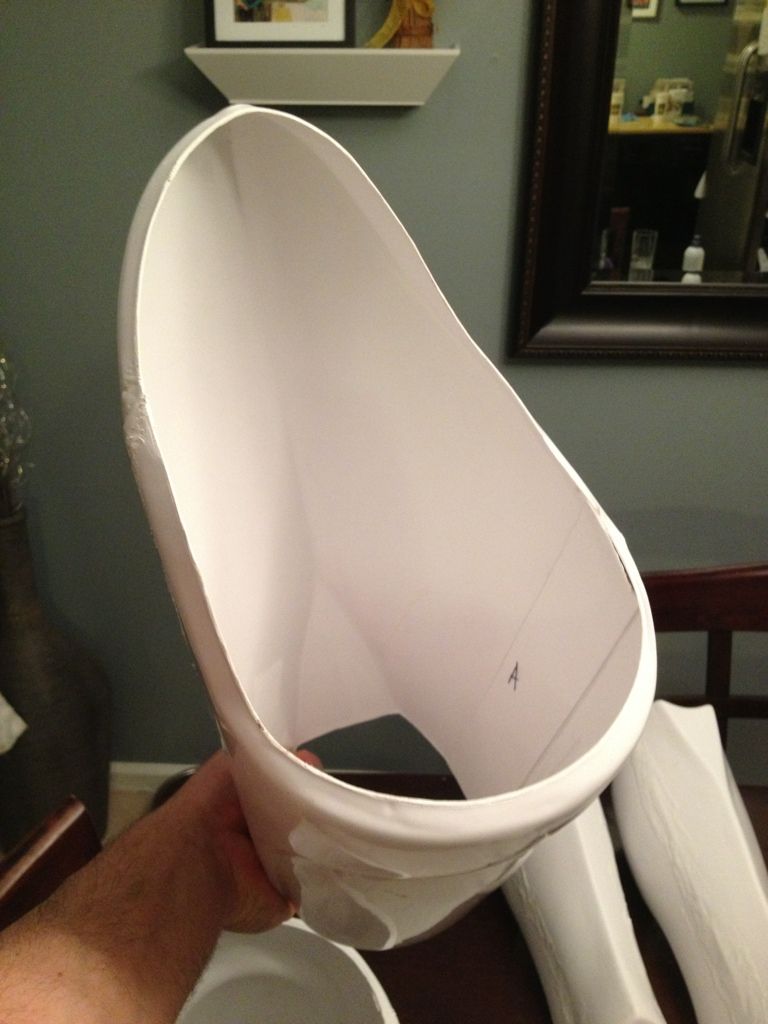
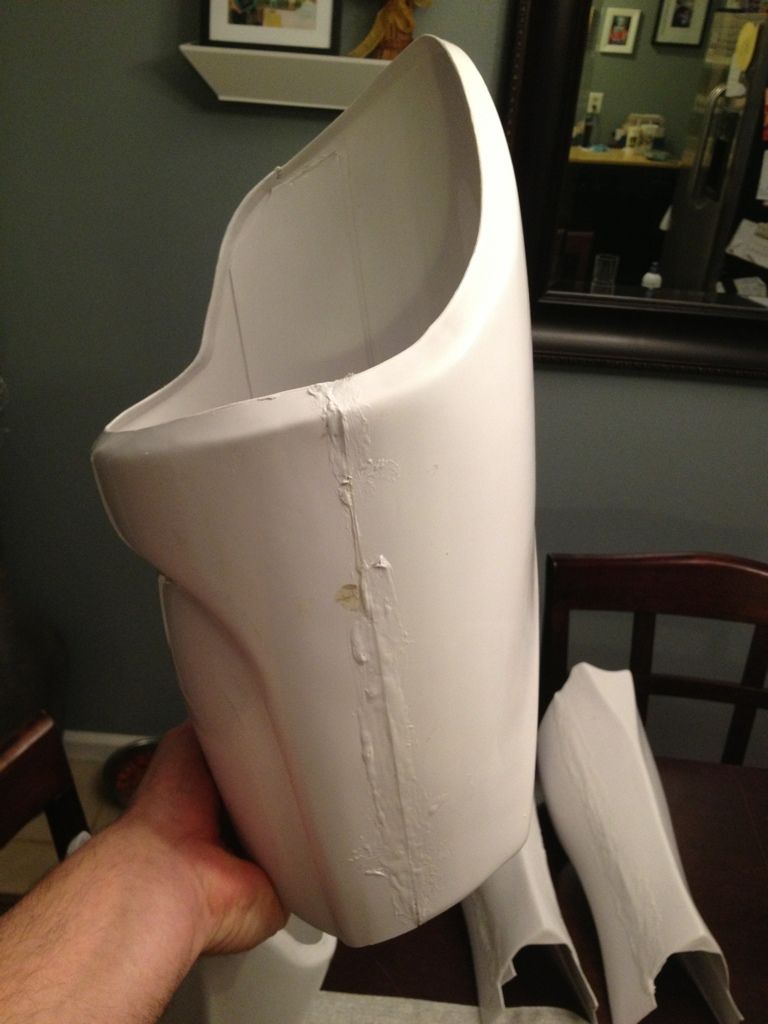
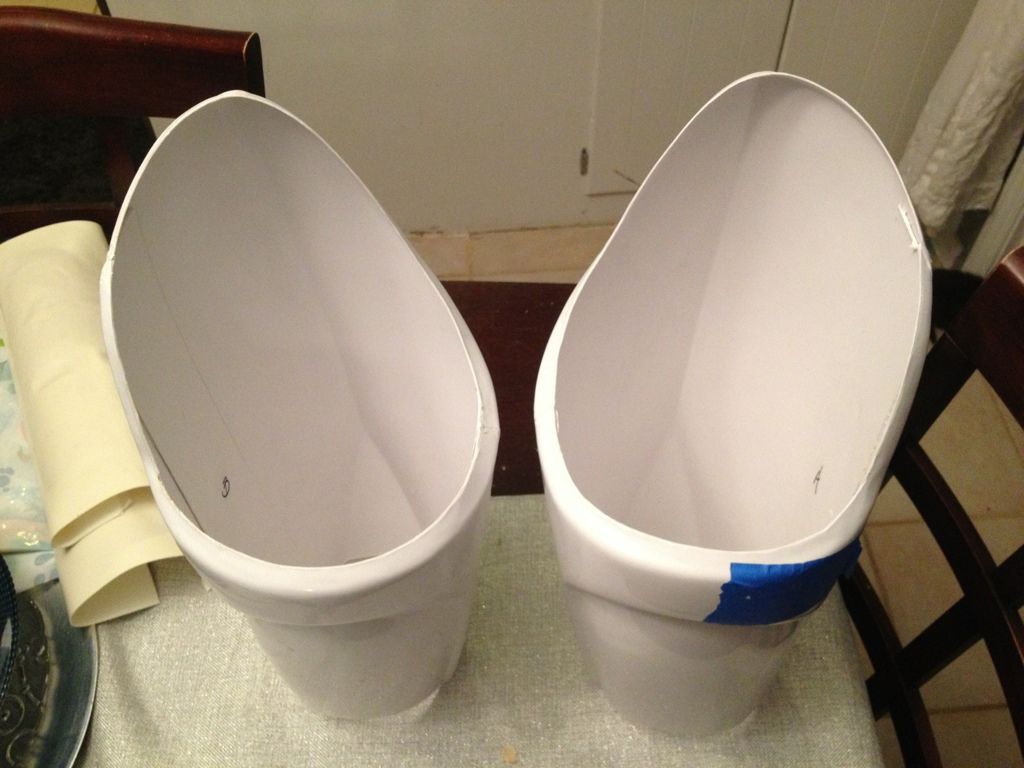
I was also able to get the shins/calves done. It took some good clamping and then sludge to fill in the seams. I think they turned out good. I just need to finish the spoons and get them fitted in.
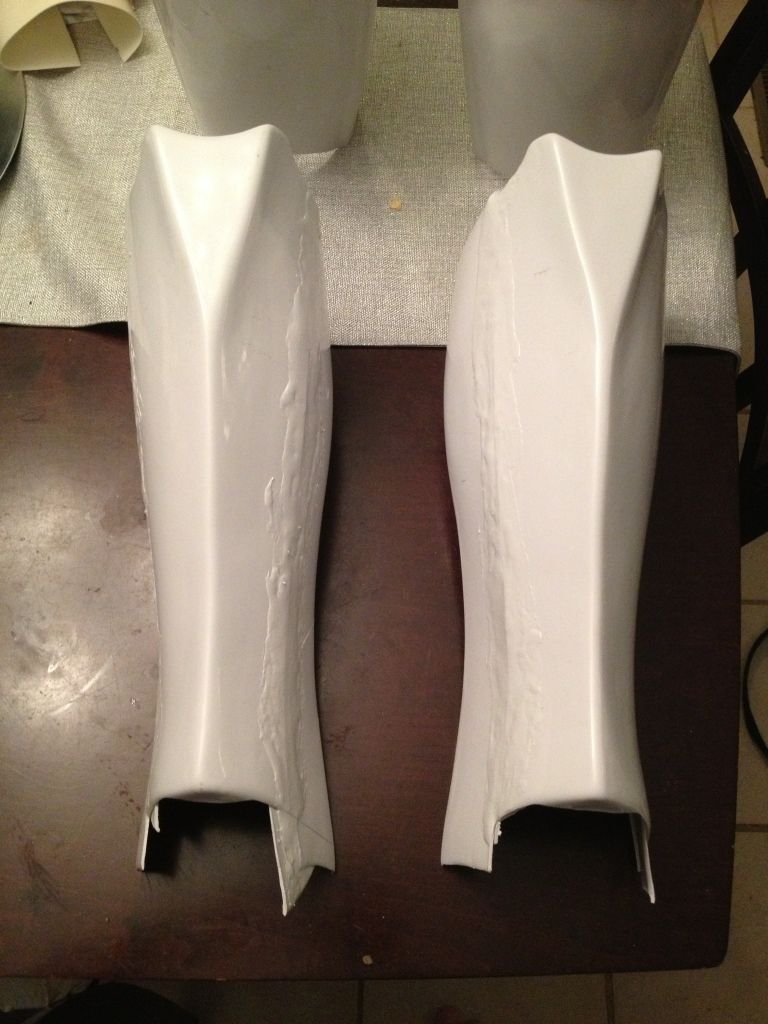
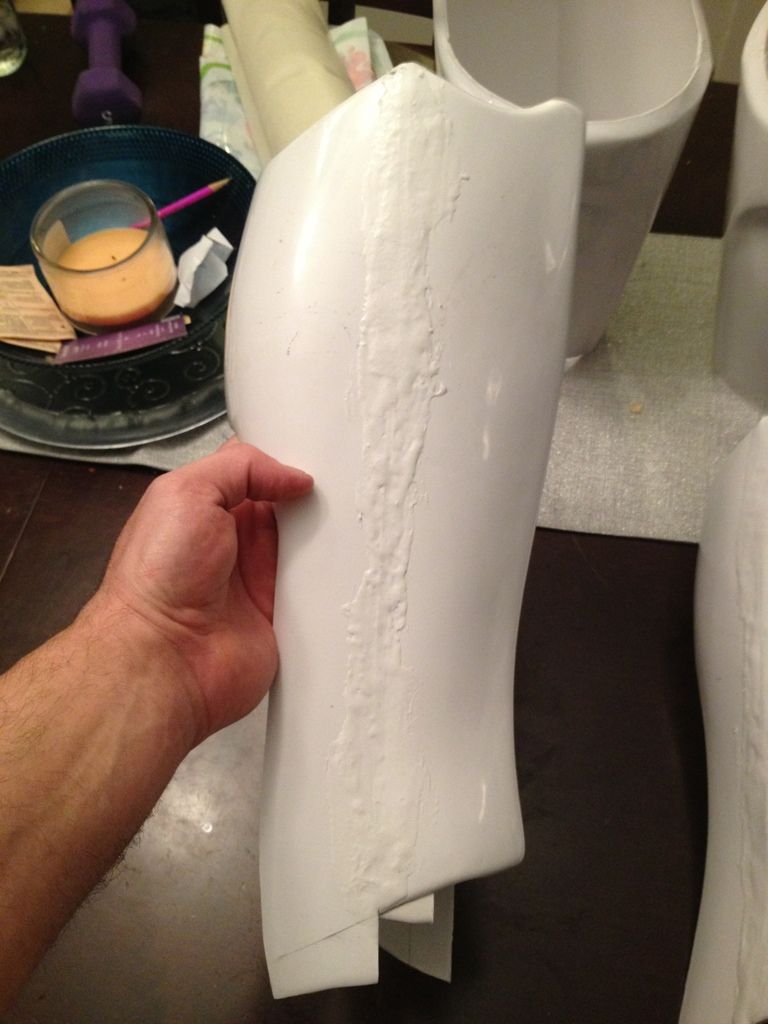
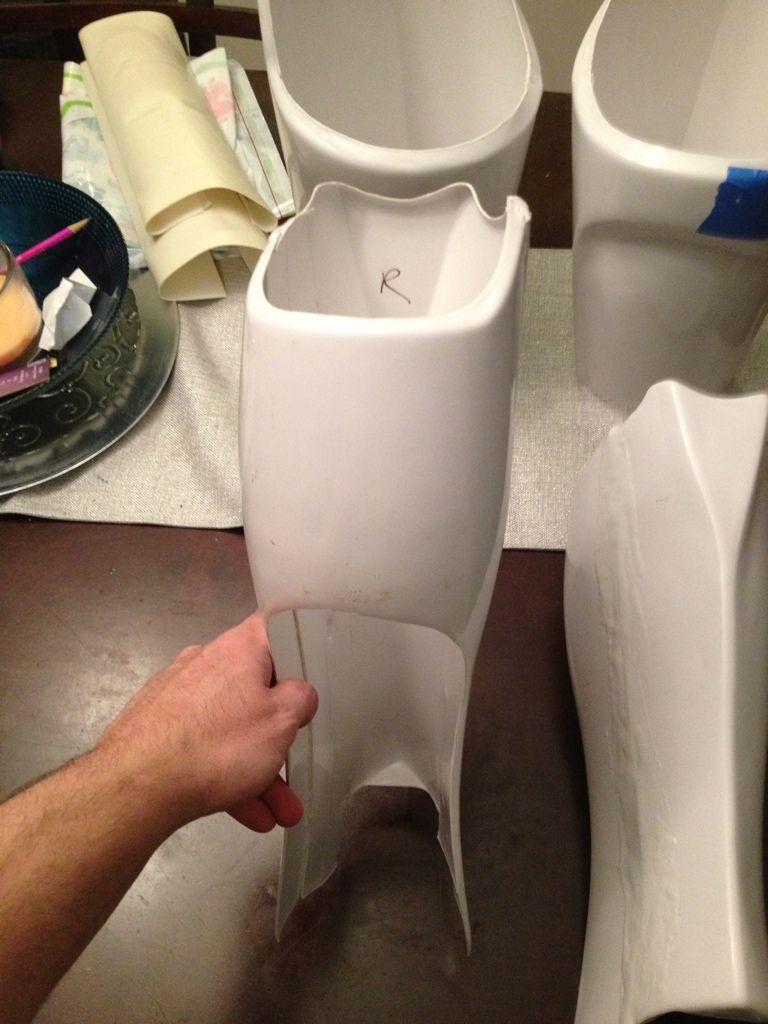
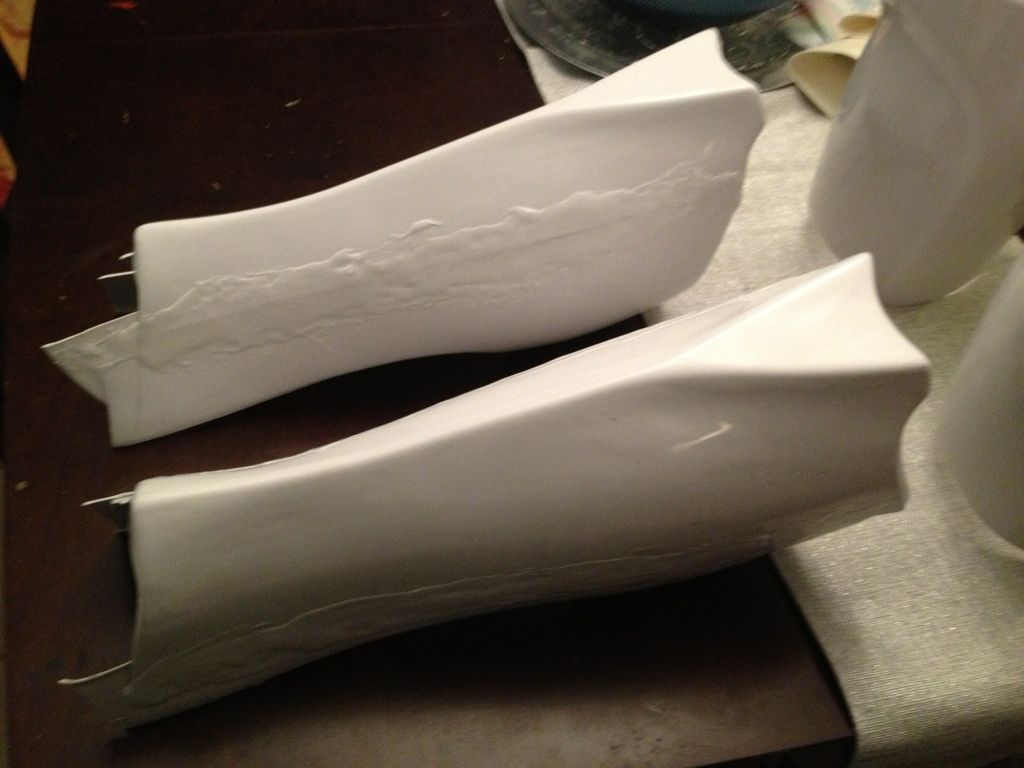


I was also able to get the shins/calves done. It took some good clamping and then sludge to fill in the seams. I think they turned out good. I just need to finish the spoons and get them fitted in.


- Wags
- Garrison Armor Consultant

- Posts: 2878
- Joined: Thu Jun 14, 2007 12:32 am
- Legion ID: 7195
- Location: Allen Park, Mi 48101
Re: 442nd WIP
I would take ALL the return edge off the inside of your thighs by your um tender area. You will be MUCH more comfy. Just feather it in. If ya want but you will be thankfull.
Everything looks good so far man!!
Everything looks good so far man!!
- BBC527
- 501st Member

- Posts: 1308
- Joined: Fri Jul 13, 2012 6:57 pm
- Legion ID: 52705
- Location: Midland, MI
Re: 442nd WIP
Well, have most of the parts done (just need to finish the chest/back) and wanted to try everything on to see how they fit. After having it all on, I found out where I need to trim some stuff up for a better fit. Need to trim some on the cod (just off the returns). The thighs need to have the returns taken off the top. I also found that I need to take some off the back so I can bend my legs up. I'll try and post a pic of this when I get a trim line drawn.
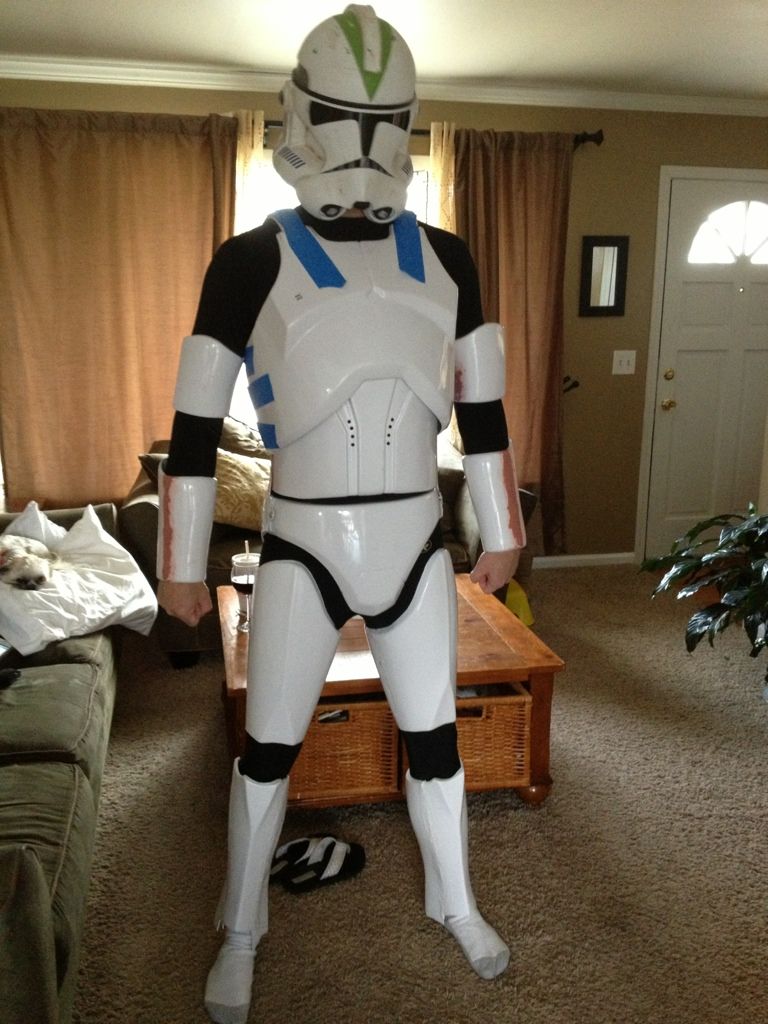
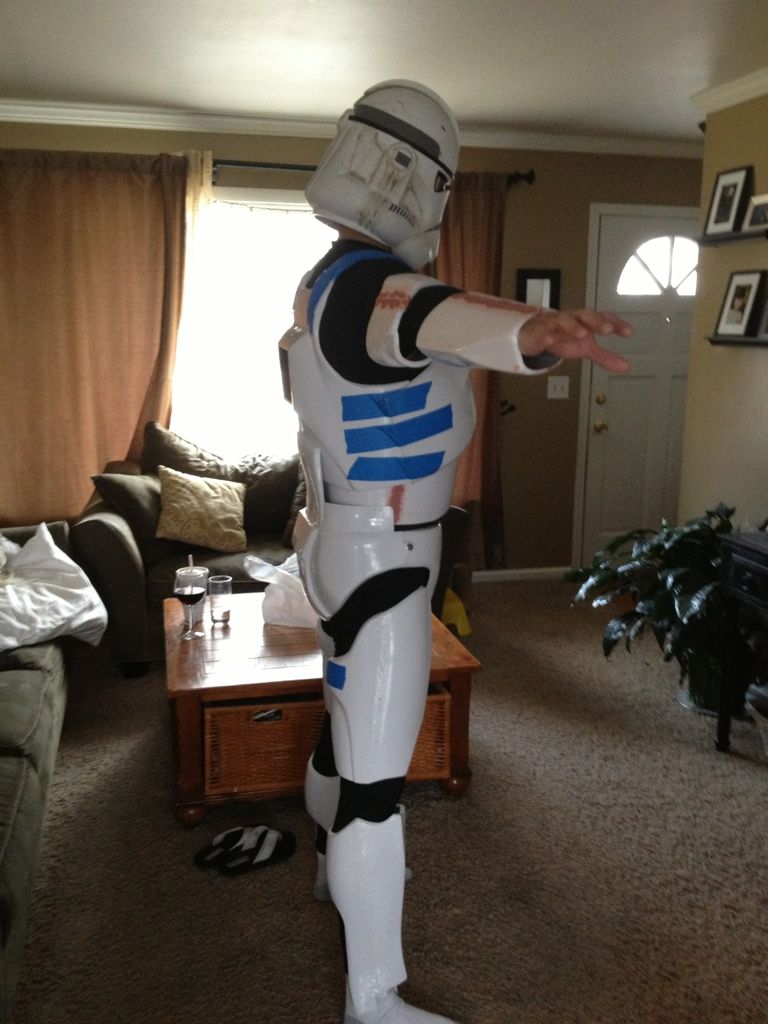
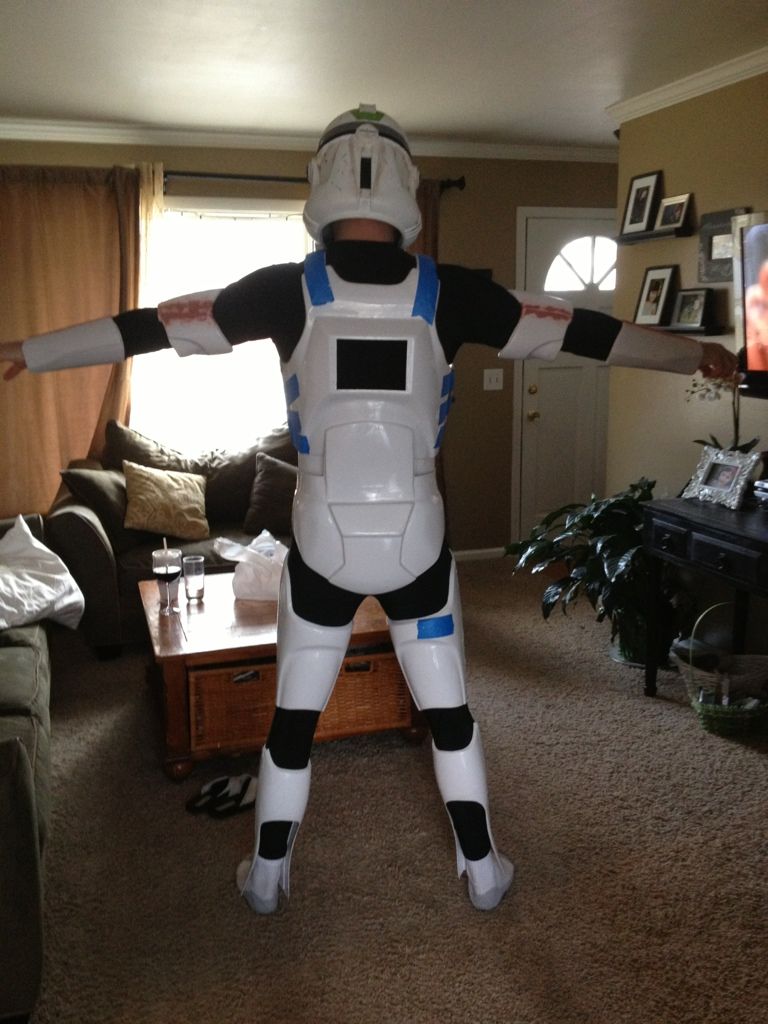
I also see (after pic was taken) that the butt is on the outside if my back. I know it goes inside, just didn't catch it.


I also see (after pic was taken) that the butt is on the outside if my back. I know it goes inside, just didn't catch it.
Re: 442nd WIP
Looking good Bill.
I know everyone has their own different skill set, but I think I would take 5 months of latch hooking any day over putting this all together!!!! - but that's just me!!!
I know everyone has their own different skill set, but I think I would take 5 months of latch hooking any day over putting this all together!!!! - but that's just me!!!
- BBC527
- 501st Member

- Posts: 1308
- Joined: Fri Jul 13, 2012 6:57 pm
- Legion ID: 52705
- Location: Midland, MI
Re: 442nd WIP
NEED HELP!!
I'm having a problem with my thighs hiting my cod when I bend my leg up (like walking up stairs). I'm looking at either trimming the bottom up, so it sits lower, or trim the top down so it gives me a little more between them.
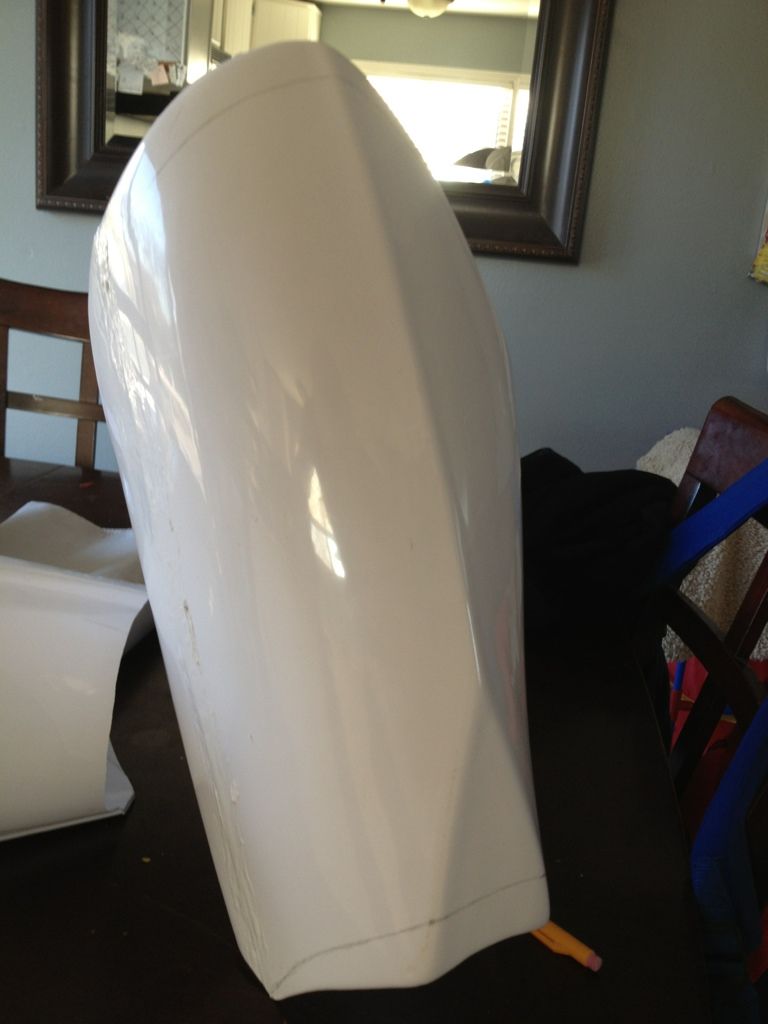
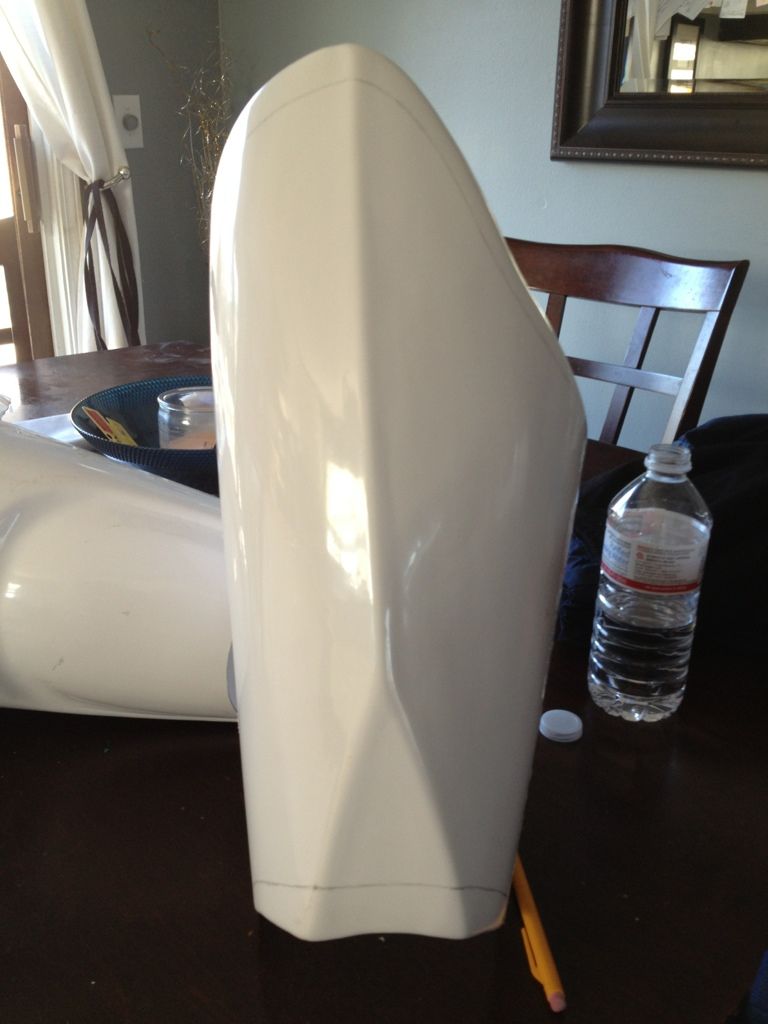
I'm looking at taking about an inch of either side (depending which way I choose). Let me know what you veterans think would be a good thing to do do I'm able to walk and bend a little better!
Thanks
I'm having a problem with my thighs hiting my cod when I bend my leg up (like walking up stairs). I'm looking at either trimming the bottom up, so it sits lower, or trim the top down so it gives me a little more between them.


I'm looking at taking about an inch of either side (depending which way I choose). Let me know what you veterans think would be a good thing to do do I'm able to walk and bend a little better!
Thanks
- Voss
- GLG Member (Reserve)

- Posts: 234
- Joined: Sun Apr 24, 2011 8:07 pm
- Legion ID: 5415
- Location: Clio, MI
Re: 442nd WIP
I agree with wags use superglue and get yourself some accelerator.
"You can run, but you'll only die tired. --Boba Fett"
- BBC527
- 501st Member

- Posts: 1308
- Joined: Fri Jul 13, 2012 6:57 pm
- Legion ID: 52705
- Location: Midland, MI
Re: 442nd WIP
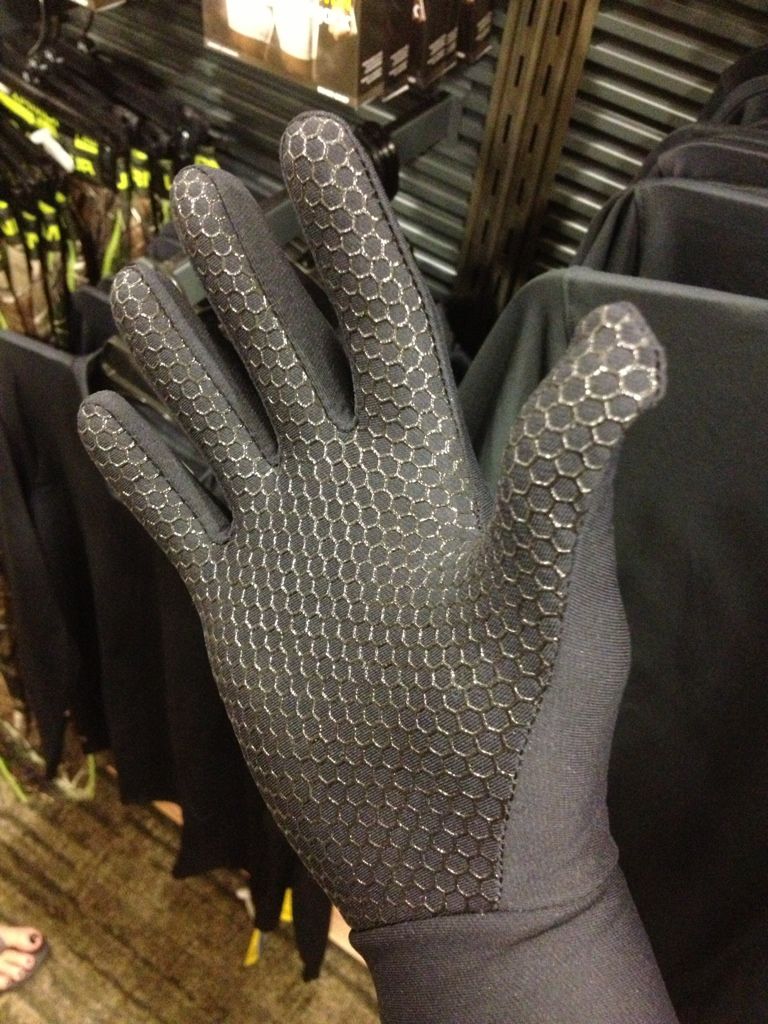
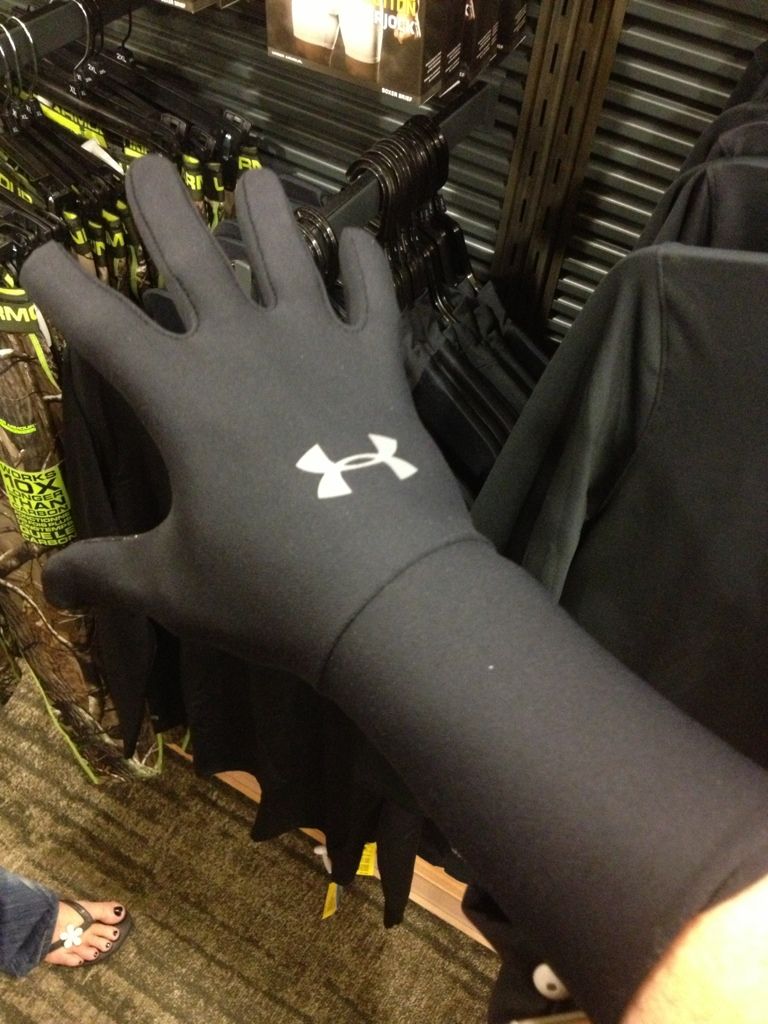
Was out tonight looking around and came across these. I know they are not the nonex flight gloves, but could they work?


- DeafTrooper
- GLG Mart Greeter

- Posts: 2029
- Joined: Fri Feb 25, 2011 4:55 pm
- Legion ID: 7859
- Location: Cottrellville, MI USA
- Contact:
Re: 442nd WIP
Not sure, but I don't think you can have that gray web design on them. I think it has to be all black. I didn't use the flight gloves either. I used some neoprene gloves I found at Meijers made by Wells-Lamont. I'm thinking of getting flight gloves, though. The ones I have now, the gauntlet isn't long enough and keeps coming out from under my forearm armor.
CT/ID-7859
- Wags
- Garrison Armor Consultant

- Posts: 2878
- Joined: Thu Jun 14, 2007 12:32 am
- Legion ID: 7195
- Location: Allen Park, Mi 48101
Re: 442nd WIP
I agree with Rip. plus the faunts are Waaaaay cheaper than UA.
- BBC527
- 501st Member

- Posts: 1308
- Joined: Fri Jul 13, 2012 6:57 pm
- Legion ID: 52705
- Location: Midland, MI
Re: 442nd WIP
Ok, it's been a few days since I updated this build so let's see if I can catch up.
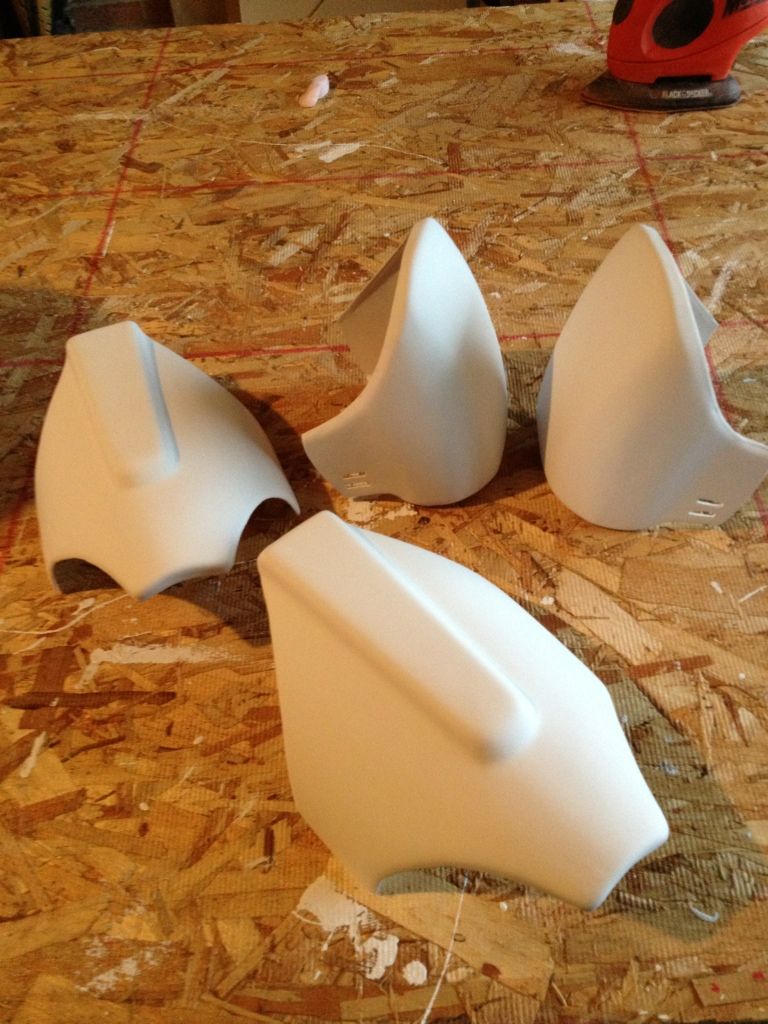
Spent a lot of the weekend working on finishing the legs by sanding off the sludge and smoothing out the transitions. Also finished the biceps and forearm, just sanding it down to get ready for paint.
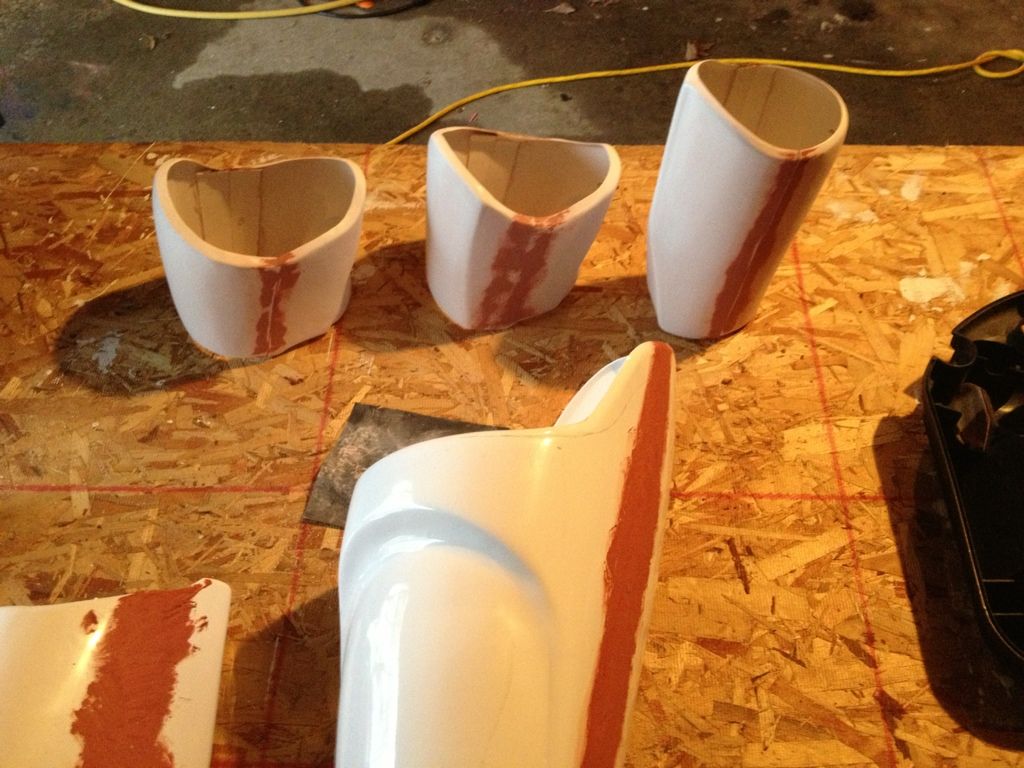
Also worked on cutting and shaping the elbows and knees. I just need to cut and attach the straps on the elbows. Once I get that done I can work on paint and padding.
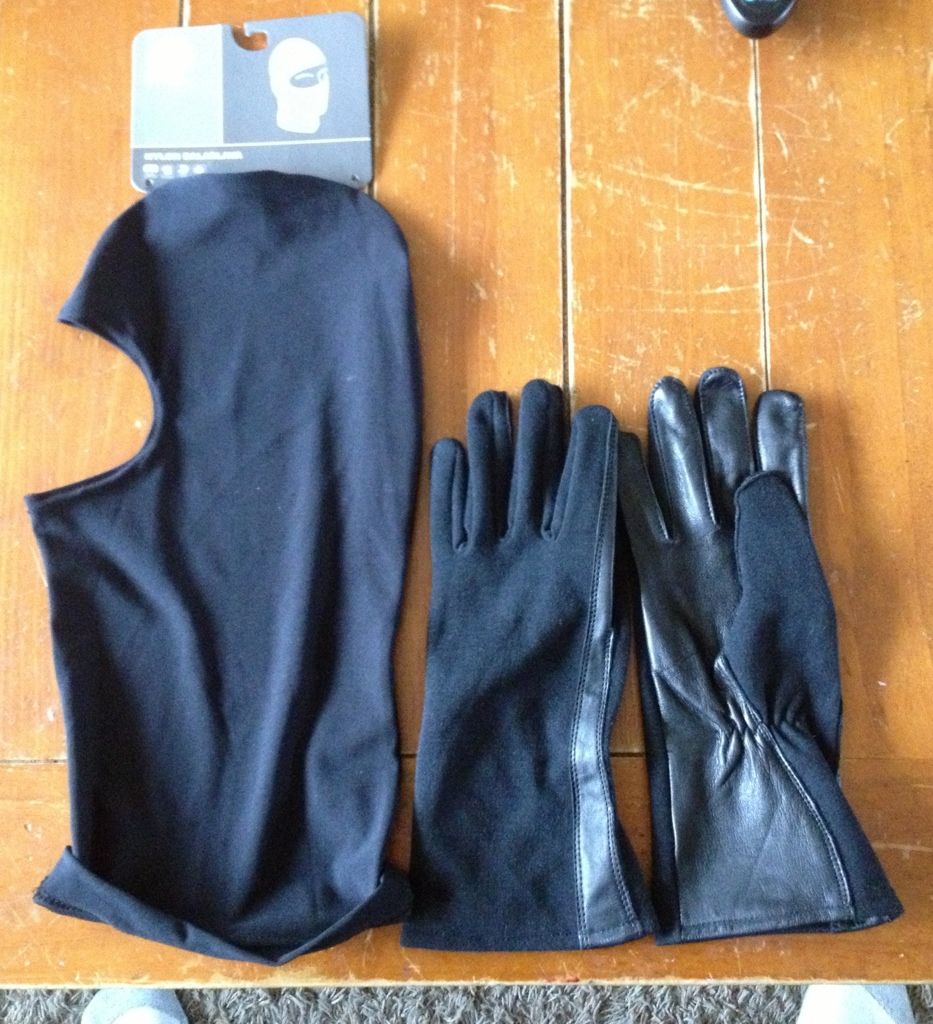
Plus, I made a few purchase off ebay this weekend, that came today. I purchased a black nylon balaclava for my head and neck. Also, a set of black nomex flight gloves. These should be better than the others I posted last time.
Now I just need to work on my belt and the chest/back.
Spent a lot of the weekend working on finishing the legs by sanding off the sludge and smoothing out the transitions. Also finished the biceps and forearm, just sanding it down to get ready for paint.

Also worked on cutting and shaping the elbows and knees. I just need to cut and attach the straps on the elbows. Once I get that done I can work on paint and padding.

Plus, I made a few purchase off ebay this weekend, that came today. I purchased a black nylon balaclava for my head and neck. Also, a set of black nomex flight gloves. These should be better than the others I posted last time.

Now I just need to work on my belt and the chest/back.
- BBC527
- 501st Member

- Posts: 1308
- Joined: Fri Jul 13, 2012 6:57 pm
- Legion ID: 52705
- Location: Midland, MI
Re: 442nd WIP
It sucks when you put your first few coats of paint on then see you need to fill in more holes and refix some seams.
I looked at if I could just hide some of it with weathering, but the more I looked at it the more I knew I couldn't hide it all. With that in mind, I had to redo the thighs and fill several holes. On the forearms I had to basically re-sludge the seams to make then less visible. Also found out I had to fill in the seams again on one of the biceps.
Man, a lot comes out when you start to paint.
- DeafTrooper
- GLG Mart Greeter

- Posts: 2029
- Joined: Fri Feb 25, 2011 4:55 pm
- Legion ID: 7859
- Location: Cottrellville, MI USA
- Contact:
Re: 442nd WIP
For filling in the small holes, it's easier to just use Bondo spot filler, rather than sludge it again.
CT/ID-7859
- BBC527
- 501st Member

- Posts: 1308
- Joined: Fri Jul 13, 2012 6:57 pm
- Legion ID: 52705
- Location: Midland, MI
Re: 442nd WIP
Bondo spot filler is what I use for the small stuff and feathering out the edges. I only use the sludge for filling in major gaps/seams.
- BBC527
- 501st Member

- Posts: 1308
- Joined: Fri Jul 13, 2012 6:57 pm
- Legion ID: 52705
- Location: Midland, MI
Re: 442nd WIP
I worked on the belt I got with Kevin's kit this weekend. It took a while to trim out and fit the boxes along with the detonator.
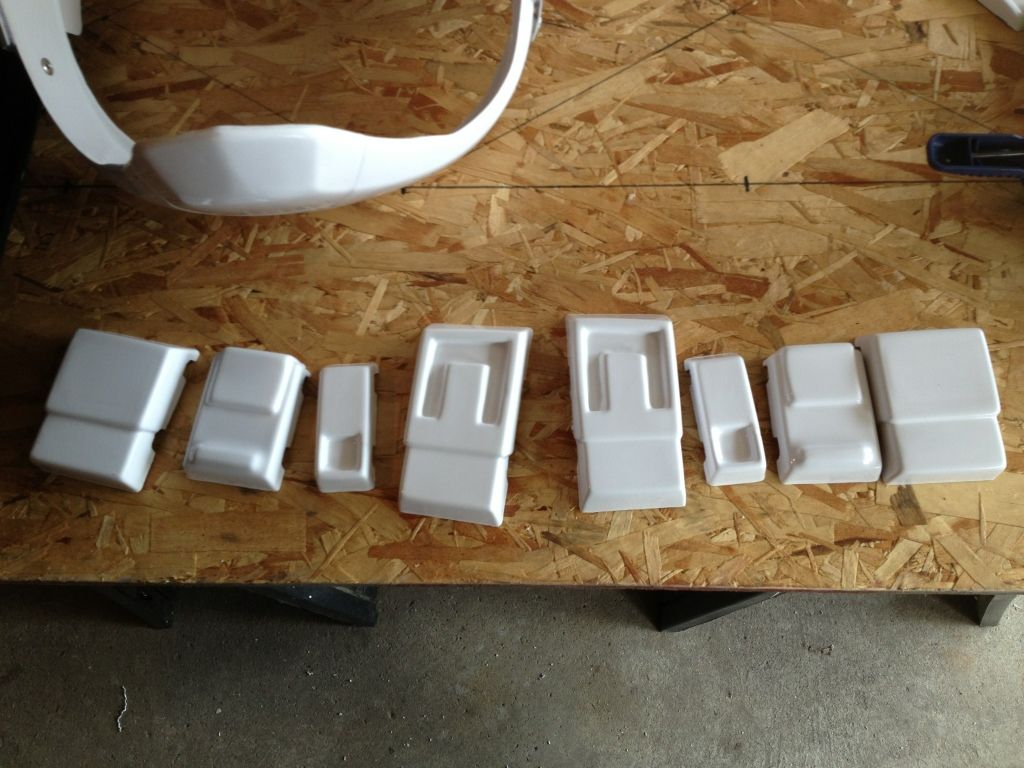
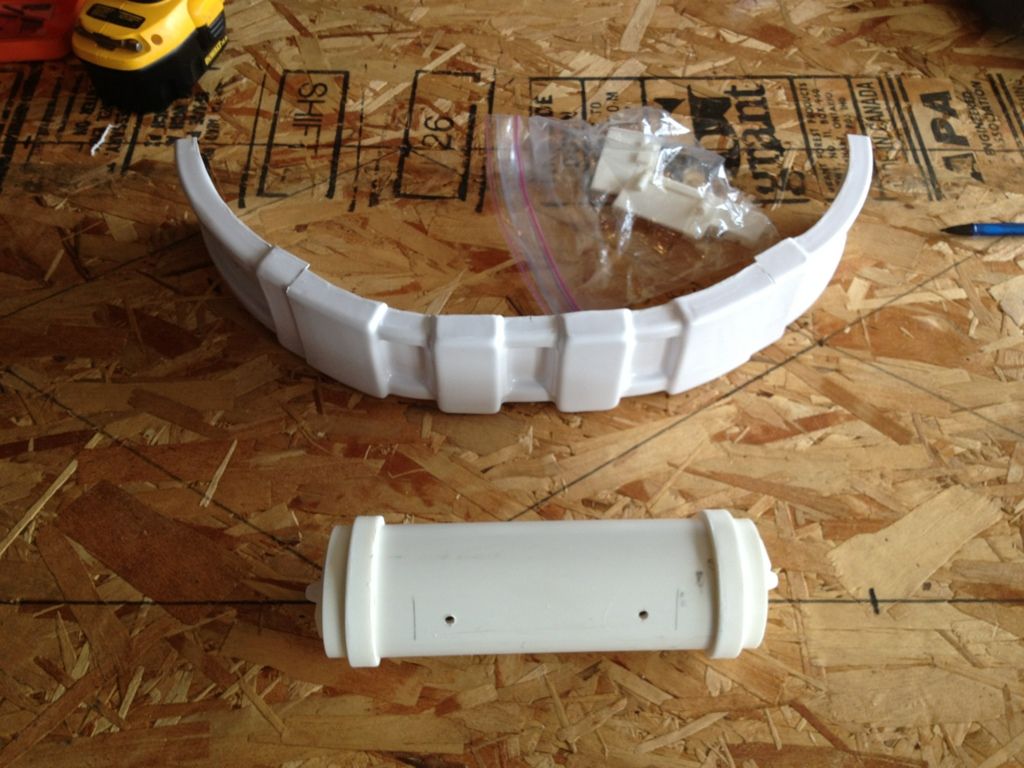
However, as I tried to follow the pics from the web on how to do it, and get it to fit I screwed it up. Just check out the pics below.
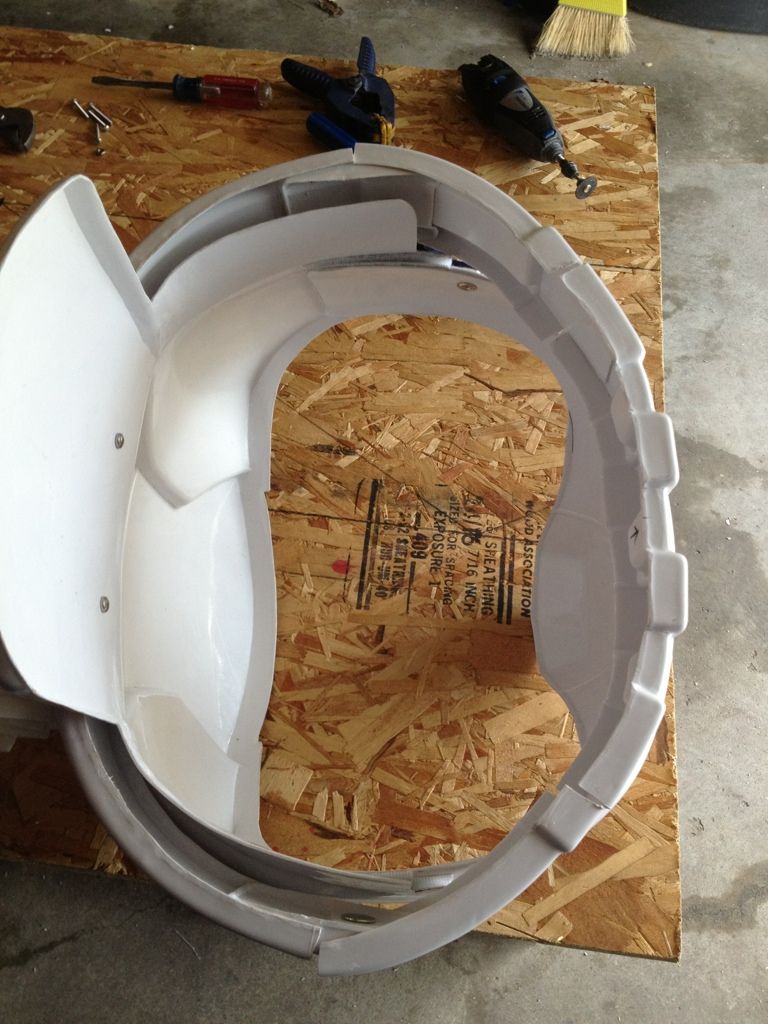
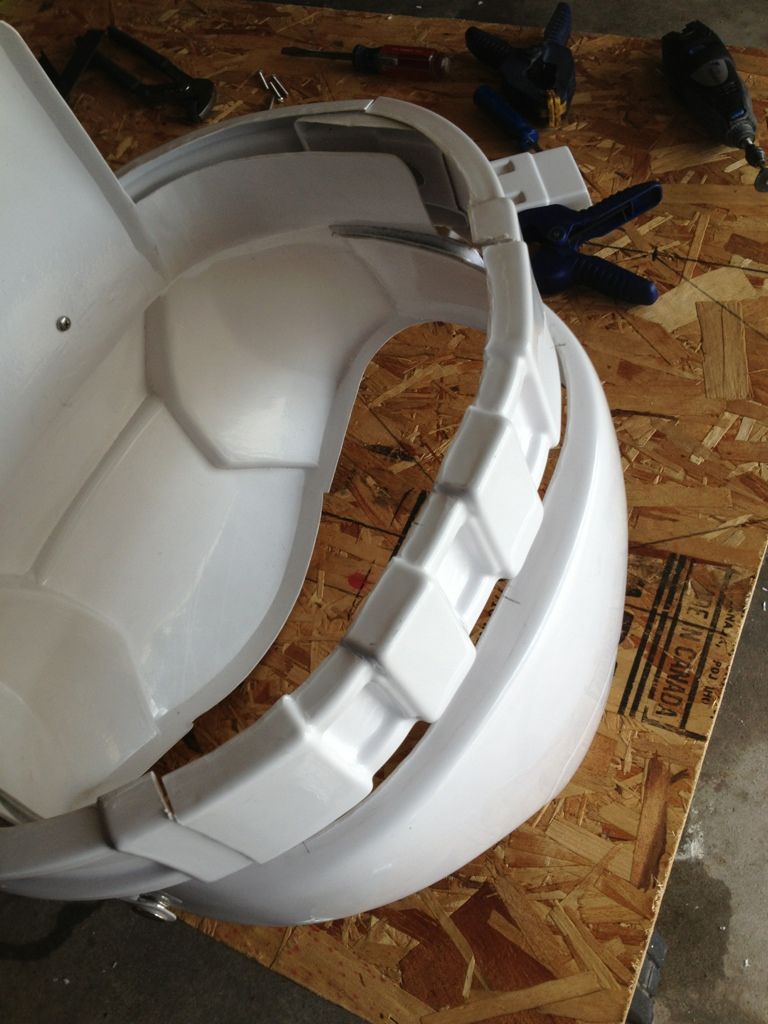
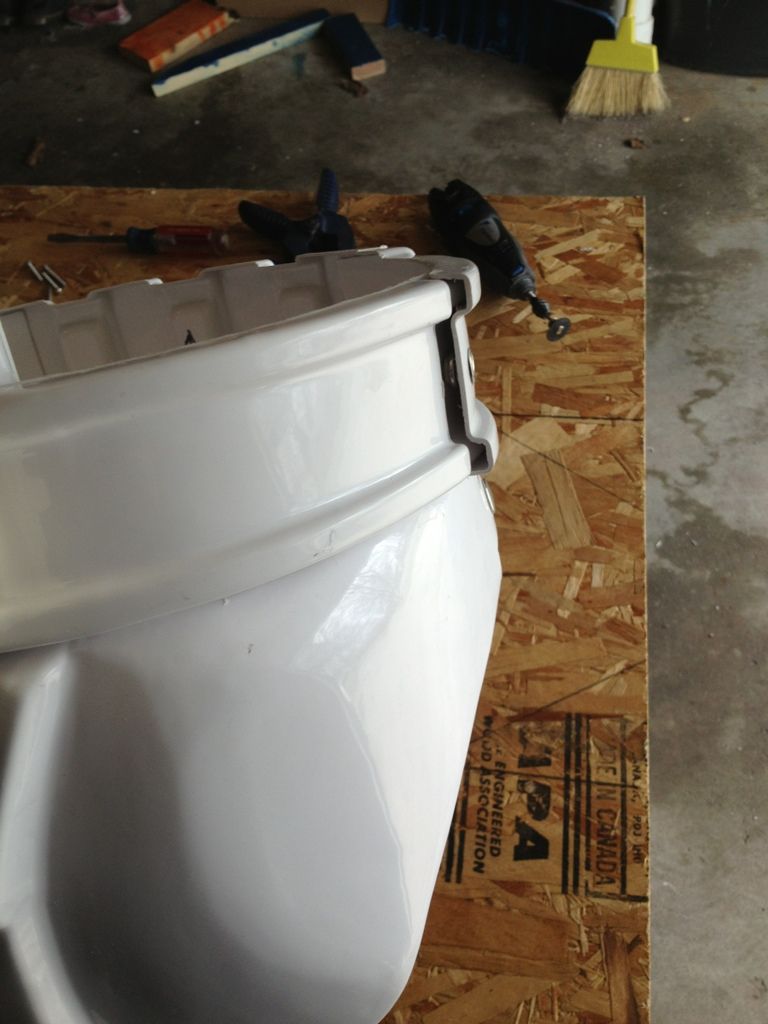
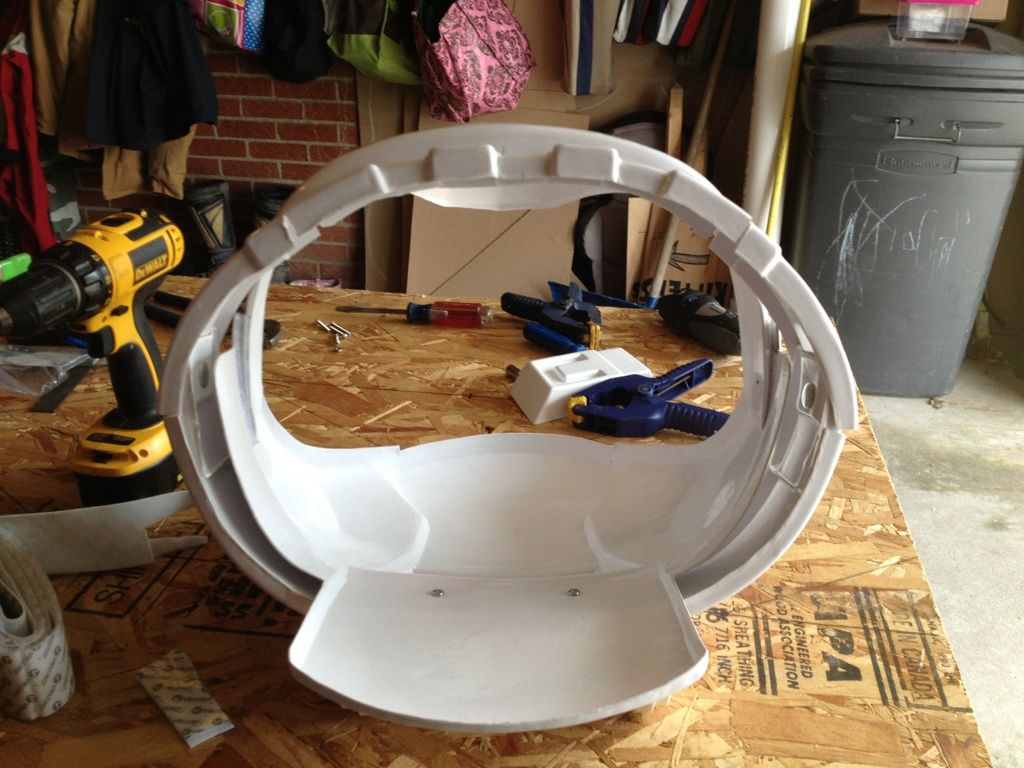
I'm trying to come up with a way to fix it and I may have a plan. I may be able to extend it using the space behind the boxes and all the extra cut material I have. I may also need to cut some wedge shapes in the edge to help it flex shape (then patch and sludge). I have the vision in my head.
Any other ideas from you guys besides buying another belt?
Thanks


However, as I tried to follow the pics from the web on how to do it, and get it to fit I screwed it up. Just check out the pics below.


I'm trying to come up with a way to fix it and I may have a plan. I may be able to extend it using the space behind the boxes and all the extra cut material I have. I may also need to cut some wedge shapes in the edge to help it flex shape (then patch and sludge). I have the vision in my head.
Any other ideas from you guys besides buying another belt?
Thanks
