Page 4 of 6
Re: 41st Elite Clone w.i.p.
Posted: Sun Apr 24, 2011 1:35 pm
by DeafTrooper
oh, yah...i know i'll be happy with it. he does great work. was just saying that i always thought the armor was a lot thicker, like a pvc pipe or something.

Re: 41st Elite Clone w.i.p.
Posted: Tue Apr 26, 2011 7:29 am
by Crimson
Nah, if it was as thick as PVC pipe, nobody'd be able to work with it -- it'd be TOO rigid.
Re: 41st Elite Clone w.i.p.
Posted: Thu May 05, 2011 9:18 pm
by DeafTrooper

AAAARRRGGGHHHHHH!!!!!!!!!!!!!!!!!!!!!!!!!!!! i was THIS close to finishing the painting on my clone helmet. but nooooo...mr klutz here dropped the helmet, which hit the paint bottle and black paint went flying everywhere. all over the helmet, table, me, carpet, etc. thank god i was using acrylic paint. now i have to do a TON of touch ups on the helmet. i need a freaking drink.

thank god the girlfriend bought a carpet shampooer recently. got all the paint out of the carpet.
Re: 41st Elite Clone w.i.p.
Posted: Sun May 08, 2011 8:09 pm
by DeafTrooper
how do you guys glue the visor in without smearing the glue over it? i was thinking of using rubber cemet to hold it in place and then using hot glue around the inside. thoughts???
Re: 41st Elite Clone w.i.p.
Posted: Sun May 08, 2011 8:47 pm
by DeafTrooper
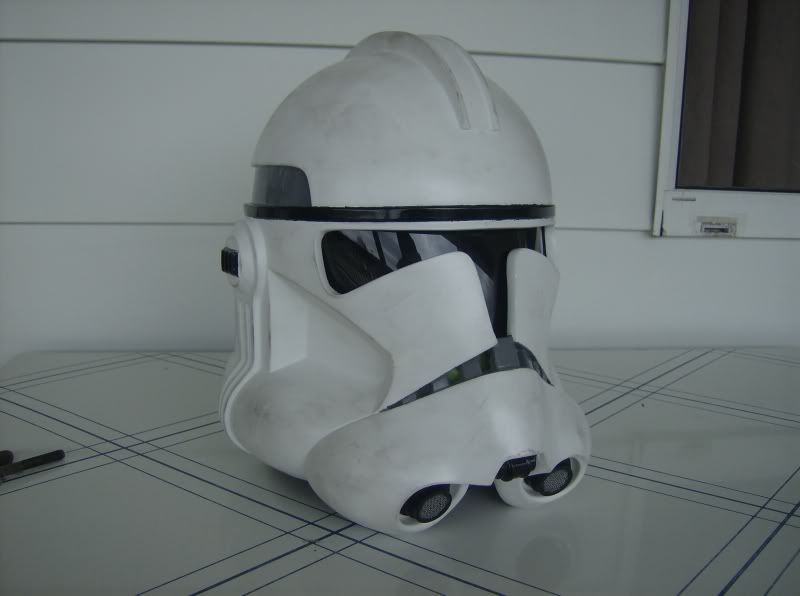
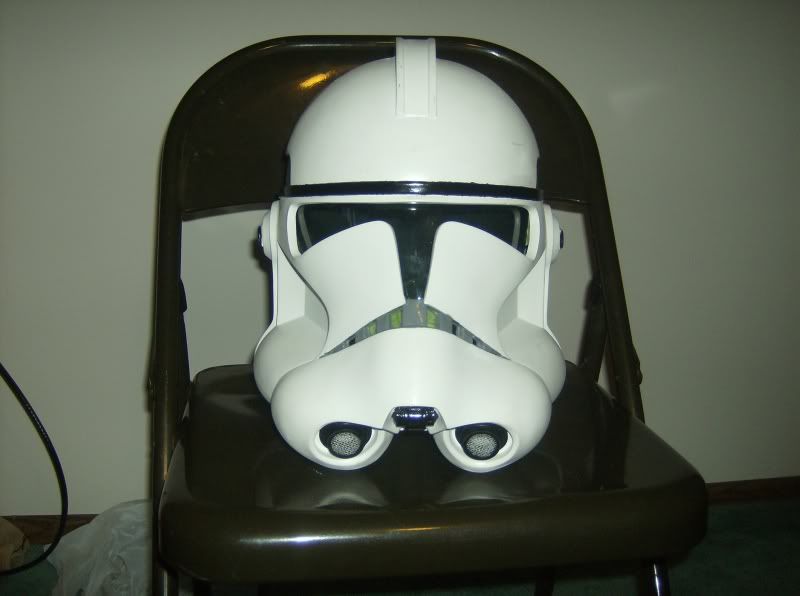
Well, I got most of the spilled paint off of it. Finished the painting and glued the aerators on. Went and bought a smoked motorcycle helmet visor to replace the other one. I want to weather the helmet a little more before i clear coat it and then glue the visor in. Then I have to add the fan system and add the foam on the inside.
Re: 41st Elite Clone w.i.p.
Posted: Mon May 09, 2011 6:15 pm
by Lou3433
DeafTrooper wrote:Well, I got most of the spilled paint off of it. Finished the painting and glued the aerators on. Went and bought a smoked motorcycle helmet visor to replace the other one. I want to weather the helmet a little more before i clear coat it and then glue the visor in. Then I have to add the fan system and add the foam on the inside.
Don't forget the stripes ))))))))

Re: 41st Elite Clone w.i.p.
Posted: Mon May 09, 2011 6:19 pm
by DeafTrooper
Lou3433 wrote:Don't forget the stripes ))))))))
not until the very end, brother.

come to think of it...i do keep forgetting to eat the smarties. LOL
Re: 41st Elite Clone w.i.p.
Posted: Mon May 09, 2011 7:44 pm
by Rimshot
Looking good so far
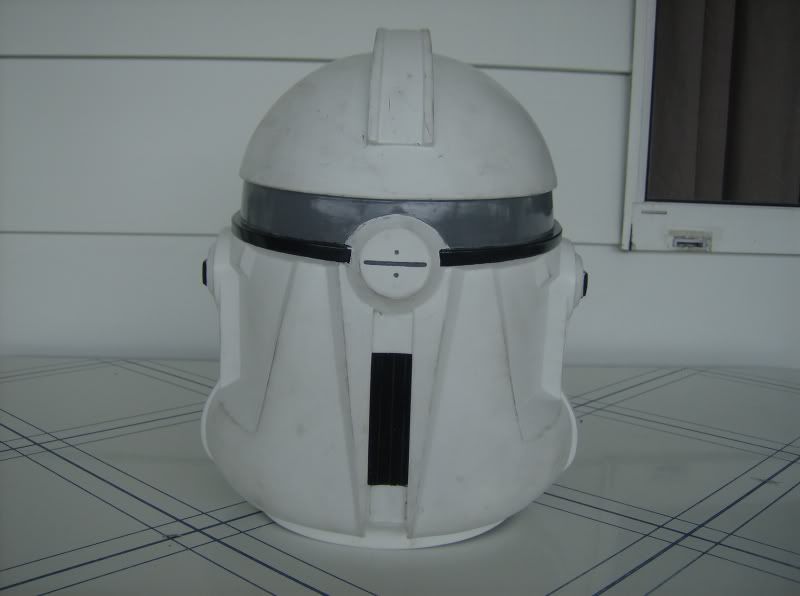
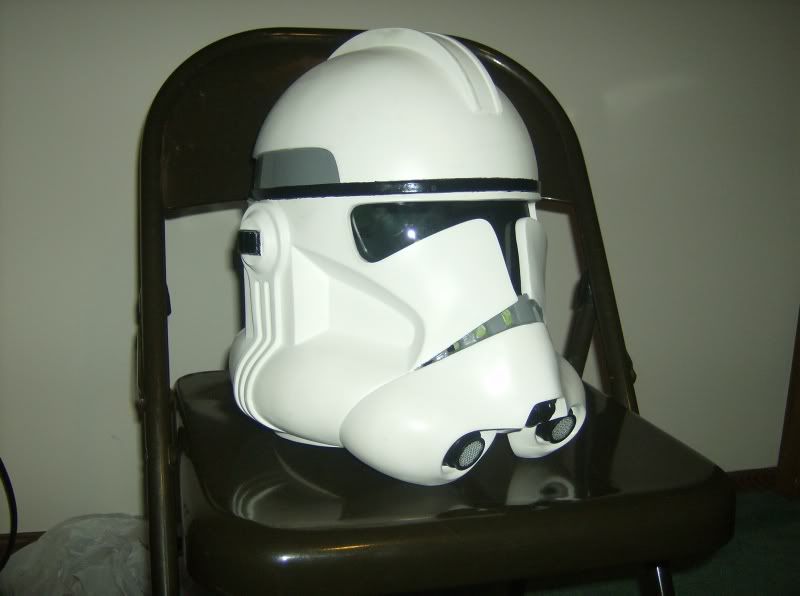
Just figured I'd check since there isn't a back pic, but did you hit the back vent?
Re: 41st Elite Clone w.i.p.
Posted: Tue May 10, 2011 5:35 pm
by DeafTrooper
Re: 41st Elite Clone w.i.p.
Posted: Tue May 10, 2011 5:54 pm
by Wags
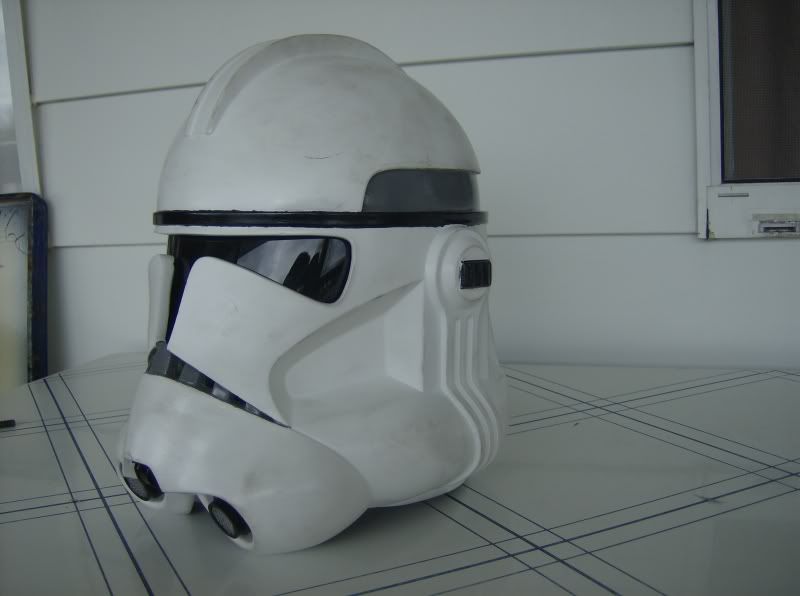
I like it. Rub some more dirt (just a bit) around the recessed area of the cheeks (more so the creases) and ear caps and I think that would look perfect!!
Re: 41st Elite Clone w.i.p.
Posted: Tue May 10, 2011 6:14 pm
by DeafTrooper
thanks! yah, i had a hell of a time trying to get dirt into the cheek areas. i also want to add a little more to the entire left side. will take it to work again tomorrow.
Re: 41st Elite Clone w.i.p.
Posted: Thu May 12, 2011 2:47 pm
by DeafTrooper
Re: 41st Elite Clone w.i.p.
Posted: Fri May 13, 2011 2:29 am
by DeafTrooper
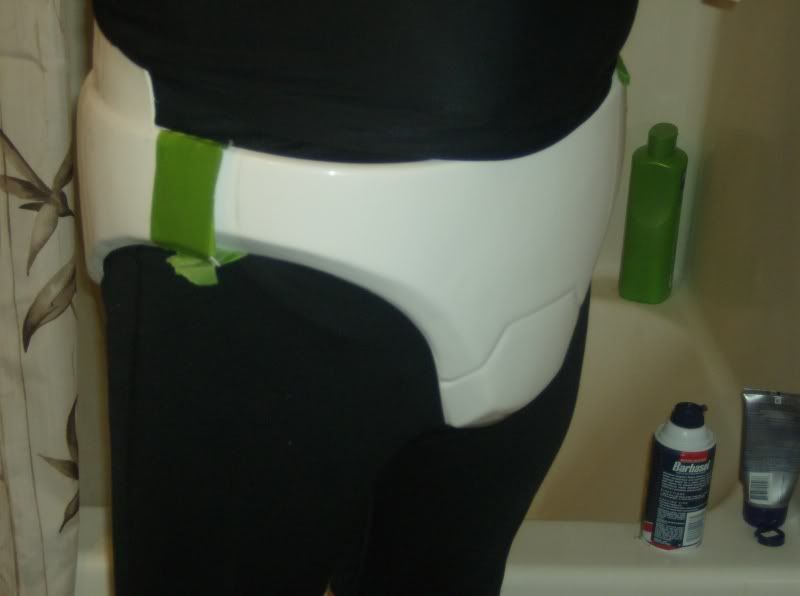
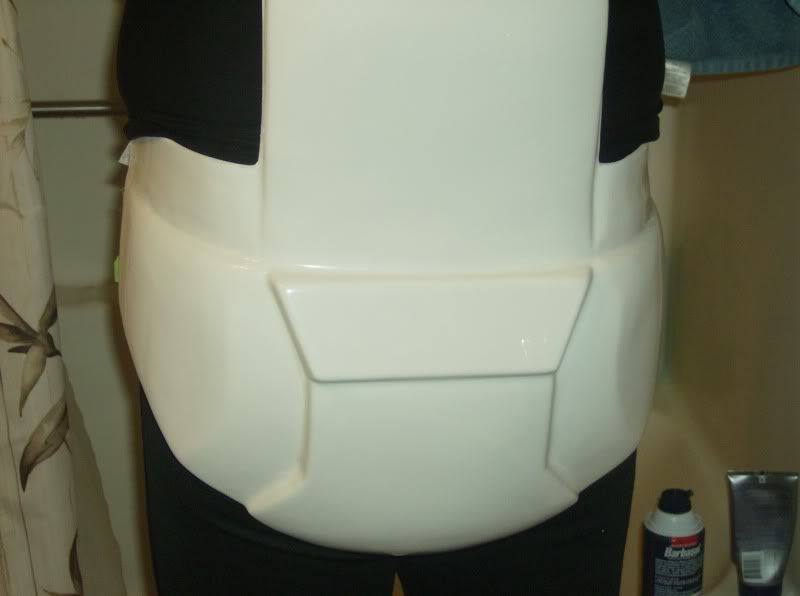
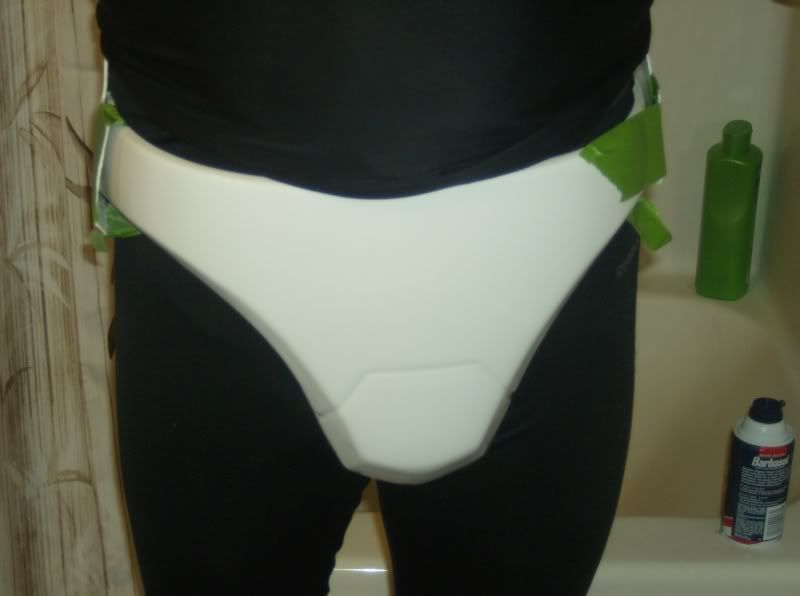
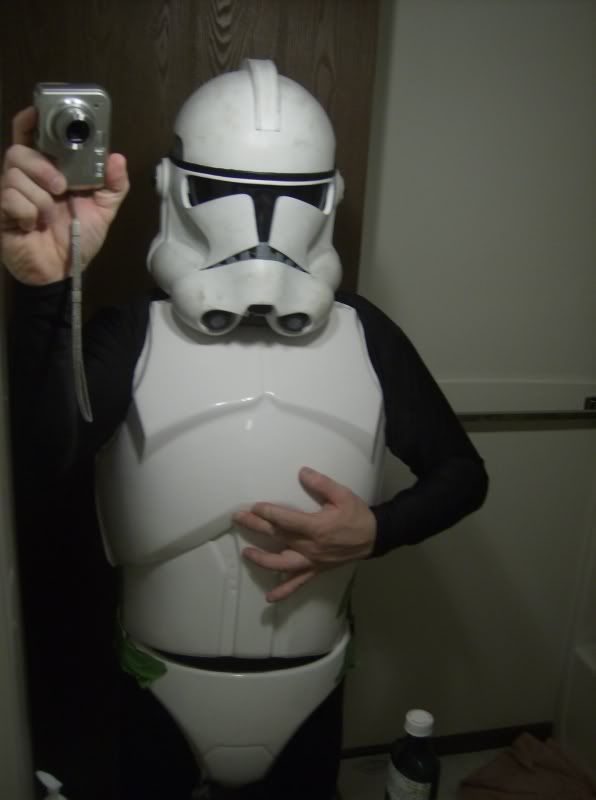
i know there is supposed to be a bit of a gap between the cod and ab sections that the belt covers up, but exactly how much? is this about right?
Re: 41st Elite Clone w.i.p.
Posted: Sat May 14, 2011 1:29 am
by Wags
The Gap between them is accurate. It is not required though. Maybe put a piece of elastic between them so it flexes as you move.
You could build 2 bridges between the cod and ab and add a piece of elastic with snaps to make it mobile and still comfy...
Re: 41st Elite Clone w.i.p.
Posted: Sat May 14, 2011 8:15 pm
by DeafTrooper
ok, cool! i thought it looked right, but just wanted to make sure. i think i'll leave it alone for now. if i have a problems with it later on, then maybe i'll add some elastic to it. thanks, tony!
Re: 41st Elite Clone w.i.p.
Posted: Fri Jun 10, 2011 5:21 pm
by DeafTrooper
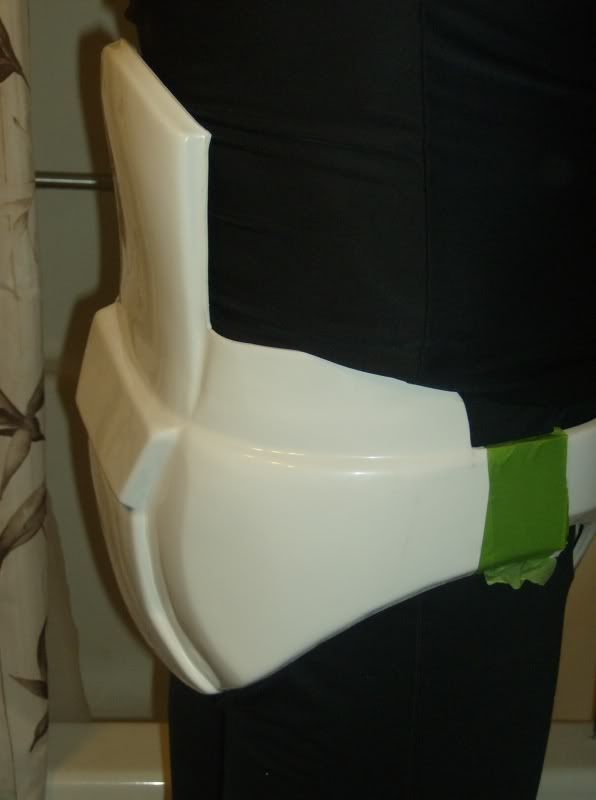
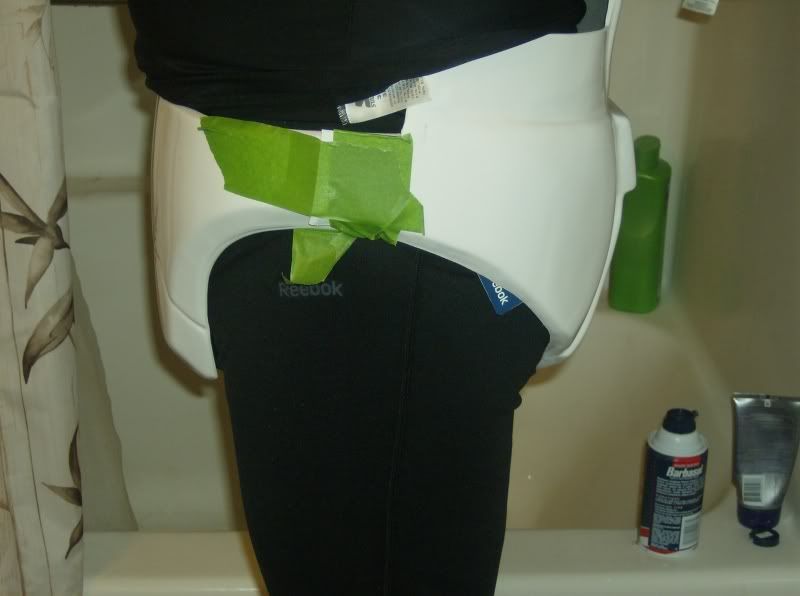
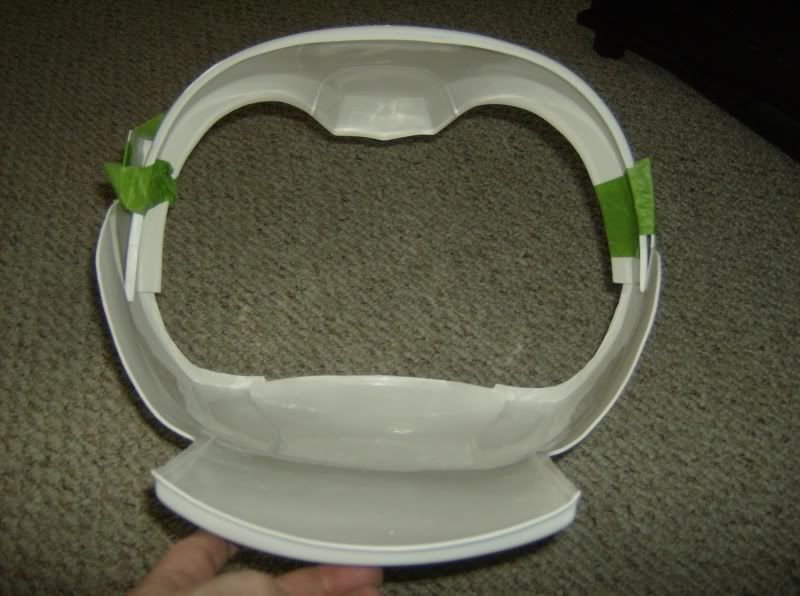
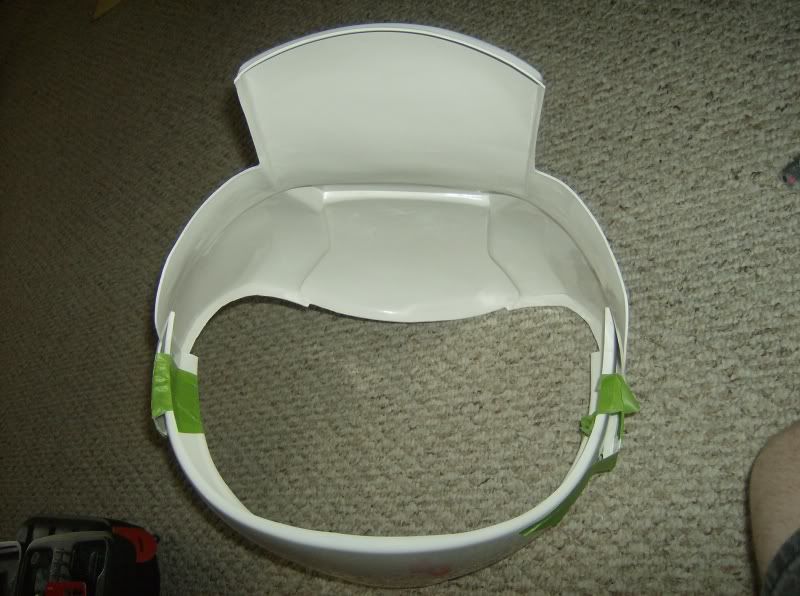
got a question...does the cut on the cod/butt piece have to be exactly like shown in this pic or can i just make a cut that is somewhat close to the same shape?

Re: 41st Elite Clone w.i.p.
Posted: Fri Jun 10, 2011 6:16 pm
by Gator Fett
As close to that as you can get is prefered.
Here is mine from my build thread.

Re: 41st Elite Clone w.i.p.
Posted: Fri Jun 10, 2011 6:21 pm
by Wags
Re: 41st Elite Clone w.i.p.
Posted: Fri Jun 17, 2011 12:12 pm
by DeafTrooper
AARRRGGHHHH!!!!!!! "captain klutz" strikes again.
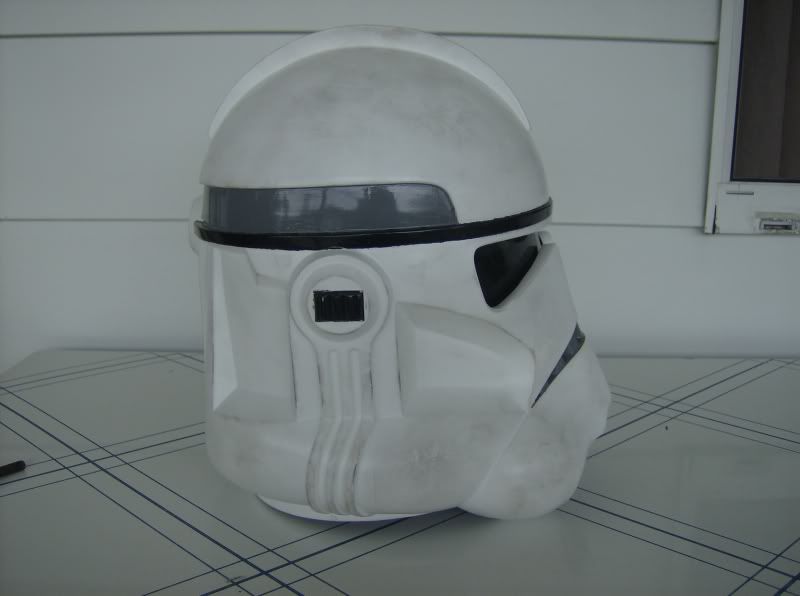
accidentally dropped my bucket the other day. broke off almost all of 1 side of the "mohawk". crazy glued it back on, but there is still a visible crack. think i'll just leave it as "battle damage". don't really feel like filling the cracks in with filler and re-painting the thing again.
Re: 41st Elite Clone w.i.p.
Posted: Fri Jun 17, 2011 12:15 pm
by DeafTrooper
Gator Fett wrote:As close to that as you can get is prefered.
Here is mine from my build thread.
yah, i think mine might look like that except the tab will be a little longer. i added the snaps but haven't trimmed off the tab sections yet. snaps don't really hold that well, so i'm going to add velcro to the section also, to give it more strength.