Page 1 of 1
Clone Shoe Tutorial
Posted: Thu Feb 14, 2013 10:50 pm
by BBC527
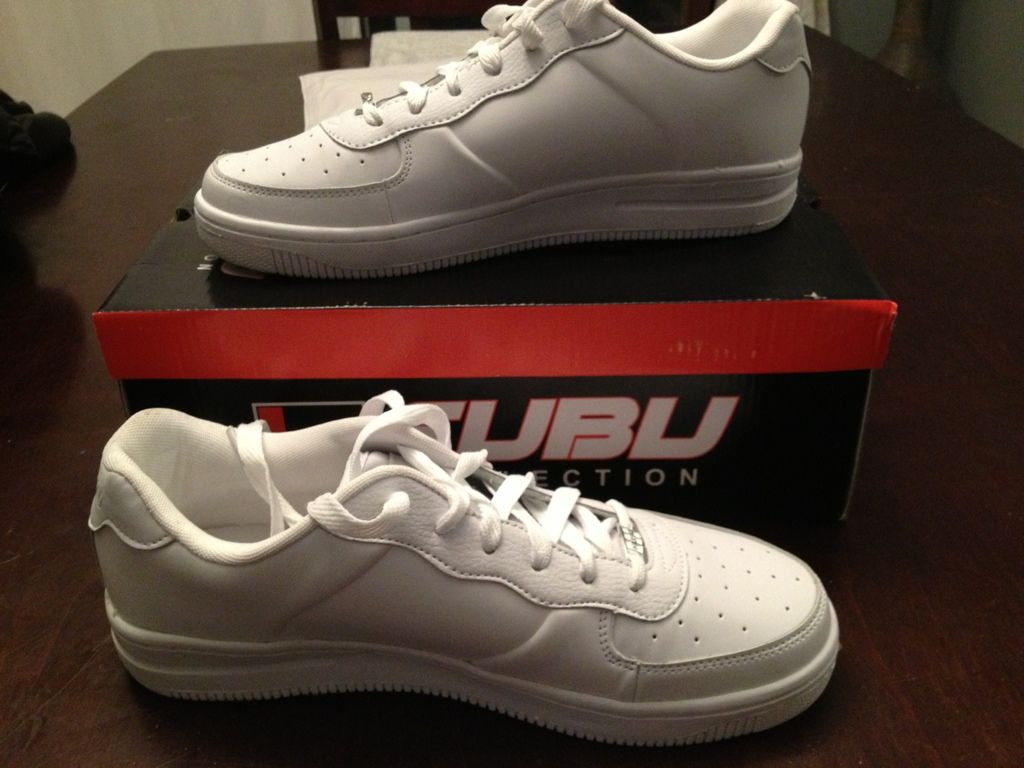
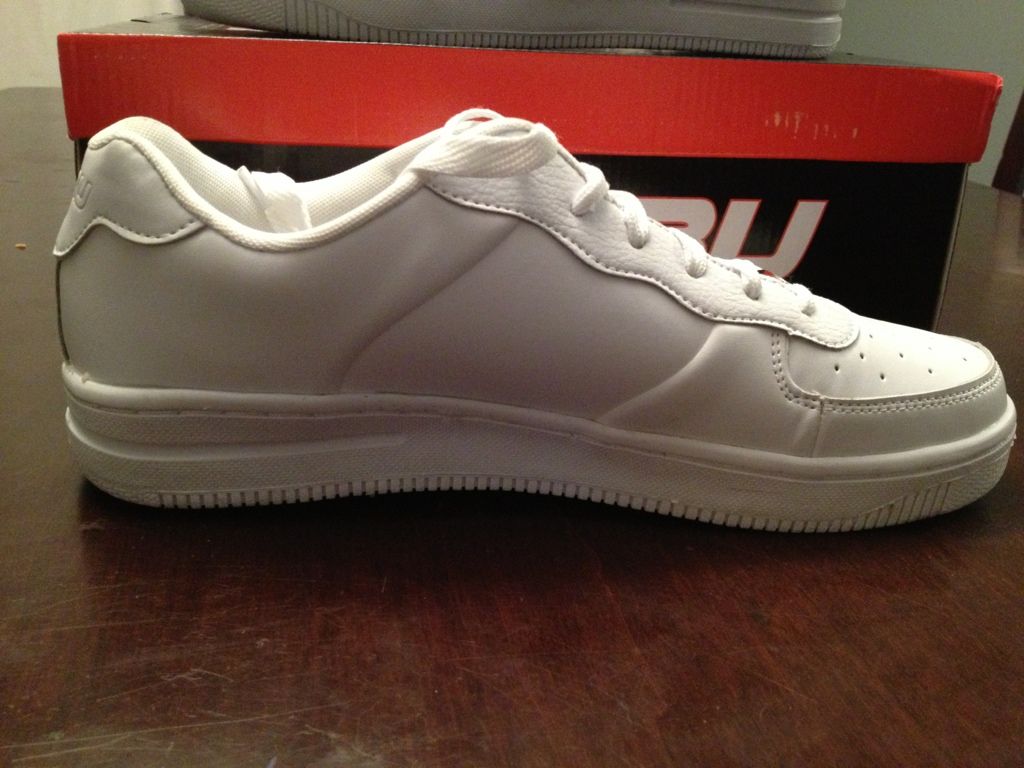
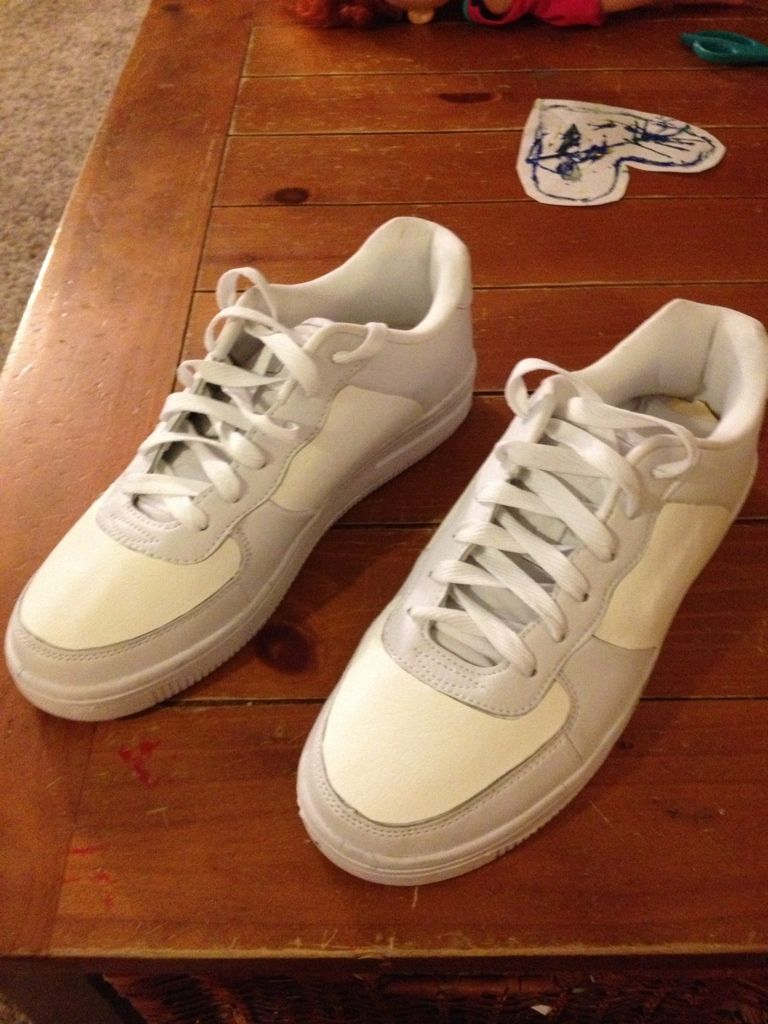
I am putting together my own Clone Shoe tutorial after researching several forums and sites. This tutorial will give you a general overall build no matter what shoe you have. These are the ones I purchased at Walmart.
Re: Clone Shoe Tutorial
Posted: Fri Feb 15, 2013 11:30 am
by BBC527
Once I had my shoes I looked around to see what other people had done. I printed of a few photos of shoes that other people had made that I liked.
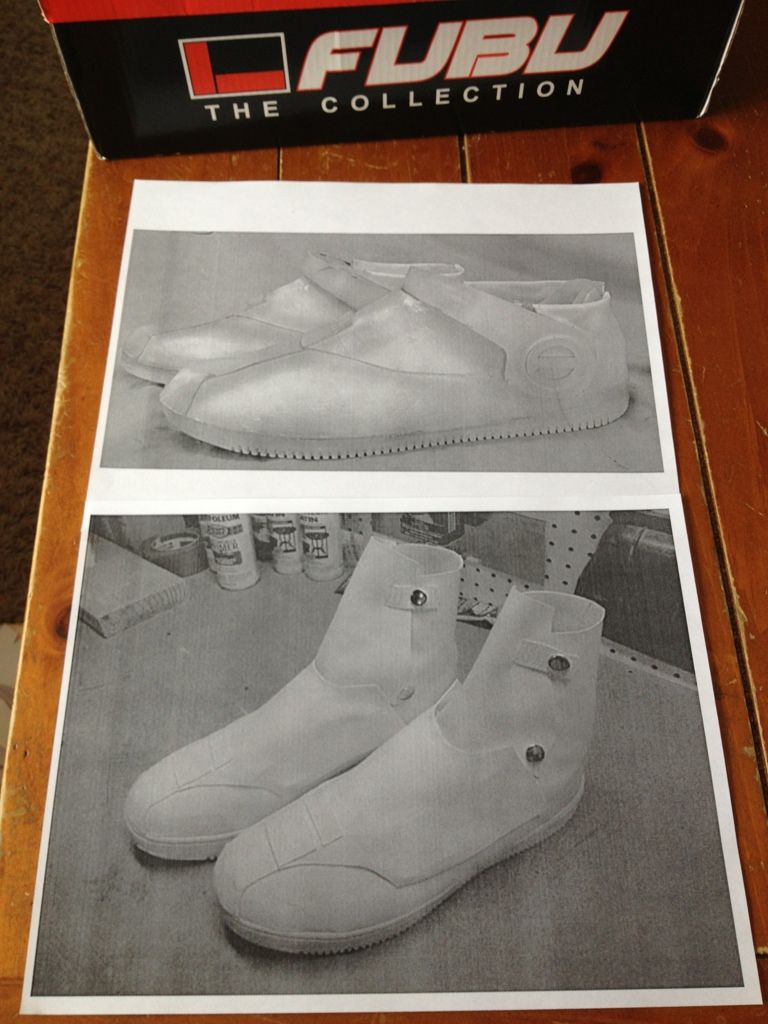
I also had found a template out there someone had put together from the shoes they made. However, it didn't fit when i cut it out and tried it on my shoes. So, what I had to do is create my own templates for my FUBU's. Sure, it's a little time consuming but then you'll know they fit the shoes you have.
Overall, I would say take your time with the shoes you have and use what you find in the forum threads to make your boots.
Let me know if there is anything I can help with.
Re: Clone Shoe Tutorial
Posted: Mon Feb 18, 2013 12:29 pm
by BBC527
Once I decided the route I wanted to go with my boots, I started looking for the materials I needed. First, I went through some of the threads and found the size of vinyl that would work. I found you need a piece of vinyl about (14"x50") to cover the shoes and make all the pieces. This gives you plenty for your boots, with extra in case you mess something up.
Once I had the size, I needed to find the vinyl. In a lot of threads you see everyone using Marine Vinyl for their builds. With that in mind, I started looking around for some Marine Vinyl. I found the Vinyl I needed at the local Jo-Ann Fabrics in town. Along with the vinyl I picked up a tube of Shoo Goo and some Velcro.
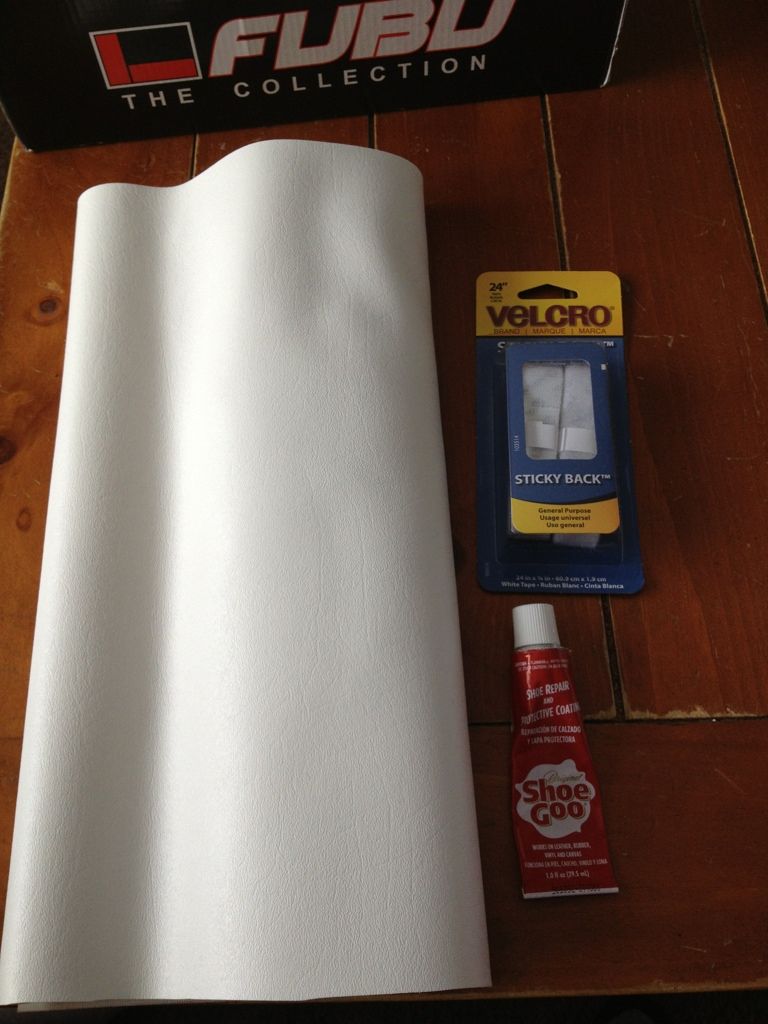
The Shoo Goo is used to attach the vinyl to the shoe. The Velcro will be used to give you access to the shoe, either on one side or both. This part will be shown later in the build.
Now that you have your materials it's time to start on your templates.
Re: Clone Shoe Tutorial
Posted: Fri Mar 08, 2013 9:38 pm
by BBC527
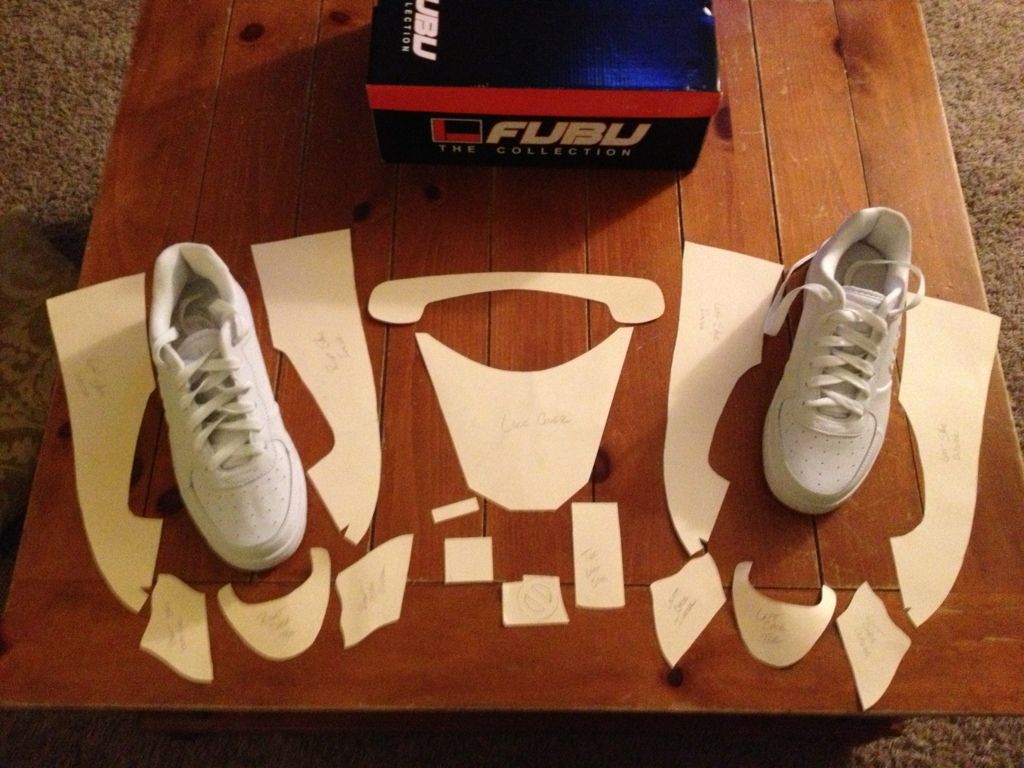
What I decided to do on my build was fill in the lower spots with extra vinyl and to cover the logo. This is mainly to bring up the surface of the shoe to one even level, for a better finished look.
To create these templates I used regular printer paper to make the shapes. This allowed for flexibility to fit curved/rounded areas, along with wrapping it around the shoe toe and heel.
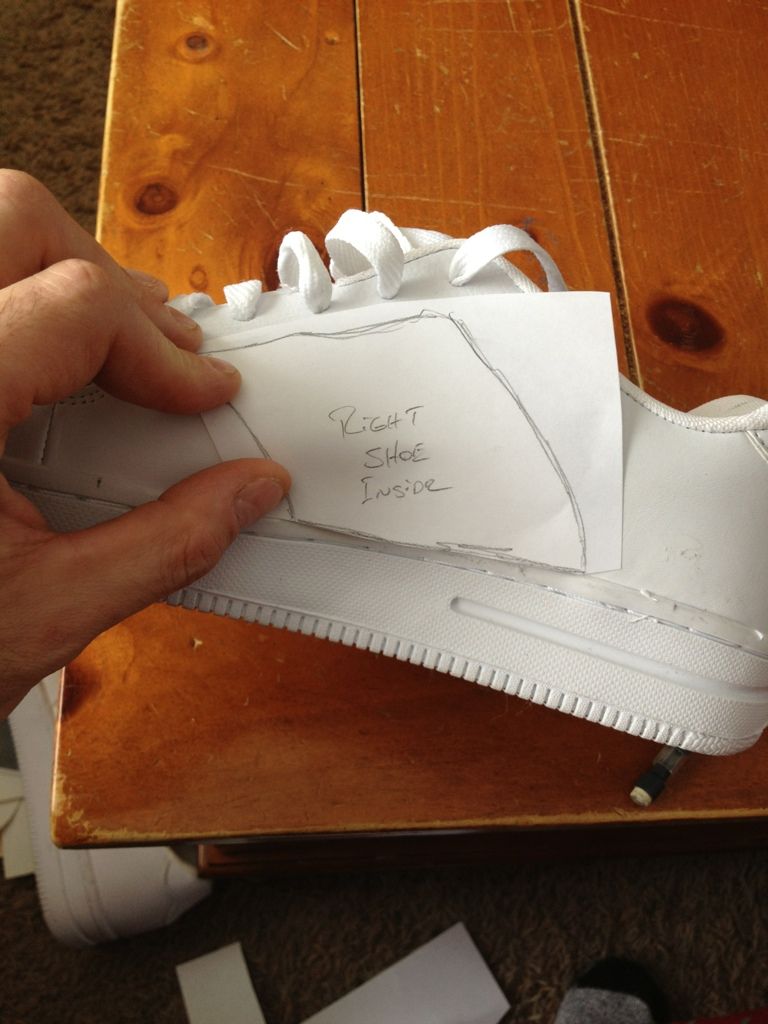
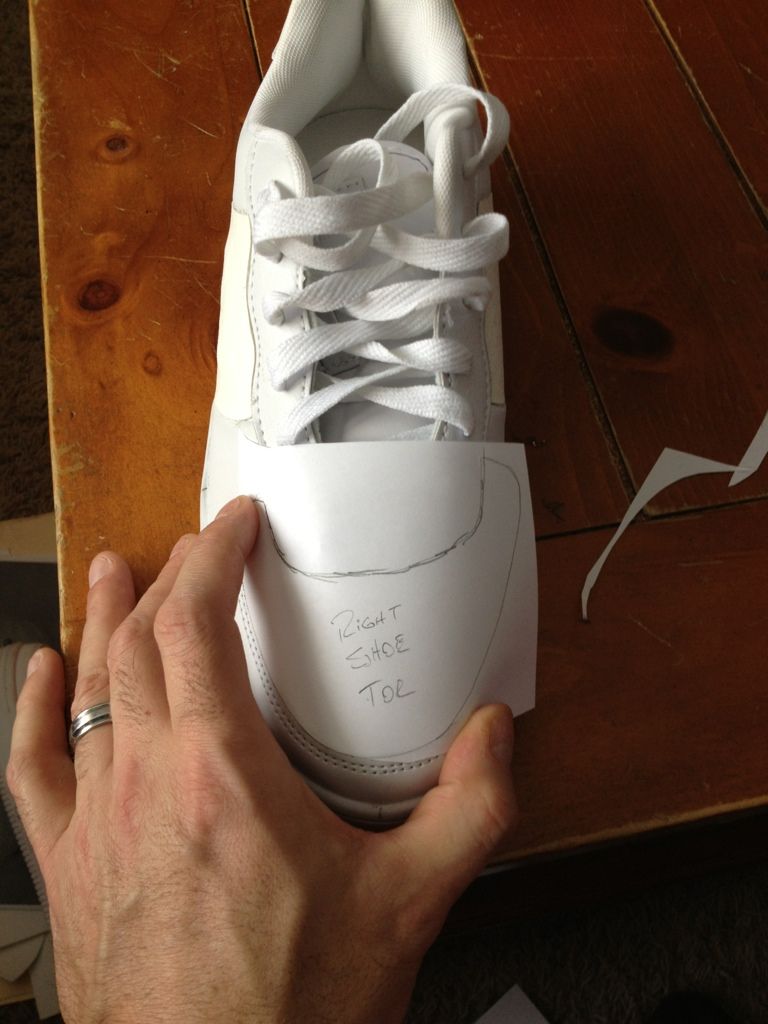
After having the sides and toe made, I worked on the covering for the rest of the shoe, the strap, toe, and lace covering.
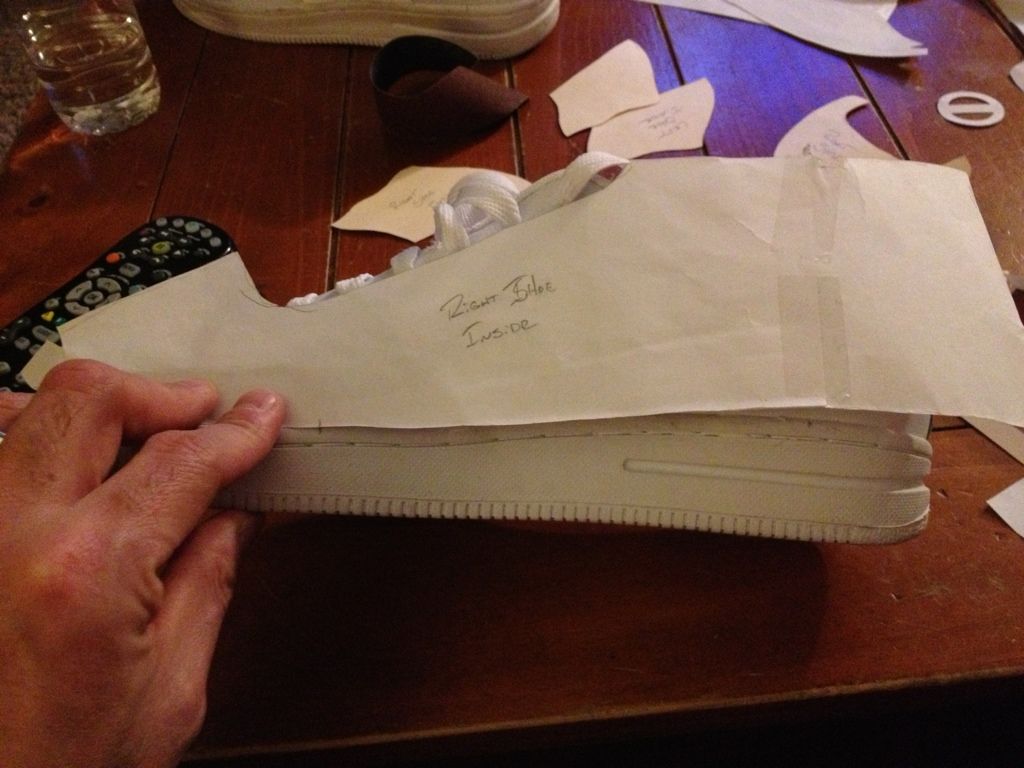
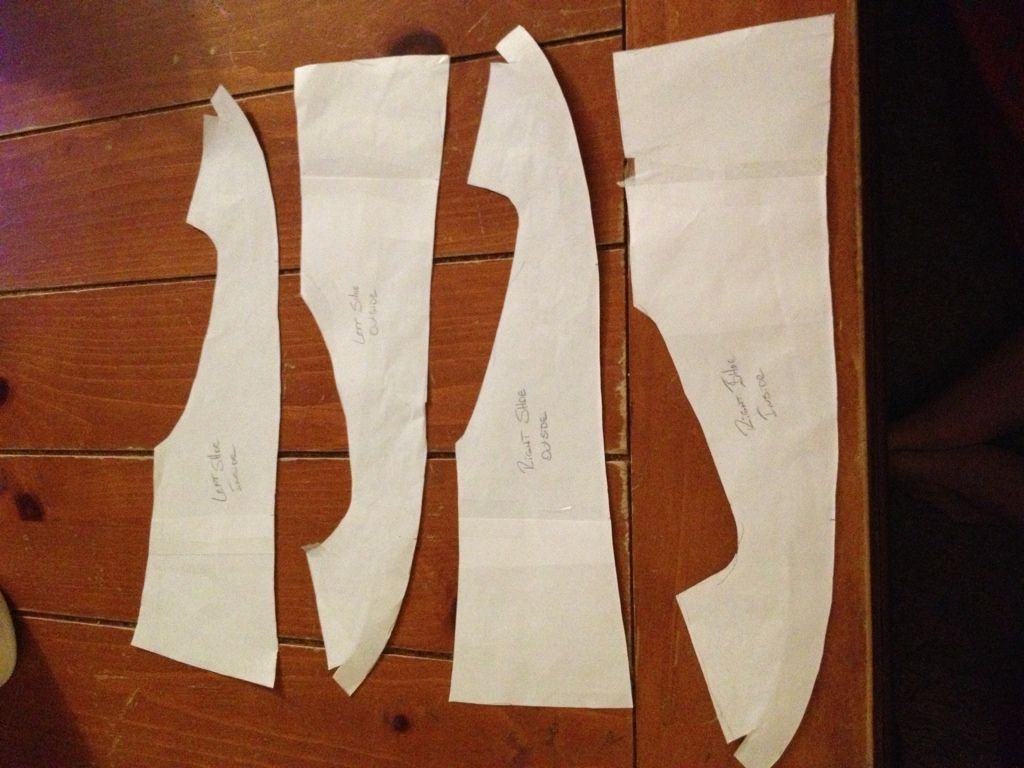
Once I had all the paper templates cut out I transfered them to a thin poster board.
Re: Clone Shoe Tutorial
Posted: Thu Apr 18, 2013 11:35 pm
by BBC527
It's been a while since I made an update on this tutorial, but I finally got my armor and have been working on that. I will continue with this when I get the armor done and need to finish the shoes.
Re: Clone Shoe Tutorial
Posted: Thu May 23, 2013 9:34 pm
by BBC527
Ok, time to finish this tutorial up. I'll try and do the best I can since I had finish them quick to get approved.
Re: Clone Shoe Tutorial
Posted: Thu May 23, 2013 9:47 pm
by BBC527
Now that you have all the templates cut out of poster board it's time to cut out the vinyl and start on the shoes.
The one thing you need to do is flip the templates over when you lay them out on the vinyl. If you don't, they won't line up right. The first parts I did were the toes and sides.
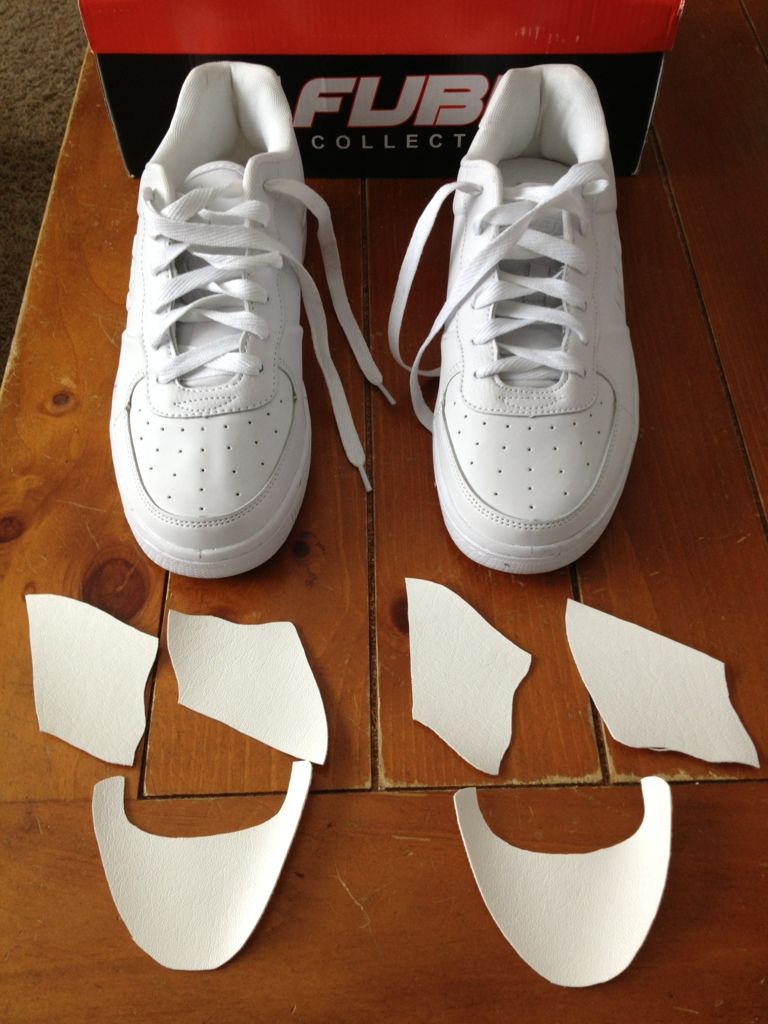
Using Shoe Goo, I adhered these to the shoes.
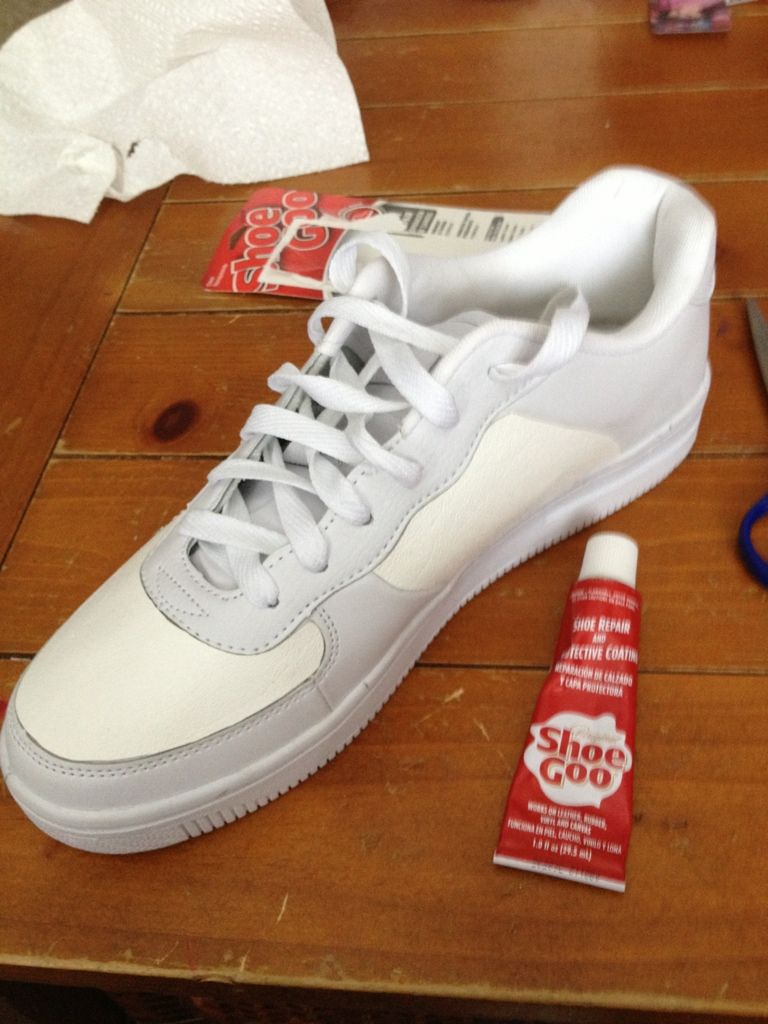
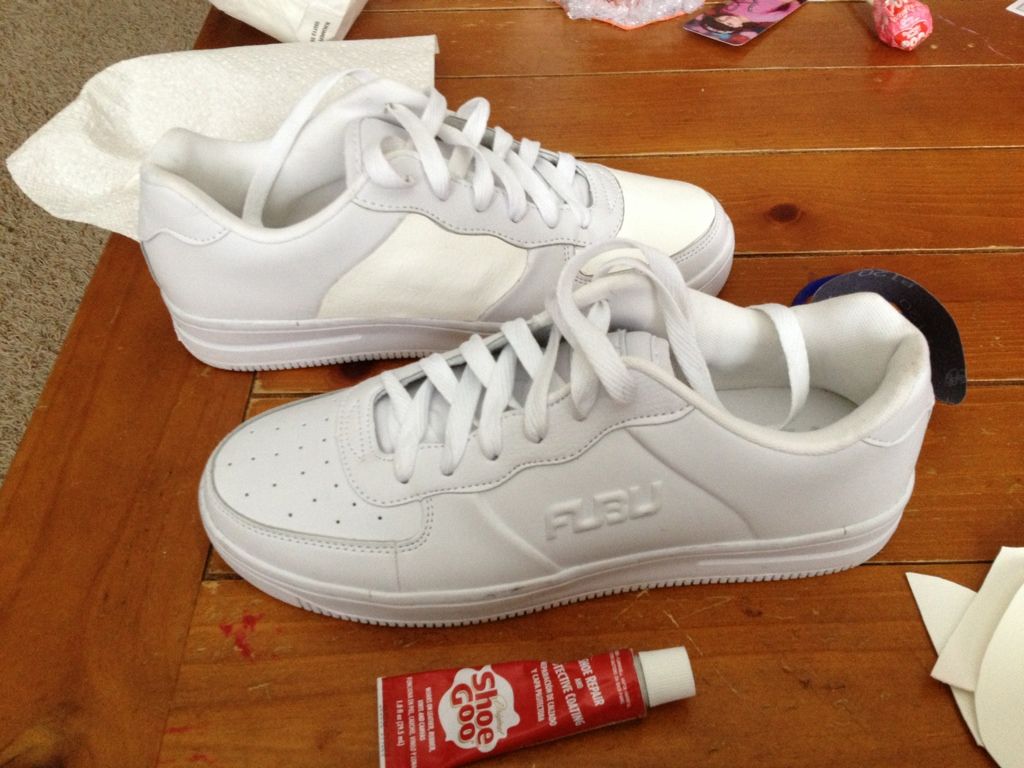
This is what they look like done.
Re: Clone Shoe Tutorial
Posted: Thu May 23, 2013 10:50 pm
by BBC527
Now move on to the sides if the shoe. These pieces will cover most of the shoes except the laces.
Sorry but these pics are all of the final shoe. I'll try and walk through what I did.
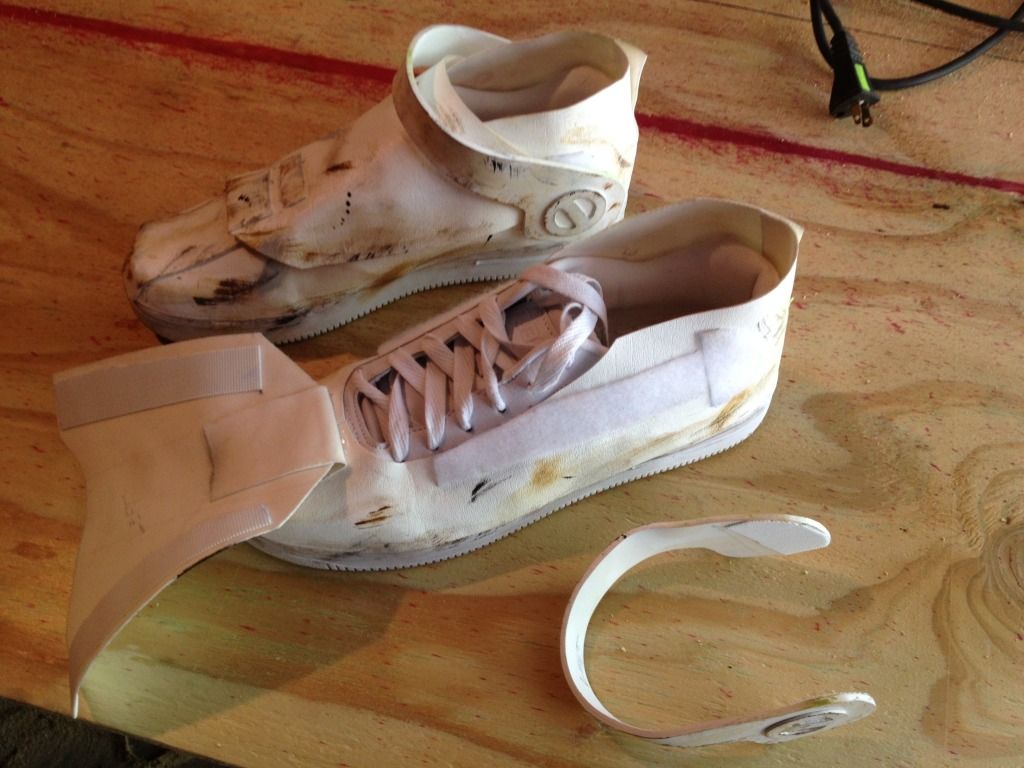
Ok, once you have the shoe covered let it dry for a day to make sure everything sets up. After the sides are done, you will put on the toe and lace cover. I used Velcro on the sides to help hold the lace cover down and still allow access to the so you can tie the shoe.
When I did this I secured the toe section to the lace cover so it is all secured to the toe of the shoe. Therefore when you uncover the laces this part will stay attached to the shoe.
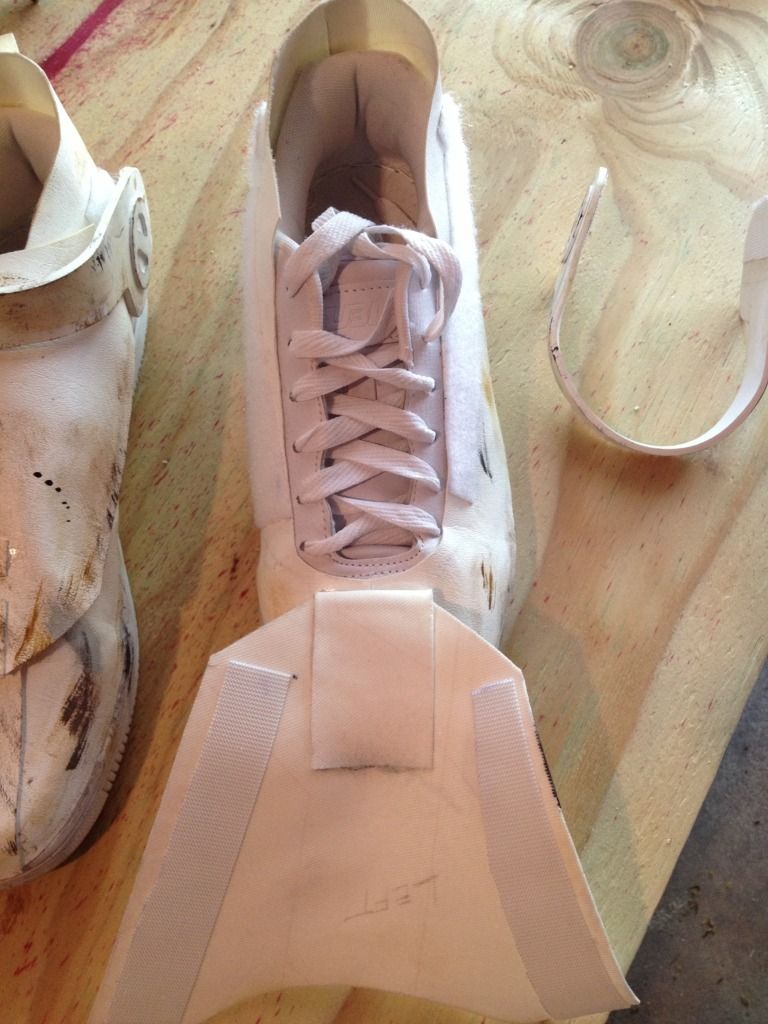
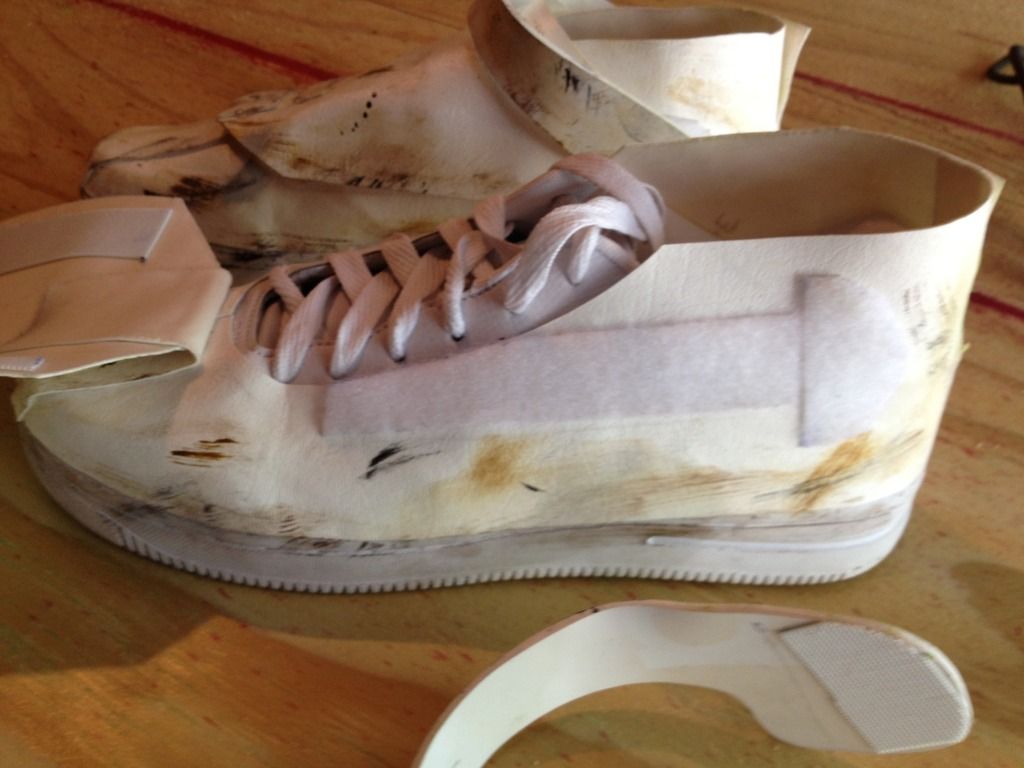
Also from the photos you can see the strap that goes over the shoe. This was made from abs, heated, and bent to fit the shoe. I used Velcro to hold these in place while walking and it allows me to take them off when I need access to the shoe.
With all these parts together you have yourself a clone shoe. With a little paint and other things you have a weathered/battle ready clone shoe.
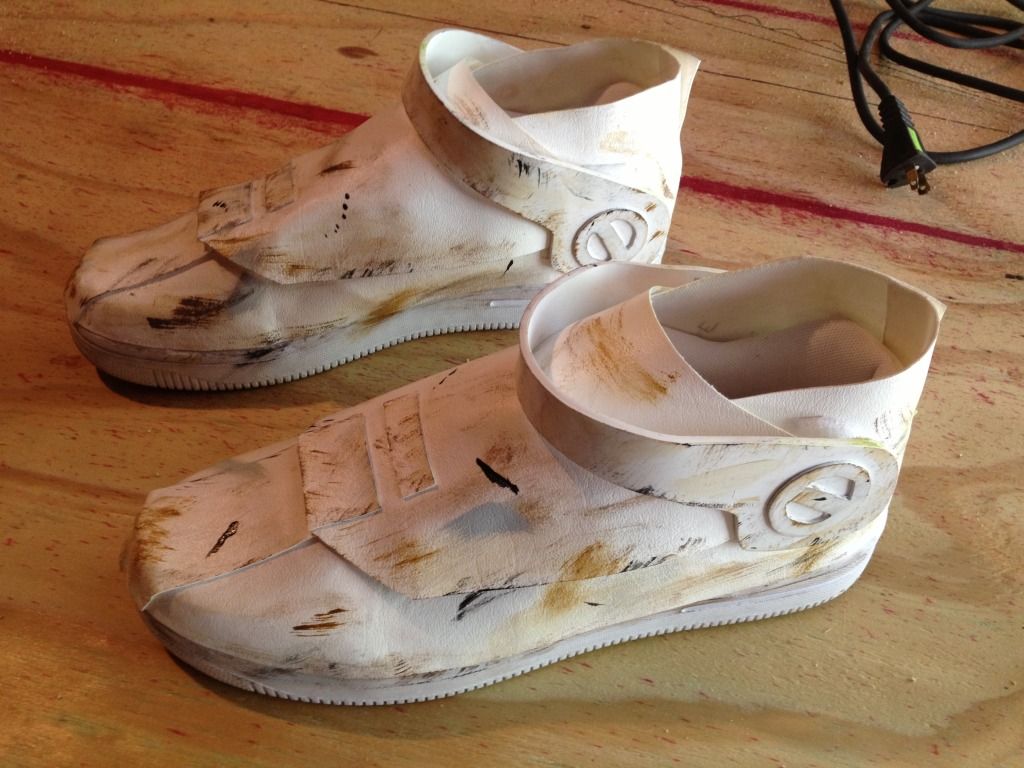
I know the last part was a little rushed and I didn't get good pictures, but if you have any questions just let me know.
Re: Clone Shoe Tutorial
Posted: Fri Aug 09, 2013 8:32 pm
by Capt_Storm
Definitely book marking this, Thanks man! How much would you say the overall cost was?
Re: Clone Shoe Tutorial
Posted: Wed Aug 14, 2013 12:11 am
by BBC527
I would say cost is about $50-60 for the shoes. You may be able to get it cheaper if you get a deal on the shoes and a discount on the vinyl.
Shoes - $20 at Walmart
Vinyl - $20 at Jo-Ann fabric
Velcro - $8 at Walmart
Shoo Goo - $10 at Walmart ( two tubes)
Let me know if you have any more questions. Hope this helps on your project.


