Page 1 of 2
ATA, not so steady, build
Posted: Sun May 01, 2016 5:58 pm
by bronco3001
Re: ATA, not so steady, build
Posted: Mon May 02, 2016 9:15 am
by Zarlon
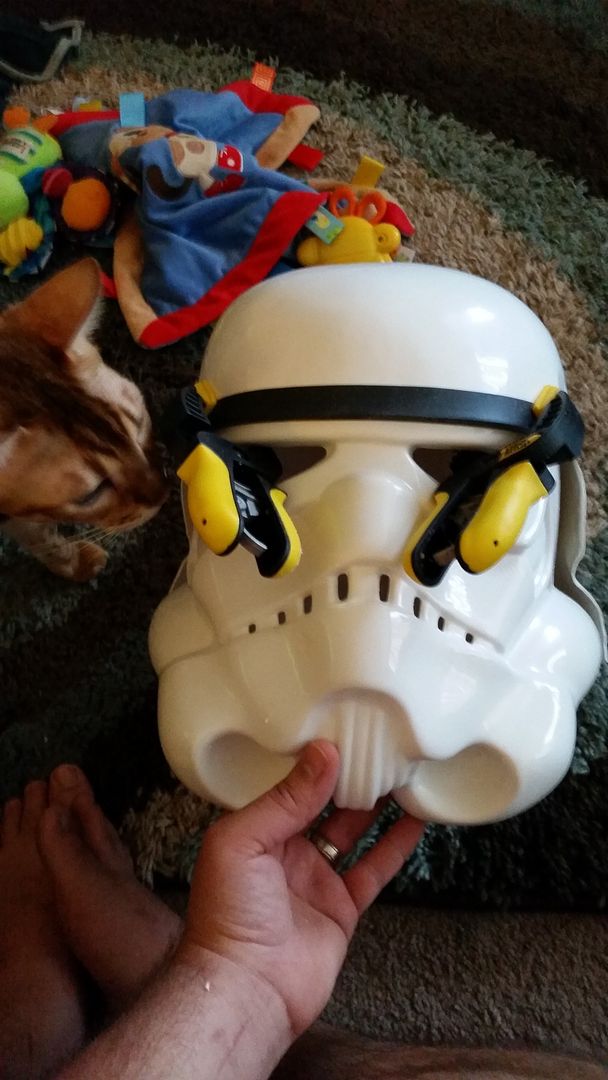
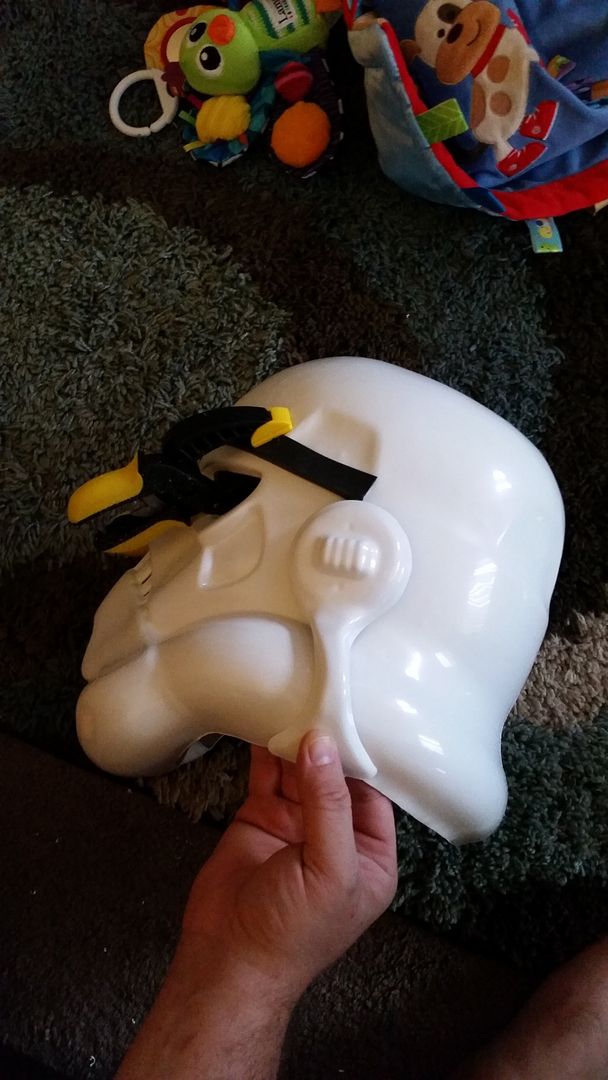
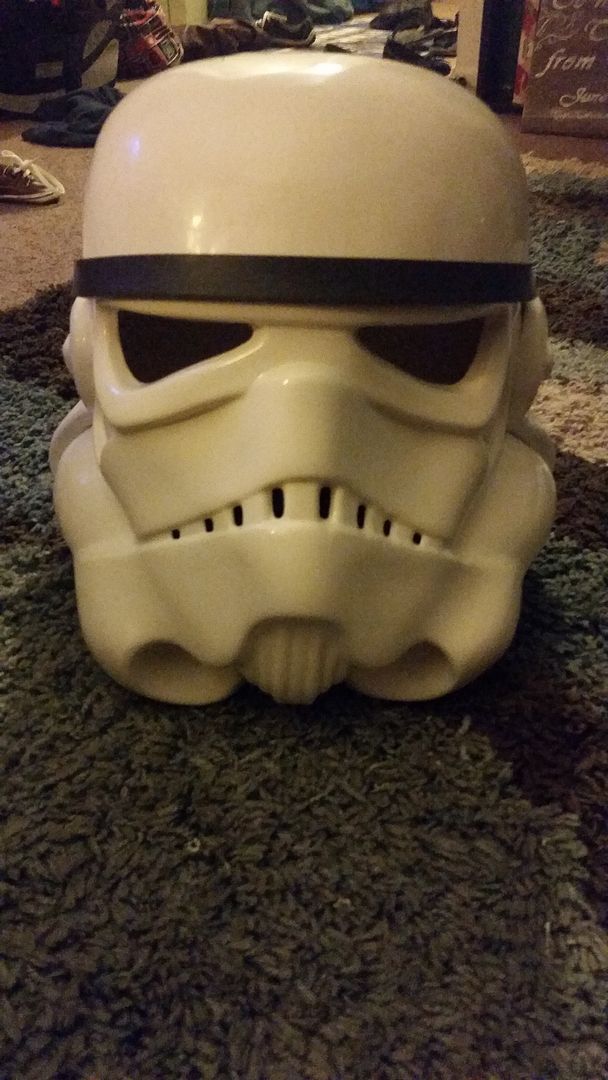
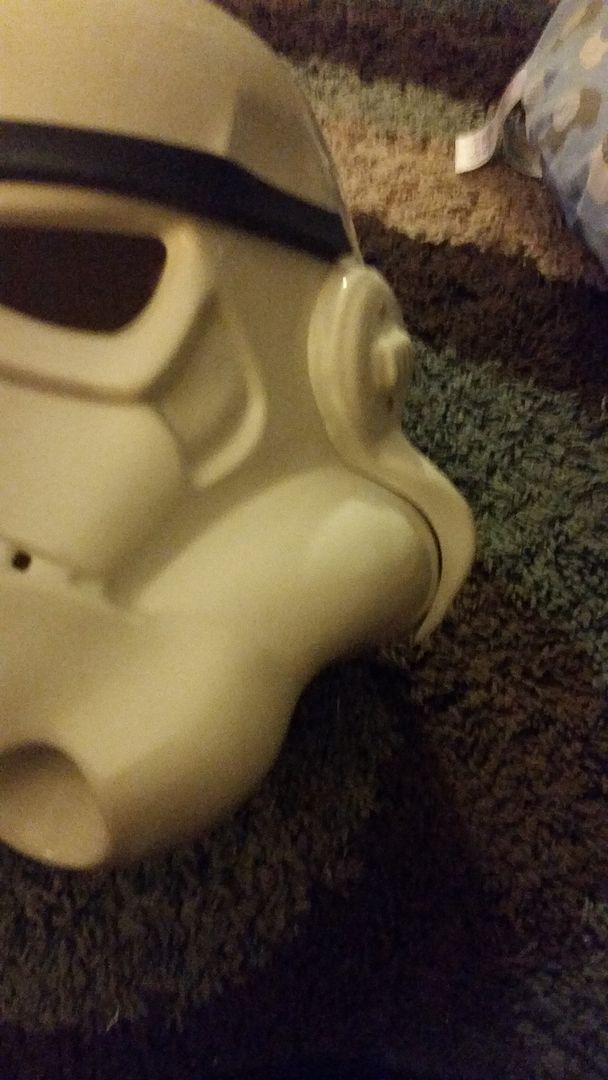
The brow looks ok to me and the ear angle is also ok. The left ear is good but you might want to trim the right ear a bit more. The bottom looks a little thick. If you have a belt sander you can also flatten the ears a bit, otherwise keep going your doing great!

Re: ATA, not so steady, build
Posted: Mon May 02, 2016 1:21 pm
by bronco3001
Awesome, thank you! The right is definitely thicker, but I wanted input before I did anything because I was afraid I over-trimmer the left, lol.
Hopefully tonight means the start of riveting it all together! The brow I may end up putting it a bit further down....hard with those stupid clamps
Re: ATA, not so steady, build
Posted: Tue May 03, 2016 9:20 am
by Zarlon
One other suggestion for you. Screw it together with screws and bolts before you rivet it. This way it can be adjusted easily until you get the build done. Once everything is finished and lined up, you can rivet it if you still want to.
Re: ATA, not so steady, build
Posted: Tue May 03, 2016 9:41 am
by Mr Fett
Yep, and I never even ended up riveting my ATA helmet together. Just kept the screws and bolts in place.
Re: ATA, not so steady, build
Posted: Tue May 03, 2016 10:24 am
by bronco3001
Is there a reason to rivet it? I'm following pandatroopers build, so I assumed it was one of those things that just needed to be done, possibly for approval,etc.
Re: ATA, not so steady, build
Posted: Tue May 03, 2016 10:46 am
by Mr Fett
Just to create a more permanent hold, but I’ve never had any problems with mine coming undone.
Re: ATA, not so steady, build
Posted: Wed May 04, 2016 2:52 am
by bronco3001
Re: ATA, not so steady, build
Posted: Wed May 04, 2016 10:43 am
by Mr Fett
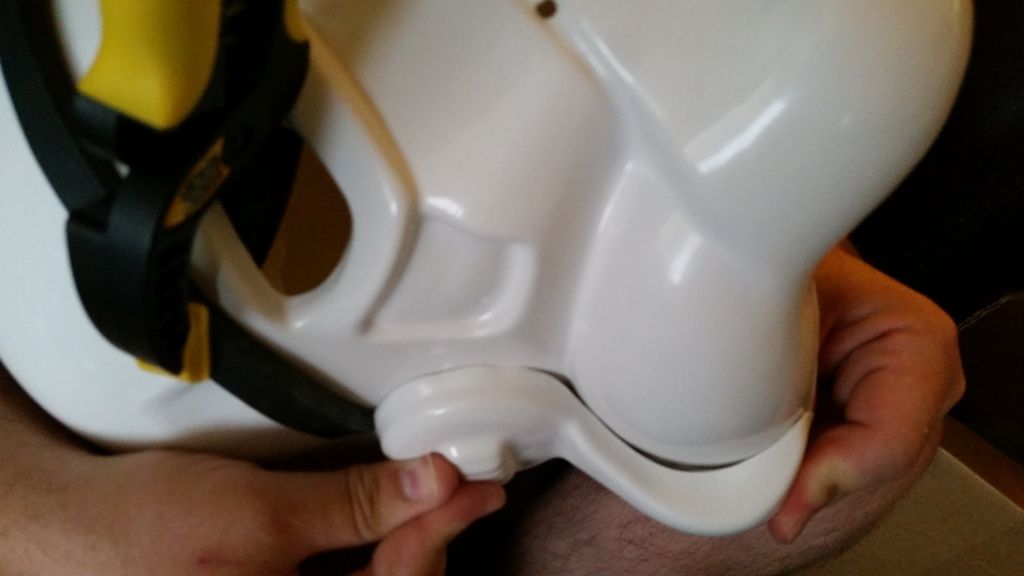
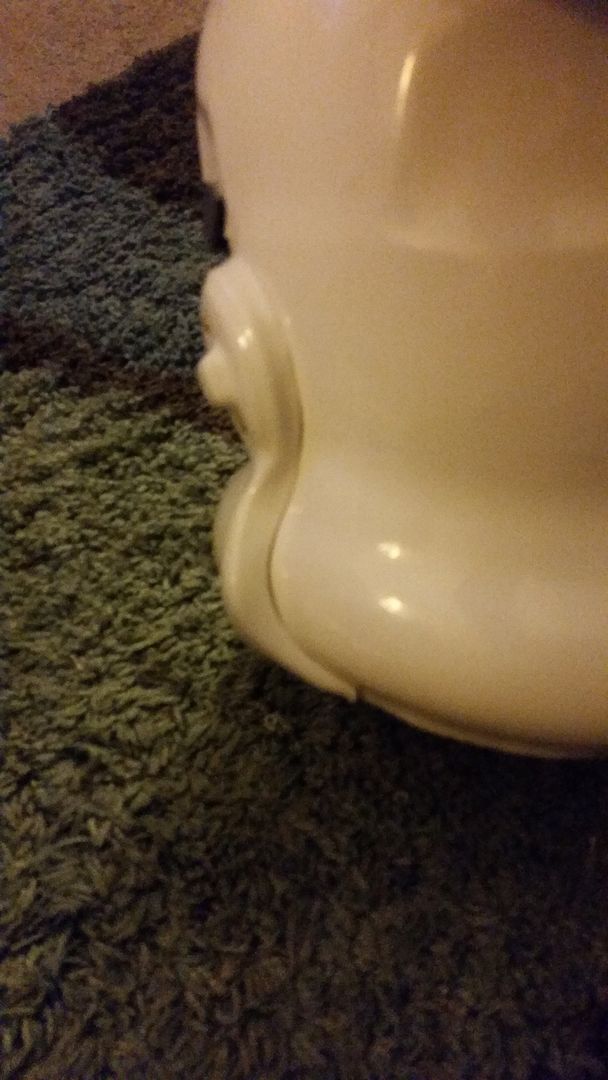
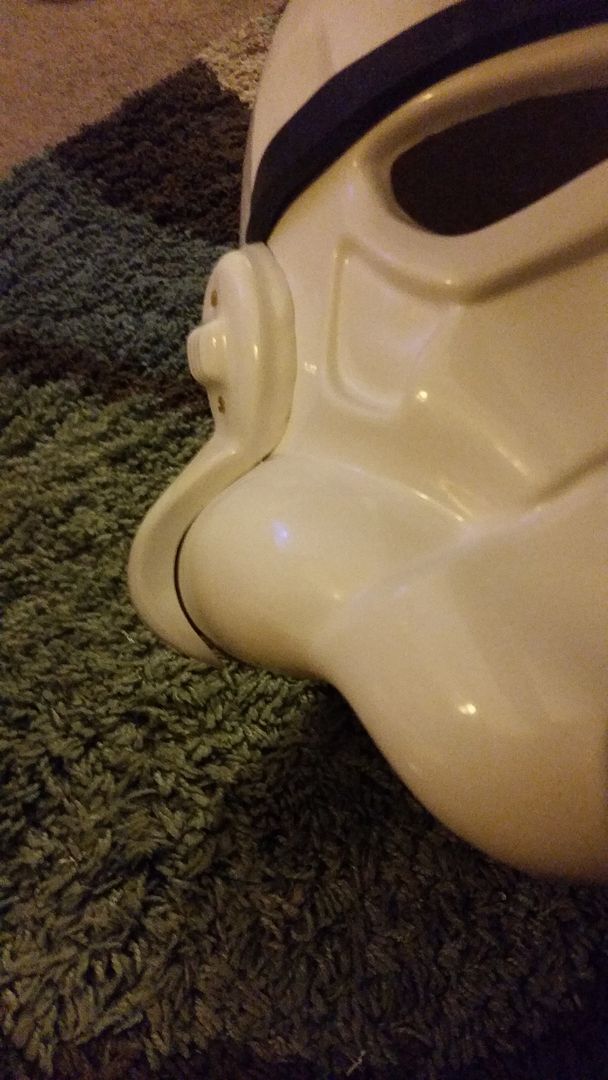
The ears look fine. The movie ones had gaps worse than yours do.
Yes, the S-trim on the bottom of the helmet does go over the bottom of the ear caps somewhat.
Re: ATA, not so steady, build
Posted: Wed May 04, 2016 9:26 pm
by Zarlon
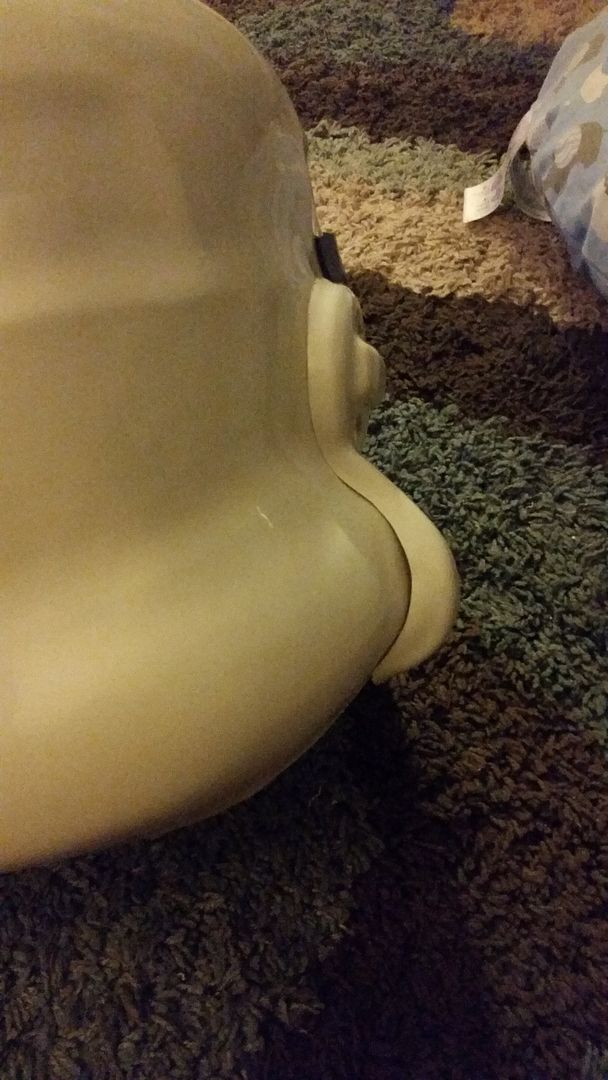
I agree with Andrew. The ears look fine and the gap is almost unavoidable. Nice job!
Re: ATA, not so steady, build
Posted: Wed May 04, 2016 9:28 pm
by Zarlon
Mr Fett wrote:Just to create a more permanent hold, but I’ve never had any problems with mine coming undone.
I've never had a problem with mine either. The screws work fine and allow for adjustments later.
Re: ATA, not so steady, build
Posted: Thu May 05, 2016 8:32 pm
by bronco3001
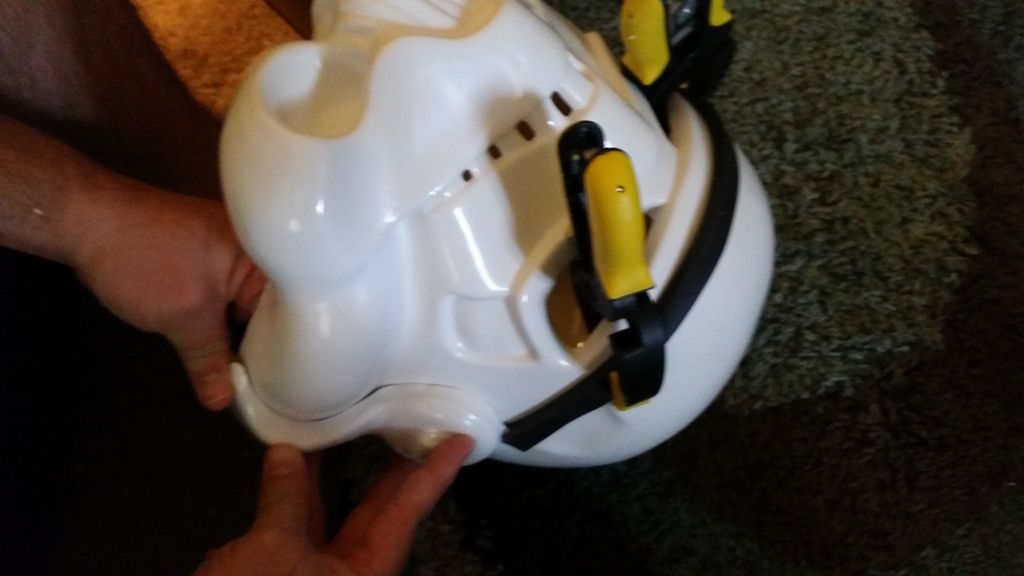
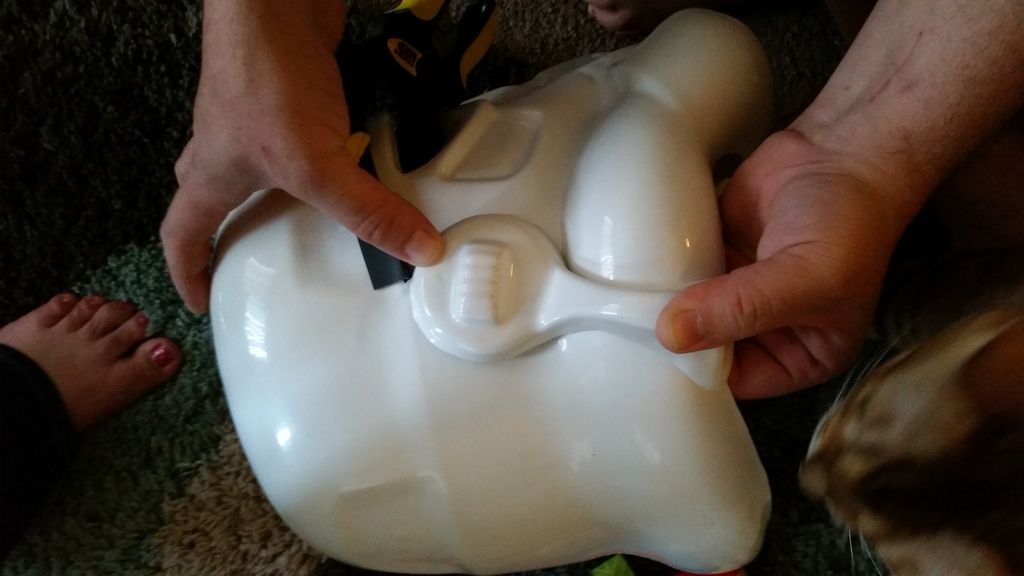
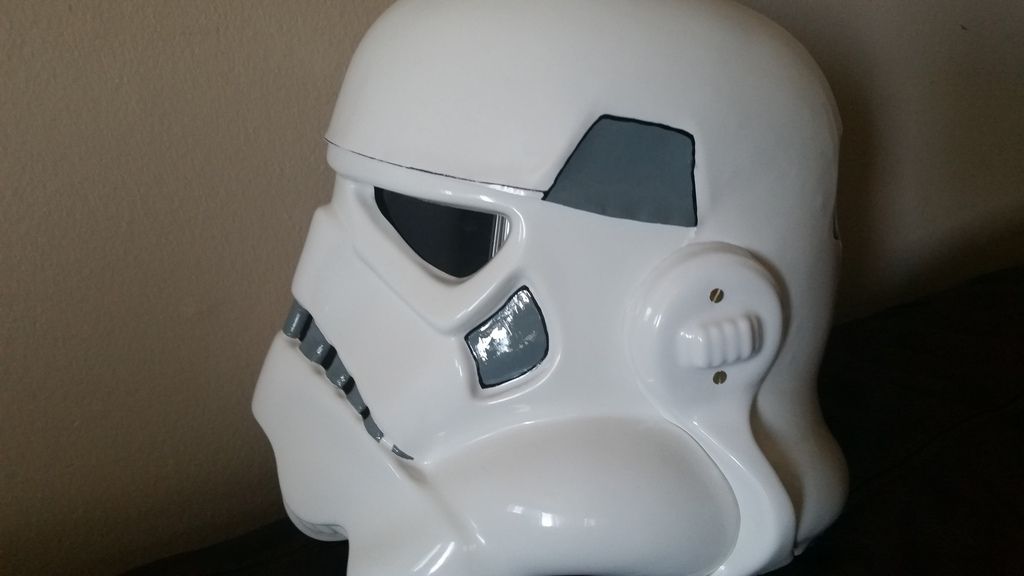
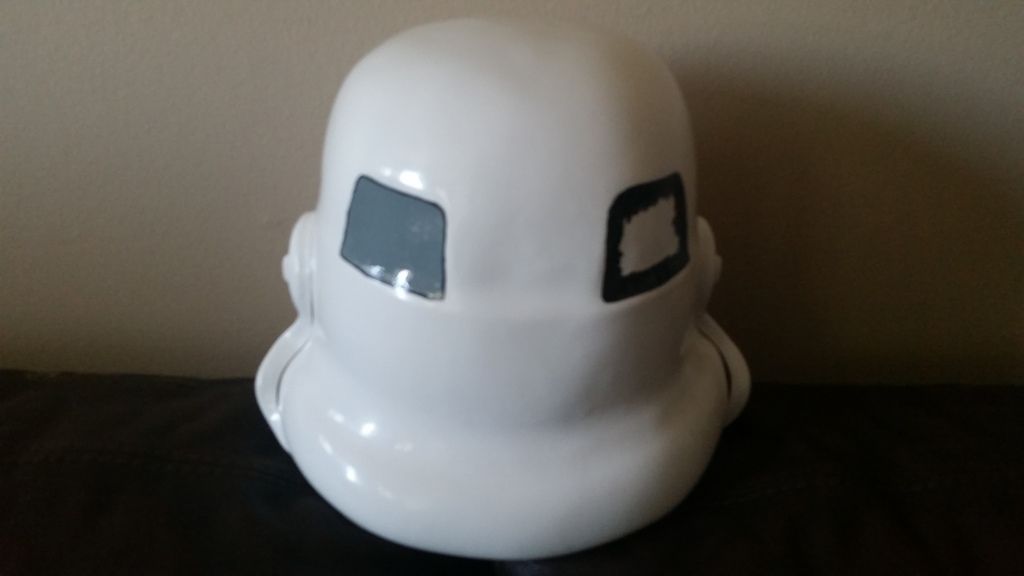
Thanks, I did end up doing rivets to help me hold things in place. I put the lens in tonight, trying to decide if I like the one piece deal...not sure if you can tell but there is a gap along the top of the eye. Not a big deal right?
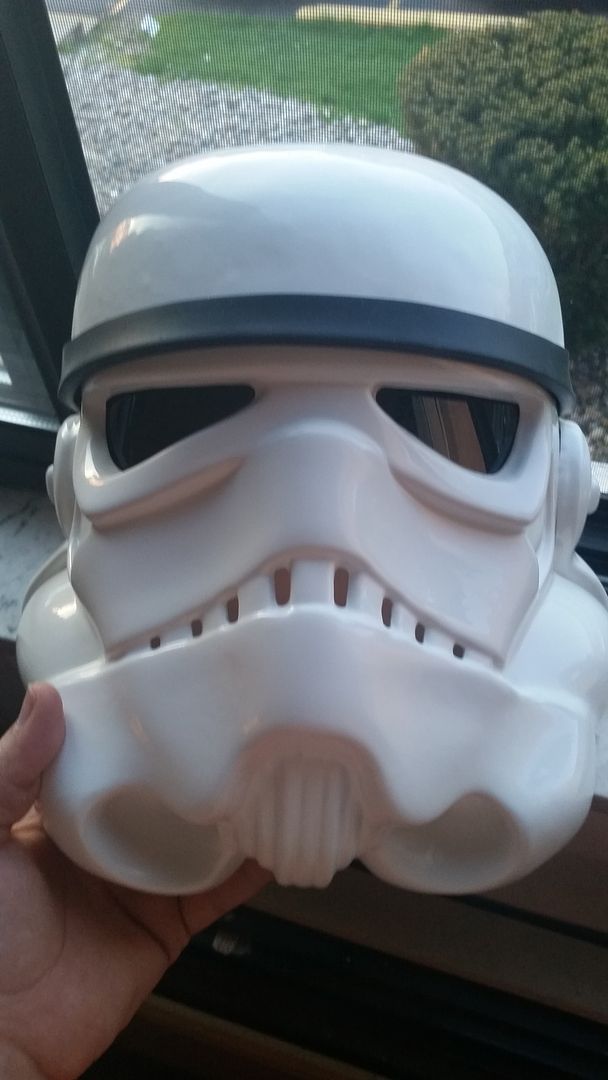
Just waiting to get the paint and polish to finish the lid

Re: ATA, not so steady, build
Posted: Thu May 05, 2016 9:05 pm
by Mr Fett
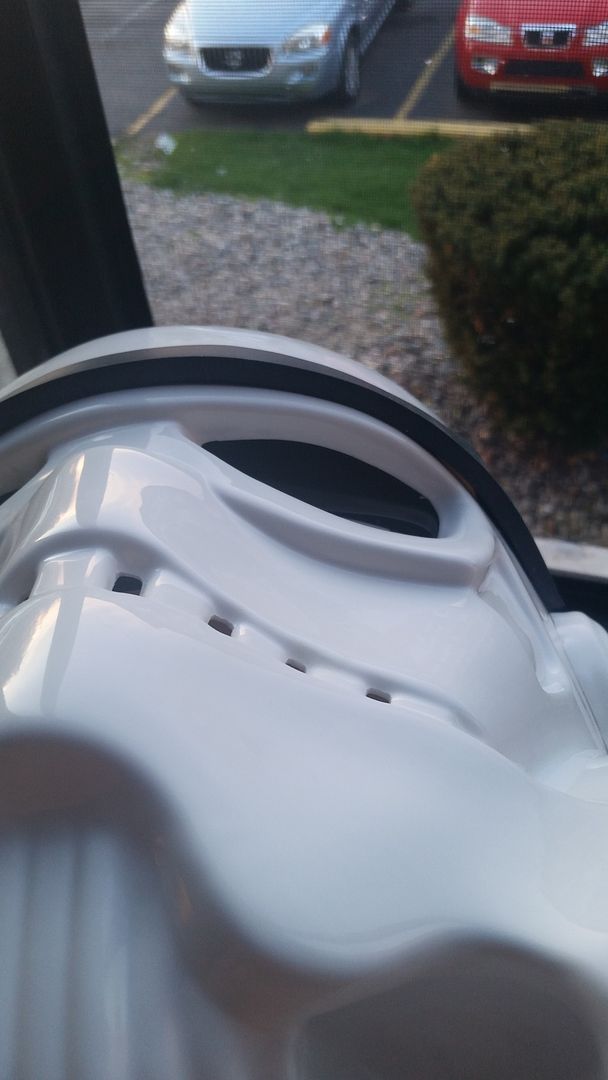
Gaps are good for some airflow. As long as you can't see it from straight ahead, any side gaps are hidden. You're good.
Re: ATA, not so steady, build
Posted: Sat May 07, 2016 9:05 am
by oldscool
Yep. I purposely gapped mine. Looking good so far!
Re: ATA, not so steady, build
Posted: Fri May 13, 2016 3:37 pm
by bronco3001
Thanks guys....while I wait for my paint to show up...I start trimming the forearms and biceps more. The forearms are looking good, just have to do a little more sanding to get them ready for gluing the cover strip on. The biceps I'm not as sure about...I've cut them, but I did it a little backwards from what I meant to do...I was taking my measurements, and instead of dividing what I needed to remove and taking off the edge, i took that number from the bend on the side....so it's semi tight on the arm(bare skin)....not sure it is't going to cause any issues...or if I should just have a bit of a space between the two pieces when I put the cover strip on it....or if it's just right and I should shut up and just continue on.
Re: ATA, not so steady, build
Posted: Wed May 18, 2016 9:16 am
by bronco3001
Re: ATA, not so steady, build
Posted: Wed May 18, 2016 9:39 am
by Zarlon
Looking good. Put all of the rubber trim in place before you redo anything. You might not need change it if the rubber covers it up.
Re: ATA, not so steady, build
Posted: Wed May 18, 2016 9:56 am
by bronco3001
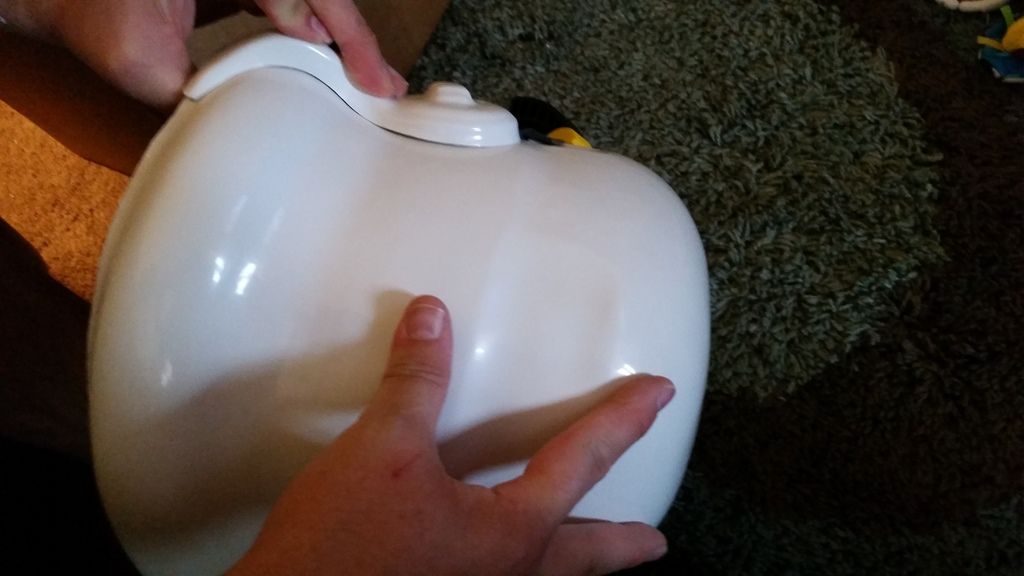
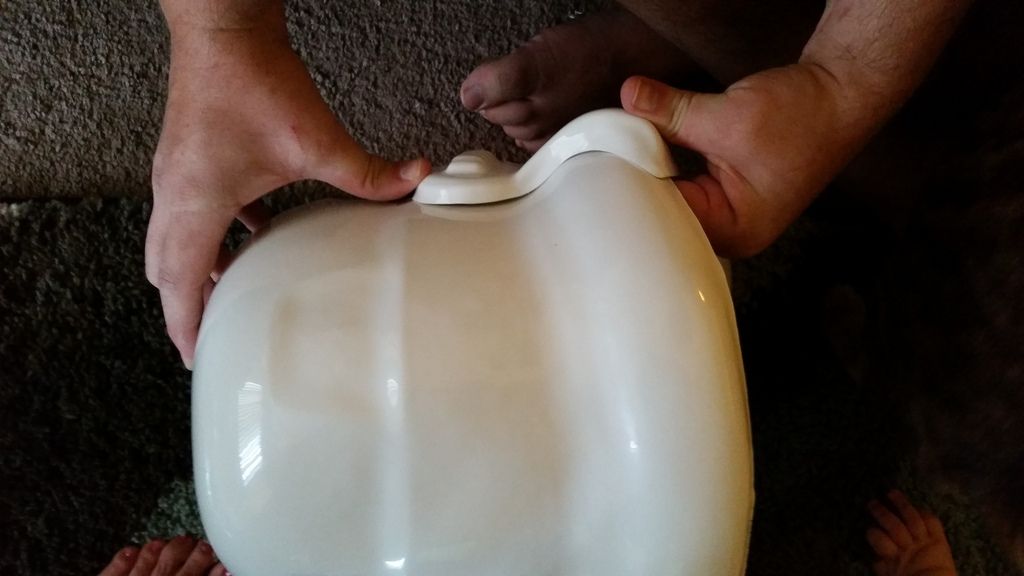
sorry, I meant the trap on the back of the lid....no covering that one up lol
Re: ATA, not so steady, build
Posted: Thu May 19, 2016 9:59 am
by Zarlon
Yes sir. That one will have to be reduced for sure but shouldn't be too difficult.
Re: ATA, not so steady, build
Posted: Thu May 19, 2016 10:11 am
by Mr Fett
Luke, I'll have my ATA on here if you want to see the parts:
http://www.greatlakesgarrison.com/forum ... 76&t=15204