Three-in-One Clone Build

Ask about costumes and props here. Please read the FAQs first before asking questions -- your question may have already been answered!
User avatar
BBC527
501st Member
501st Member
Posts: 1308
Joined: Fri Jul 13, 2012 6:57 pm
Legion ID: 52705
Location: Midland, MI

Three-in-One Clone Build

Post by BBC527 »

Three-in-one Build

I bet your asking what is this?

After I finished my 442nd build, I had a friend from our Garrison contact me to see if I would be interested in building another Clone for him that has been five years in the making. I told him sure, no problem. Then he hits me with his plan.

Image

He wants to build a basic grunt first. Then do an extra parts to switch out and do Commander Neyo. Then on top of that he said he also had the extra parts and helmet to do Commander Bacara. A few simple changes from a Grunt and you have three different Clones!

I'll start posting the progress soon.
User avatar
BBC527
501st Member
501st Member
Posts: 1308
Joined: Fri Jul 13, 2012 6:57 pm
Legion ID: 52705
Location: Midland, MI

Re: Three-in-One Clone Build

Post by BBC527 »

Ok, this build will be a little different from my last. My 442nd build was done with one of Kevin's tall kits, while my friends kits are from Bozo.
I'm sure I'll have some question for people as I come across things that are a little different.

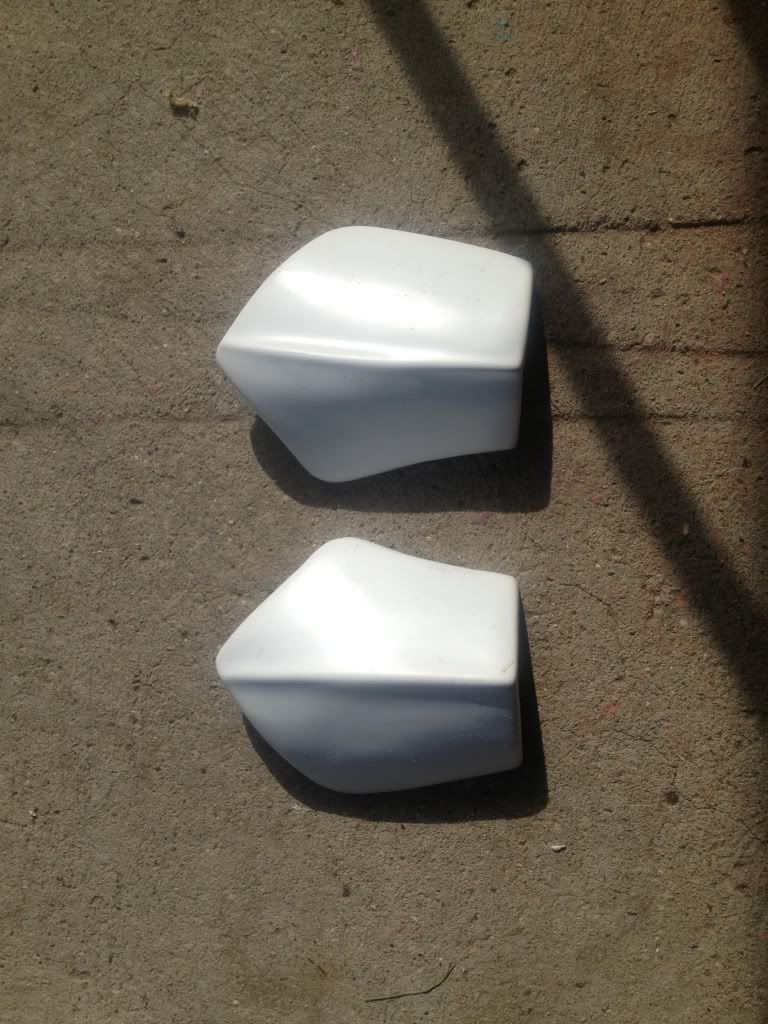
I started on the three biceps since they were the smallest and easiest to do. It took me a little bit of examining to notice Bozo's set do have a variation from left to right side. I got confirmation from him that most of his other pieces are symmetrical and there is no difference in left or right.

I was able to get some abs strips cut and glued in to put them together. I was also able to fill in the seams with some sludge.

Image

After the sludge dried I was able to sand down the seams and fill in holes and low spots with bondo. Once these dry I'll sand smooth.

Image
User avatar
Ripcode
GLG Member (Reserve)
Posts: 5518
Joined: Mon Oct 02, 2006 3:12 pm
Legion ID: 9296
Location: Muskegon, MI

Re: Three-in-One Clone Build

Post by Ripcode »

Nice. I've got some Bozo pieces I need to complete for some needed upgrades.
Image
User avatar
BBC527
501st Member
501st Member
Posts: 1308
Joined: Fri Jul 13, 2012 6:57 pm
Legion ID: 52705
Location: Midland, MI

Re: Three-in-One Clone Build

Post by BBC527 »

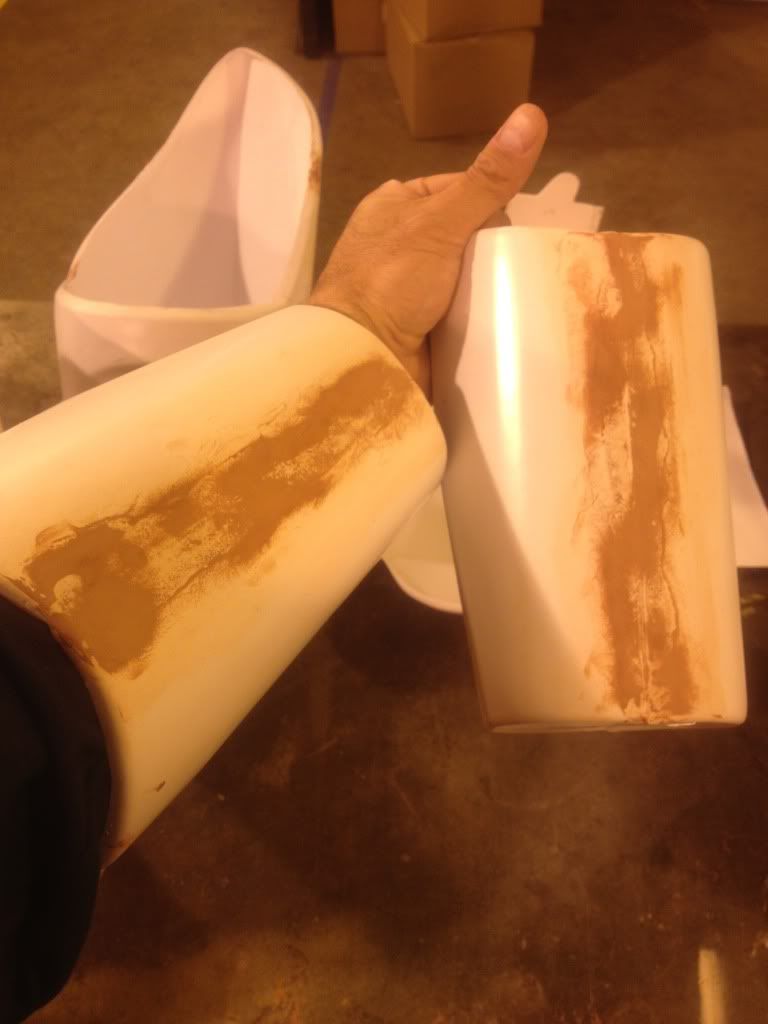
While the biceps dried, I moved on to the forearms. I had to do the same and cut abs strips to put the halves together.

Image

Working on putting them together.

Image

Finally have them together and the seams have been sludged. Let them harden and then sand down.

Image
User avatar
BBC527
501st Member
501st Member
Posts: 1308
Joined: Fri Jul 13, 2012 6:57 pm
Legion ID: 52705
Location: Midland, MI

Re: Three-in-One Clone Build

Post by BBC527 »

Sorry for the delay in the next post, this month has been hecktic.

Finally was able to sand down the sludge on the forearms and get some bondo on the seams to smooth out the rough spots.

Image
User avatar
BBC527
501st Member
501st Member
Posts: 1308
Joined: Fri Jul 13, 2012 6:57 pm
Legion ID: 52705
Location: Midland, MI

Re: Three-in-One Clone Build

Post by BBC527 »

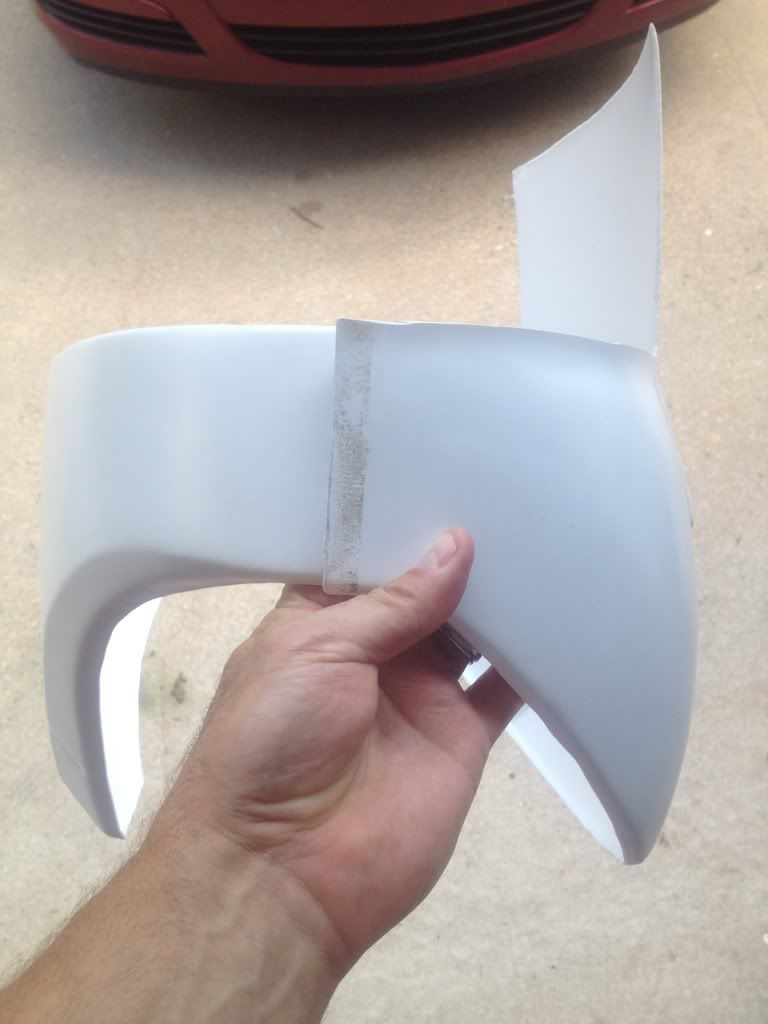
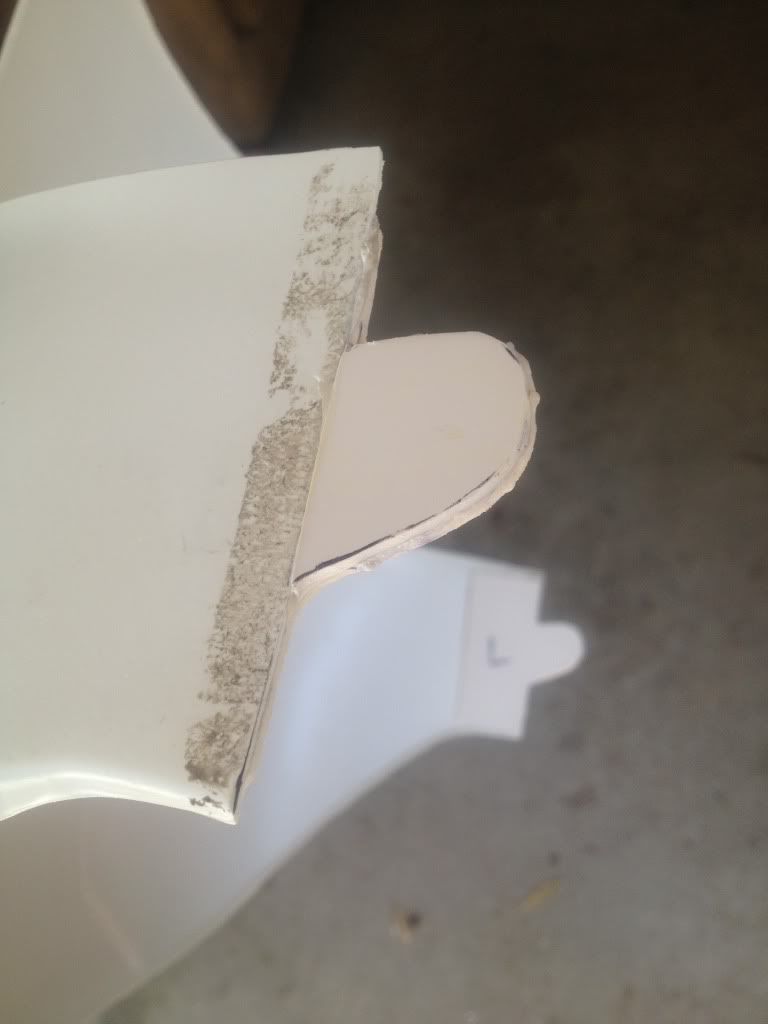
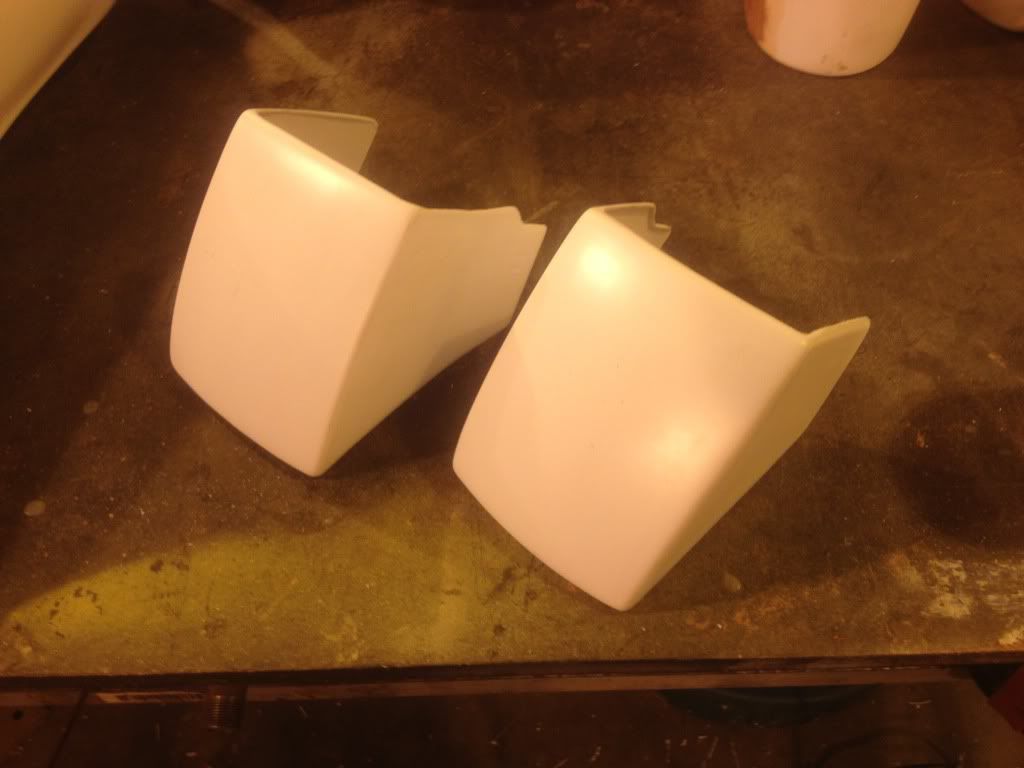
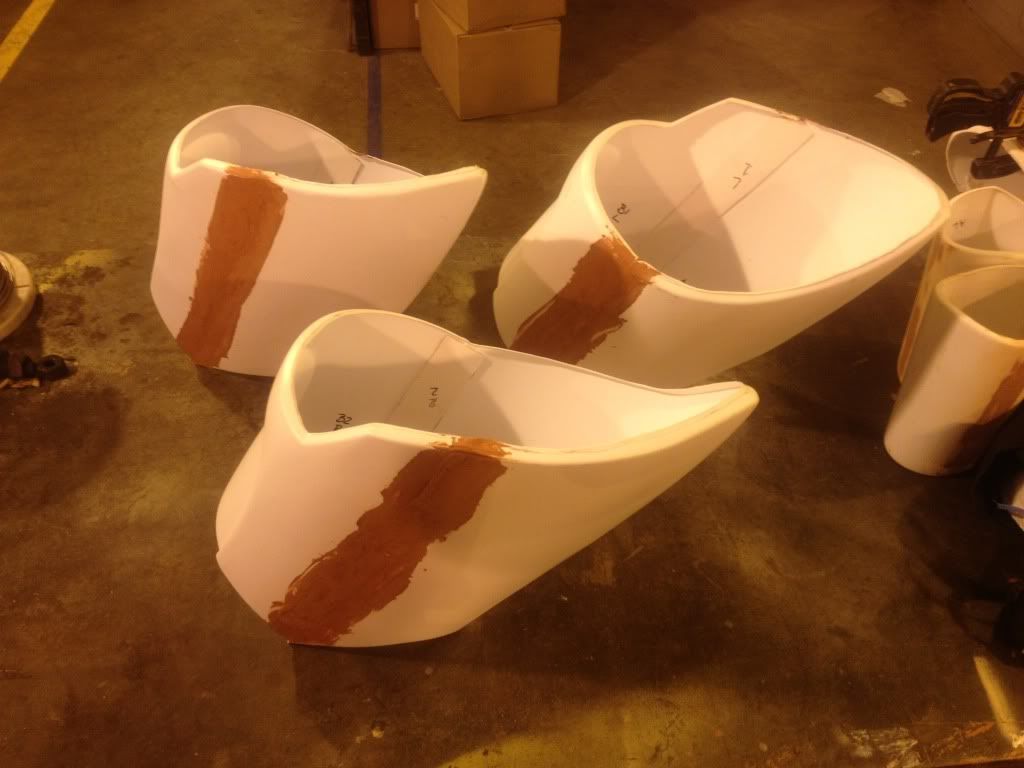
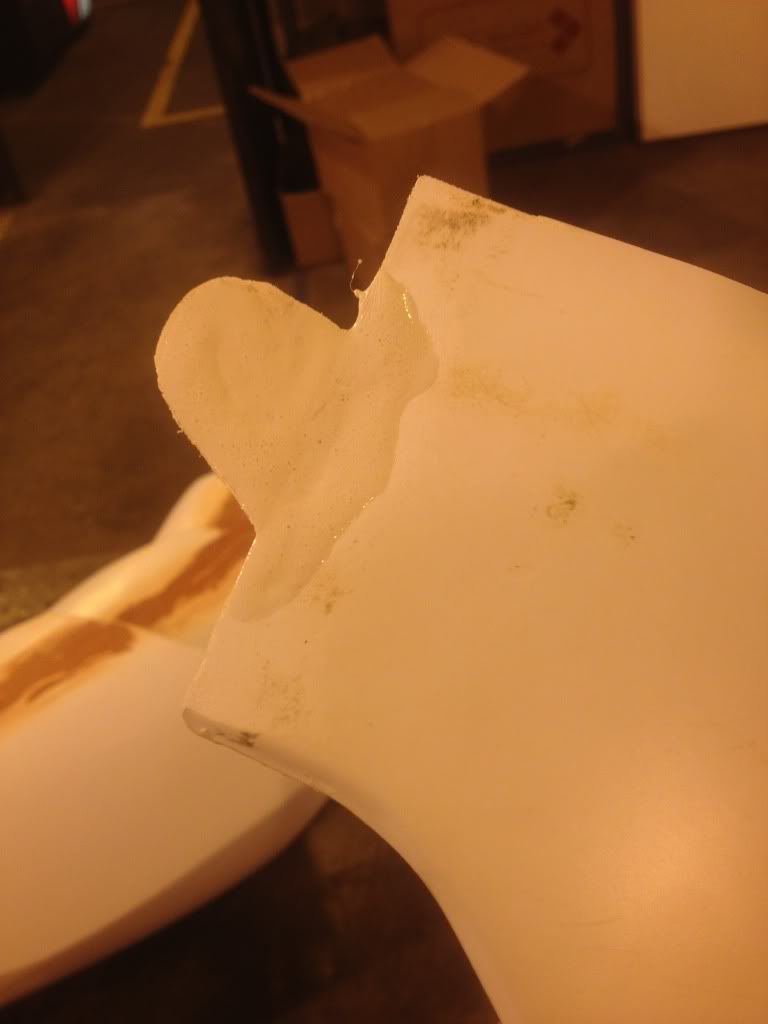
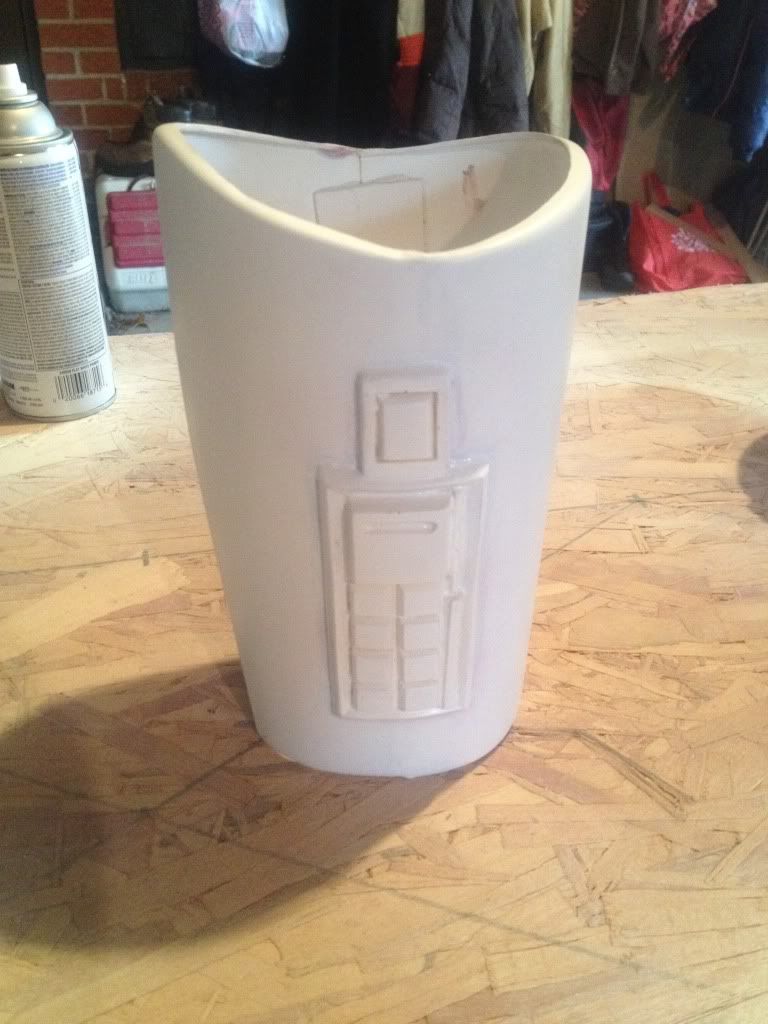
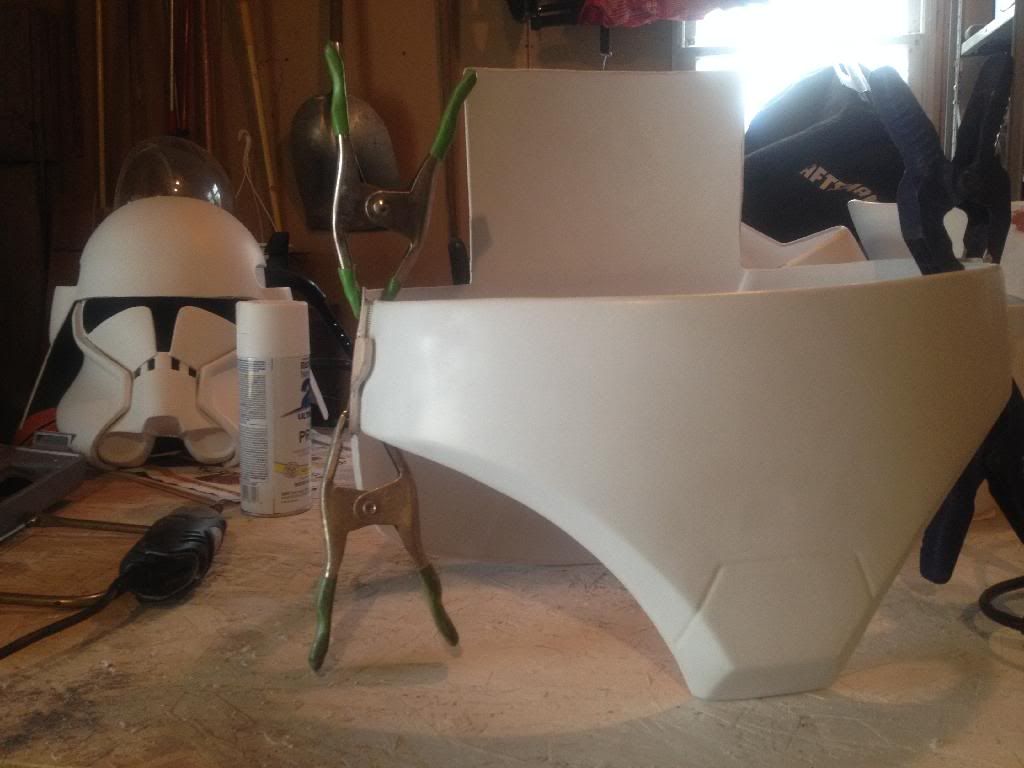
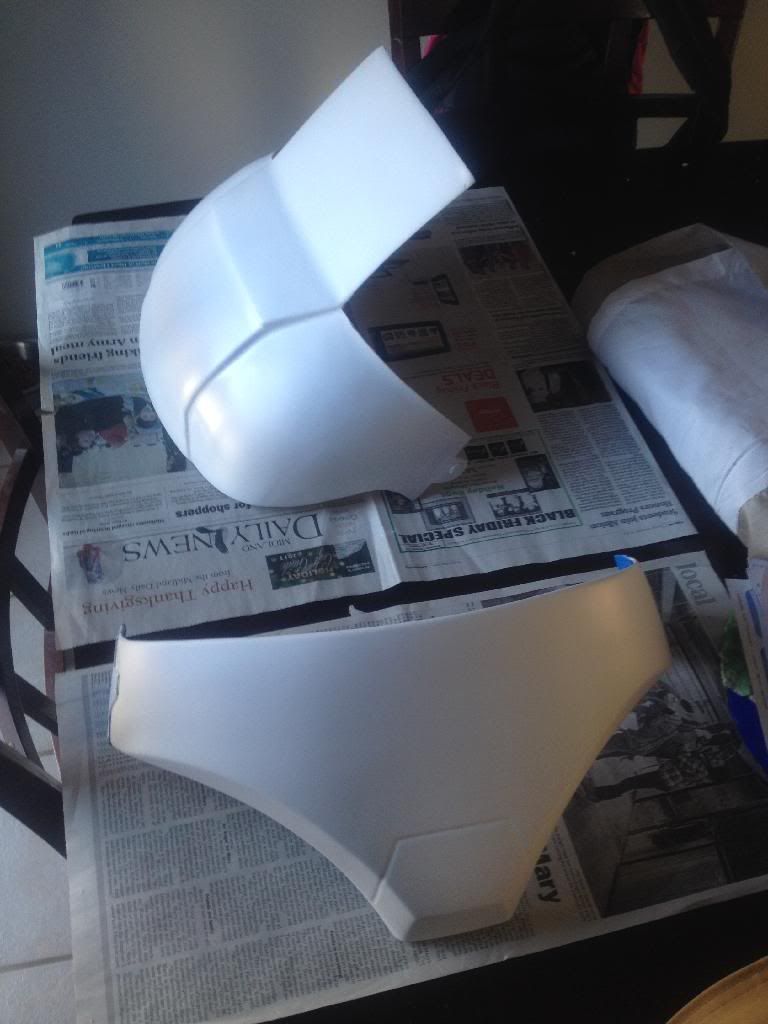
I also started to work on the cod and butt pieces that he had. Once I got them out I found out that it was missing the little tab on the side for the connection.

Image

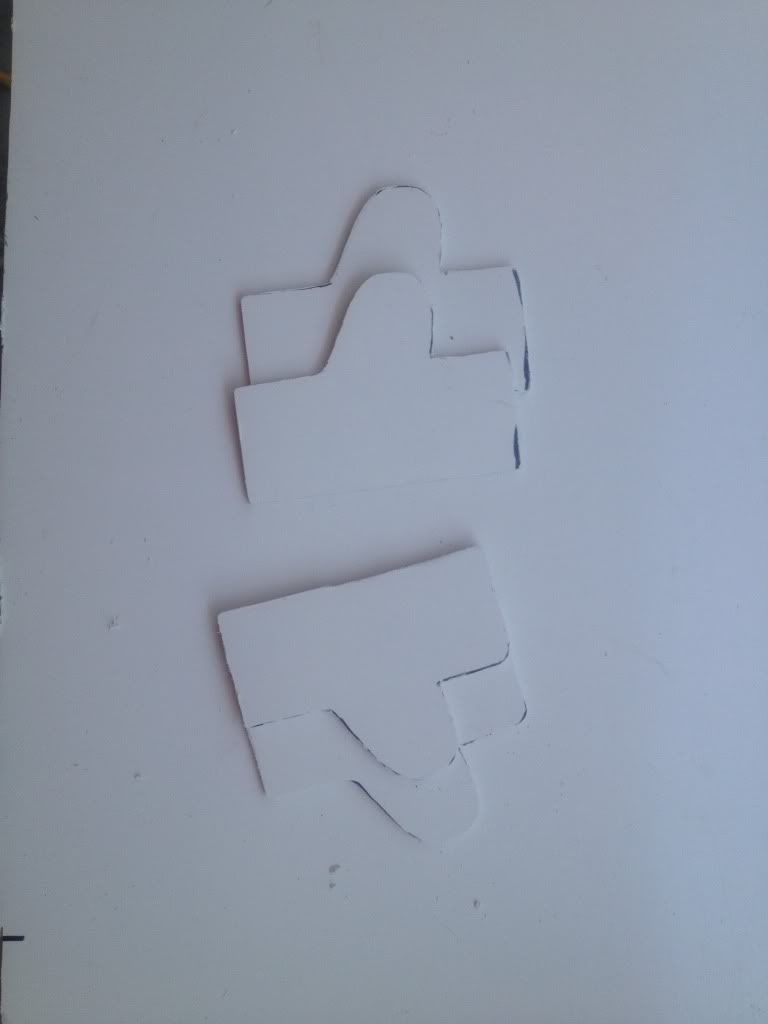
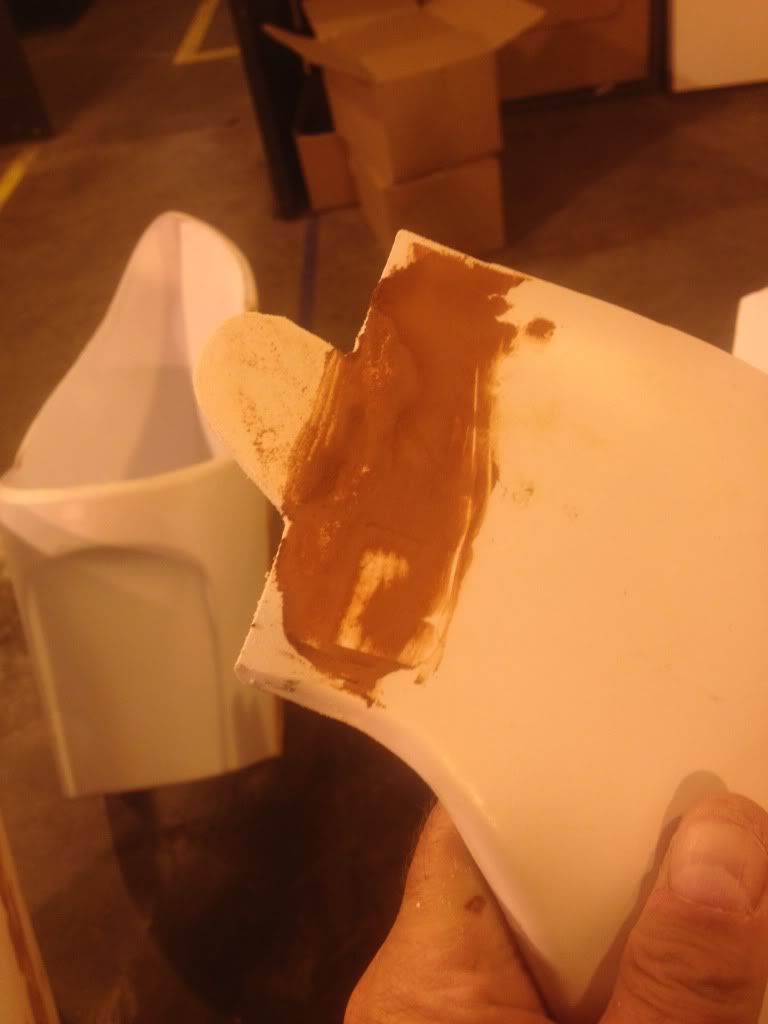
This meant I had to make a piece and add it to the butt to get the look we need. What I decided to do was cut some small pieces out in the shape I needed and add them to the butt.

Image

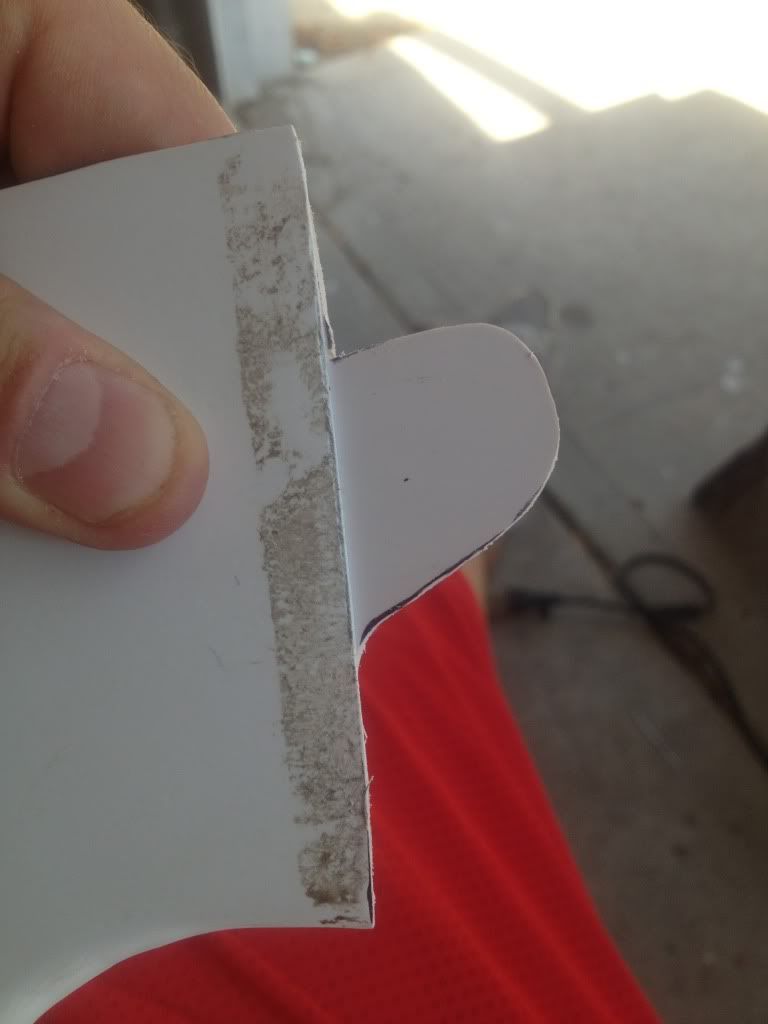
This is what it would look like.

Image

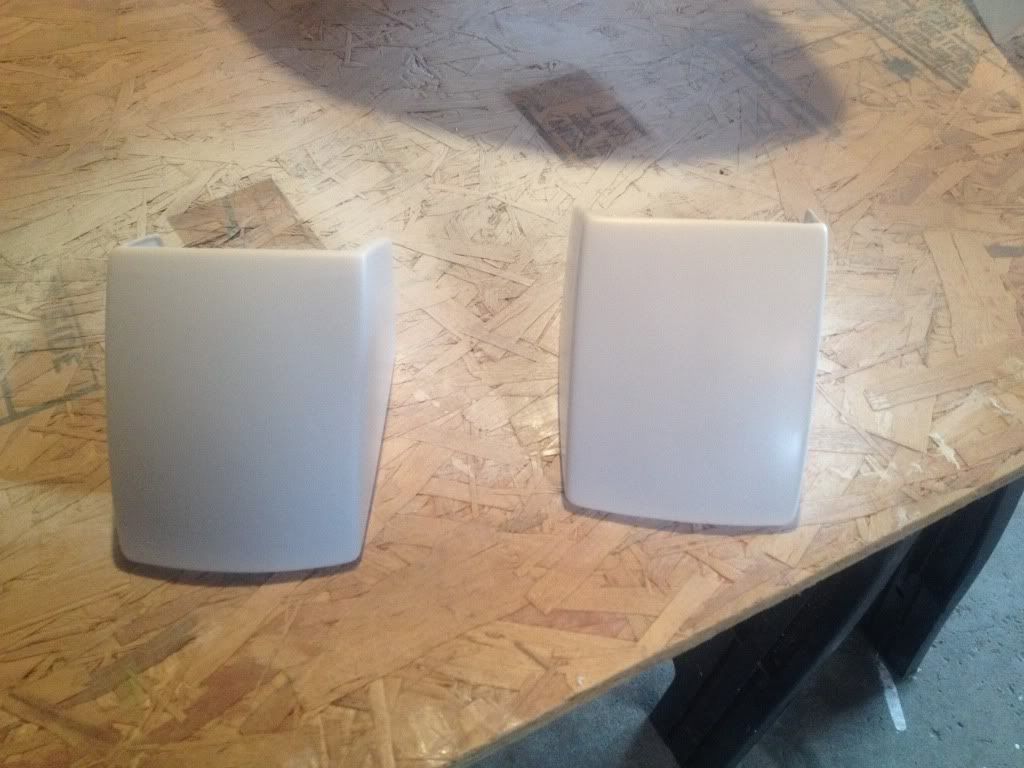
I was able to glue the pieces on and get a good fit. Now I just need to smooth out the transition between the old and new pieces.

Image
User avatar
BBC527
501st Member
501st Member
Posts: 1308
Joined: Fri Jul 13, 2012 6:57 pm
Legion ID: 52705
Location: Midland, MI

Re: Three-in-One Clone Build

Post by BBC527 »

Sorry for the delay in my posts, July has been a heck of a month.

Ok, I worked on trimming out the hand plates, sanding them down and getting the edges good. These are ready for an all over sanding then paint.

Image

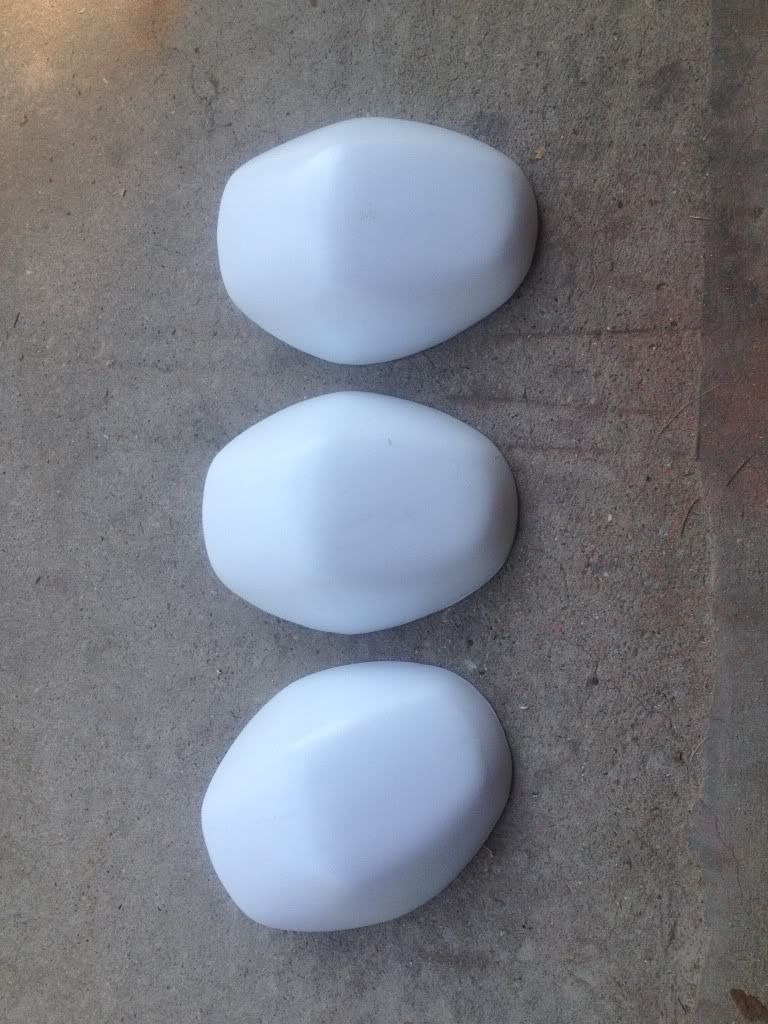
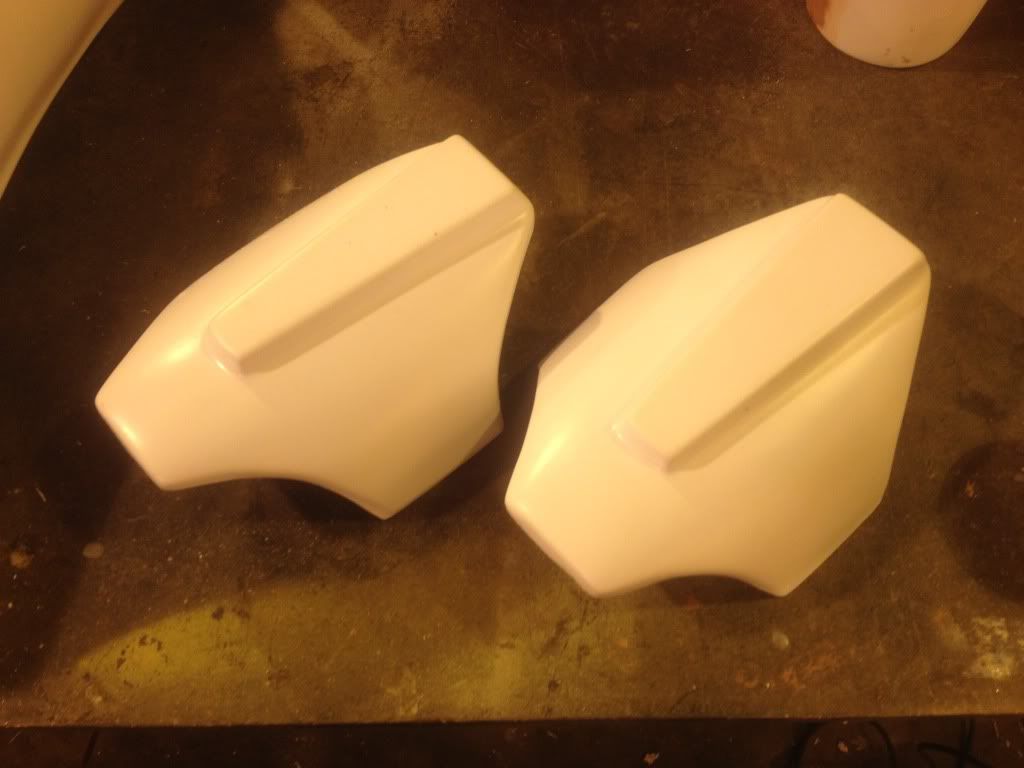
Also finished up the three shoulders. Cleaned up the trim and sanded down the edges. These are also ready for prep and paint.

Image

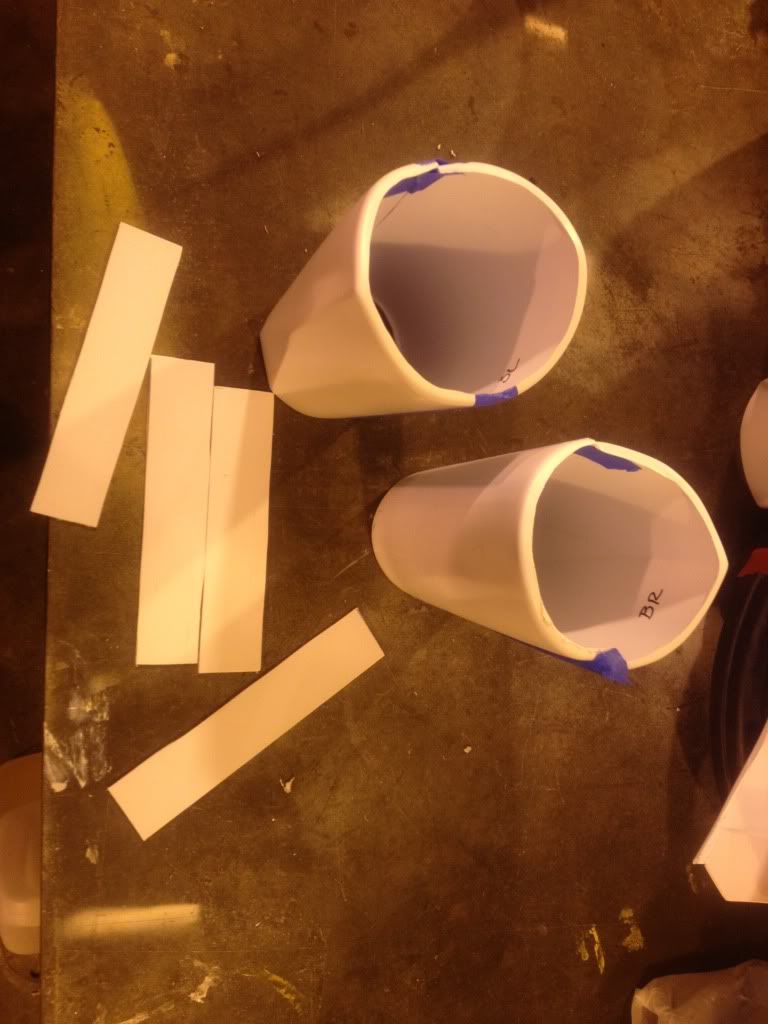
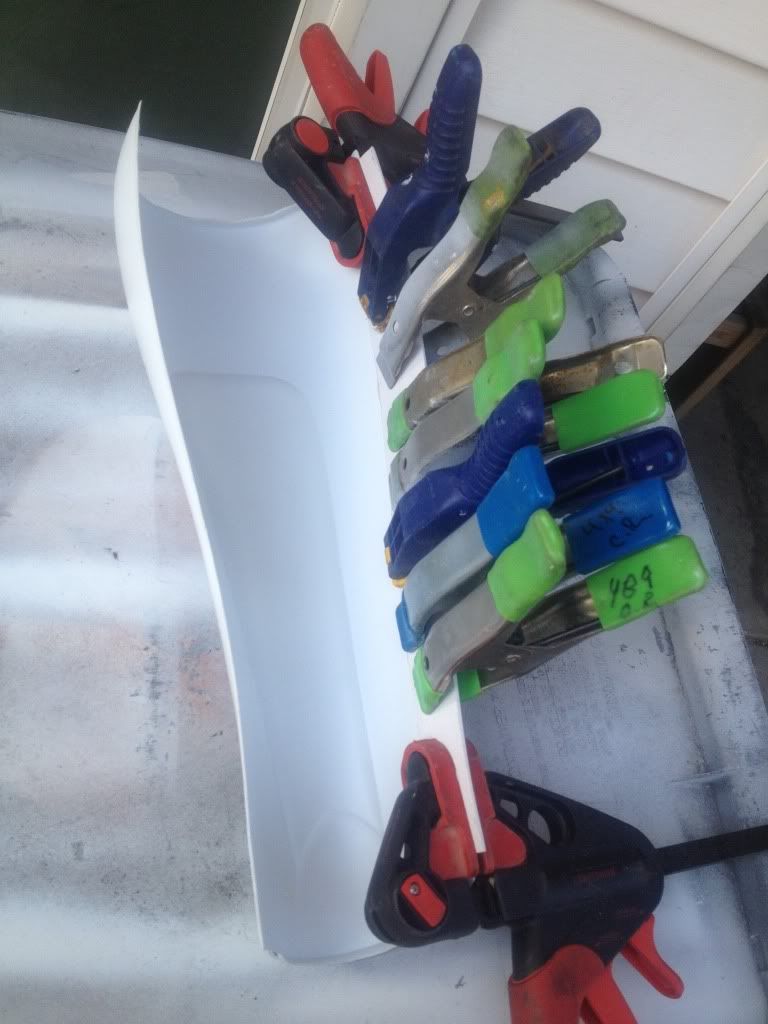
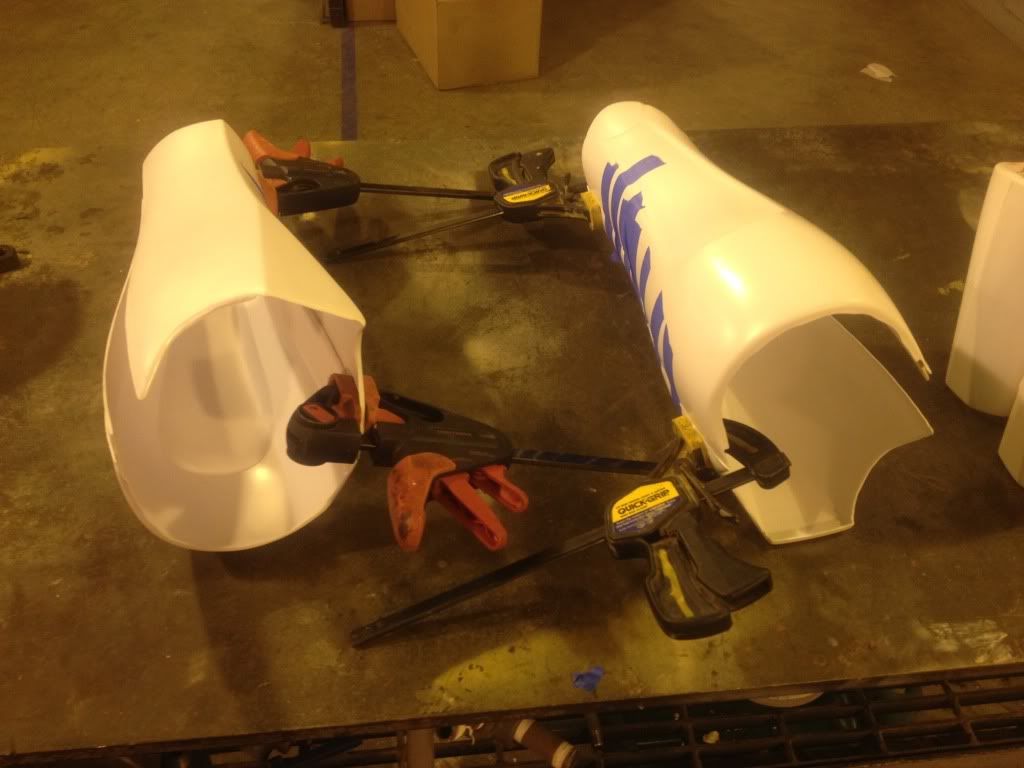
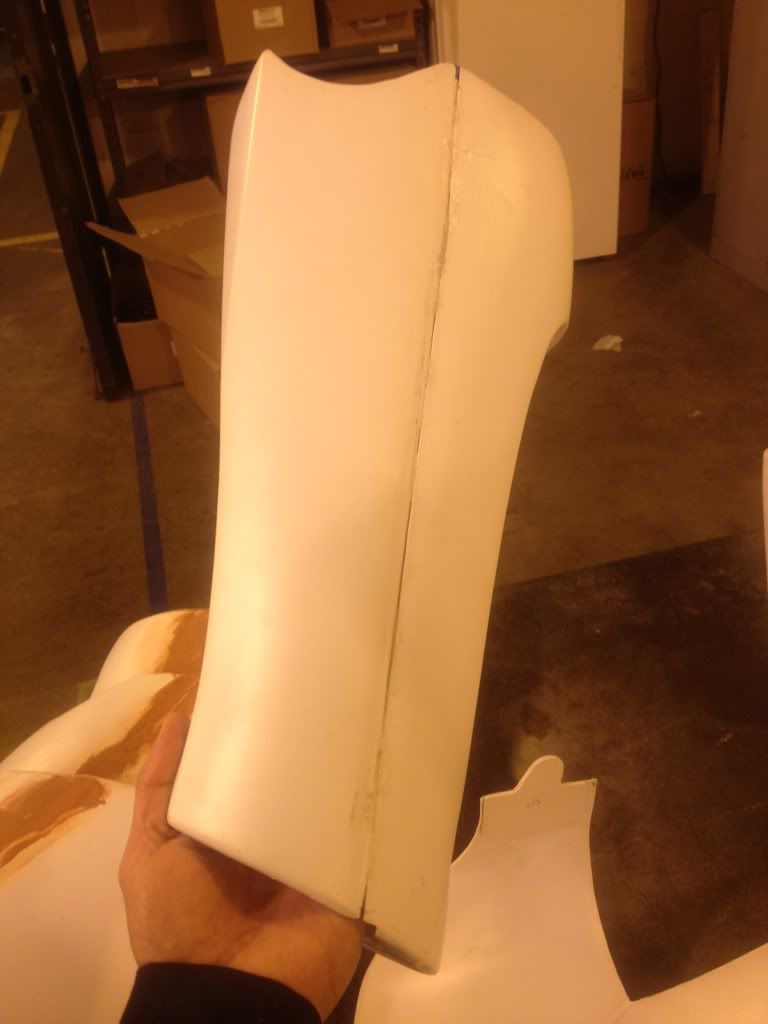
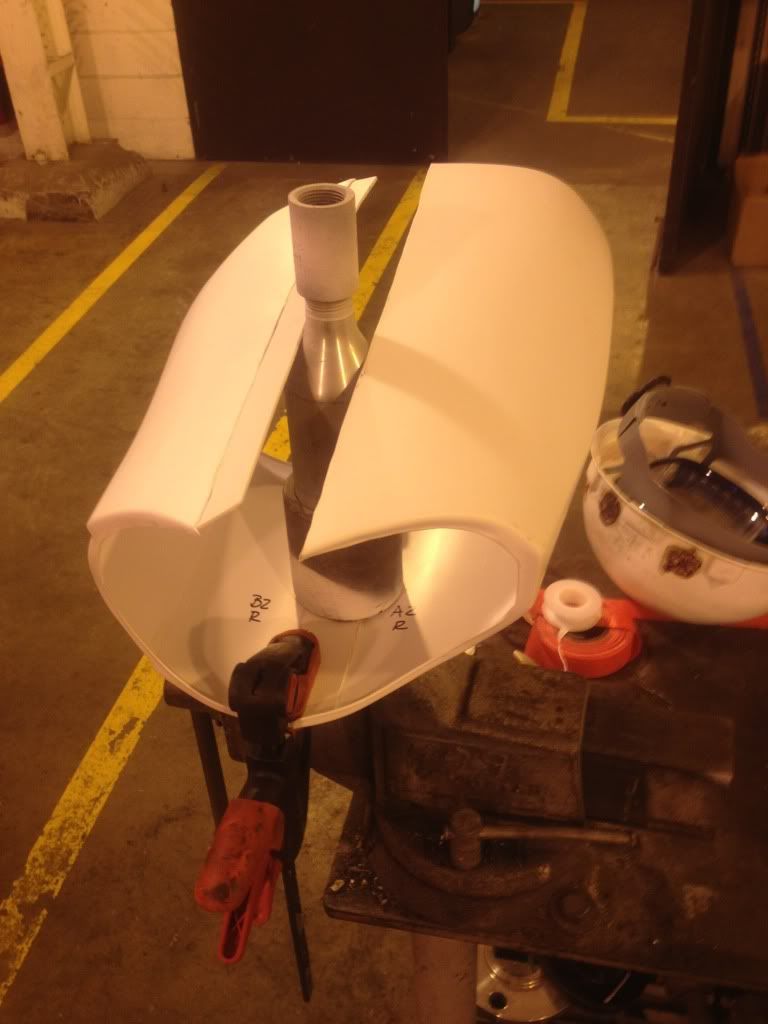
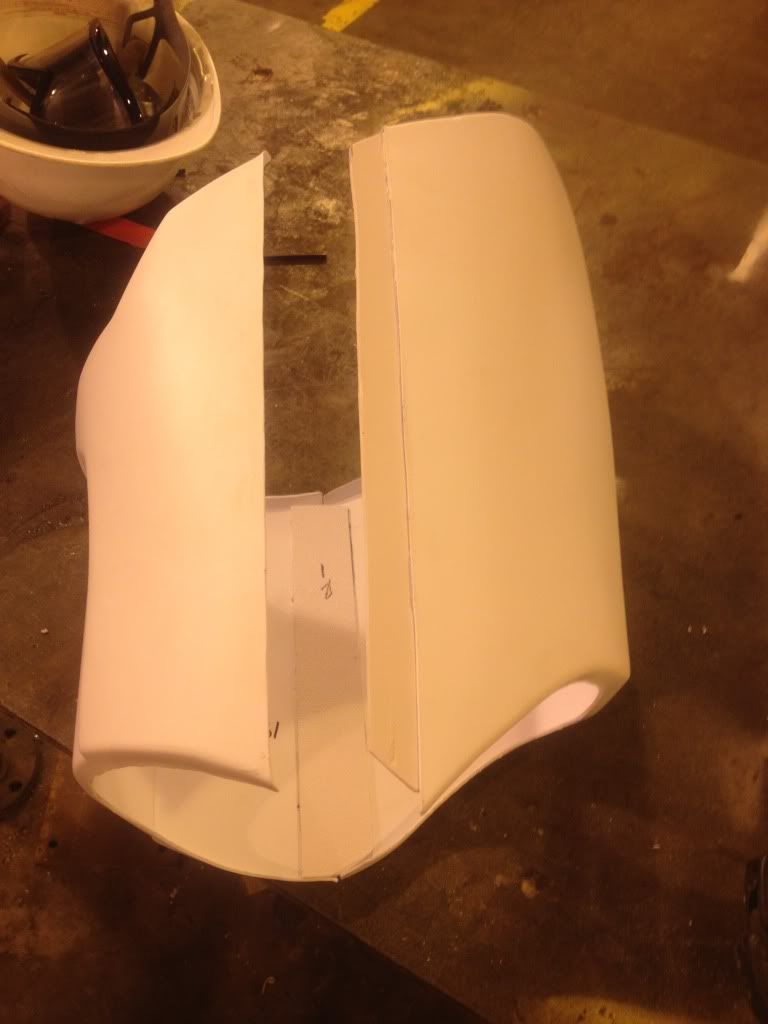
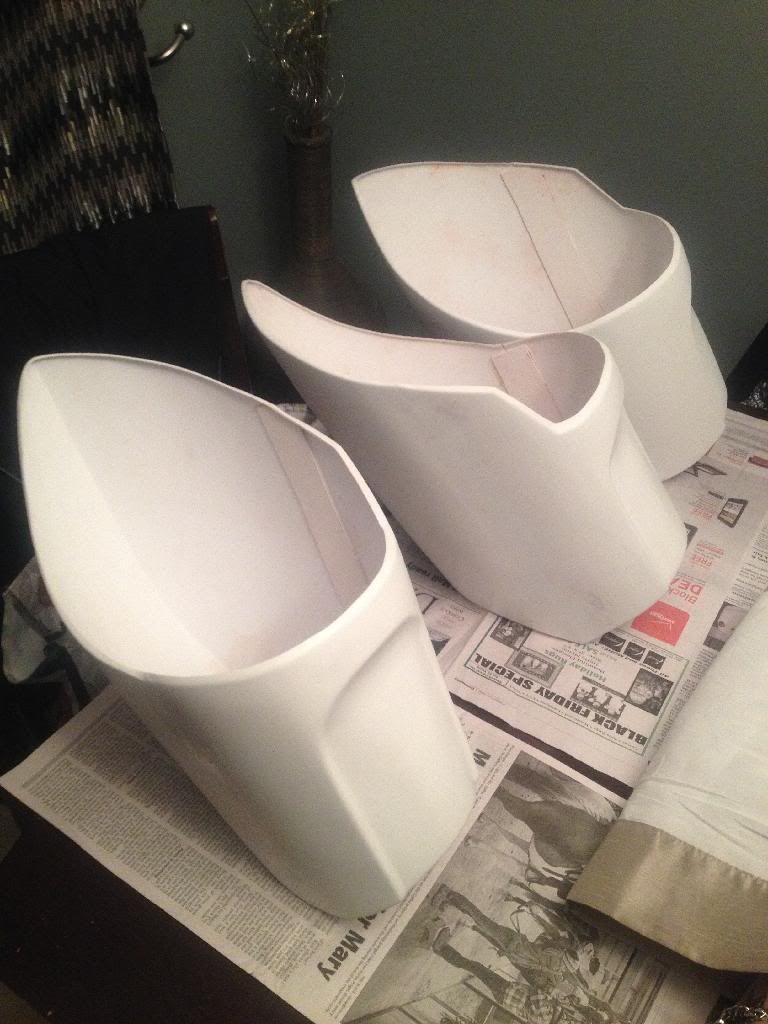
Plus I've started to put the calves together by glueing in the connector strips.

Image

Will try and get these done, along with finishing up the forearms by sanding down the bondo on the seams.
User avatar
BBC527
501st Member
501st Member
Posts: 1308
Joined: Fri Jul 13, 2012 6:57 pm
Legion ID: 52705
Location: Midland, MI

Re: Three-in-One Clone Build

Post by BBC527 »

The last week has been very productive.

Finished the forearms after sanding down the bondo. They are ready for paint.

Image

Finished trimming out the elbows and knees and have cleaned up the edges. Just need to cut out the little grooves on the one side of the elbows and these will be ready for paint.

Image

Image

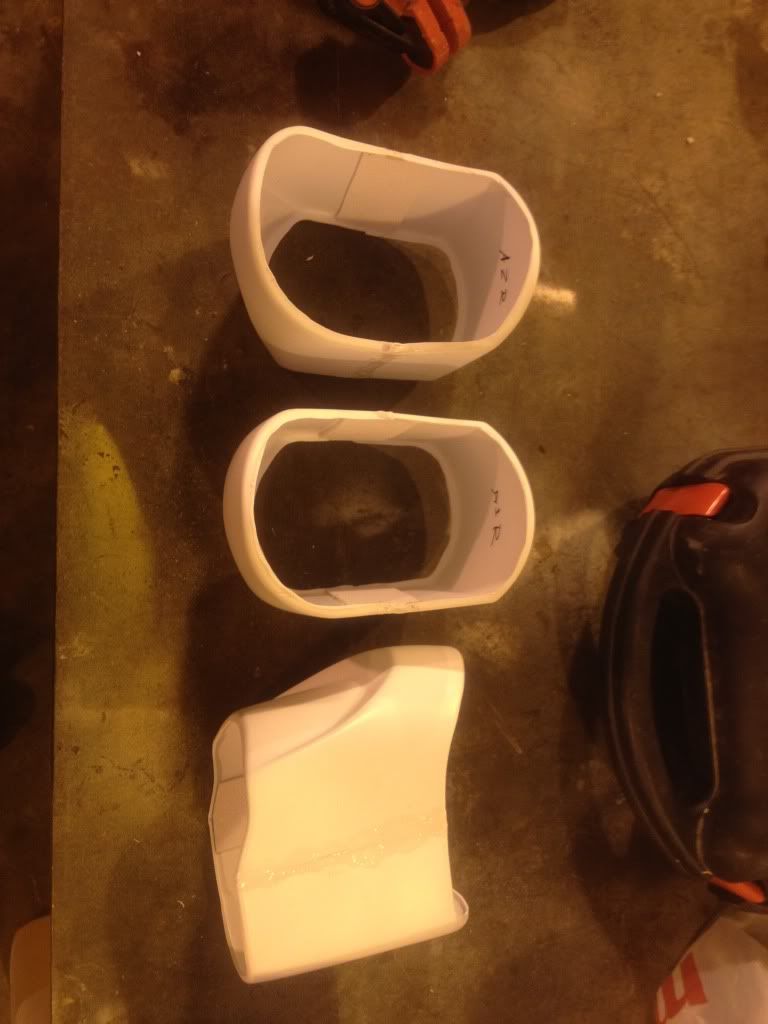
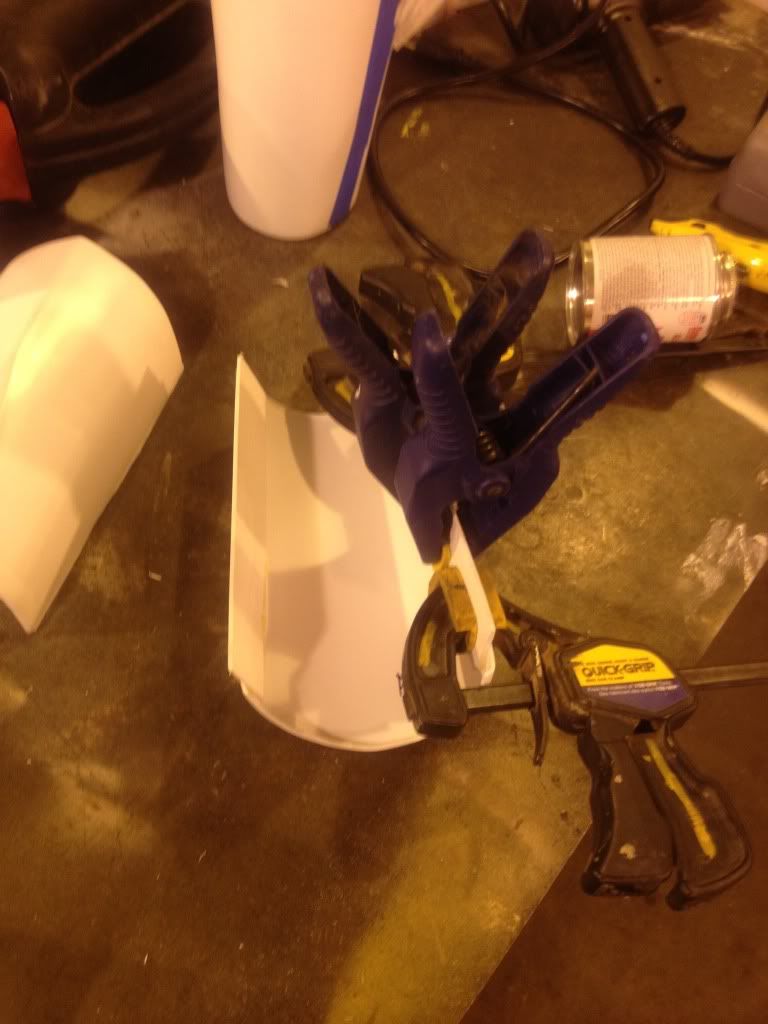
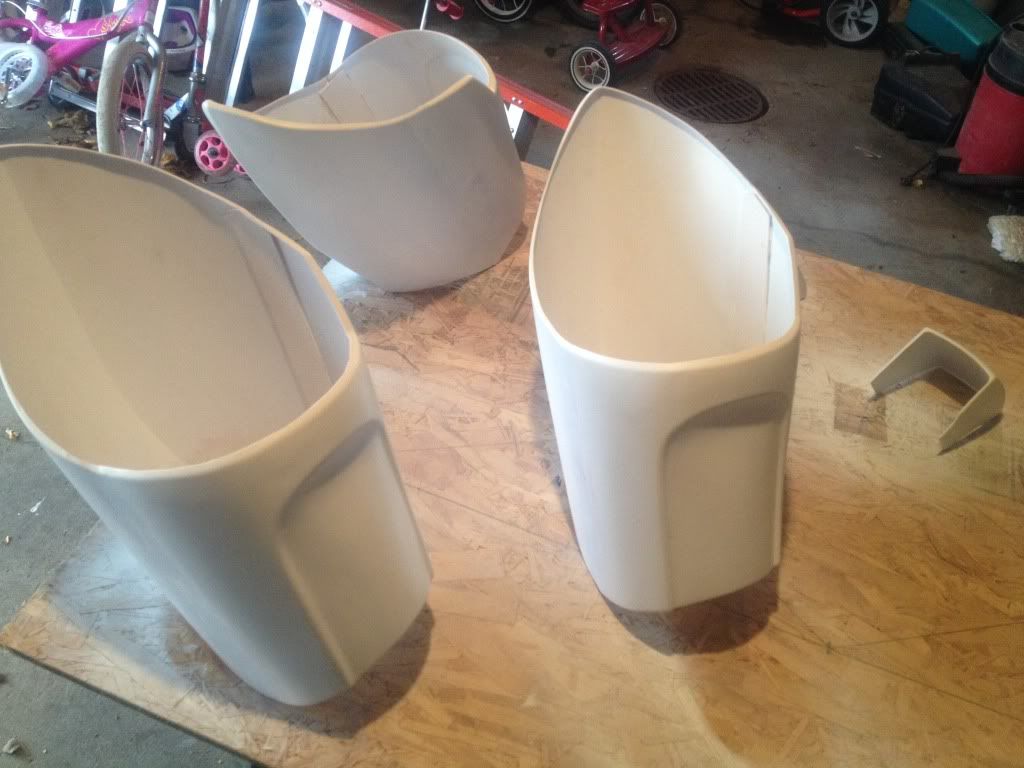
Continued with work on the calves from last time, by starting to put them together.

Image

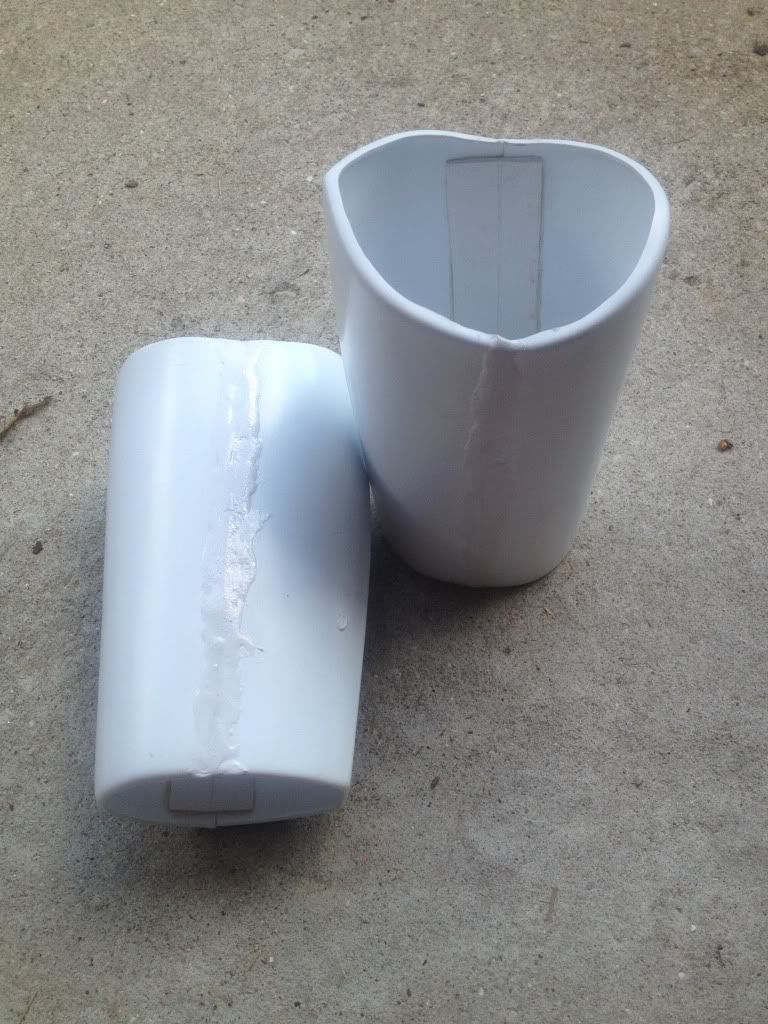
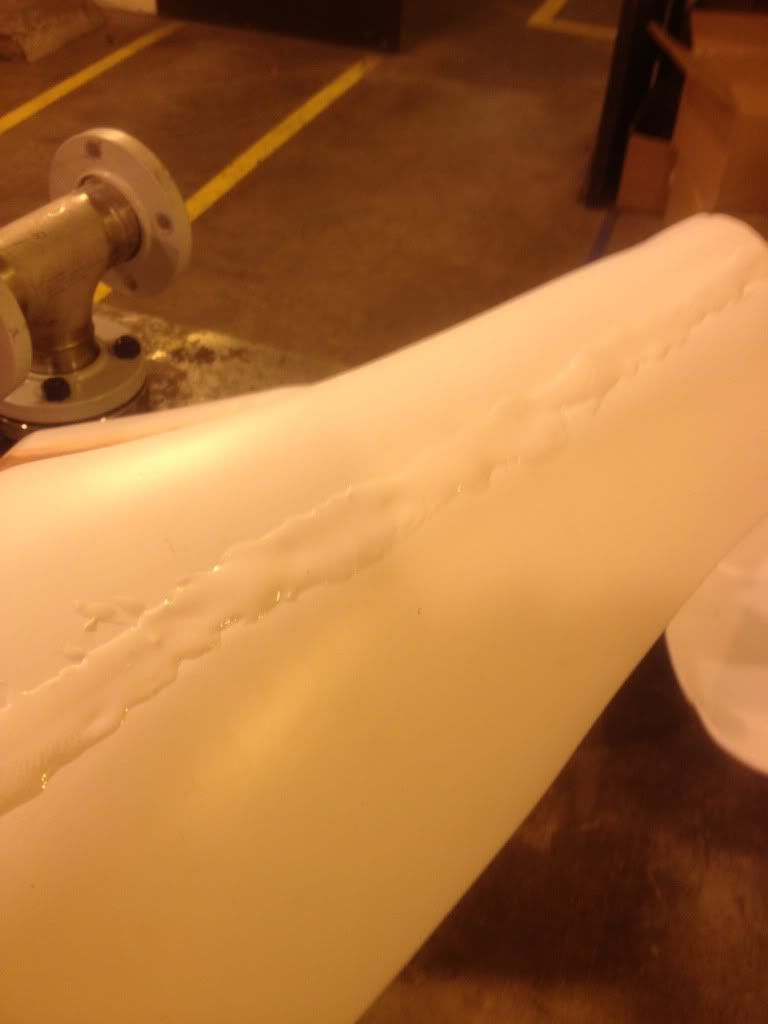
Have the calves together, now just need to sludge in the seams.

Image

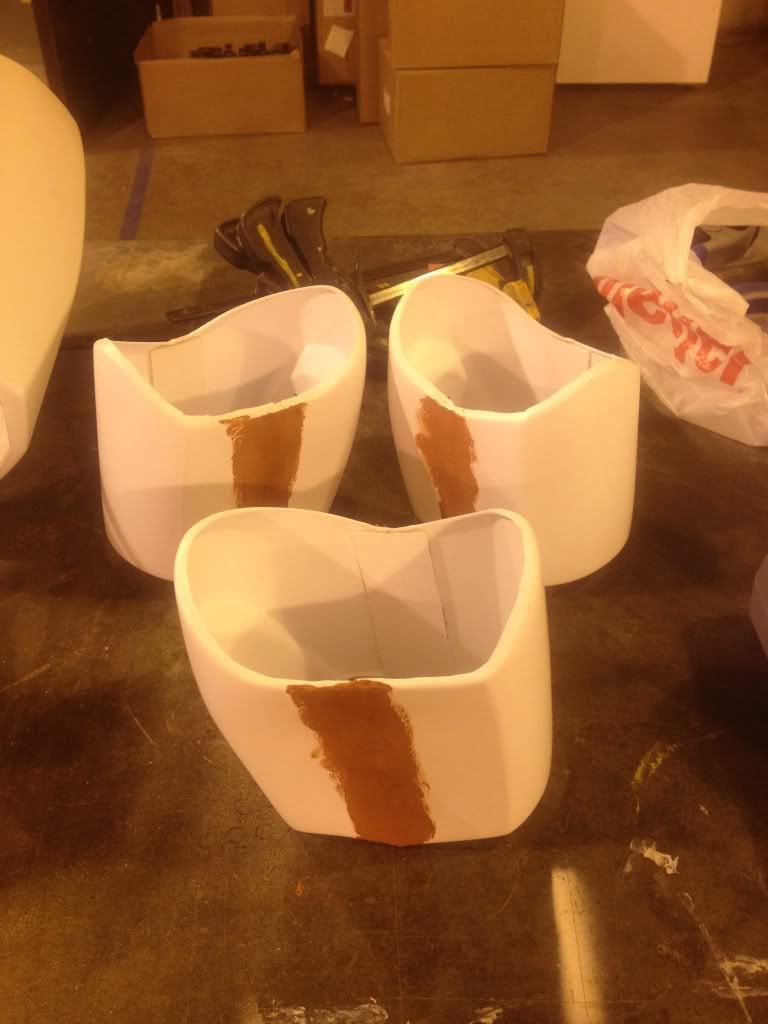
Was able to get the seams sludged the next day. Now just waiting for them to dry.

Image

Also this week, was able to start on the thighs by getting in the connector strips and started to put them together.

Image

Image

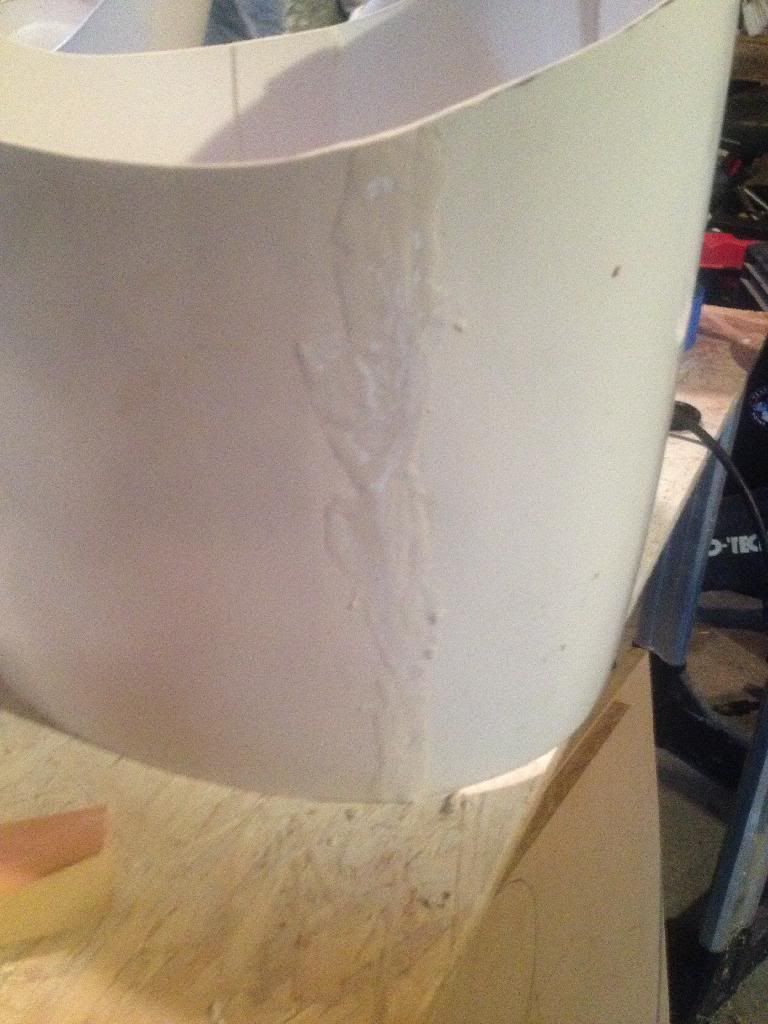
Once together I sludged the seams, let them dry. Then sanded the seams down and put a coat of bondo on to smooth out the edges. Just waiting for them dry.

Image

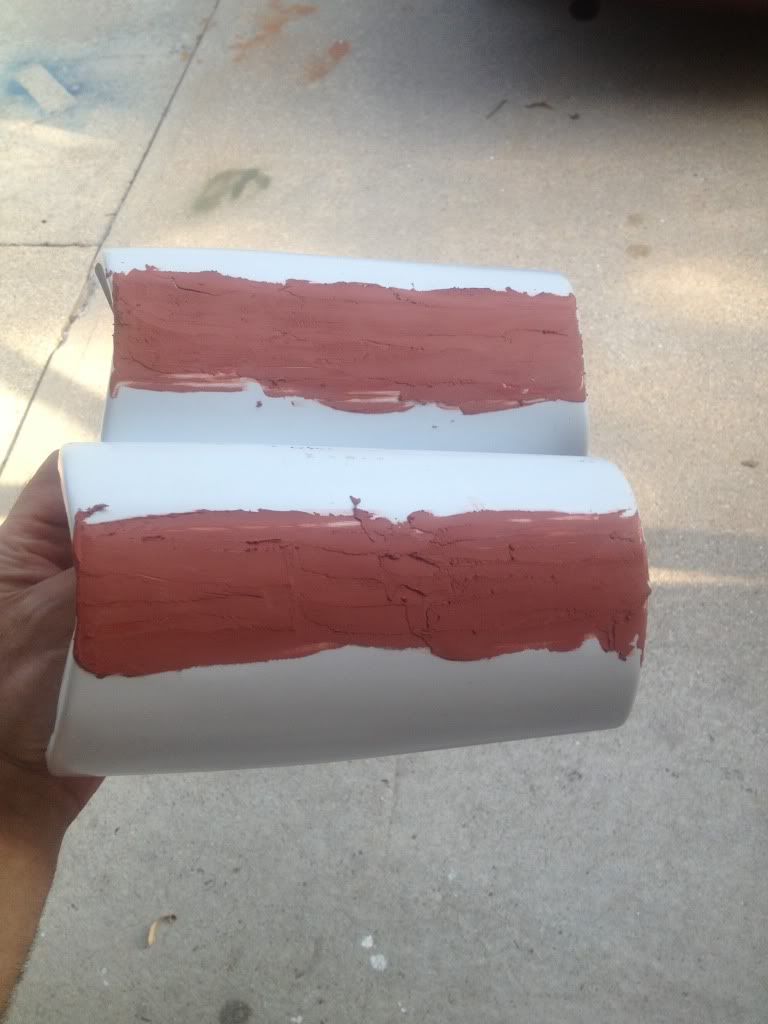
Among other things I was able to sand down the butt tabs I had to install and put some sludge on to even out the edge.

Image

After drying, sanded down the sludge and applied bondo to smooth out transition.

Image

Will update as I finish more. Also try and work on the chest and back this weekend if I can.
User avatar
BBC527
501st Member
501st Member
Posts: 1308
Joined: Fri Jul 13, 2012 6:57 pm
Legion ID: 52705
Location: Midland, MI

Re: Three-in-One Clone Build

Post by BBC527 »

Ok, let's catch up on some progress from last time.

I finished the seams on the calves and have them bondoed to fill in the low spots. Working on sanding them down and making the seam disappear. It's on of the steps I hate, because it's so hard to it smooth without some flaw.
Also, have been working on the same thing with the thighs. However, I'm ready to put on the first coat of paint to see how they look.

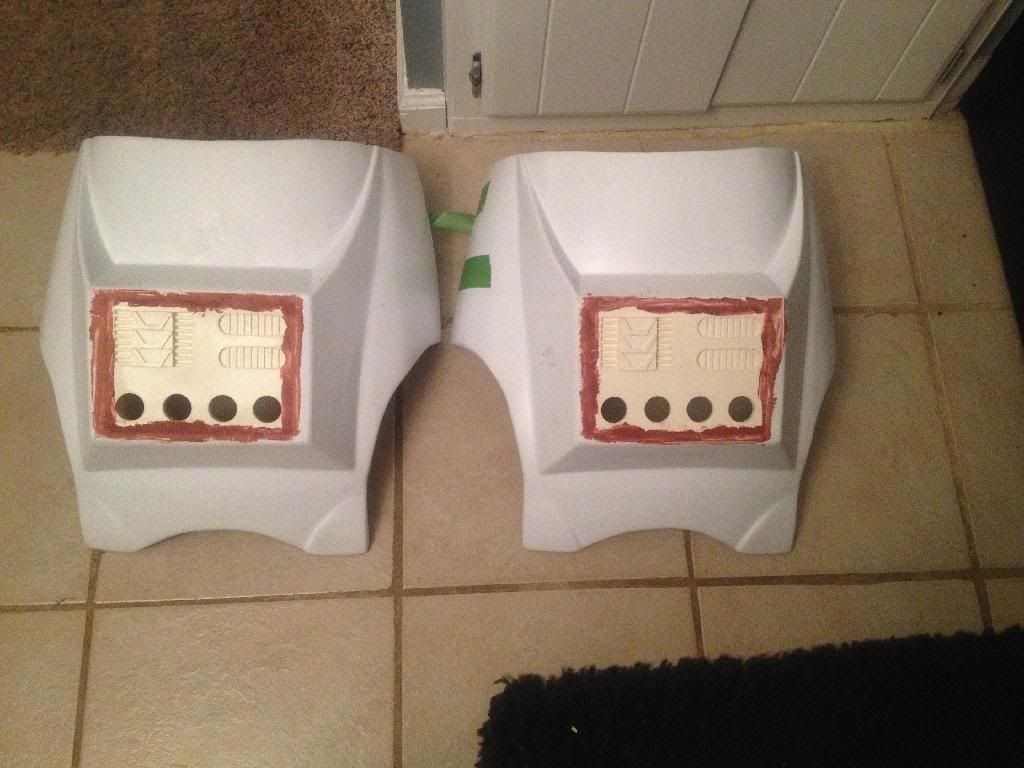
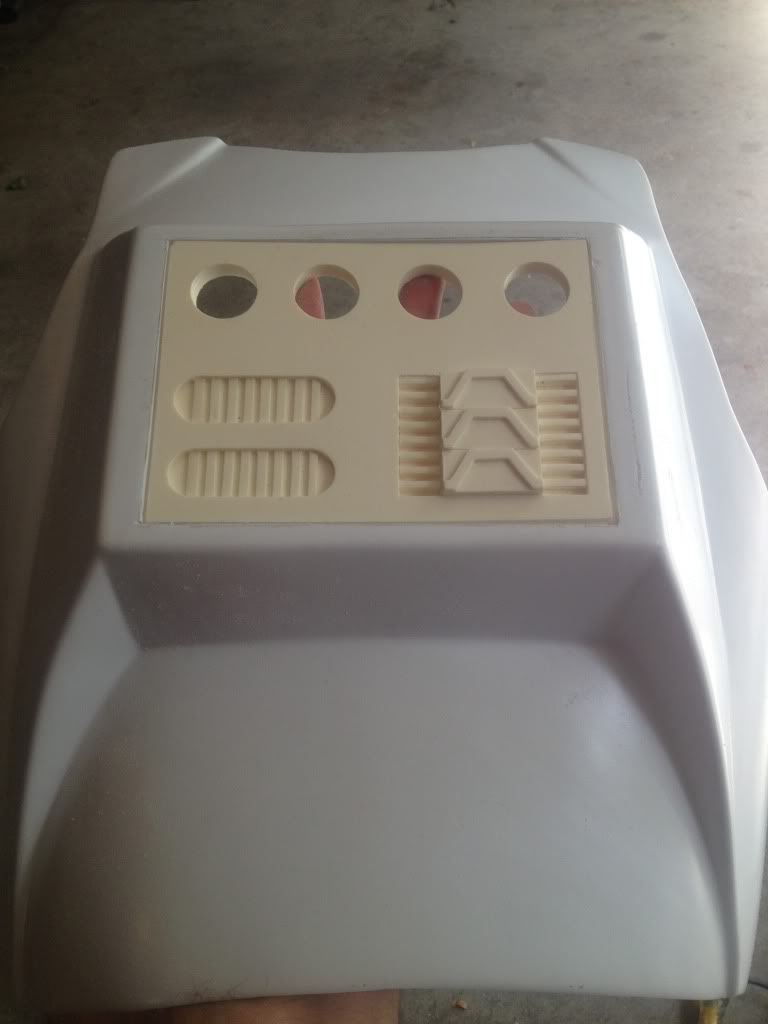
Started on the two backs. Worked on cutting out the holes to drop in the back plates.
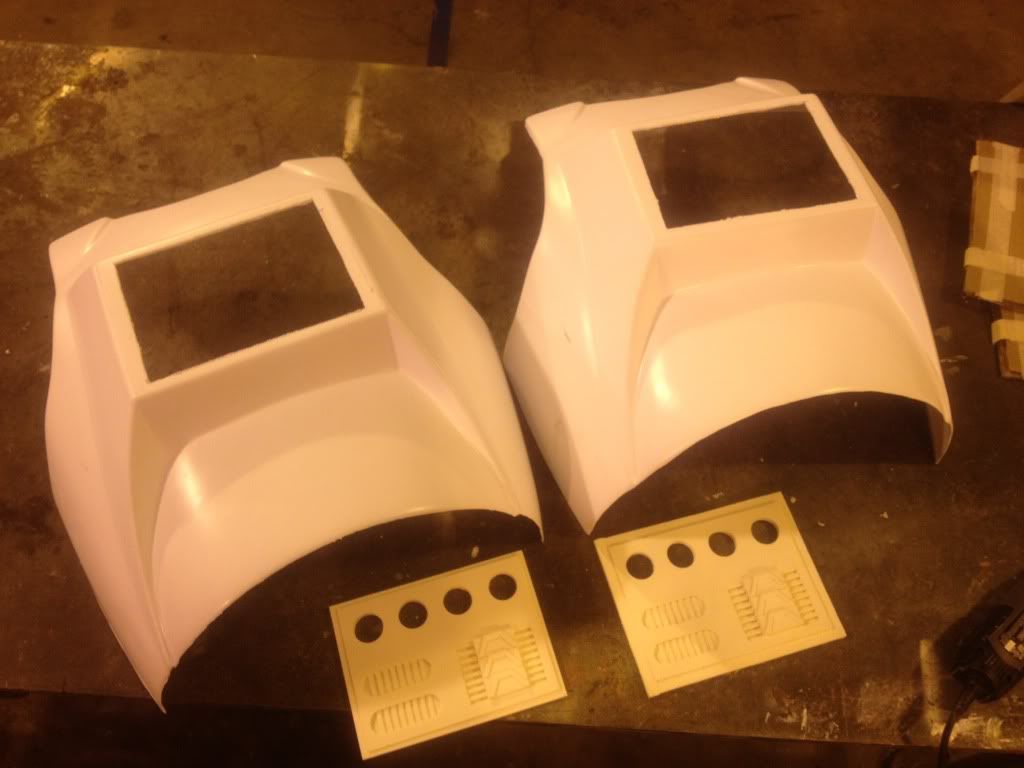
Image

After cleaning up the hole, I was able to get the plates mounted.
Image

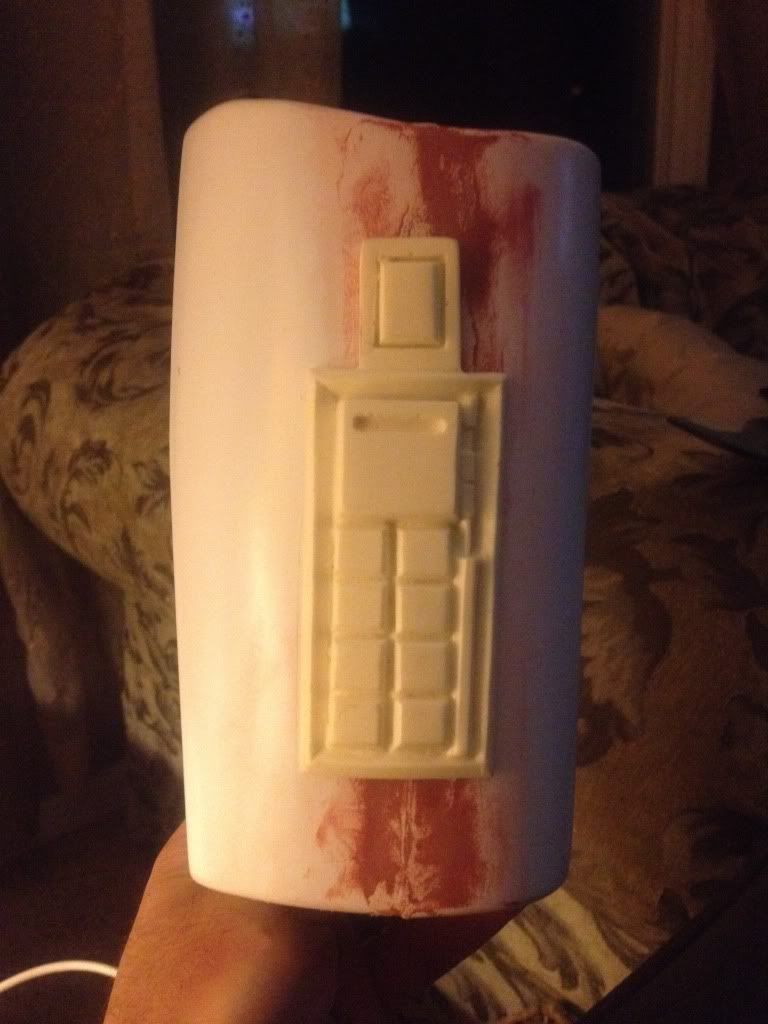
Moved on the putting the com pad on the forearm. I was able to heat up the pad in boiling water to form it to the arm. Once I had the shape, I was able to glue it on to the forearm.
Image
Once I had glued, I was able to work on smoothing out the seams by filling in with sludge and a little bondo.

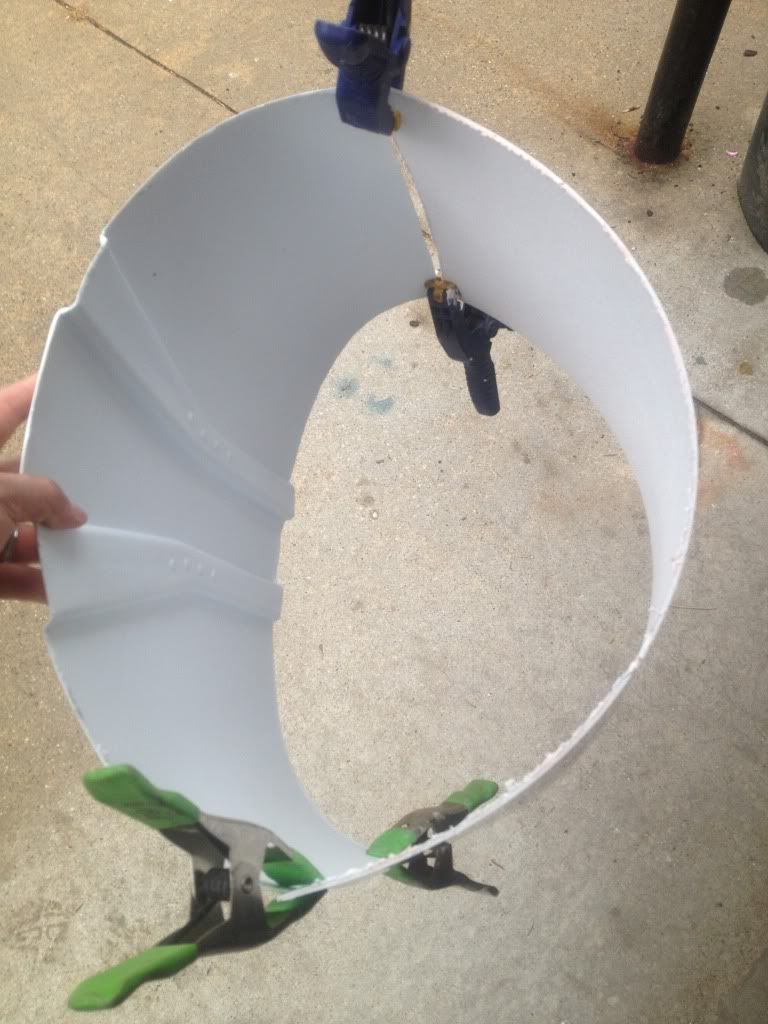
Next, moved on to putting the Ab together after we did a fitting at the Tigers game.
Image
I was able to glue in all together and now I just need to do trim work and then come up with a way to split in the back and be able to re-connect.

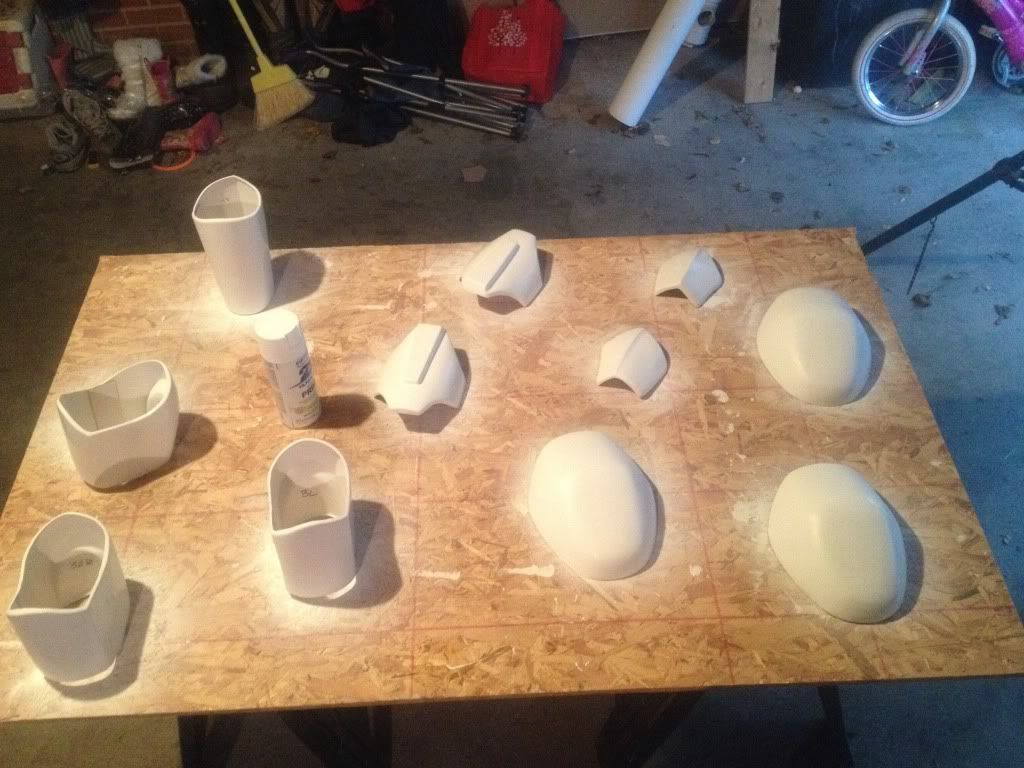
Was able to also start painting some of the parts recently. Stuff like the hands, biceps, shoulders, knees, and forearm.
Image

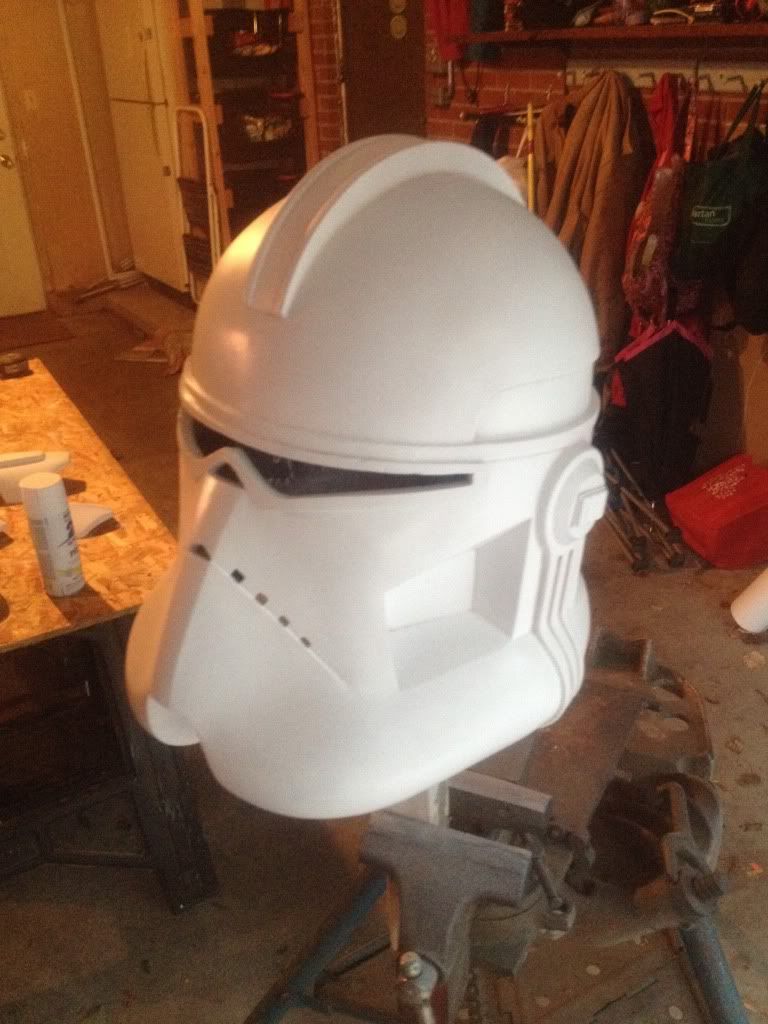
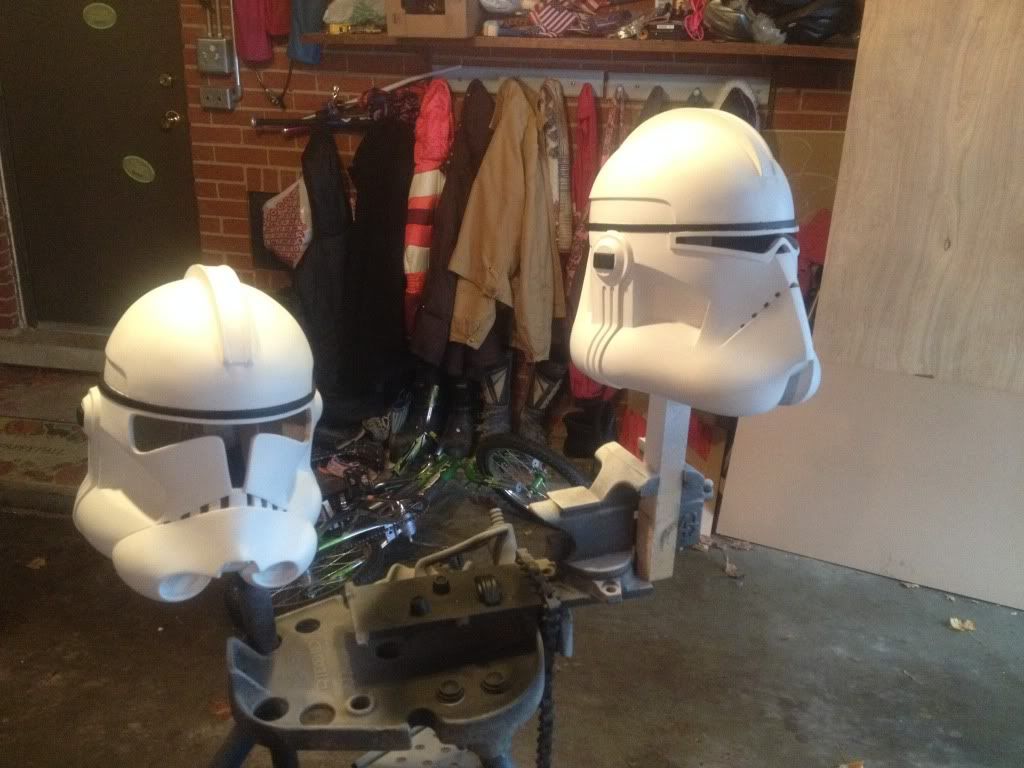
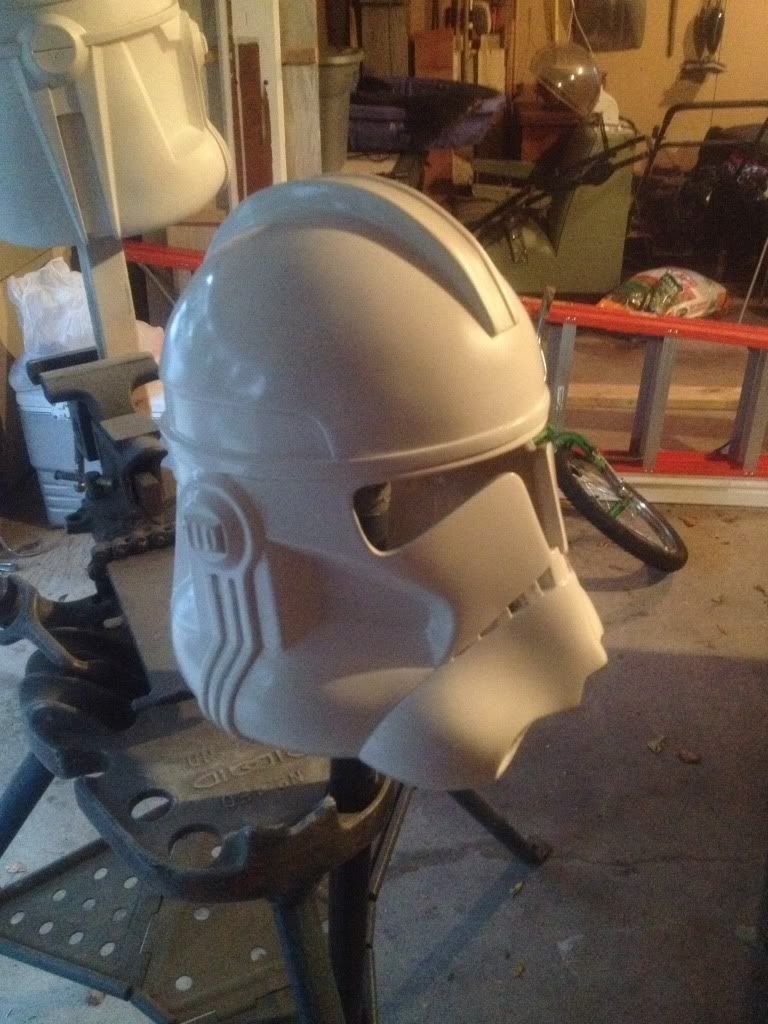
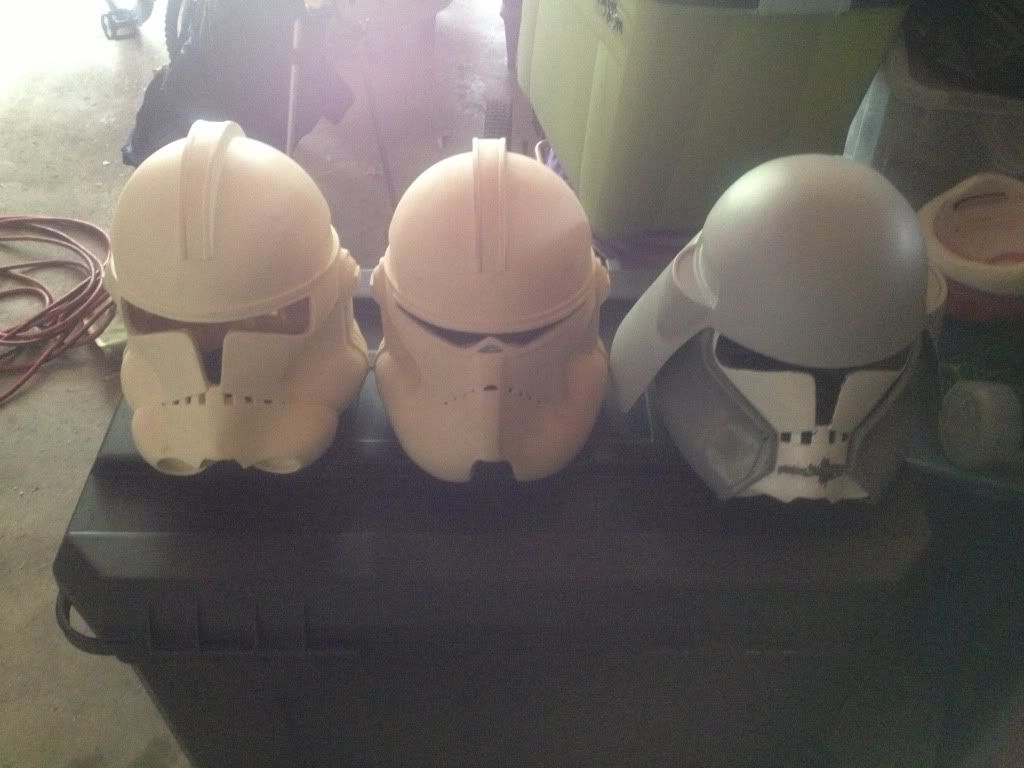
Also ready to start on the helmets. Put a coat on to see if there were any other spots I missed that needed bondo work.
Image
Image
Image

However, found a few spots on one helmet that needs a little more bondo on the top seam. Plus had some paint that crinkled up in spots on another helmet and needed to be sanded back down.

Now that I have more time I'll be able to move forward on some of the other parts.

I'll update as I work on more.
User avatar
Mowskwoz
GLG Member
GLG Member
Posts: 3400
Joined: Wed Oct 15, 2008 10:53 pm
Legion ID: 7794
Location: Livonia, MI

Re: Three-in-One Clone Build

Post by Mowskwoz »

Looking good! :thumbs:
GLG Commanding Officer - 2012-2018, 2020
GLG Captain of the Guard - 2019
ANH Stormtrooper - F.I.S.D. Expert Infantryman
GLB X-Wing Pilot - Shadow 77
Snowtrooper Commander - Thunder Snow Assault Squad
R2 Builder
User avatar
dgcook
501st Member
501st Member
Posts: 59
Joined: Fri Nov 11, 2011 3:03 pm
Legion ID: 6290
Location: Toledo Ohio

Re: Three-in-One Clone Build

Post by dgcook »

It was great to meet you at the Walleye game. I am just up to trying some paint on the clone build I am working on. What primer paint combination has worked well for you over ABS?
Dave
User avatar
BBC527
501st Member
501st Member
Posts: 1308
Joined: Fri Jul 13, 2012 6:57 pm
Legion ID: 52705
Location: Midland, MI

Re: Three-in-One Clone Build

Post by BBC527 »

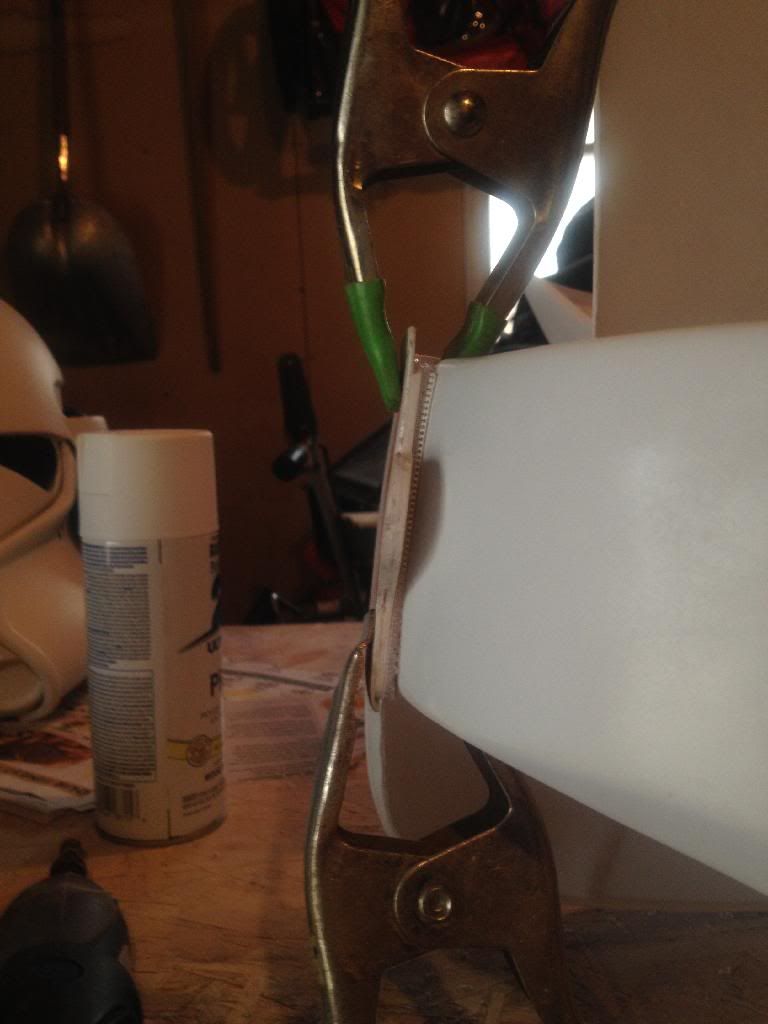
I have used Rustoleum paints, and it has worked great. Just make sure to get the ones that bond with plastic

Image

Just make sure to sand all your parts to give the paint something to bond too.

Let me know if there is anything else I can help you with.


Also, great to meet you at the game too. Look forward to next time.
User avatar
BBC527
501st Member
501st Member
Posts: 1308
Joined: Fri Jul 13, 2012 6:57 pm
Legion ID: 52705
Location: Midland, MI

Re: Three-in-One Clone Build

Post by BBC527 »

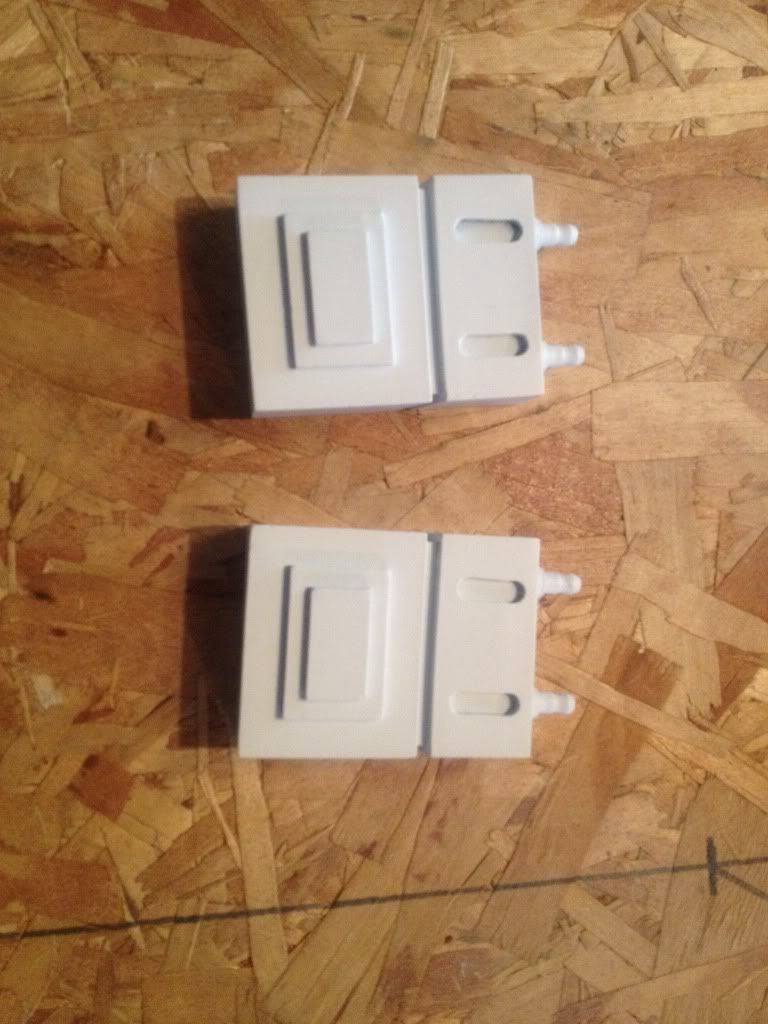
Worked on painting a few more parts today. Got the elbows done, and working on the boxes for the back.

Image
Image

Also put the first coats on the thighs and right forearm with the com pad.

Image
Image

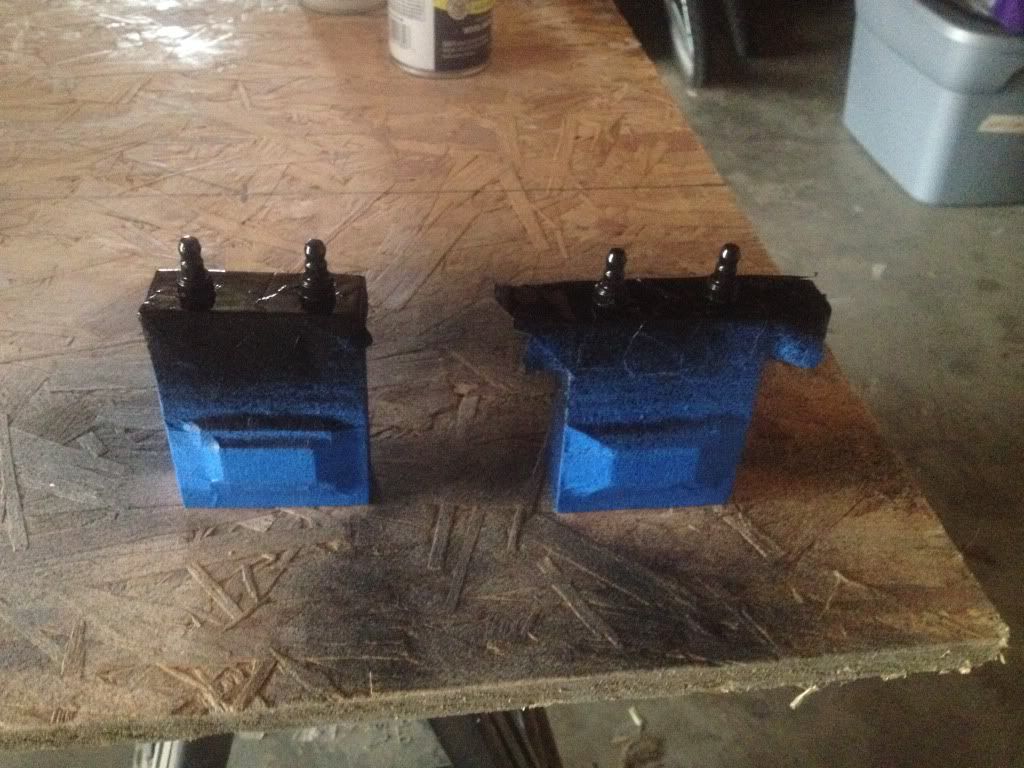
After the paint dried on the boxes, taped them off to paint the little antenas on the top.

Image

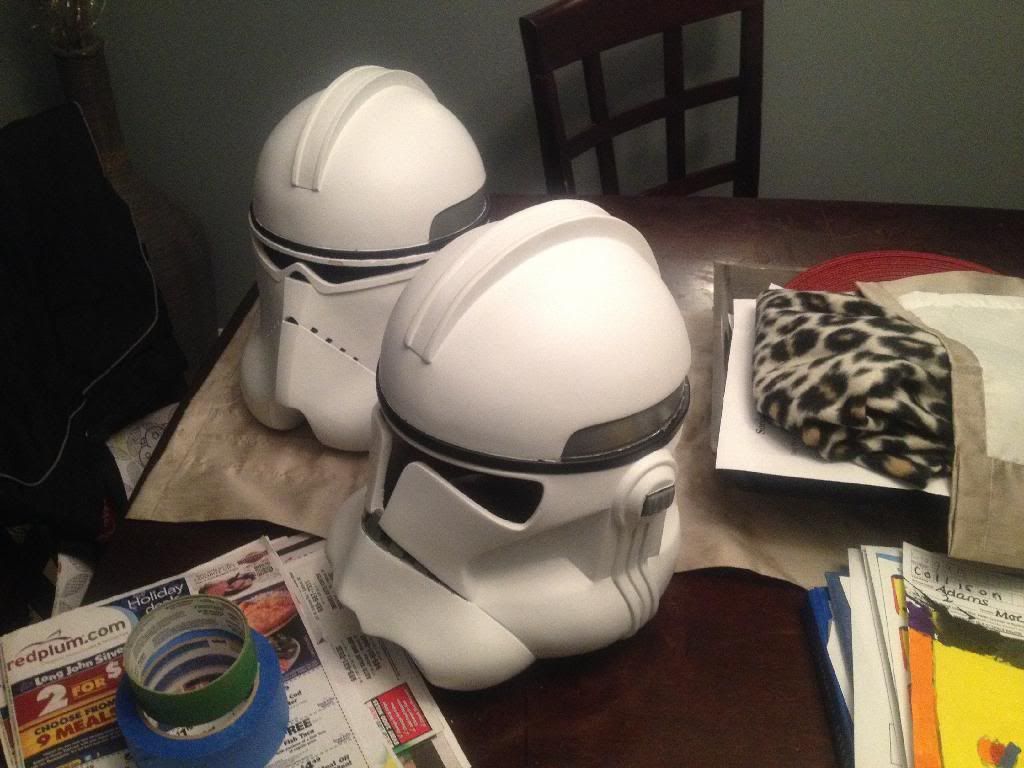
Plus, I managed to spray another coat on the Clone and Bacarra helmets.

Did find out after the first coat of paint dried on the thighs, I need to do a little more bondo to make the seam disappear. They are a pain in my butt.

Work on some more tomorrow.
User avatar
BBC527
501st Member
501st Member
Posts: 1308
Joined: Fri Jul 13, 2012 6:57 pm
Legion ID: 52705
Location: Midland, MI

Re: Three-in-One Clone Build

Post by BBC527 »

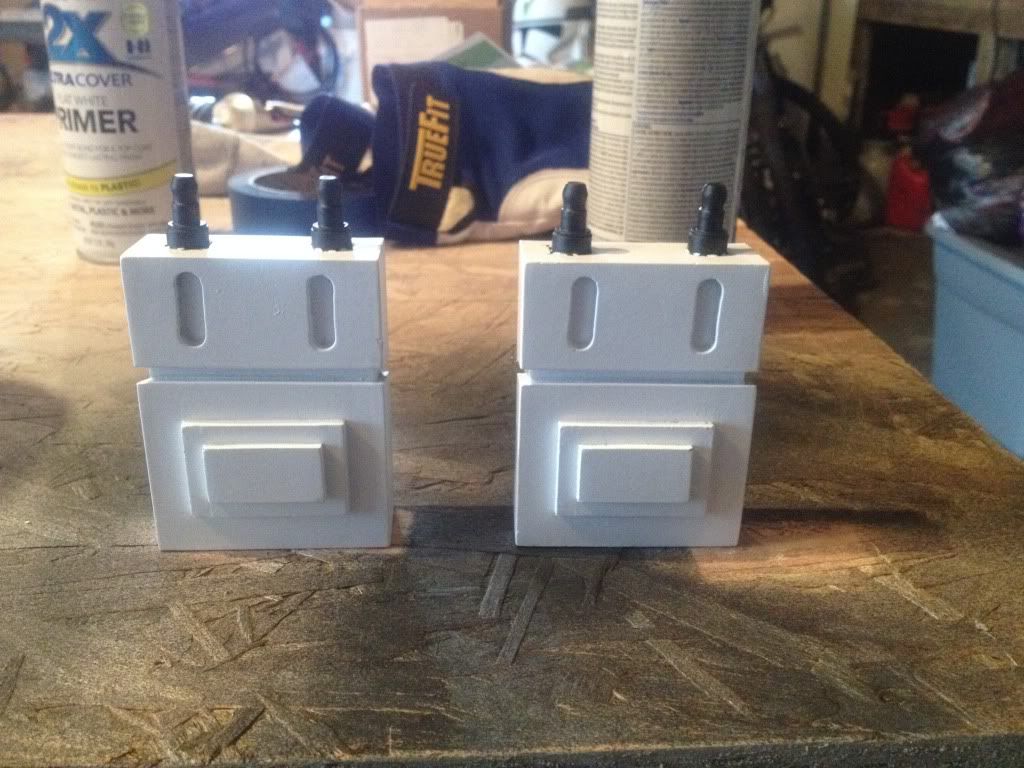
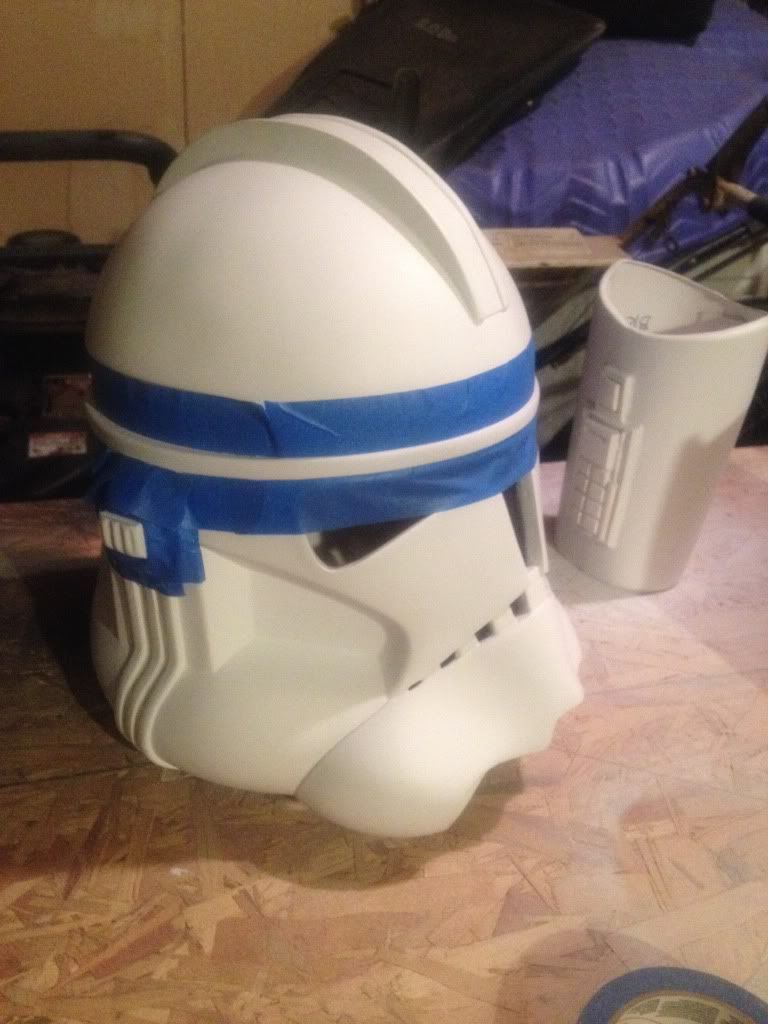
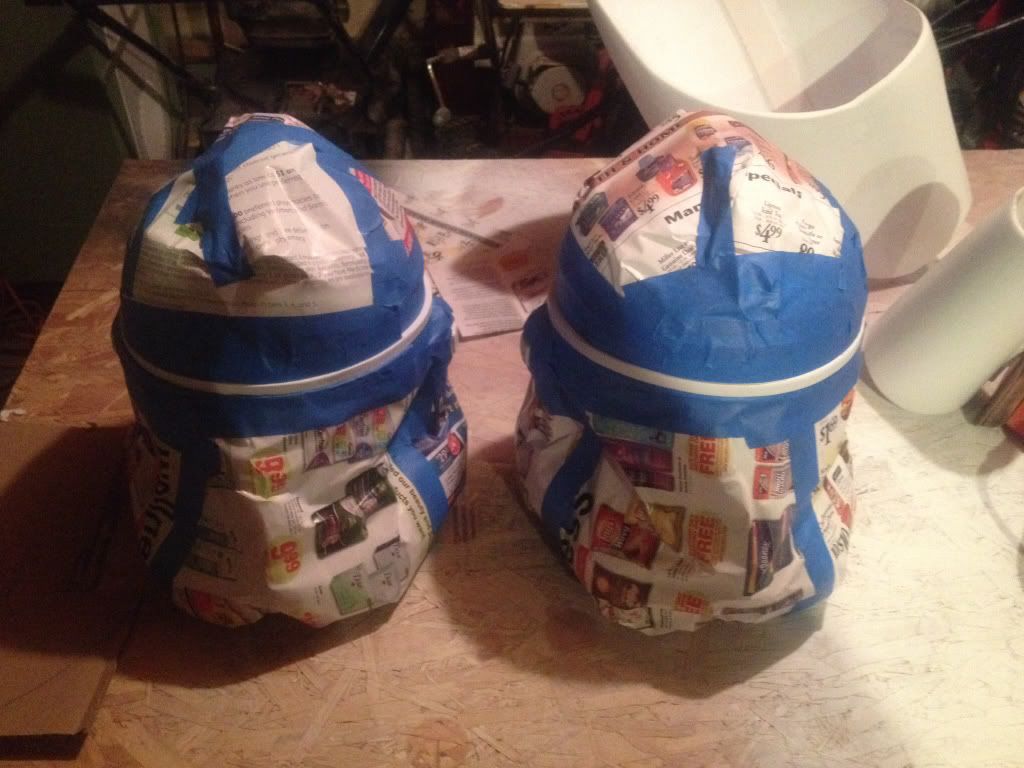
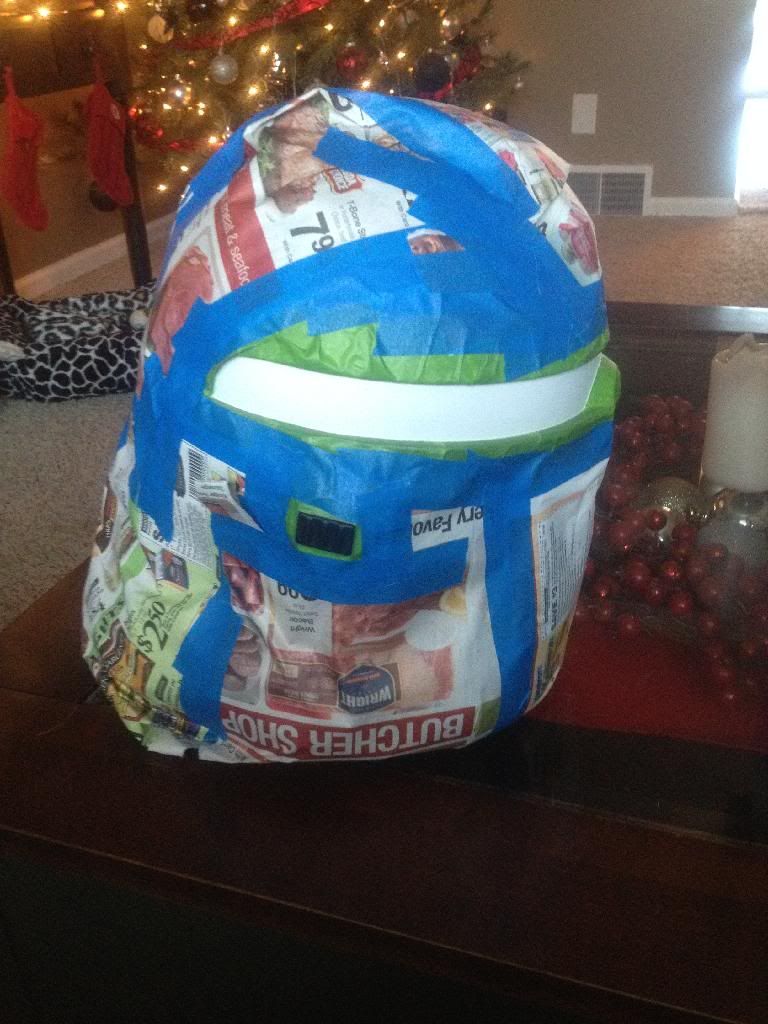
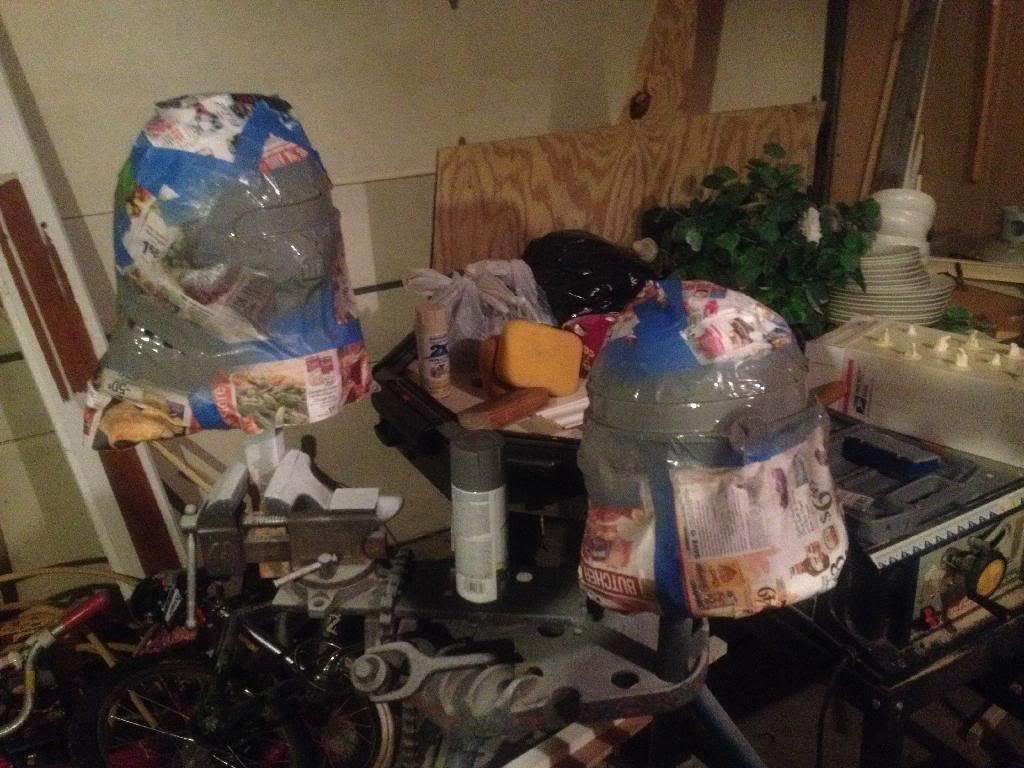
Boxes are painted for the back, and I've started taping off the helmet for paint.

Image

Image
User avatar
BBC527
501st Member
501st Member
Posts: 1308
Joined: Fri Jul 13, 2012 6:57 pm
Legion ID: 52705
Location: Midland, MI

Re: Three-in-One Clone Build

Post by BBC527 »

Finished taping up the Clone and Neyo helmet for black paint.

Image
User avatar
BBC527
501st Member
501st Member
Posts: 1308
Joined: Fri Jul 13, 2012 6:57 pm
Legion ID: 52705
Location: Midland, MI

Re: Three-in-One Clone Build

Post by BBC527 »

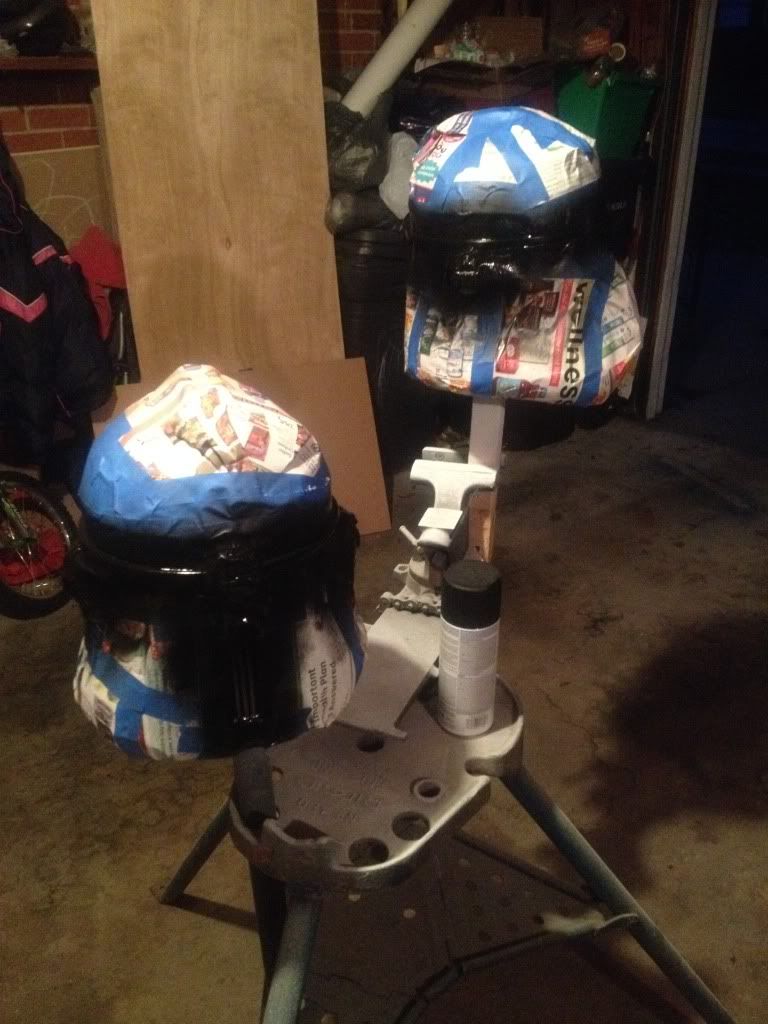
Worked on the black paint after taping up.

Image

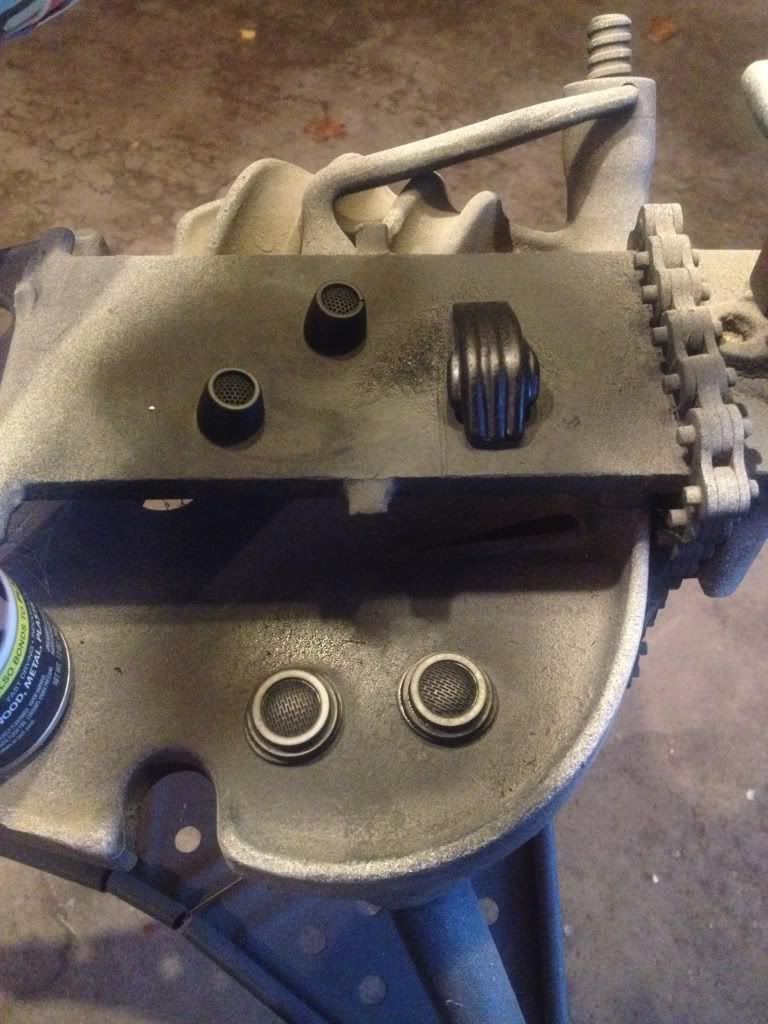
Also started painting some of the helmet parts

Image

Finally able to pull off the tape and paper.

Image

Now need to work on the rest of the paint.
User avatar
BBC527
501st Member
501st Member
Posts: 1308
Joined: Fri Jul 13, 2012 6:57 pm
Legion ID: 52705
Location: Midland, MI

Re: Three-in-One Clone Build

Post by BBC527 »

Some good and ban on the helmets. I taped up the areas for the grey paint on the Clone and Neyo. However, there are some areas on the clone that the white paint didn't stick to and actually came off with the painters tape after I uncovered the helmet after the black paint. I'll see how the grey paint turns out, them possibly have to cover up those areas and redo some of the white.

Image
Image

Have also been working on cod/butt section to get this completed. I have added back the Velcro to the butt after adding on the tabs. However, the tabs kind of flared out after that.

Image

After seeing this, I had to heat the tabs back up and form them to the shape of the cod.

Image

That works a little better.

I also found since I had to add these back on, the plastic is to thick for snaps to actuall work. I think I'm going to go with a false snap on the outside and either use a little more Velcro or come up with something else.
User avatar
BBC527
501st Member
501st Member
Posts: 1308
Joined: Fri Jul 13, 2012 6:57 pm
Legion ID: 52705
Location: Midland, MI

Re: Three-in-One Clone Build

Post by BBC527 »

Worked on finishing the grey and black on the Clone and Neyo helmet.

Image

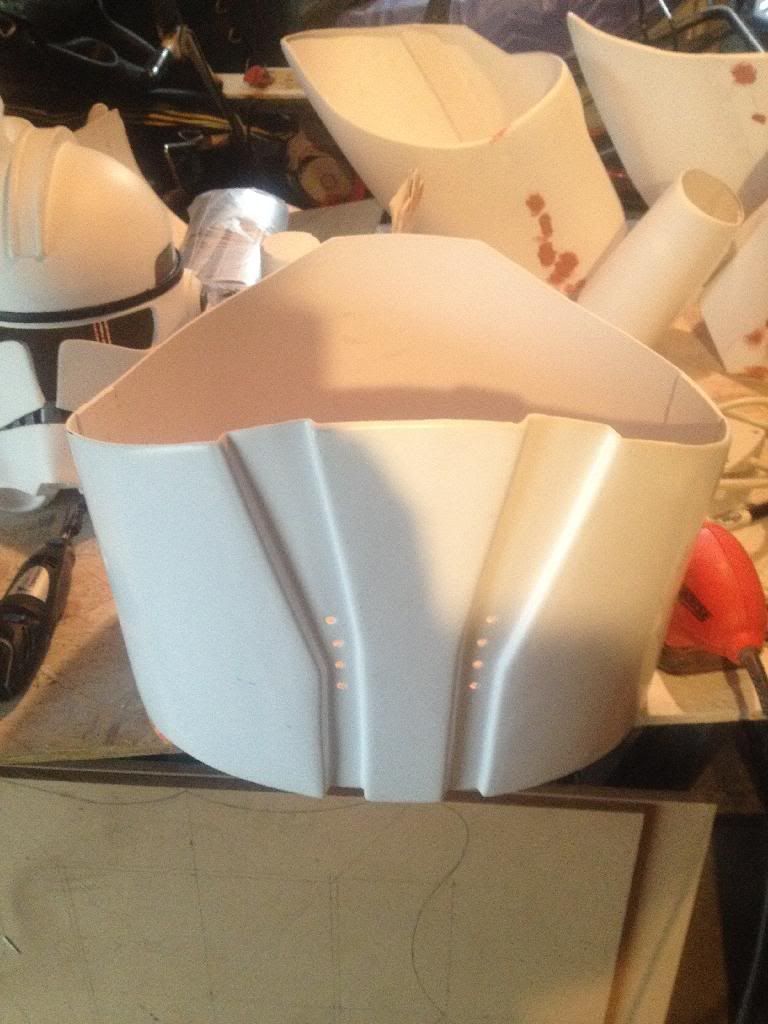
Moved on to working on the ab. Added more sludge to fill in some of the bad spots on the seams.

Image

Also finished trimming up the top and got the holes in the front.

Image

Just need to cut the back seem in so he can get it off and on. Then install some Velcro to connect it.

Also trying to finish the paint on the thighs.

Image
User avatar
BBC527
501st Member
501st Member
Posts: 1308
Joined: Fri Jul 13, 2012 6:57 pm
Legion ID: 52705
Location: Midland, MI

Re: Three-in-One Clone Build

Post by BBC527 »

Finished painting up the thighs this week. Started to paint the cod/butt and should be done this weekend.

Image

Also started working more on the back. Finish smoothing out the back plate and need to start on the boxes and extra detonator for Neyo and Bacarra.

Image
User avatar
BBC527
501st Member
501st Member
Posts: 1308
Joined: Fri Jul 13, 2012 6:57 pm
Legion ID: 52705
Location: Midland, MI

Re: Three-in-One Clone Build

Post by BBC527 »

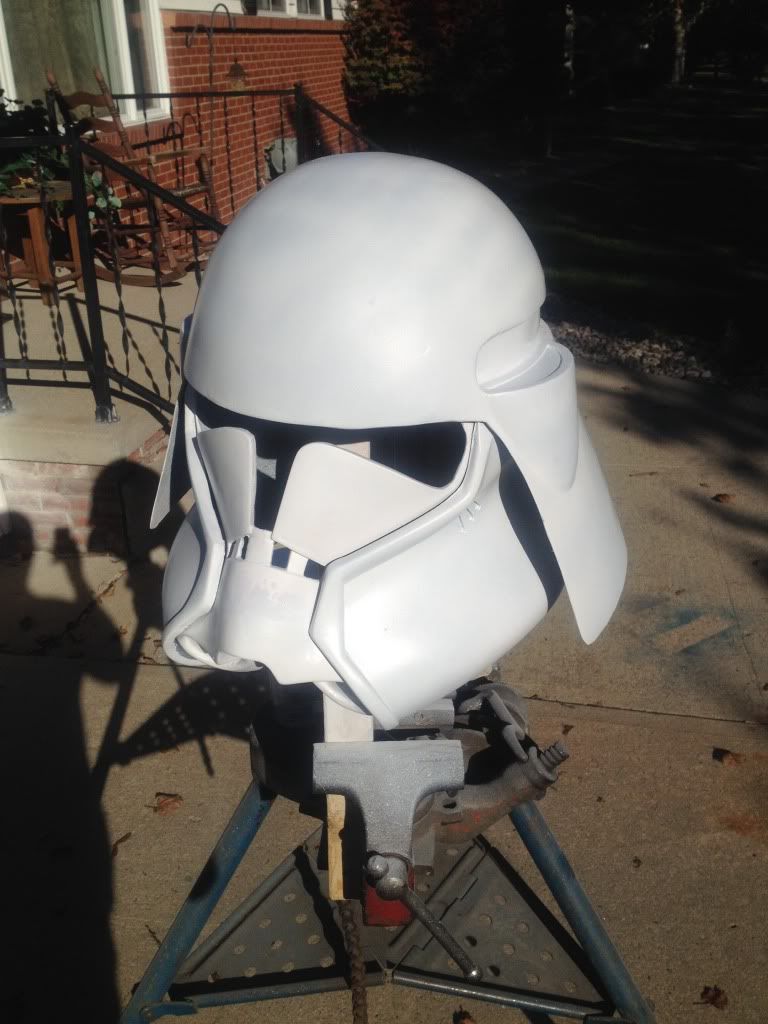
Ok, getting ready to paint Bacarra's helemt. What color of grey do I use on the sides of the face? Is this the same color grey that is normally around the top of a Clone helmet? Also, is this the same on the top little bump outs on the upper part of the helmet?

Any help would be appreciated.

Also starting on the back and looking at putting the 2nd detonator at the top. Any tips on how this gets mounted or if the brackets need to be modified?

Thanks
Post Reply